
Boho Bag Saver
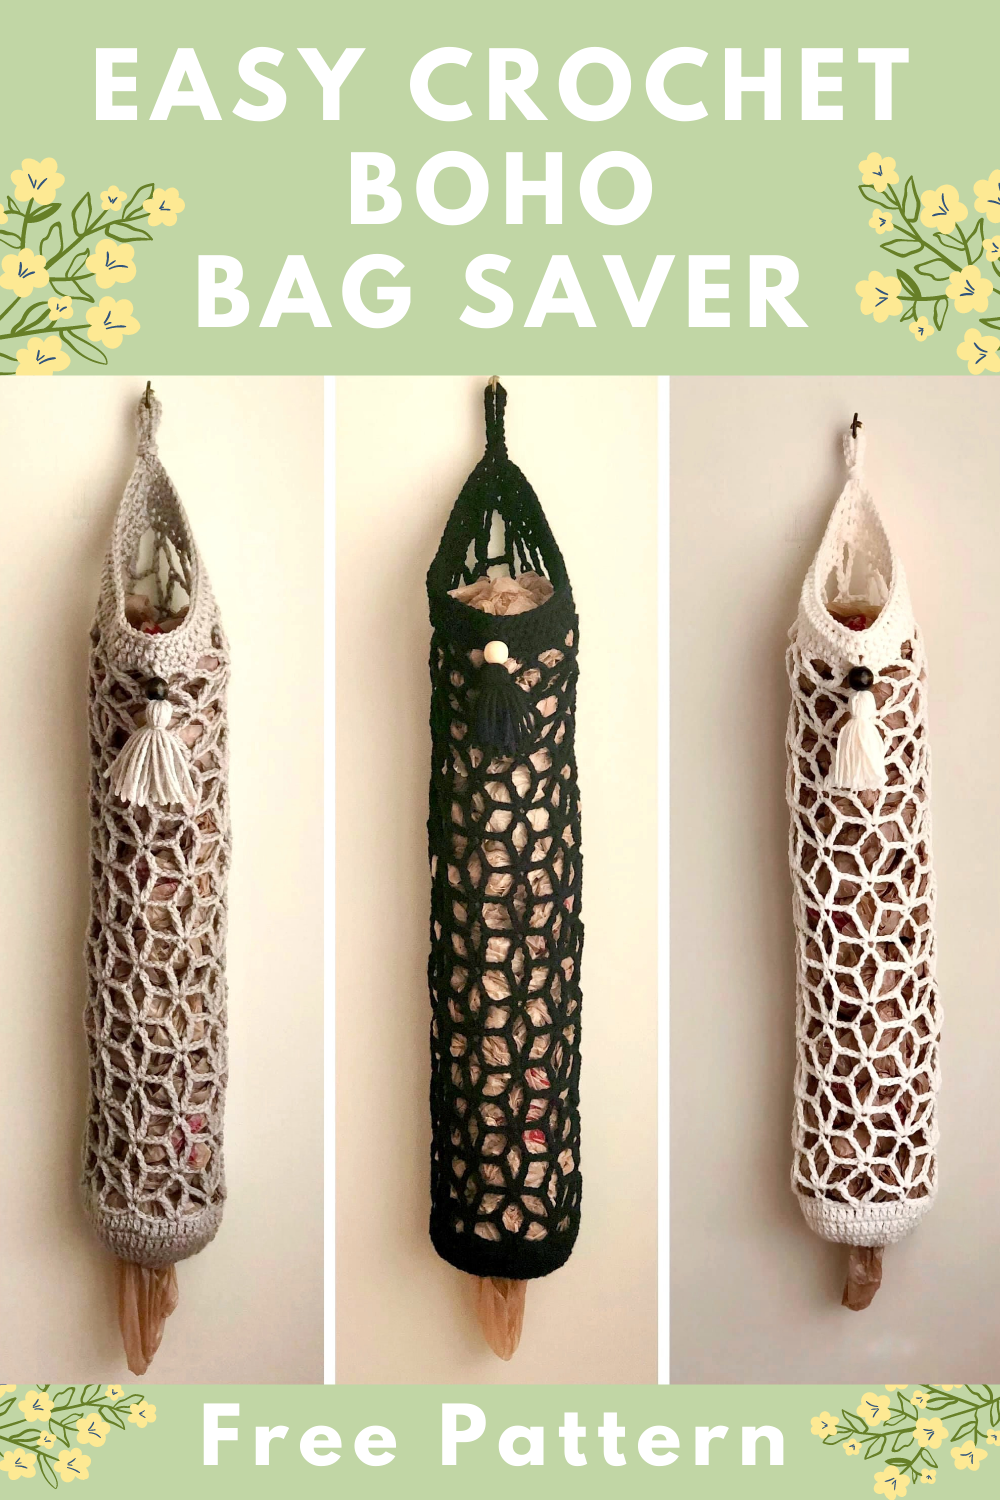
I designed this grocery bag holder to be modern, functional and beautiful. The intricate design is surprisingly easy to create and will make you want to put it somewhere on display rather than hiding it away in the pantry. They also make great market items, as they sell extremely well.
This post may contain affiliate links that help me to continue to post free content. To skip the ads and have a printable pdf of this pattern, you can find it for relatively little cost in my Etsy and Ravelry shops.
Supplies Needed:
-5 mm size H hook
-Regular sized hair elastic (preferably a new one), the thicker kind. You don’t want it to be stretched out.
-150-175 yards of DK weight (size 3) or worsted weight (size 4) yarn (I used Lion Brand Comfy Cotton Blend)
-15-20 mm wooden bead (optional)
-4"piece of cardboard (optional)
-Scissors, tape measure, yarn needle
Terminology and Abbreviations Used:
Pattern is written in US terminology.
Beginning - beg
Chain(s) - ch(s)
Double Crochet - dc
Fasten Off - FO
Half Double Crochet - hdc
Single Crochet - sc
Skip - sk
Slip Stitch - sl st
Space(es) - sp(s)
Stitch(es) - st(s)
Treble Crochet - Tr
V-Stitch - Vst
Special Stitches:
V-Stitch- Make {1 Tr, ch 5, 1 Tr} into indicated st.
Gauge:
Gauge is not essential for this project, but I do give my diameter measurement after round 2 to give you a baseline measurement.
Finished Measurements:
Finished bag saver will measure approximately 4.5" (11.5 cm) wide x 24" (61 cm) long.
I have included a full YouTube video tutorial for this project. You can find it here:
Instructions:
Beg by making a sl st into the hair elastic.
Round 1: Ch 1, 40 hdc inside hair elastic. Join with a sl st in top of first hdc. [40 hdc] NOTE: Your hdc should be completely covering the hair elastic but should not be ruffling up. See photo.
Round 2: Ch 2 (beg ch 2 does not count as a st from here on out), dc in same st as join and in next 2 sts, 2 dc in next st, * dc in next 3 sts, 2 dc in next st; rep from * to end. Join with a sl st in first dc. [50 dc]
Gauge check
The diameter of my base is approximately 4" (10 cm). If yours does not measure the same, adjust hook size accordingly and start over.
Rounds 3-4: Ch 2, dc in each st to end. Join with a sl st in first dc. [50 dc]
Round 5: Ch 9 (counts as 1 Tr + ch 5), Tr in same st (Vst made), ch 3, sk 4 sts, sc in next st, ch 3, sk 4 sts, * Vst in next st, ch 3, sk 4 sts, sc in next st, ch 3, sk 4 sts; rep from * end. Join with a sl st in 4th ch of beg ch 9, sl st into next 2 chs of beg ch 9. [5 Vsts, 5 sc, 10 ch-3 sps] (see photo below)

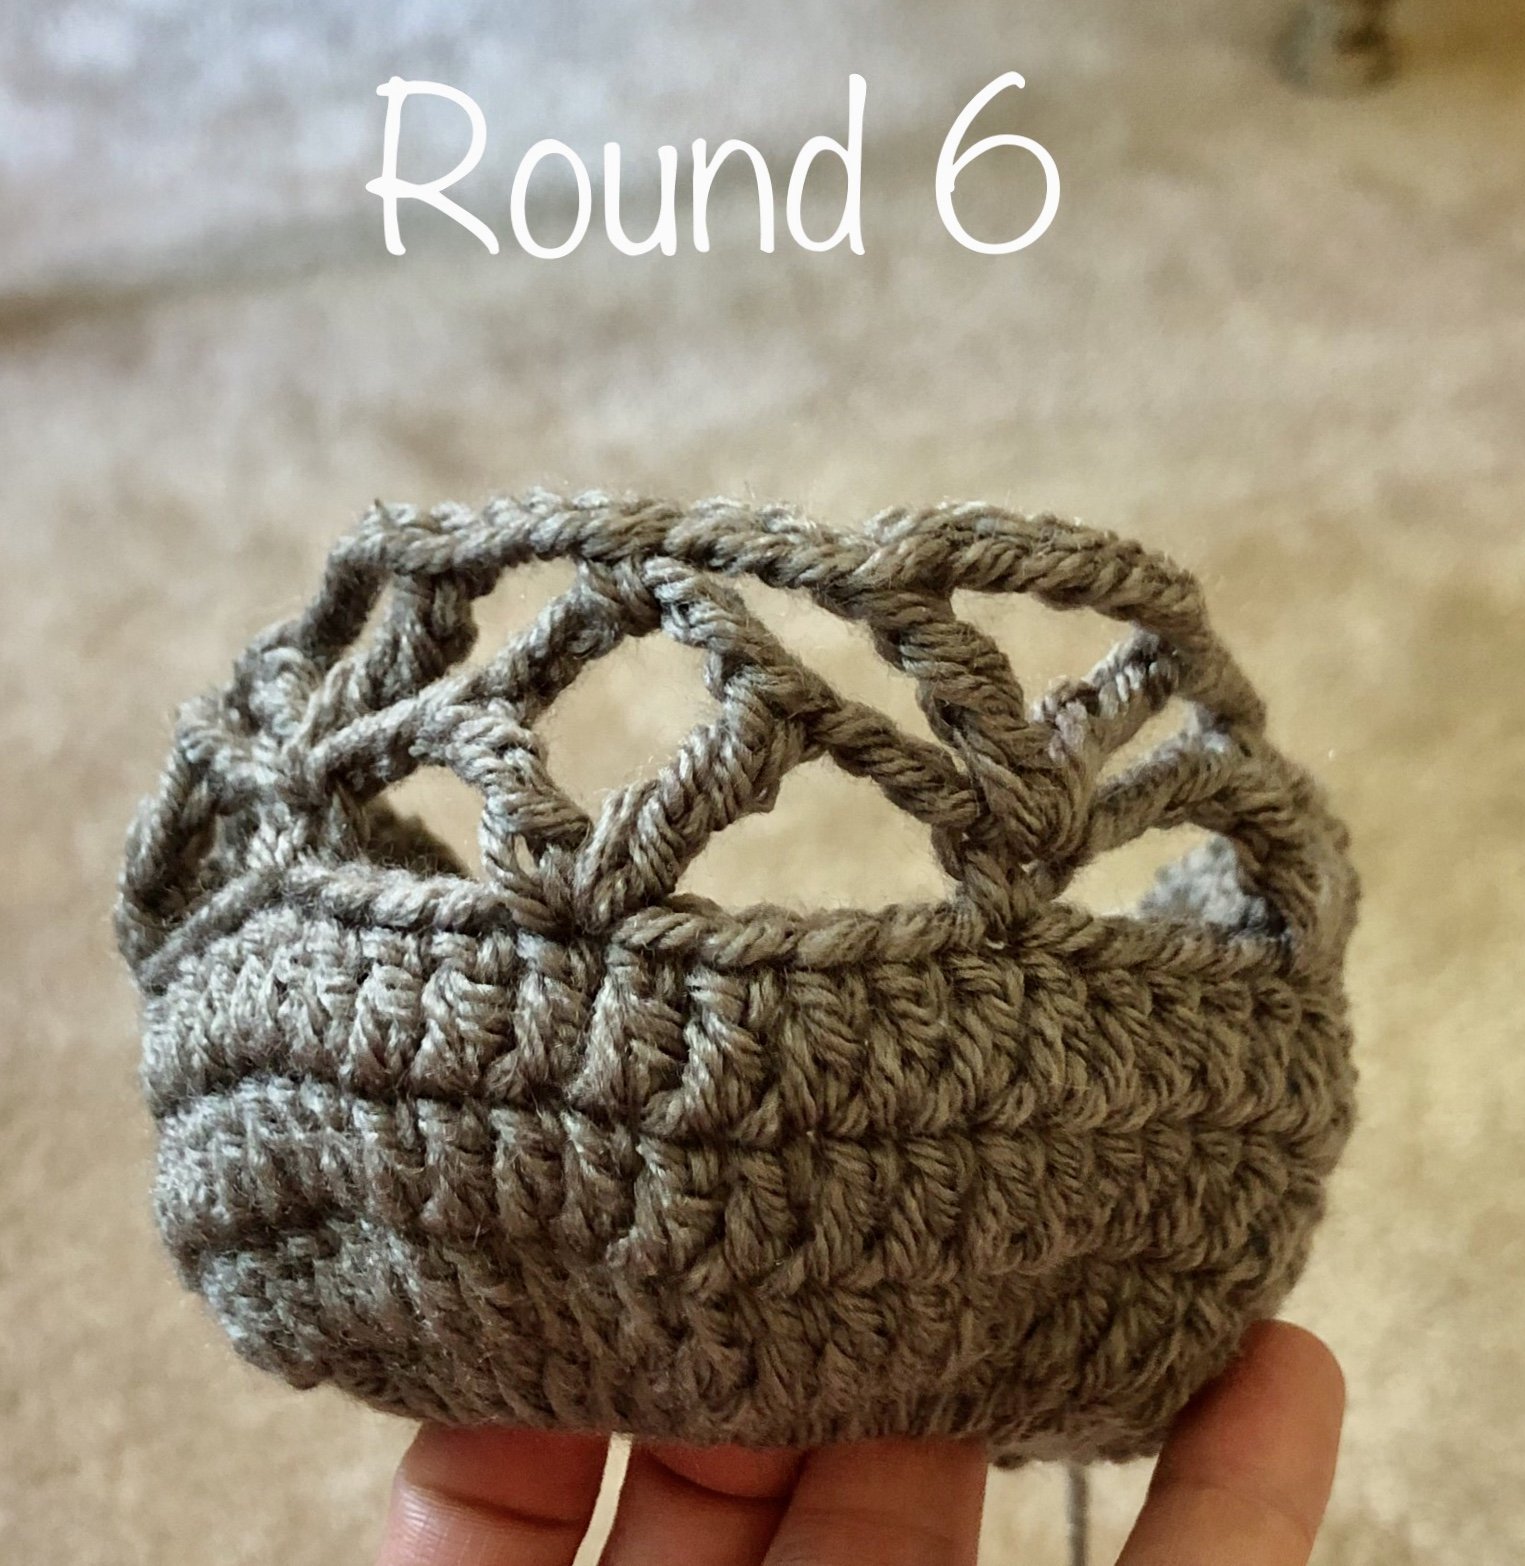
Round 6: Ch 1, sc in same ch sp, ch 3, Vst in next sc, ch 3, * sc in ch sp of next Vst, ch 3, Vst in next sc, ch 3; rep from * to end. Join with a sl st in first sc. [5 Vsts, 5 sc, 10 ch 3-sps] (see photo below)
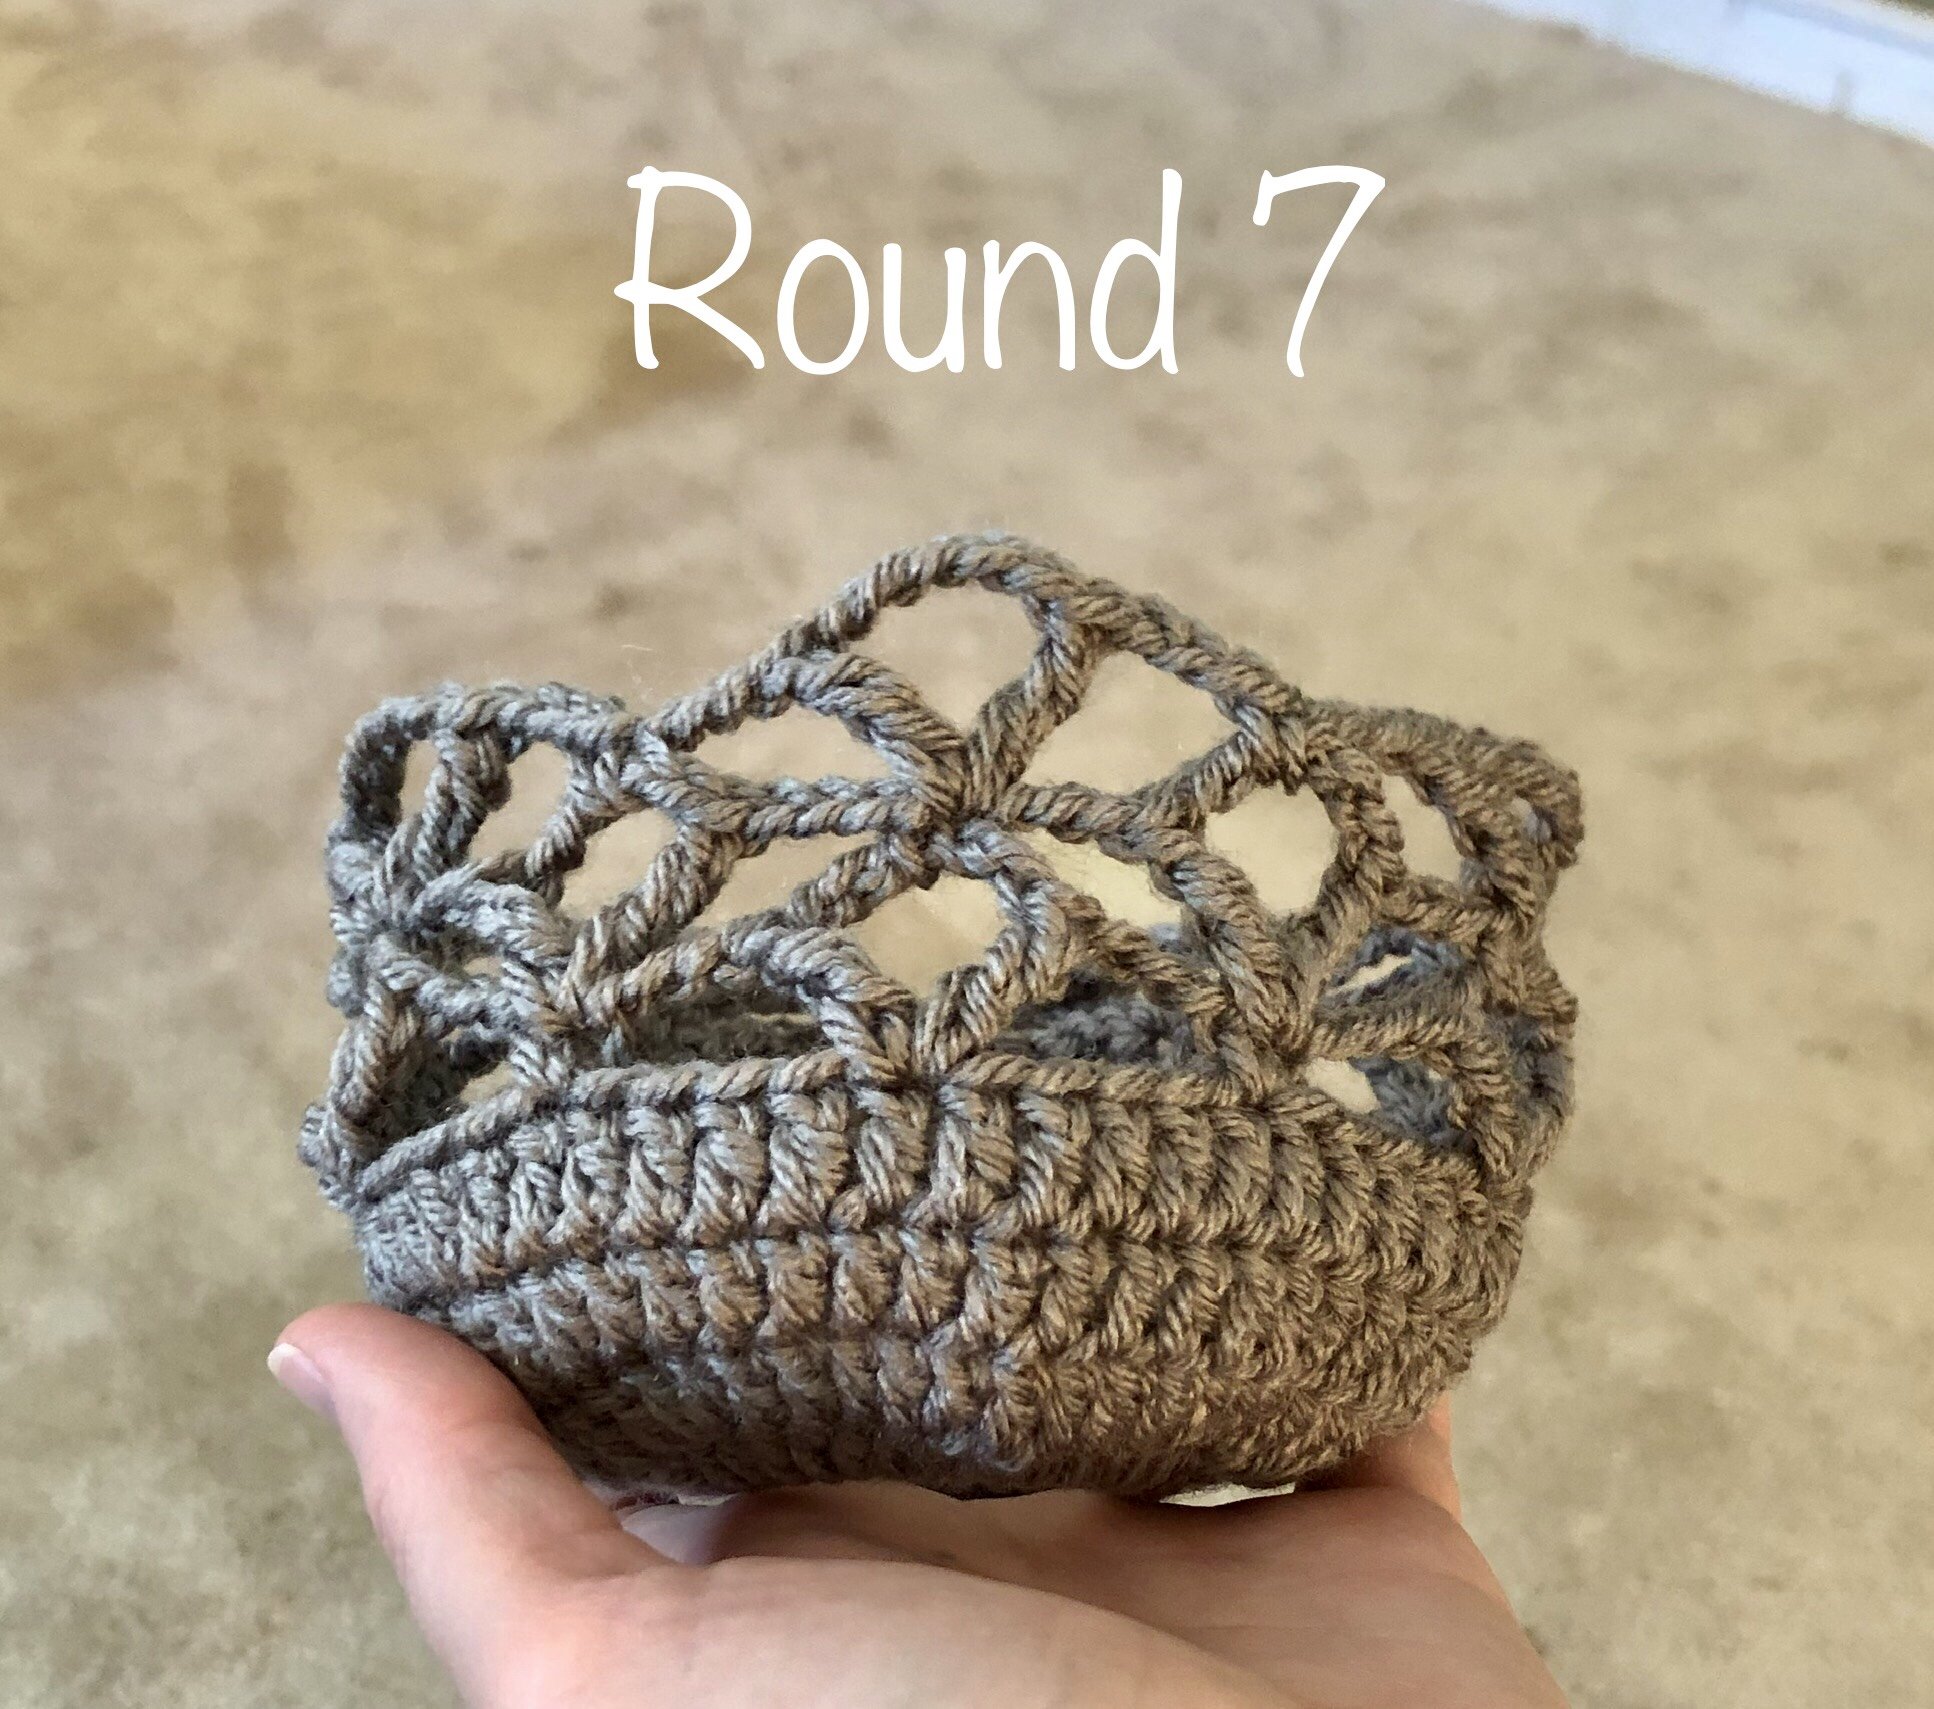
Round 7: Ch 9 (counts as 1 Tr + ch 5), Tr in same st (Vst made), ch 3, sc in ch sp of next Vst, ch 3, * Vst in next sc, ch 3, sc in ch sp of next Vst, ch 3; rep from * to end. Join with a sl st in 4th ch of beg ch 9, sl st in next 2 chs of beg ch 9. [5 Vsts, 5 sc, 10 ch 3-sps] (see photo below)
Rounds 8-24: Rep rounds 6-7, ending on a round 6 rep.
Round 25: Ch 1, * sc in next sc, 2 sc in next ch sp, sc in next Tr, 3 sc in ch-5 sp, sc in next Tr, 2 sc in next ch sp; rep from * to end. Join with a sl st in first sc. [50 sc]
Rounds 26-27: Ch 1, hdc in each st to end. Join with a sl st in first hdc. [50 hdc]
Round 28: Ch 1, hdc in each st to end, ch 12, sl st in top of last hdc made to create a loop. Join with a sl st in first hdc. [50 hdc, 1 ch-12 sp]
Round 29: Ch 1, sc in each st until ch-12 sp, 12 sc in ch sp. Join with a sl st in first sc. FO, leaving a long 6”-8” tail. [62 sc]
Take long tail and wrap around the base of the ch 12 loop to further secure. Weave in tail and cut off excess. Weave in beginning tail.
Add beaded tassel
1) Using your 4" piece of cardboard, wrap your yarn approx. 15-20 times and cut bottoms to create tassel tails. Set aside.
2) Cut another piece of yarn approx. 12" long. Count from ch 12 loop to the 25th st of round 26. Using the Larks knot, attach 12" strand to st 25. (You want it to be centered to the front. The ch-12 loop is the back of the project.)
3) Grab a tiny hook small enough to put your 20 mm bead on and draw those ends through the bead. Push the bead upwards to the top.
4) Open the ends below the bead. Grab your tassel tails and place them in the middle of those strands to tie around the tassel tails to secure.
5) Cut another length of yarn approx. 6" in length and use the Gathering knot to secure tassel tails in place, approx. 1" below the bead. Cut the bottom of the tassel tails so that the ends are even.
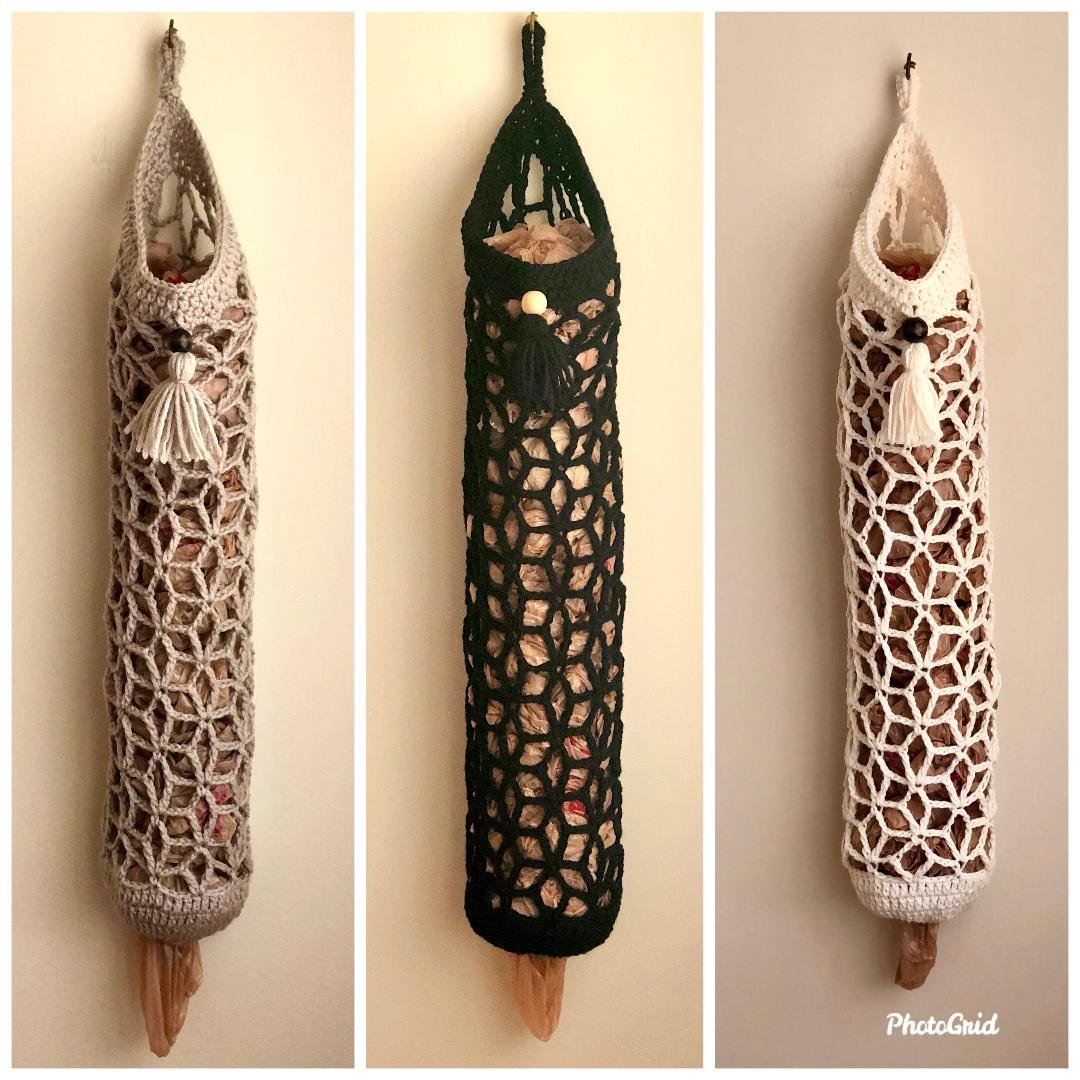
Your Boho Bag Saver is complete! I would love to see your finished work! If you want to tag me on IG, I’m @dayscrochetnc. You could also use the tags #bohobagsaver, #bohogrocerybagholder, #thebohobagsaver––you get the idea! I can’t wait to see your projects! If you would like to see other versions that I will be making after this publication, be sure to check me out on IG!
If you are not a part of my Facebook Group Crochet For Days, we would love to have you! We have a lot of fun! Follow this link to request to join, and be sure to answer the questions.
Please note that you do not have my permission to sell, illegally share, translate, copy, or duplicate this pattern or my photos in any way. Please do not use this pattern for a video, blog, or class tutorial. Thank you so much for following these simple rules! Please message me on Facebook or send me an email at dayscrochetnc@gmail.com with any questions.
What did you think of this project? Let me know in the comments!
Happy hooking!
~Dana
