
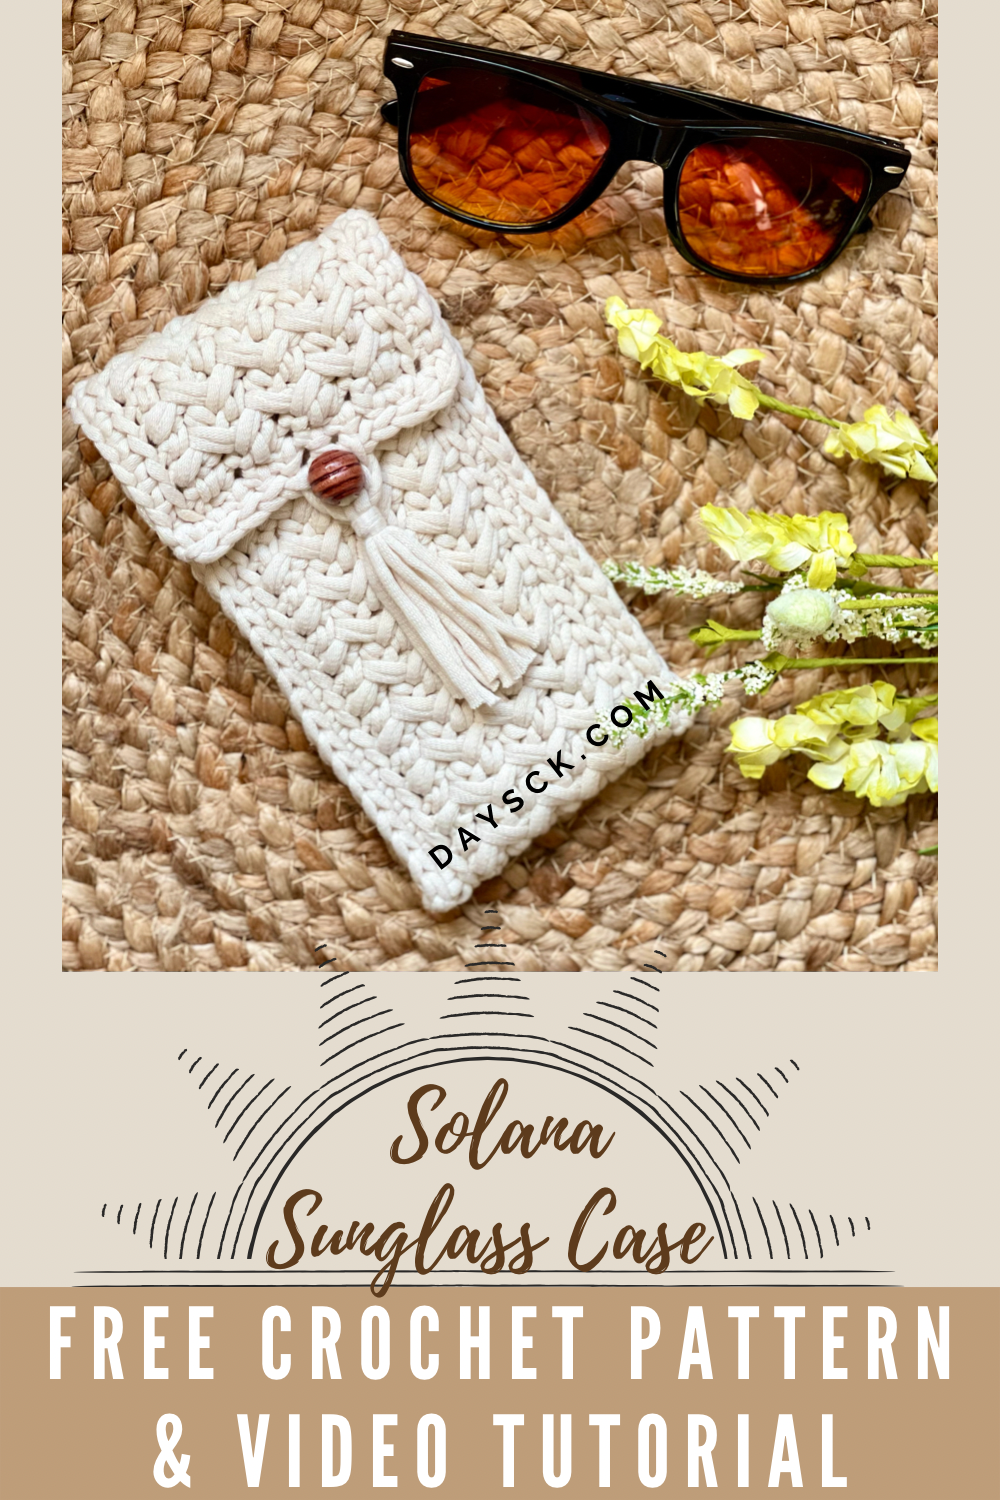
Solana Sunglass Case
PIN it here!
I’m still gearing up for Teacher Appreciation Week, which is just around the corner!
As I mentioned in my last post, I have been racking my brain for some good gifts to crochet to show our teachers how much we appreciate them, and I am really excited about today’s project!
This post may contain affiliate links that help me to continue to post free content. To skip the ads and have a printable pdf, you can find this pattern for relatively little cost in both my Etsy and Ravelry shops.
This project excites me because I played around with some spike stitches and came upon a stitch pattern that I haven’t been seeing people use and I decided to use this project to teach how to use the stitch pattern. It is SO easy once you get the hang of it and it truly makes one of the most gorgeous stitch patterns I’ve ever seen.

I’ve not seen not one tutorial out there for this stitch pattern (although I am sure I am not the first person to use it), so I decided to create a tutorial for it and make a small project using the stitch pattern.
I decided to dub this stitch pattern the Woven Twill stitch. If you have ever admired beautifully woven baskets, you have probably seen a basket using a similar pattern (called “twill”). I decided it would be a perfect name for such a beautiful stitch pattern.
The cool thing about this stitch pattern is that it uses the most basic stitches out there and can actually be made using ALL single crochet stitches or alternating singles and half doubles. You know me—I love versatility! I decided to make this sunglass case by alternating singles and half doubles, but it is actually easier to use all singles.
Of course I have dreamed up all kinds of different projects that this stitch pattern can be used in. It makes a very dense crochet fabric that also has a bit of stretch, making it ideal for almost anything you can come up with.
I am using Bernat Home Maker Dec Yarn for this project, but you could realistically double up worsted weight cotton, or even acrylic (just note that acrylic may become stretched or misshapen over time). I have also recently discovered that Lion Brand came out with a comparable yarn to Bernat Maker called Lazy Days. It is a thinner yarn, however, so you may have to double up your strands to meet gauge. The colors are gorgeous, too!
I have also tried alternating colors every other row, but of course that would be a lot of tails to weave in at the end of your project, so I don’t know if I would have the stamina to make a larger project with alternating colors. The best bet would be an ombre color-changing yarn or a striping yarn.
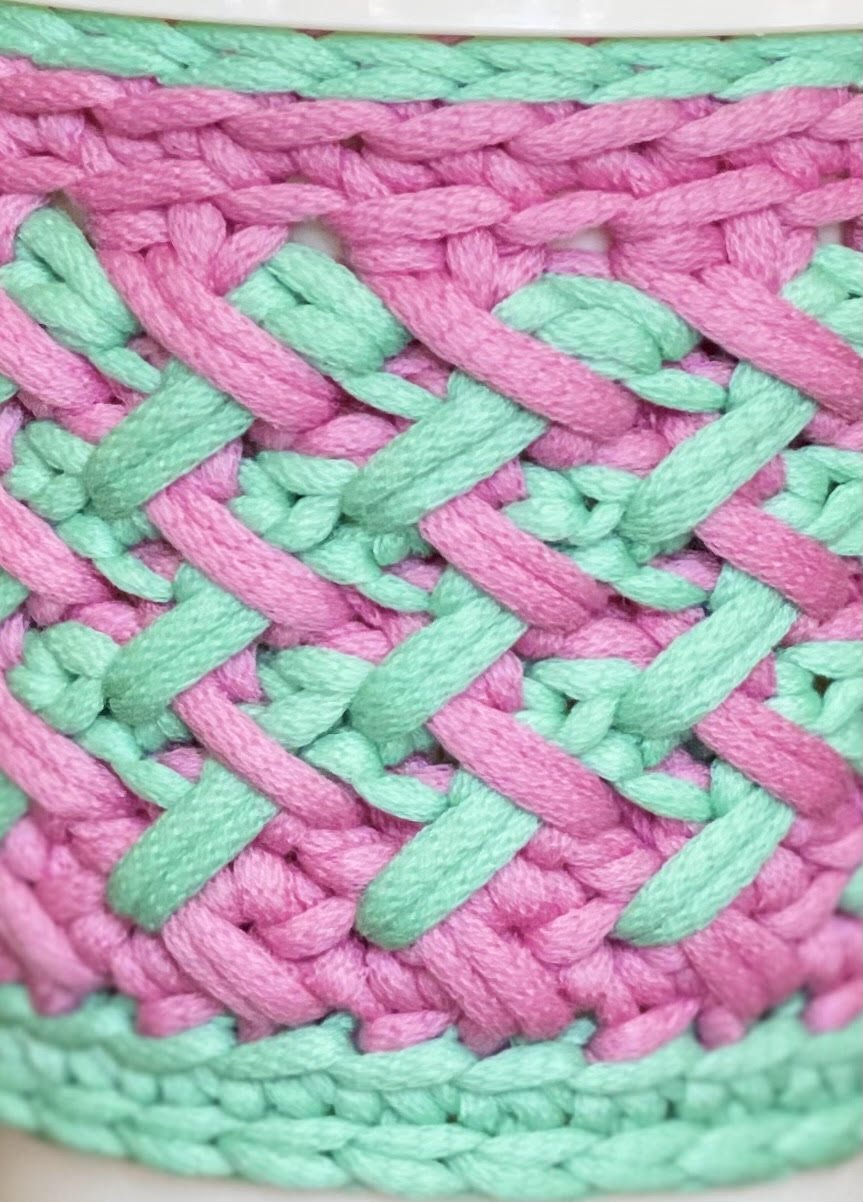
Pictured is a yarn that has been discontinued that is comparable to Bernat Home Maker yarn.
As you can see, changing colors makes a gorgeous crochet fabric! Again, it creates a lot of tails to weave in (in the row, anyways).
You may be wondering how I am turning a sunglass case into a teacher appreciation gift. As I was making the case, I got the bright idea (pun intended, haha!) to make a printable card that you can insert into the sunglass case to thank your teacher with.

Pictured is an example of the insert, but if you want to print it off, click here. I designed it so there are multiple on one page (in case you need more than one) to save on paper. I do recommend printing on card stock or a thick paper so it is strong enough to insert into the case.
Enough of my rambling! Let’s make it!
Supplies Needed
-Approx. 115-125 yds of Bernat Maker Dec yarn, or a comparable size 5 yarn (you can also double worsted weight cotton)
-Size J 6.0 mm hook, or size needed to obtain gauge
-14 mm wooden bead or button
-Scissors, tape measure, yarn needle, 2 stitch markers
Terms Used and Abbreviations
Pattern is written in US terminology.
Back Loop Only - BLO
Beginning - beg
Chain(s) - ch(s)
Fasten Off - FO
Front Loop Only - FLO
Half Double Crochet - hdc
Half Double Spike - HDS
Place Marker - PM
Repeat - rep
Right Side - RS
Single Crochet - sc
Skip(ped) - sk
Slip Stitch - sl st
Stitch Marker - SM
Space(s) - sp(s)
Stitch(es) - st(s)
Wrong Side - WS
Yarn Over - YO
Special Stitches
Half Double Spike (HDS): The hdc stitch is made the same, but your hook placement will be different. It is a spike stitch in that you insert your hook 2 rows below where you normally would place your hook, drawing up a tall loop so that it is level with the row you are on. There will be links to a video throughout the pattern to help you visualize this stitch in action.
Invisible Join: Complete your last st as usual. Leaving a longer tail, cut your working yarn. Pull that tail all the way through your last st (without doing the usual ch 1). Thread tail onto a yarn needle. Going under both loops of the indicated st, take the yarn needle from front to back. Insert your needle from top to bottom of the BLO of the st you came out of. Weave in this tail extremely well since you are not making a knot of any kind to secure.
Gauge
13 sc and 12 rows = 4" (10 cm)
Finished Measurements
Empty case measures approx. 7" x 3.75" (18 x 9.5 cm) when buttoned closed and lying flat.
Pattern Notes
-I instruct you to make some of the turning chs loosely. That is because you will be working back into them in the st pattern rows. Be careful that you make them about twice as big as you normally would.
-You can also realistically sub a sc spike st for the HDS sts; I just prefer the look of the hdc. If it is causing you confusion, or if you would like to save a bit of yardage, you can make your spike sts using sc sts instead of hdc.
Instructions
Case is made in the row in one piece and folded/joined in a specific manner.
Row 1: Ch 57, sc in 2nd ch from hook and in each st across. [56 sc]
Row 2: Ch 1, turn, working in the FLO sc in each st across. [56 sc FLO]
Row 3: Ch 1 loosely, turn, sc in first st, sk next st, sc, HDS 2 rows below st you just sk, * sk next open st, sc, HDS 2 rows below st you just sk; rep from * across, sk last st, sc in turning ch below. [56 sts] For help with this row, see my video.


Row 4: Ch 1 loosely, turn, sc in first st, sk next st, sc, HDS in top of sk sc 2 rows below, * sk next open st, sc, HDS in top of sk sc 2 rows below; rep from * across, sk last st, sc in turning ch below. [56 sts] For help with this row, see my video.

Rows 5- 9: Rep row 4.
Row 10: Ch 1, turn, working in the FLO sc in each st across. [56 sc FLO]
Row 11: Ch 1, turn so you are working along the side of your rows, sc in each row across. Sl st in top of corner st to smooth out corner. [10 sc] For help with this row, see my video.
Row 12: Ch 1, turn, loosely sl st in first 5 sc, ch 4 (buttonhole made), loosely sl st in last 5 sc. [10 sl sts, 1 ch-4 sp]
FO using Invisible Join and weave in all tails. Piece should measure approx. 16.5" x 3.3" (42 x 8 cm). To visualize the Invisible Join, see my video.
Assembly
Side of ribbing (where you worked sts in FLO) is considered the RS of your work. To visualize this process, see my video.
1) Turn your piece WS facing up. At end of buttonhole, count down 11 sts from one side.
2) Fold bottom up to meet 11th st and PM through both layers in the 11th st and bottommost st of piece on the same side. Mark same sts through both layers on opposite side.
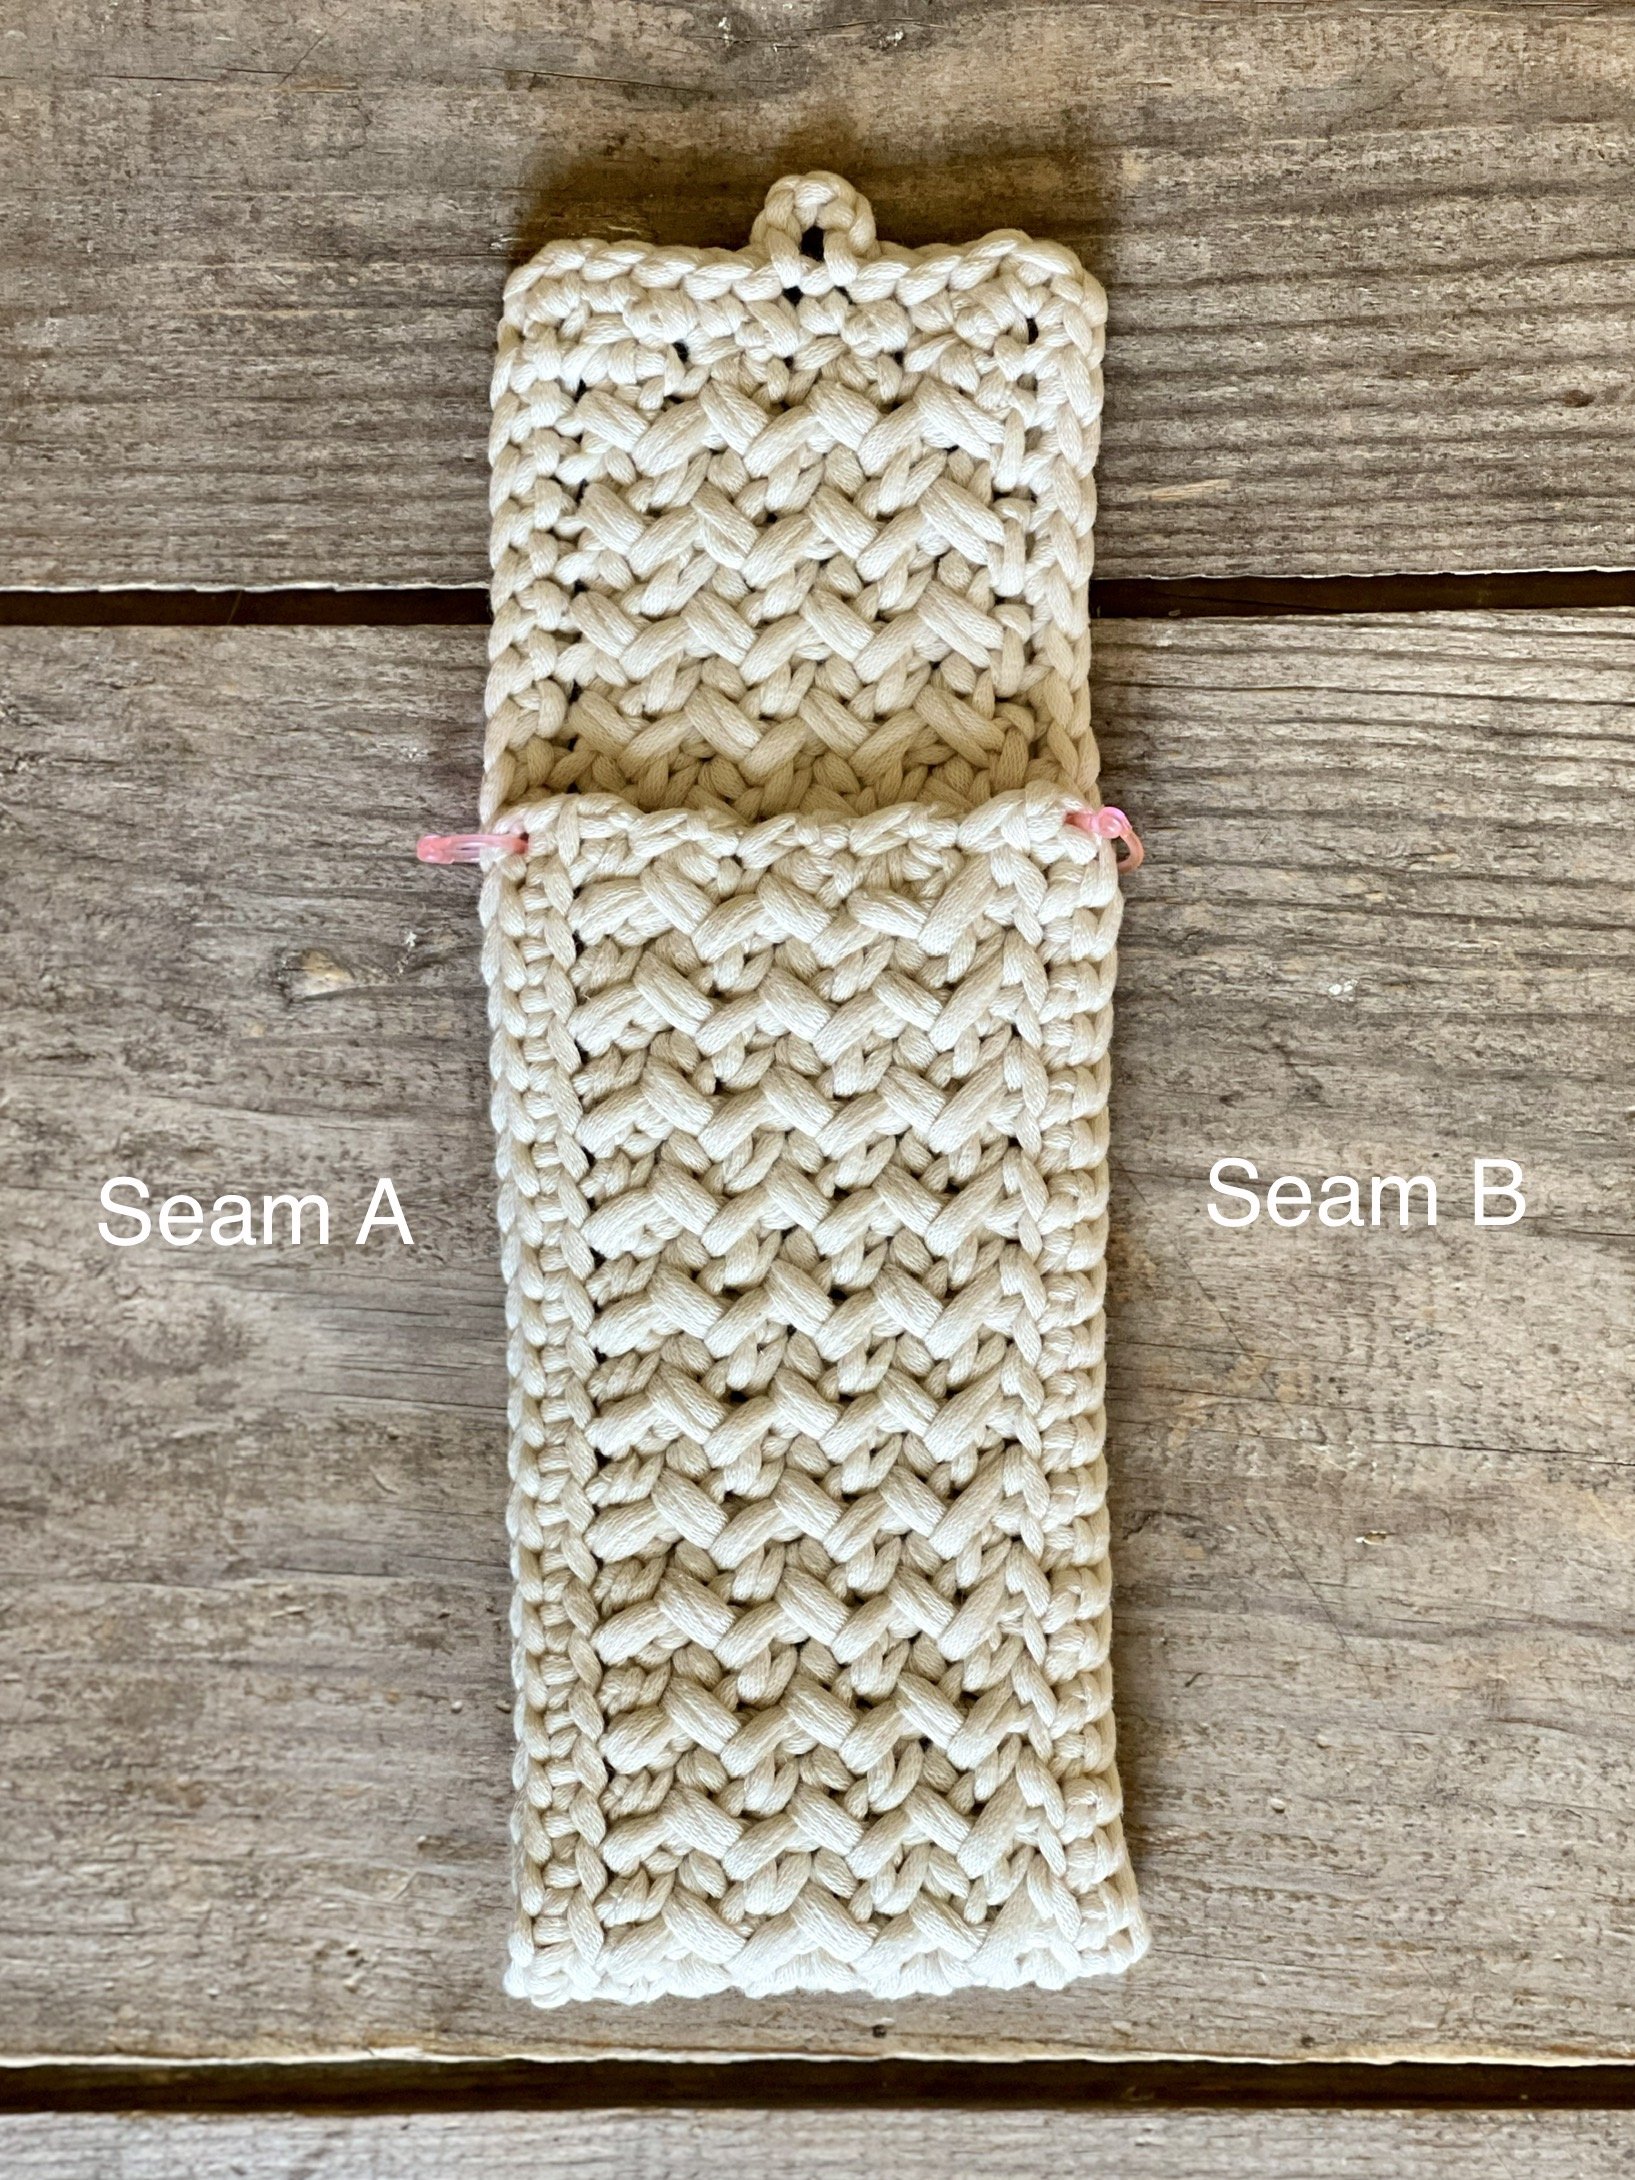
3) Carefully line up sts on side of seam B so they are not crooked. Starting at the bottom corner, loosely sl st through both layers until you reach the SM.

4) Ch 1, turn and work along the front edge of the case, sc in each row across until you reach the other SM. [10 sc]
5) Ch 1, turn so that you are working along Seam A. Loosely sl st through both layers to the bottom. FO and weave in all tails.

Add a tassel (optional)
1) Using your fingers or cardboard that is 4" (10 cm) wide wrap your yarn 5 times and cut bottoms to create tassel tails.
2) Take one end of all tails through buttonhole and make ends even.
3) Cut a length of yarn approx. 5" (13 cm) long and use the Gathering knot just below the buttonhole and around the tassel tails to secure in place. Cut tassel ends evenly. Add button/bead in center front of case at desired level. To visualize this process, see my video.
Finish (optional)
If your front flap seems a bit too small in width, you can add a short round of sl sts along the front. Loosely sl st in each st around to the other side. When you get to the buttonhole, simply sl st into the 2 sc sts below and not into the ch-4 loop. To visualize this, see my video.

Your Solana Sunglass Case is complete! I would love to see your finished work! If you want to tag me on IG, I’m @dayscrochetnc. You could also follow the hashtag #solanasunglasscase to follow what others are making. I can’t wait to see your projects! If you would like to see other versions that I will be making after this publication, be sure to check me out on IG!

Please note that you do not have my permission to sell, translate, illegally share, copy, or duplicate this pattern or my photos in any way. Please do not use this pattern for a video, blog, or class tutorial. Thank you so much for following these simple rules! Please message me on Facebook or send me an email at dayscrochetnc@gmail.com with any questions.
Come join my Facebook group, Crochet for Days! We have a lot of fun and I often offer discounts and coupon codes to my members that I don’t offer anywhere else! Request to join and answer the questions by following this link.
Did you enjoy learning the Woven Twill stitch? Let me know how you plan to use it in the comments!
Happy hooking!
~Dana