
The Fleetwood Bag
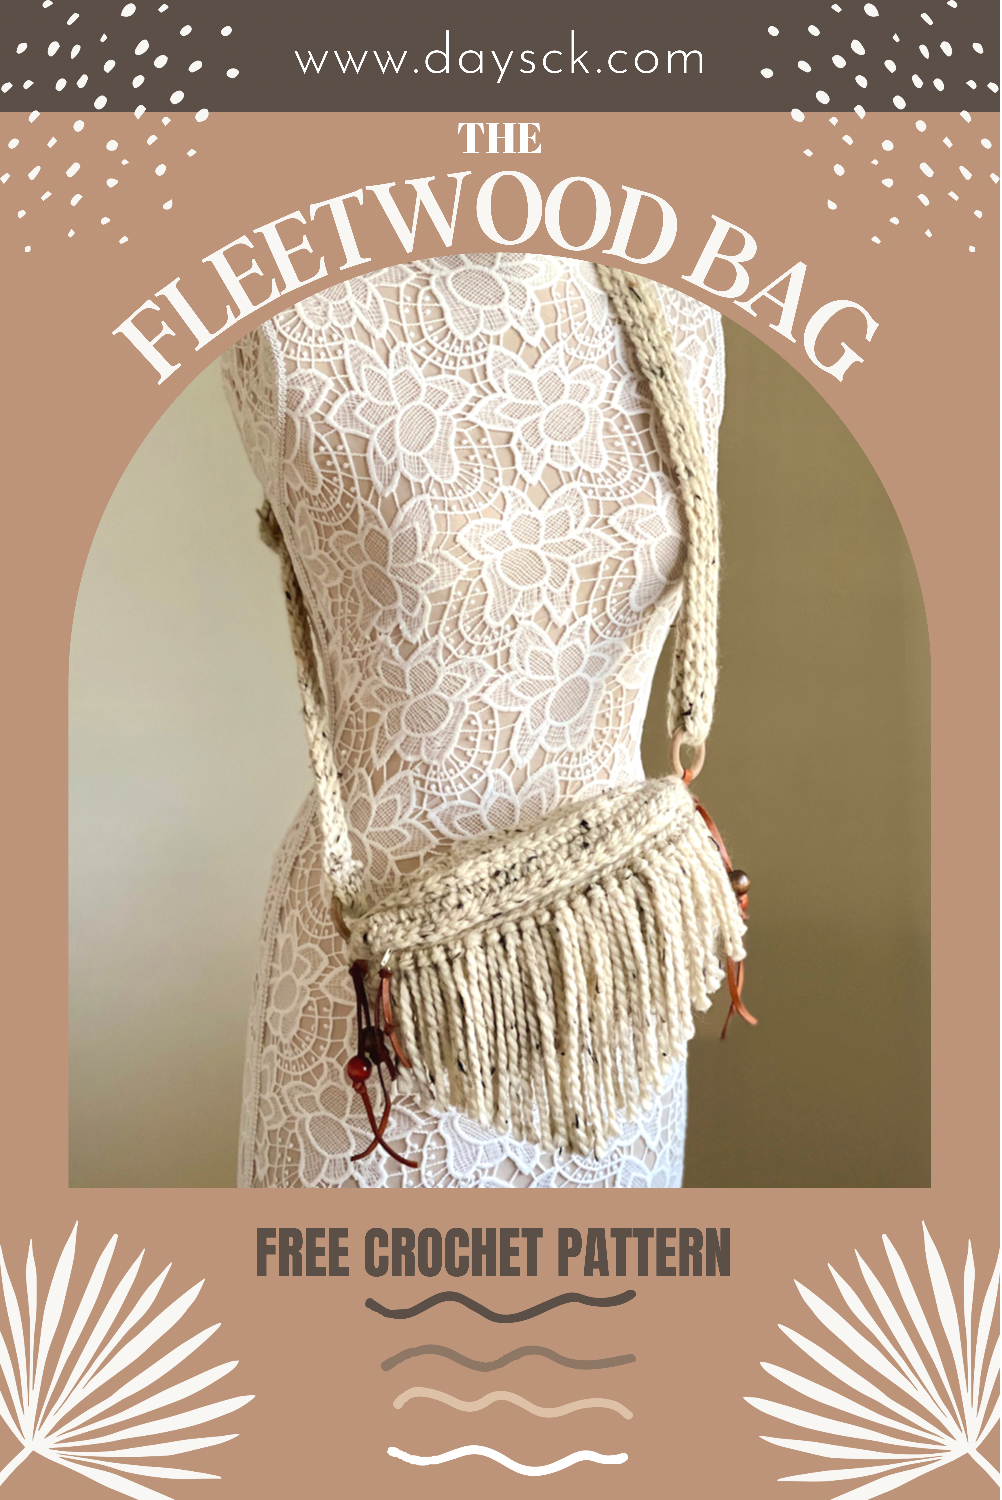
This adorable cross body bag is a boho twist to my Amaryllis Bag. It would be perfect to wear to a festival or with any cute boho outfit. It works up relatively quickly, making it a great seller for vendor markets.
This post may contain affiliate links that help me to continue to post free content. To skip the ads and have a printable pdf of this pattern, you can find it in both my Etsy and Ravelry shops.
If you know me at all, you know I love the boho style. I usually incorporate some beads, fringe or both in all my patterns. The Amaryllis Bag was more of a sophisticated, elegant bag, but I knew I HAD to make one with some fringe! Boho bags are my first love (as I have designed several), and I have found that many of my customers love them as well.
If you read my blog post about my best sellers in the warmer months, you may remember I spoke about my show-stopper, the Desert Willow Bag (pictured below). That bag is THE bag that draws customers into my booth at vendor markets. I designed this bag with that in mind. Anything with fringe, leather, beads, etc. causes so many people to stop in their tracks and come into my booth. They may not buy the bag, but they usually buy something, and I consider that a WIN.
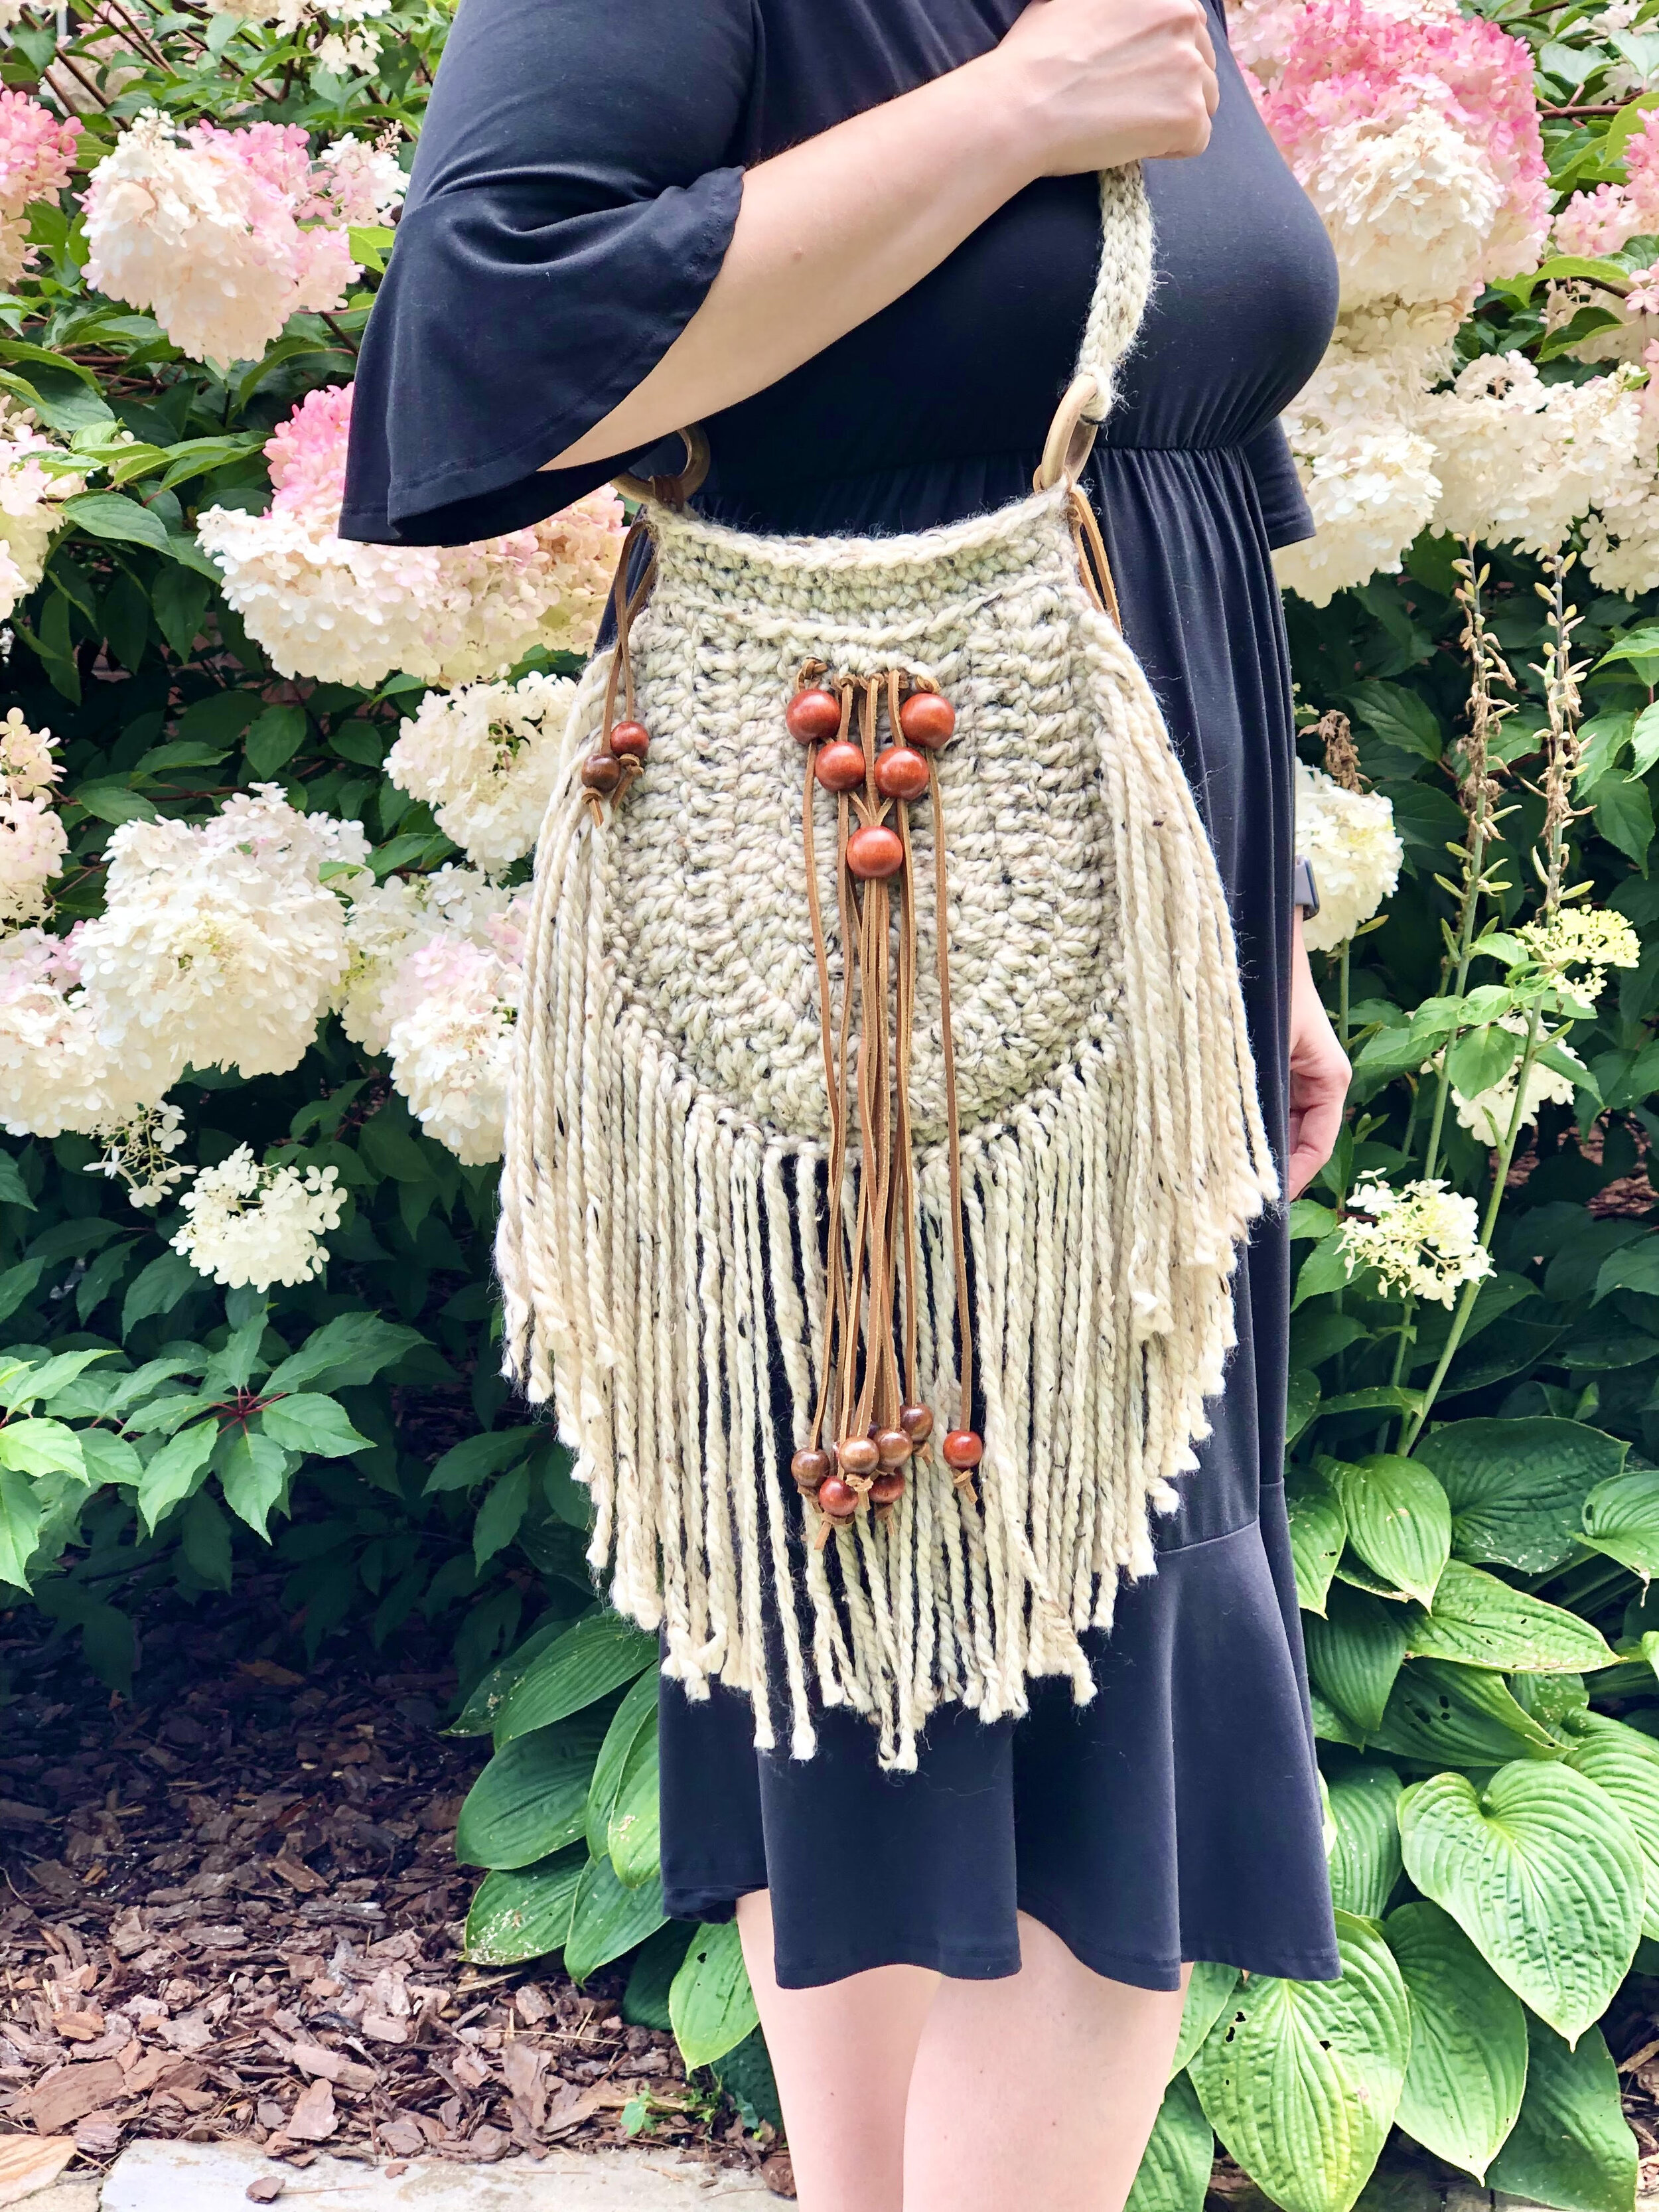
The bag itself is worked up in the same fashion as the Amaryllis Bag, in that you first work a back panel and then use my join-as-you-go method to add the front piece (so the only sewing is the zipper— WOOT!) It works up fairly quickly and doesn’t require any lining (BONUS!), and one of my testers even made it without the zipper, adding a button. I think there is ample room to add your own flair in this pattern, and I can’t wait to see what you come up with!
Let’s do this!
Supplies Needed:
-Approx. 150-200 yds. of any size 6 super bulky weight yarn (my favorite is Lion Brand Woolease Thick and Quick)
-A size N 10.0 mm hook
-A 14" zipper to match the color of your yarn
-sewing needle and clear nylon thread (or thread to match your zipper)
-2 wooden rings, size 1.5" or 2"
-4 wooden beads, size 18-20 mm
-Approx. 3 yds of leather cording/lace (I have found a great selection at Hobby Lobby in their jewelry making aisle)
-Scissors, tape measure, stitch markers
Terms Used and Abbreviations:
Pattern is written in US terminology.
Begin(ning) - beg
Chain - ch
Fasten Off - FO
Half Double Crochet – hdc
Magic Ring - MR
Place Marker – PM
Repeat – rep
Right Side - RS
Single Crochet – sc
Skip - sk
Slip Stitch - sl st
Stitch Marker - SM
Stitch(es) - st(s)
Yarn Over – YO
Wrong Side - WS
Special Stitches:
Waistcoat St - Not abbreviated. The sc sts are worked the same, only you will need to place your hook in between the 2 vertical bars of the st that make the appearance of a “V”. Using this st pattern is necessary so that the back panel is sturdy and there are no holes big enough for anything to fall through. To see this st in full detail, see my YouTube video.
Gauge:
Rounds 1-4 of the back panel should measure approx. 3.5” in diameter.
Finished Measurements:
Finished bag should measure approx. 11” x 8.25” when measured empty and lying flat.
Instructions:
Bag is made in both the continuous round and in the row. The back panel is made first in the continuous round, then the front detail is joined to the back panel as you make it row-by-row.
Back Panel
This back panel is made using a slightly advanced technique. You will need to watch my YouTube video to understand how to work it, since I cannot determine the best way to verbalize it so that you will understand.
Round 1: Ch 2 (or make a MR), 6 sc in 2nd ch from hook. Make invisible join as shown in video. [6 sc]
Round 2: Using the Waistcoat St (see special sts) for the remainder of the back panel, 2 sc in every st around. Make invisible join. [12 sc]
Round 3: {2 sc in next st, 1 sc in next} rep brackets a total of 6 times. Make invisible join. [18 sc]
Round 4: {2 sc in next st, 1 sc in next 2 sts} rep brackets a total of 6 times. Make invisible join. [24 sc]
Gauge Check:
The diameter of your piece should measure approx. 3.5”.
Round 5: {2 sc in next st, 1 sc in next 3 sts} rep brackets a total of 6 times. Make invisible join. [30 sc]
Round 6: {2 sc in next st, 1 sc in next 4 sts} rep brackets a total of 6 times. Make invisible join. [36 sc]
Round 7: {2 sc in next st, 1 sc in next 5 sts} rep brackets a total of 6 times. Make invisible join. [42 sc]
Round 8: {2 sc in next st, 1 sc in next 6 sts} rep brackets a total of 6 times. Make invisible join. [48 sc]
Round 9: {2 sc in next st, 1 sc in next 7 sts} rep brackets a total of 6 times. Make invisible join. [54 sc]
Round 10: {2 sc in next st, 1 sc in next 8 sts} rep brackets a total of 6 times. Make invisible join. [60 sc]
Round 11: {2 sc in next st, 1 sc in next 9 sts} rep brackets a total of 6 times. Make invisible join. [66 sc]
Place your markers
Grab 4 more SM. Mark the 11th st from current SM. Mark the 11th st from that SM. Mark the 22nd st from that SM. Mark the 11th st from that SM.
Round 12: Using the Waistcoat St, sc in every st around, moving the SM as you go. Join with seamless join (as shown in YouTube video) to first sc and FO, weaving in tails and removing the SM that indicated the first st of the round. [66 sc] (I show in explicit detail how to do the invisible join so that it is seamless. See my YouTube video here.
The 22 sts that you marked indicate the top and bottom of your bag, with the 11 sts on each side indicating the sides of your bag.
With the WS of your panel facing you and the 11 marked sts on each side, join with a sl st to bottom right, in the st just above the SM.
Round 13: Loosely sl st in every st around, moving your SM into your sl sts as you go. Join with a sl st in first sl st. [66 sl sts] To visualize this round, see my video here.
Front Panel
You will need to continue making use of your SM as you go along in each row so you don’t accidentally increase or decrease. Be sure to move your SM every row at the beg and end of each row.
Row 1: Turn. Working your sts through the sl sts made in round 13, sk over next sl sts and sc in st with SM and in each st to next SM (and in the st with the SM), sl st into next sl st of back panel to join this row to the back panel. [24 sc]
NOTE: You will notice I do not instruct you to make any beg chs in these following rows. That is because you will be making sl sts into the back panel sts as you go instead. This allows you to join your front rows to your panel as you go rather than making a separate piece to sew on later. Every time you end a row of the front detail, you are going to sl st into the next st of the back panel to join that row. If you are going to continue on and make another row, you will need to sl st into the next sl st of the back panel instead of ch 1 to turn. The sl st you make prior to starting a new row will take the place of your beg ch 1.
Row 2: Sl st into next sl st of back panel, turn, sk 2 sl sts just made, hdc in each st across, sl st into next sl st of back panel. [24 hdc]
Row 3: Sl st into next sl st of back panel, turn, sk 2 sl sts just made, hdc across, sl st into next sl st of back panel. [24 hdc]
Rows 4-9: Rep row 3.
Begin Top Flap
By now you should have reached the next set of SM that indicates the top portion of the bag. With the RS of the bag facing you, you should be at the SM on the top left.
Row 10: NOTE: Remove the last sl st you made to join Row 9 to the back panel. Sc in next st with SM and in each sl st of back panel to next SM (make sure you also sc into st with SM on opposite side), sl st in last hdc st of Row 9 to join. [24 sc]
Row 11: Ch 1, turn, sk first st and sl st into next st. Ch 1, hdc in same st and across to next SM. Leave last marked st unworked. [22 hdc]
FO and weave in tails.
Sew your zipper in, lining the teeth up with the top of rows 9 and 11. See my YouTube video for how to add your zipper to this bag here.
Make your strap
This technique is much easier when visualized. See my YouTube video here:
1) Leaving a long tail for sewing purposes later, cast on 4 sts onto your hook as if you were knitting.
2) YO, draw through all 4 loops on your hook.
3) Gently pull apart next 2 sts. Go under the strand you pulled through the bottom sts and add that strand to your hook, going from front to back.
4) Rep step 3 across, until you have 4 loops on your hook.
5) YO, draw through all 4 loops on your hook.
Rep steps 3-5 until your strap measures your desired length (for a cross body bag, you may want it to measure approx. 50", + 2" for sewing around the wooden rings. FO, leaving a long tail for sewing purposes.
Add your rings
(NOTE: You may notice that my rings have a slightly darker color than the natural wood color. That is because I dry brushed the rings using a brown acrylic paint. To do this, simply put an extremely light coat of brown paint on your rings, then immediately wipe them with a damp paper towel. Allow to dry completely before adding them to your strap.)
Using the long tails you left yourself on your strap, sew the strap to the wooden rings as shown in my YouTube video here. Cut 2 strands of leather cording, approx. 12" long. Using the larks knot, add them to the bottom of the wooden rings (one strand per ring).
Thread the leather through the bag body from back to front, at about the level of row 8 near the outer seam. Take both ends together and knot them upon themselves until the knot is flush against the body of the bag. (This is to attach your strap to the bag itself. See photo below.)

Add one bead per strand and knot the strands below the beads to keep them from sliding off. Trim to desired length. (I used 2 different colors and staggered the lengths of the beads so they wouldn’t clank against one another.)
Cut another length of leather approx. 5"-6" long and attach to the zipper pull using the larks knot. Knot off each end and trim to desired look. (See second photo below.) NOTE: I also used a jewelry finding to help attach my leather to my zipper pull. It is basically a tiny keychain. It made it lay a little more relaxed. You can find them in most jewelry making sections at the craft store (I got mine at Walmart).

Add your fringe
Using a piece of cardboard approx. 6"- 8" wide, wrap your yarn about 21 times (you want to put one piece of fringe per st below the zipper. Attach your fringe using the larks knot to the sts of row 9, just below the zipper. I used an odd number so that the there would be a “middle stitch”. I used this middle fringe as a guideline to cut the fringe at an angle or a “V” shape. This is completely optional. I recommend hanging it up and cutting it very carefully so as to not cut your bag. I also recommend using a flat iron on a low heat to straighten your fringe prior to trimming.
Your Fleetwood Bag is complete! I would love to see your finished work! If you want to tag me on IG, I’m @dayscrochetnc. You could also follow the hashtag #fleetwoodbag to follow what others are making. I can’t wait to see your projects! If you would like to see other versions that I will be making after this publication, be sure to check me out on IG!
Please note that you do not have my permission to sell, share, copy, or duplicate this pattern or my photos in any way. Please do not use this pattern for a video, blog, or class tutorial. Thank you so much for following these simple rules! Please message me on Facebook or send me an email at dayscrochetnc@gmail.com with any questions.
Come join my Facebook group, Crochet for Days! We have a lot of fun and I often offer discounts and coupon codes to my members that I don’t offer anywhere else! Request to join and answer the questions by following this link.
Did you like this project? Let me know in the comments!
Happy Hooking!
~Dana