
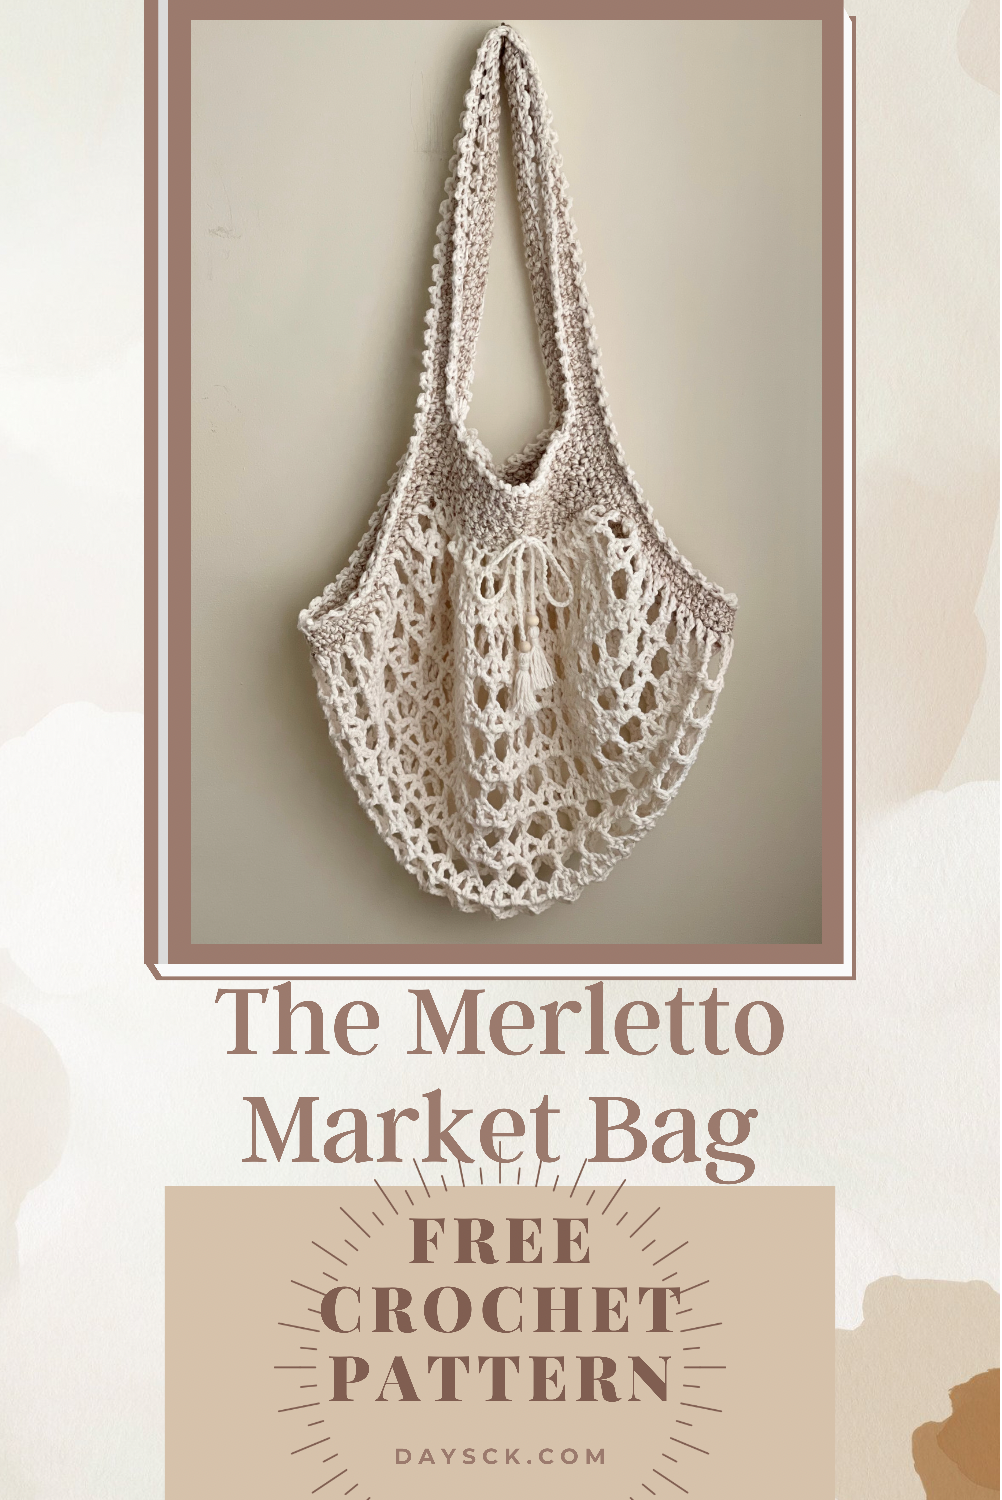
The Merletto Market Bag
PIN it here!
The big reveal is finally here! I hope that you enjoyed the Mystery CAL last week! I know I had loads of fun putting it together. Did you guess the answer to the last riddle in Part 3?

If you guessed “a towel”, you are correct!

The design for this market bag came to me on a whim. Many in my crochet Facebook group had mentioned that they would like for me to design a market bag, so I set out to make one! Most market bags are made in a similar fashion, but I wanted to add a bit of dainty and girly to the design. I hope you love it as much as I do!
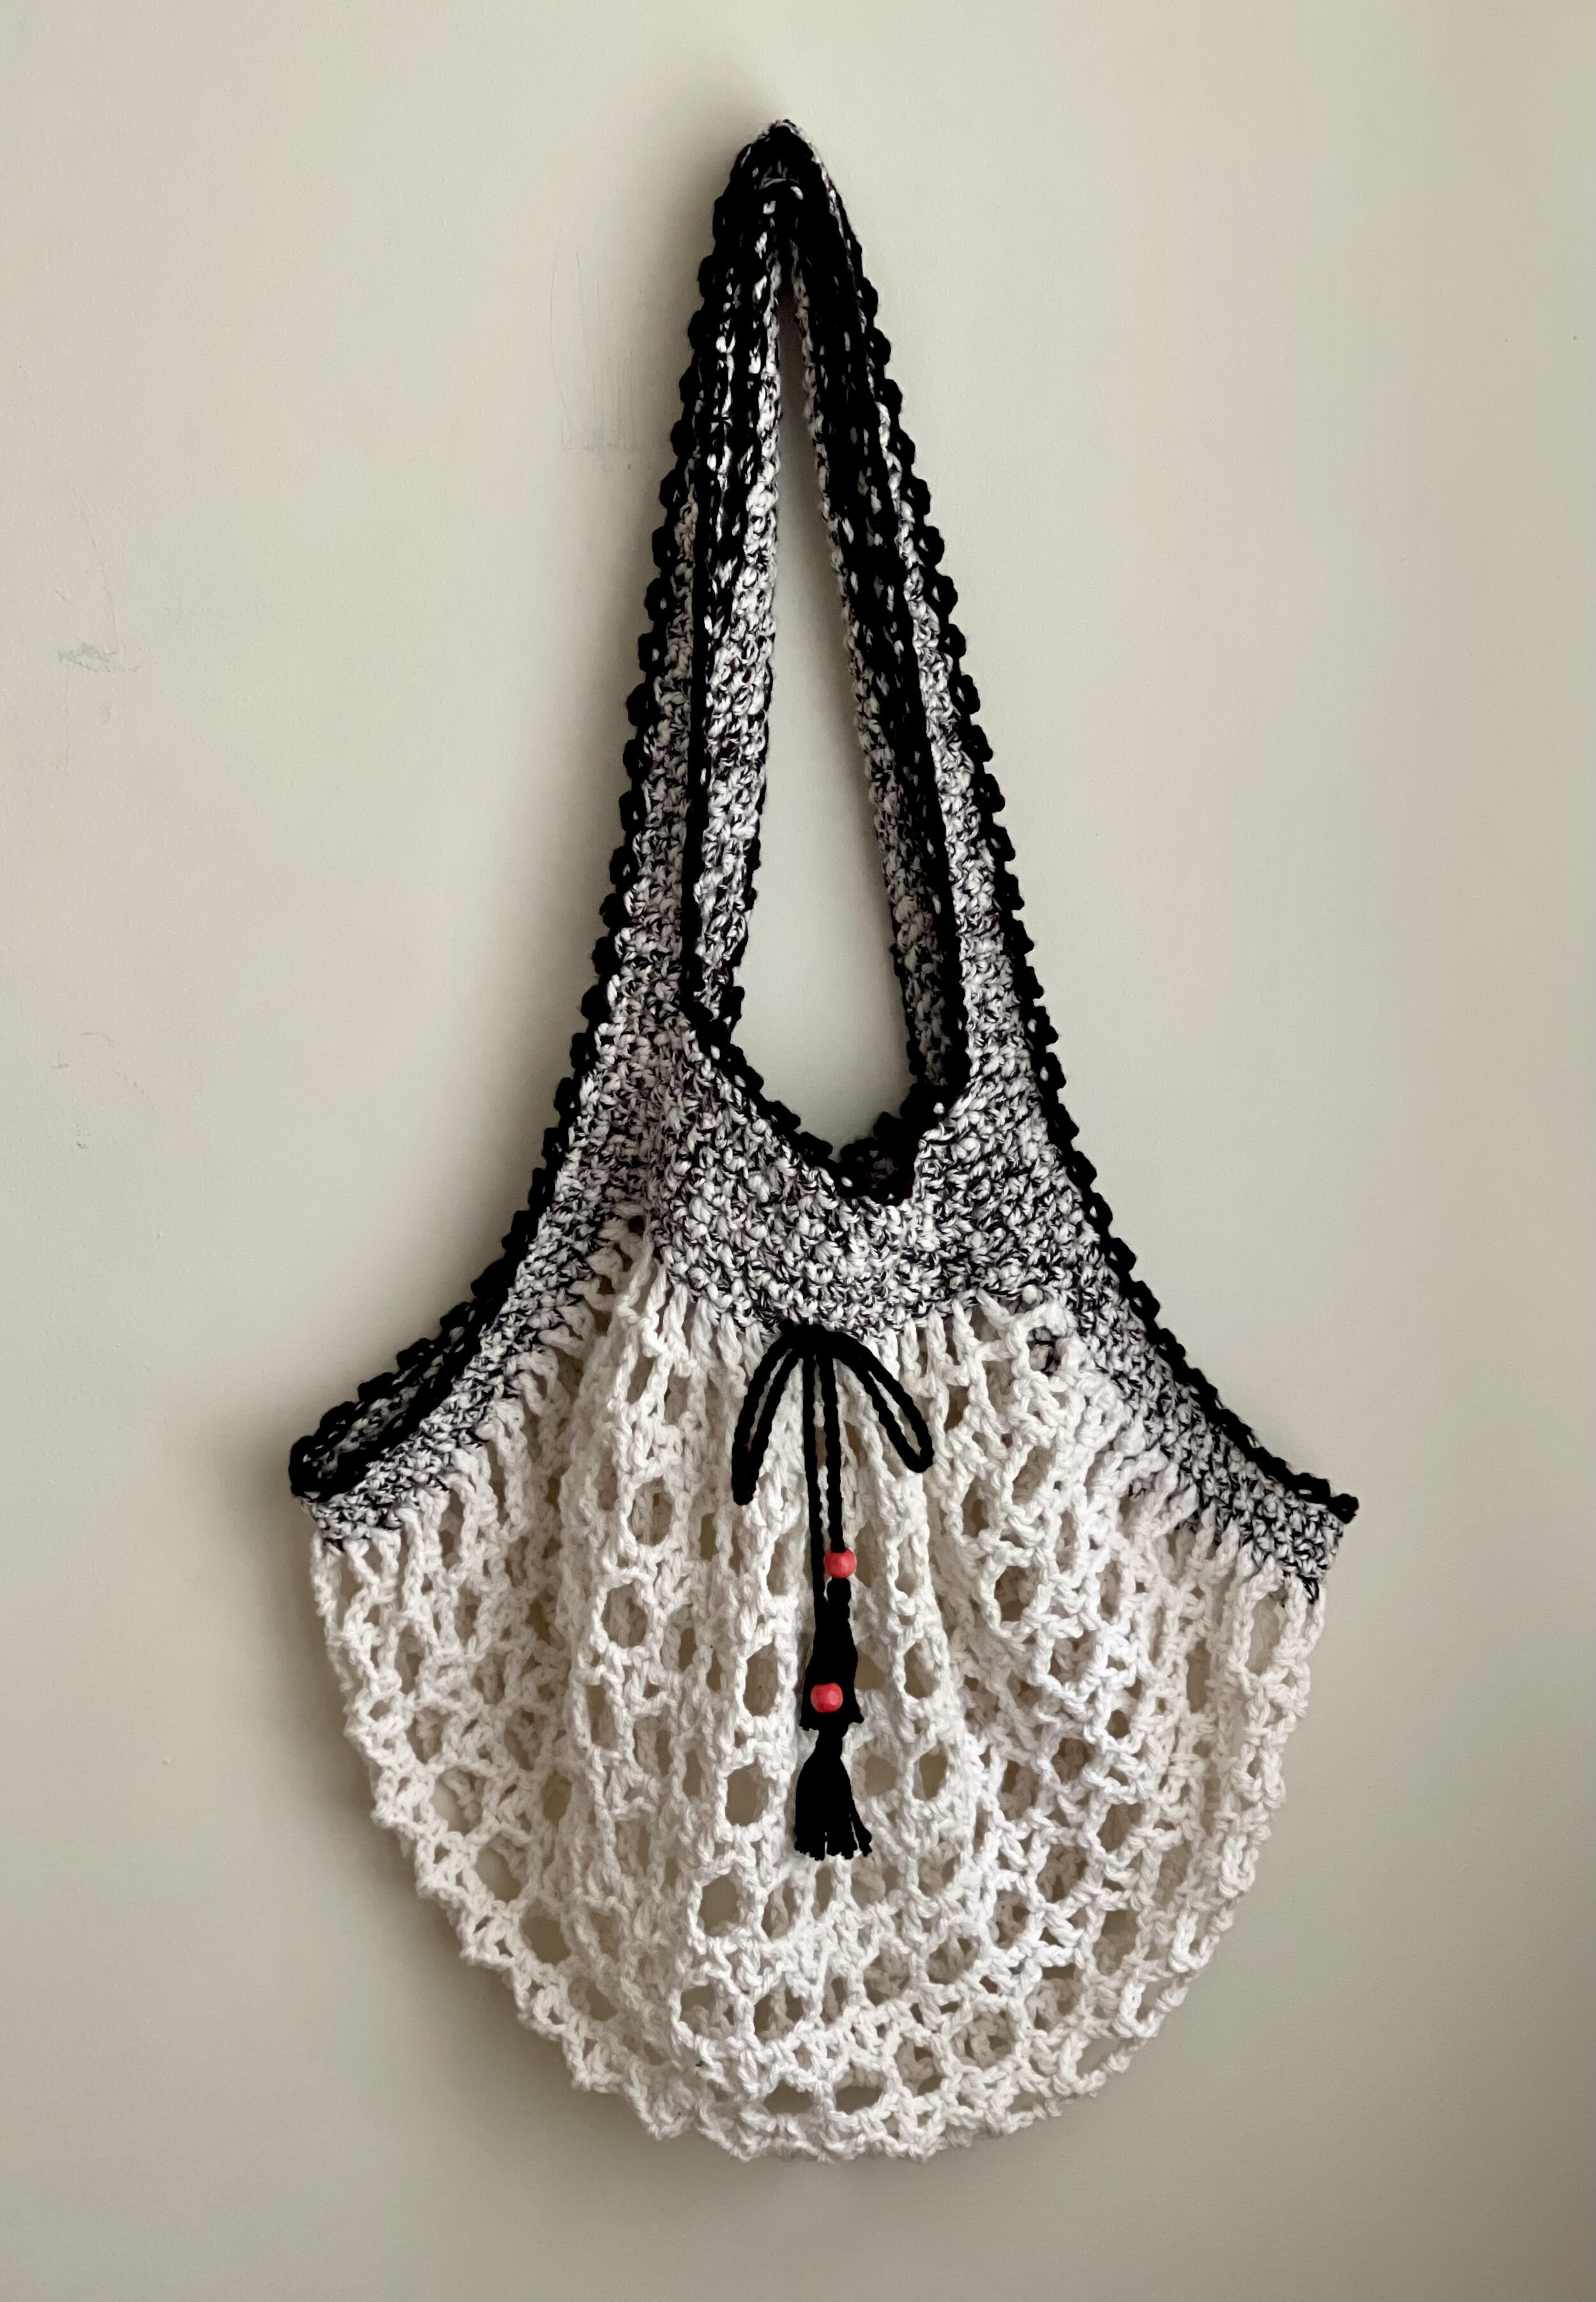
I chose to use Lion Brand’s Twisted Cotton Blend for my contrasting color, but you could realistically use any size 4 worsted weight cotton (solid or variegated) to complement the body of your bag. I really love how soft the Twisted Cotton Blend feels and how it’s a tad bulkier. It also adds a bit of texture with the areas of thickness throughout the strands, which I think adds just the right touch.
I also think this design would allow for you to use at the beach to carry your necessary beach items in, and not just for a market bag. You could also realistically adjust your bag size to be larger by simply adding more repeating rows. One of my testers prefers her market bags to be larger and she added 5 more rows to the bag body. It’s really up to you!
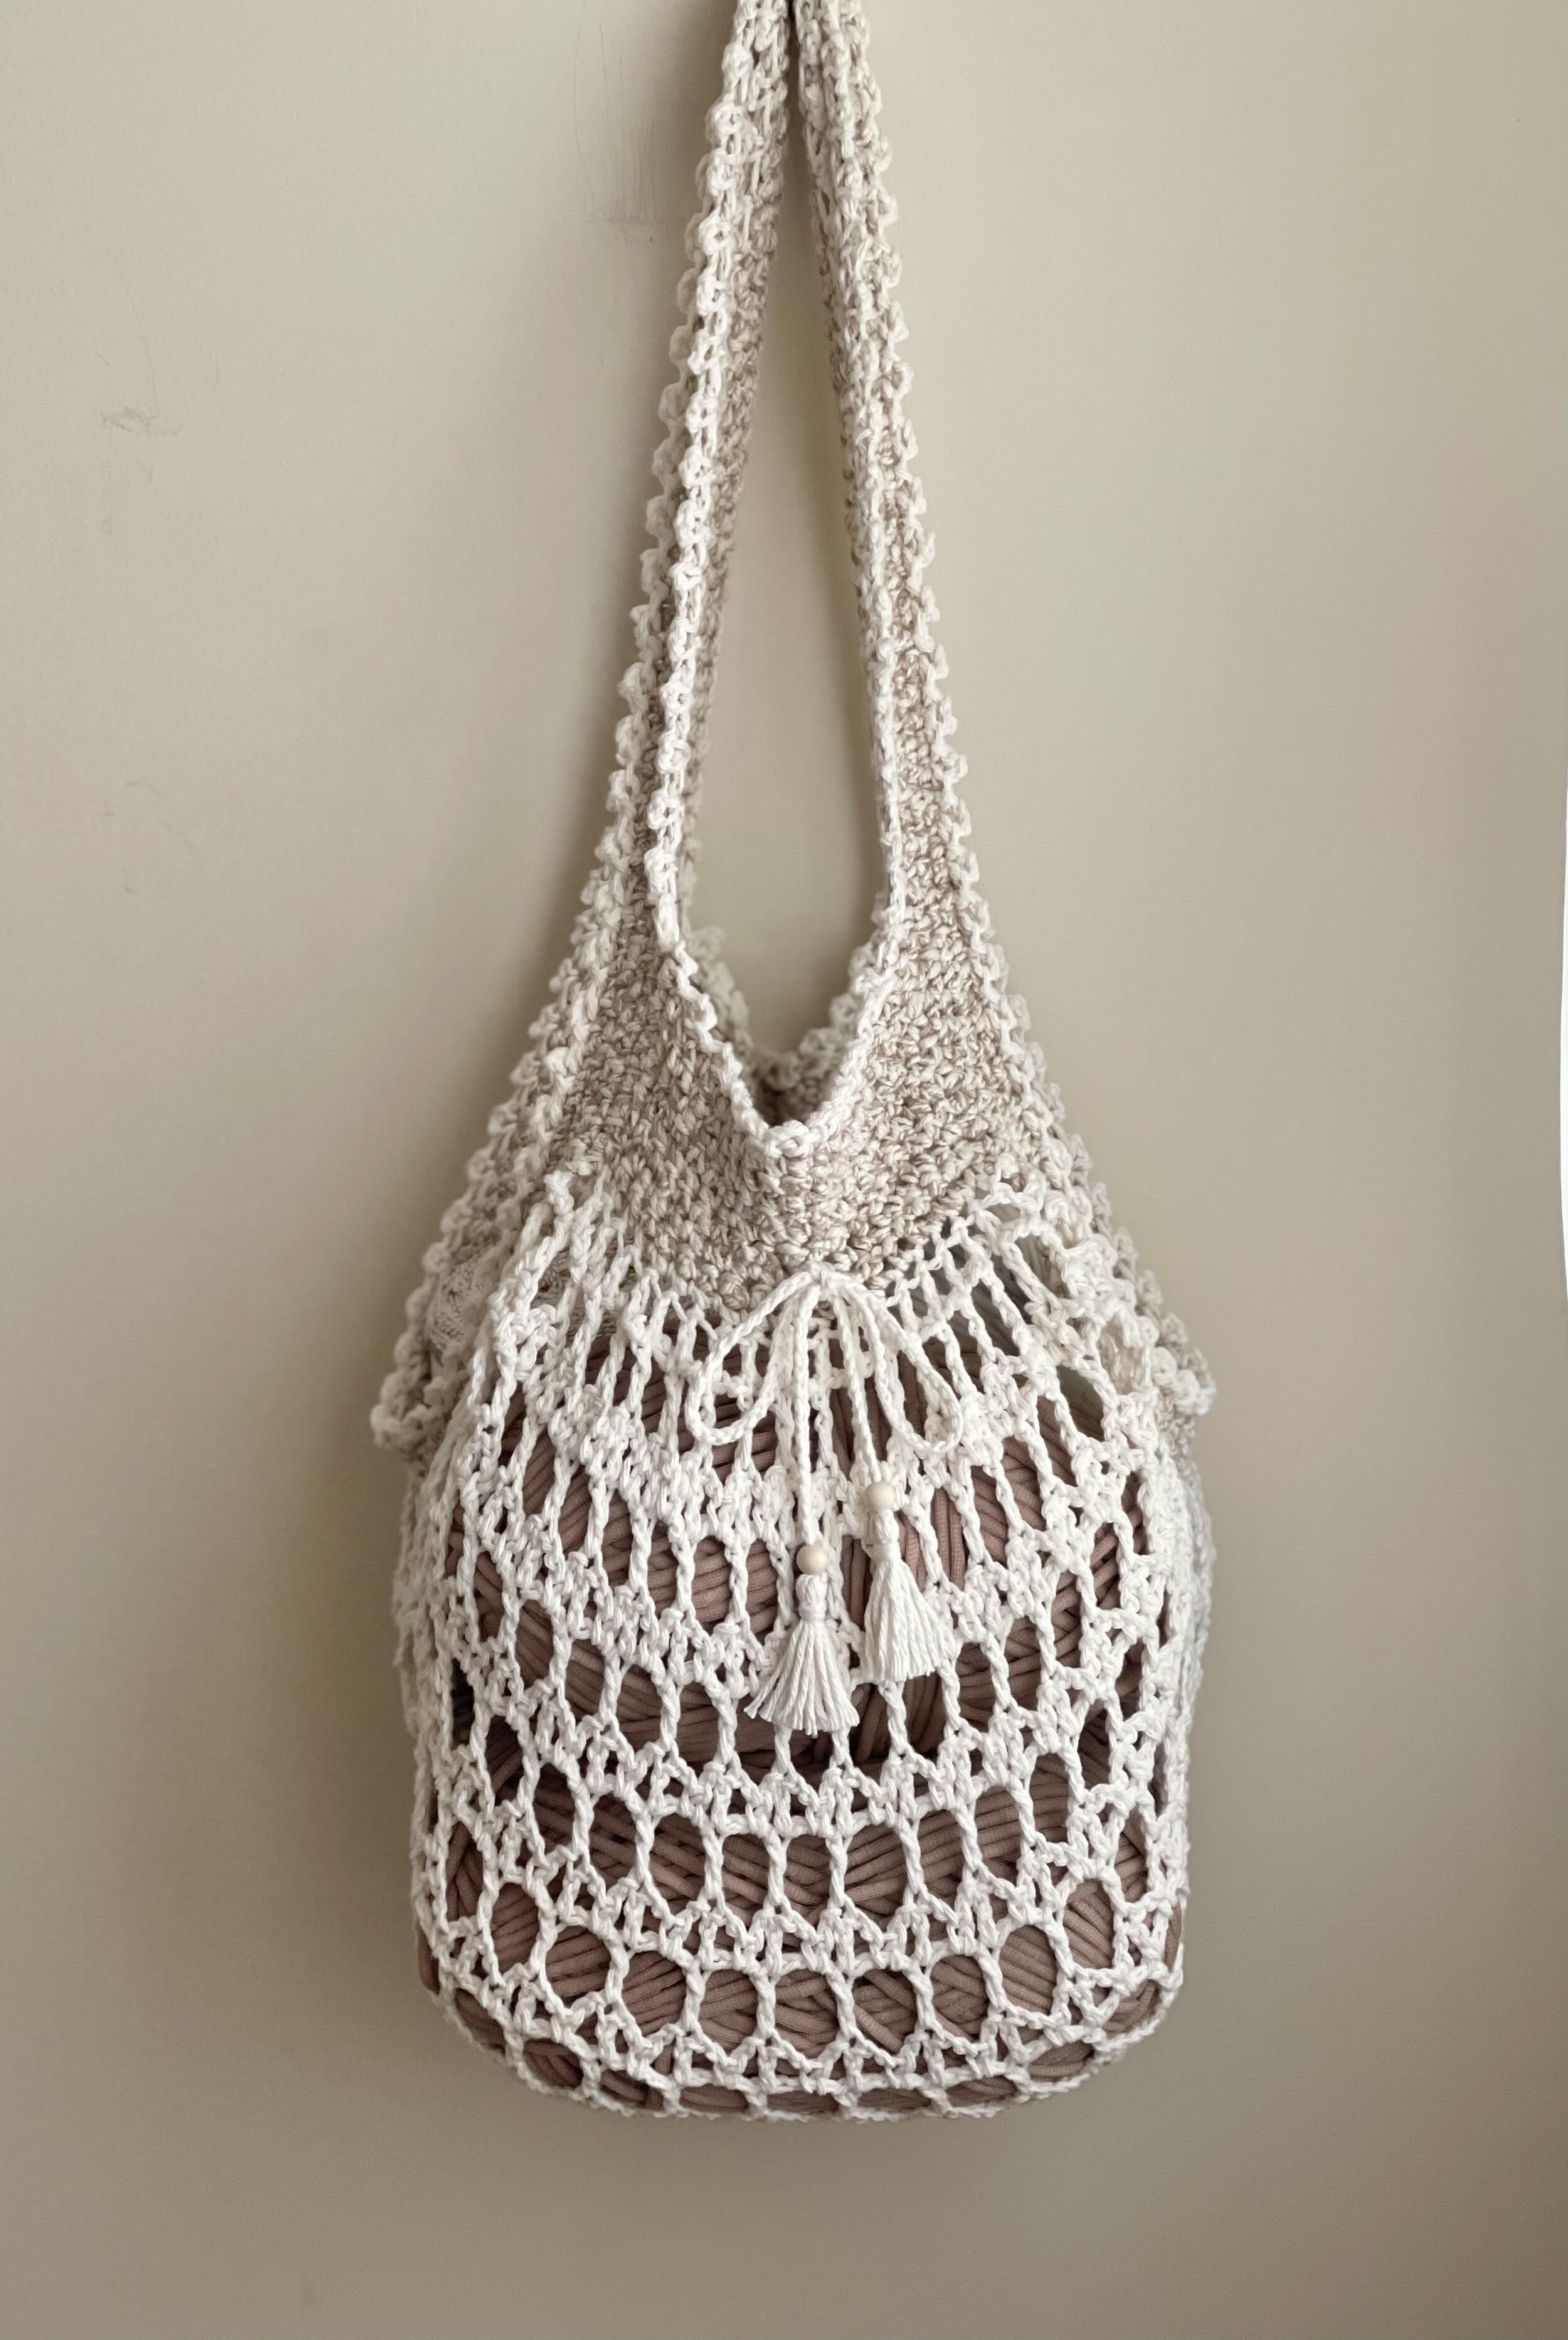
This is the how it looks when full of items and when made as written. If you wish to make it larger, simply repeat the repeating rows until it’s the size you desire. Note you may need more yarn, however.
Let’s Make It!
Supplies Needed:
- 200 yds MC, 100 yds CC (I personally used 1 skein of Lion Brand Twisted Cotton Blend in the color Tan/Ecru for my CC and 2 skeins of Peaches & Cream cotton in the color Ecru for my MC)
- Size J 6.0 mm hook or size needed to obtain gauge
- Size I 5.5 mm and F 3.75 mm hooks (for detail work)
- 2 10 mm wooden beads (optional)
- Tape measure, scissors, yarn needle, stitch marker
Terms Used and Abbreviations:
Pattern is written in US terminology.
Beginning - beg
Chain – ch
Contrasting Color - CC
Double Crochet - dc
Fasten Off – FO
Main Color – MC
Place Marker – PM
Repeat - rep
Single Crochet - sc
Slip Stitch(es) - sl st(s)
Stitch(es) - st(s)
Stitch Marker - SM
Space(s) - sp(s)
Gauge:
14 sc and 14 rows = 4" (10 cm) using your larger hook and the size 4 ww yarn. Gauge is not imperative for this project.
Finished Measurements:
24" x 15" (61 x 38 cm)
Instructions:
Piece is worked in both the row and the round.
With your CC and your largest hook, ch 21.
Row 1: Sc in 2nd ch from hook and in each st across. [20 sc]
Rows 2-9: Ch 1, turn, sc in each st across. [20 sc]
FO. Switch to your MC and join where you left off.
Row 10: Ch 6 (beg ch counts as a dc + ch-3 sp), dc in next st, * ch 3, dc in next st; rep from * across. [20 dc, 19 ch-3 sps]
Row 11: Ch 6 (beg ch counts as a dc + ch-3 sp), turn, dc in next dc, * ch 3, dc in next dc; rep from * across, making sure your last dc st is in the 3rd ch of the beg ch-6 below. [20 dc, 19 ch-3 sps]
Row 12: Ch 5 (beg ch counts as a dc + ch-2 sp), turn, sc in next ch sp, ch 2, dc in next dc, * ch 2, sc in next ch sp, ch 2, dc in next dc; rep from * across, making sure your last dc st is in the 3rd ch of the beg ch-6 below. [20 dc, 19 sc, 38 ch-2 sps]
Row 13: Ch 6 (beg ch counts as a dc + ch-3 sp), turn, dc in next dc, * ch 3, dc in next dc; rep from * across, making sure your last dc st is in the 3rd ch of the beg ch-5 below. [20 dc, 19 ch-3 sps]
Rows 14 - 39: Rep rows 12-13, being sure you end on a row 13 rep.
Row 40: Ch 3 (beg ch counts as a dc), turn, dc in each dc st across, making sure your last dc st is in the 3rd ch of the beg ch-6 below. [20 dc]
FO. Switch to your CC and join where you left off.
Row 41: Ch 1, turn, sc in each st across. [20 sc]
Rows 42-49: Ch 1, turn, sc in each st across. [20 sc]
Do not FO. You will now be working around the entire piece.
This part can be a bit tricky. To visualize this process, see my YouTube video above.
Round 1: Turn, * ch 70, sk over 20 sc below, sc in side of next 9 rows, sc in each row of next 31 rows of mesh, sc in next 9 rows; rep from * once more. Do not sl st to join. [98 sc, 2 ch-70 loops]
From here on out, you will be working in the continuous round. Place a SM in the first st of every round, moving your marker as you go.
Round 2: Sc in every ch st and sc st around, being very careful not to twist your ch loops as you go. [238 sc]
Rounds 3-4: Sc in every st around. Join with a seamless join and FO. Weave in all tails. [238 sc]
With your MC and your I 5.5 mm hook, join in any st of round 4.
Round 1: Ch 3, sl st in same st, sk next st, sl st in next st, * ch 3, sl st in same st, sk next st, sl st in next st; rep from * around. FO and weave in tails. [119 ch-3 loops]
Rep in like manner to inside of each strap. [46 ch-3 loops on each side]

At this point you may want to block your project. I personally steam ironed mine to prevent it from curling up. You may also want to use a spray starch to really make the lace work shine.
Optional embellishment
With your MC and your F 3.75 mm hook, ch 100. FO. Thread your ch into the front of your project in the center, about the level of row 7.
Using your yarn needle, add a 10 mm bead to each end. Cut 2 lengths of yarn approx. 5” long and place one strand through each end of the ch, making the ends even. Set aside.
Using your fingers or a piece of cardboard 2” wide, wrap your yarn 7 times to create tassel tails and set in center of strand at the bottom of the ch, tying around the tassel tails several times to secure. Cut another length of yarn approx. 5” and wrap around the top of the tassel using the gathering knot. Rep to the other side. Trim tails evenly. Tie into a bow.
Your Merletto Market Bag is complete! I would love to see your finished work! If you want to tag me on IG, I’m @dayscrochetnc. You could also follow the hashtag #merlettomarketbag to follow what others are making. I can’t wait to see your projects! If you would like to see other versions that I will be making after this publication, be sure to check me out on IG!
Please note that you do not have my permission to sell, share, copy, translate, or duplicate this pattern or my photos in any way. Please do not use this pattern for a video, blog, or class tutorial. Thank you so much for following these simple rules! Please message me on Facebook or send me an email at dayscrochetnc@gmail.com with any questions.
Come join my Facebook group, Crochet for Days! We have a lot of fun and I often offer discounts and coupon codes to my members that I don’t offer anywhere else! Request to join and answer the questions by following this link.