
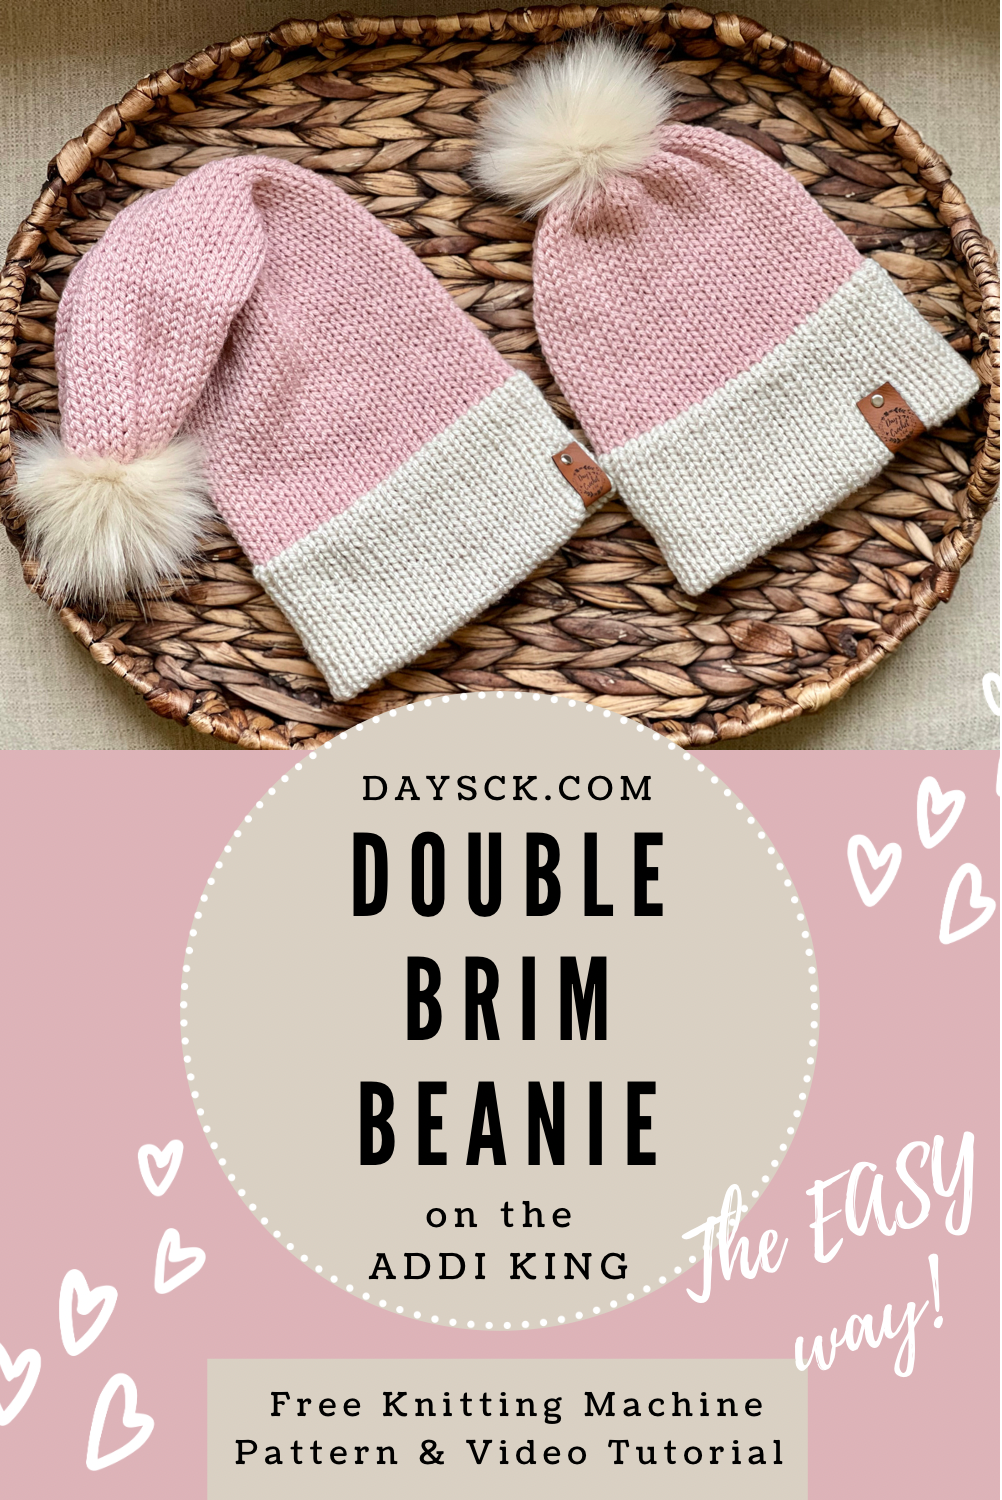
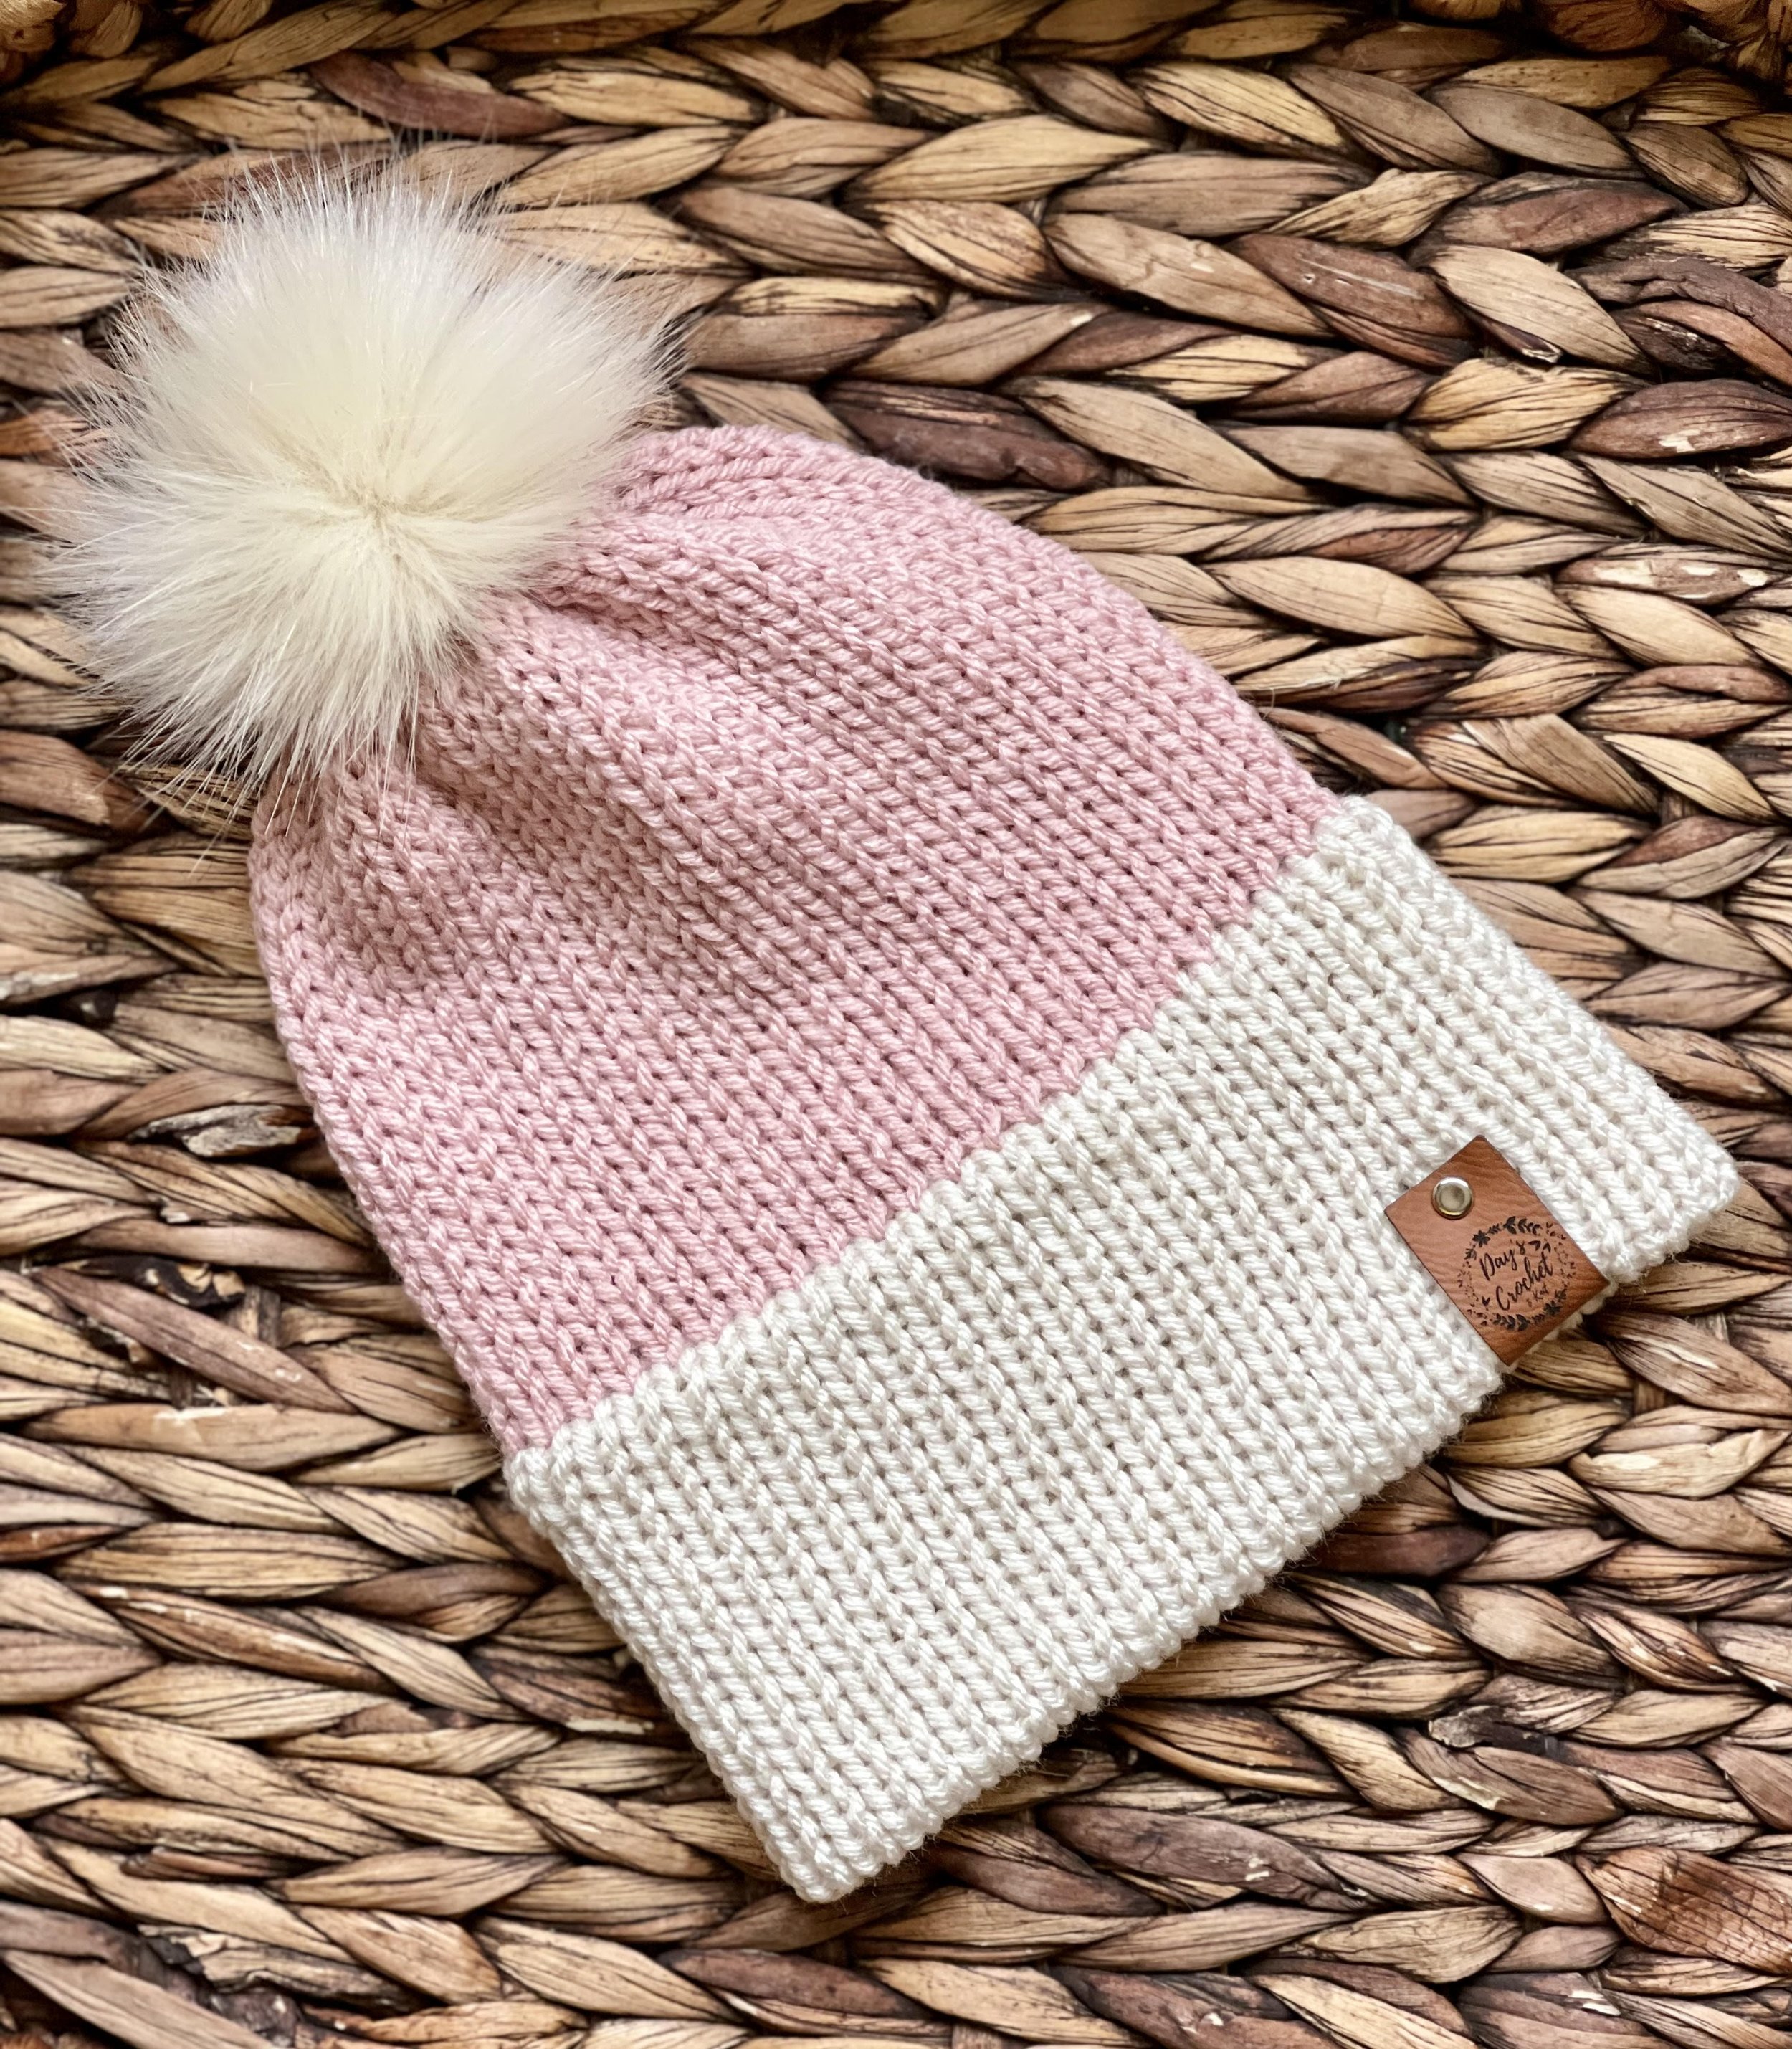
Addi King Double Brim Beanie ~The Easy Way!
If you haven’t jumped on the circular knitting machine craze, you are missing out!
I bought one years ago to make the turban ear warmers everyone loves and it was worth EVERY dime! The machine paid for itself and then some at my first market after. Every since then, I have used it mostly to create the ear warmers, but I have recently started diving into experimenting with other designs.
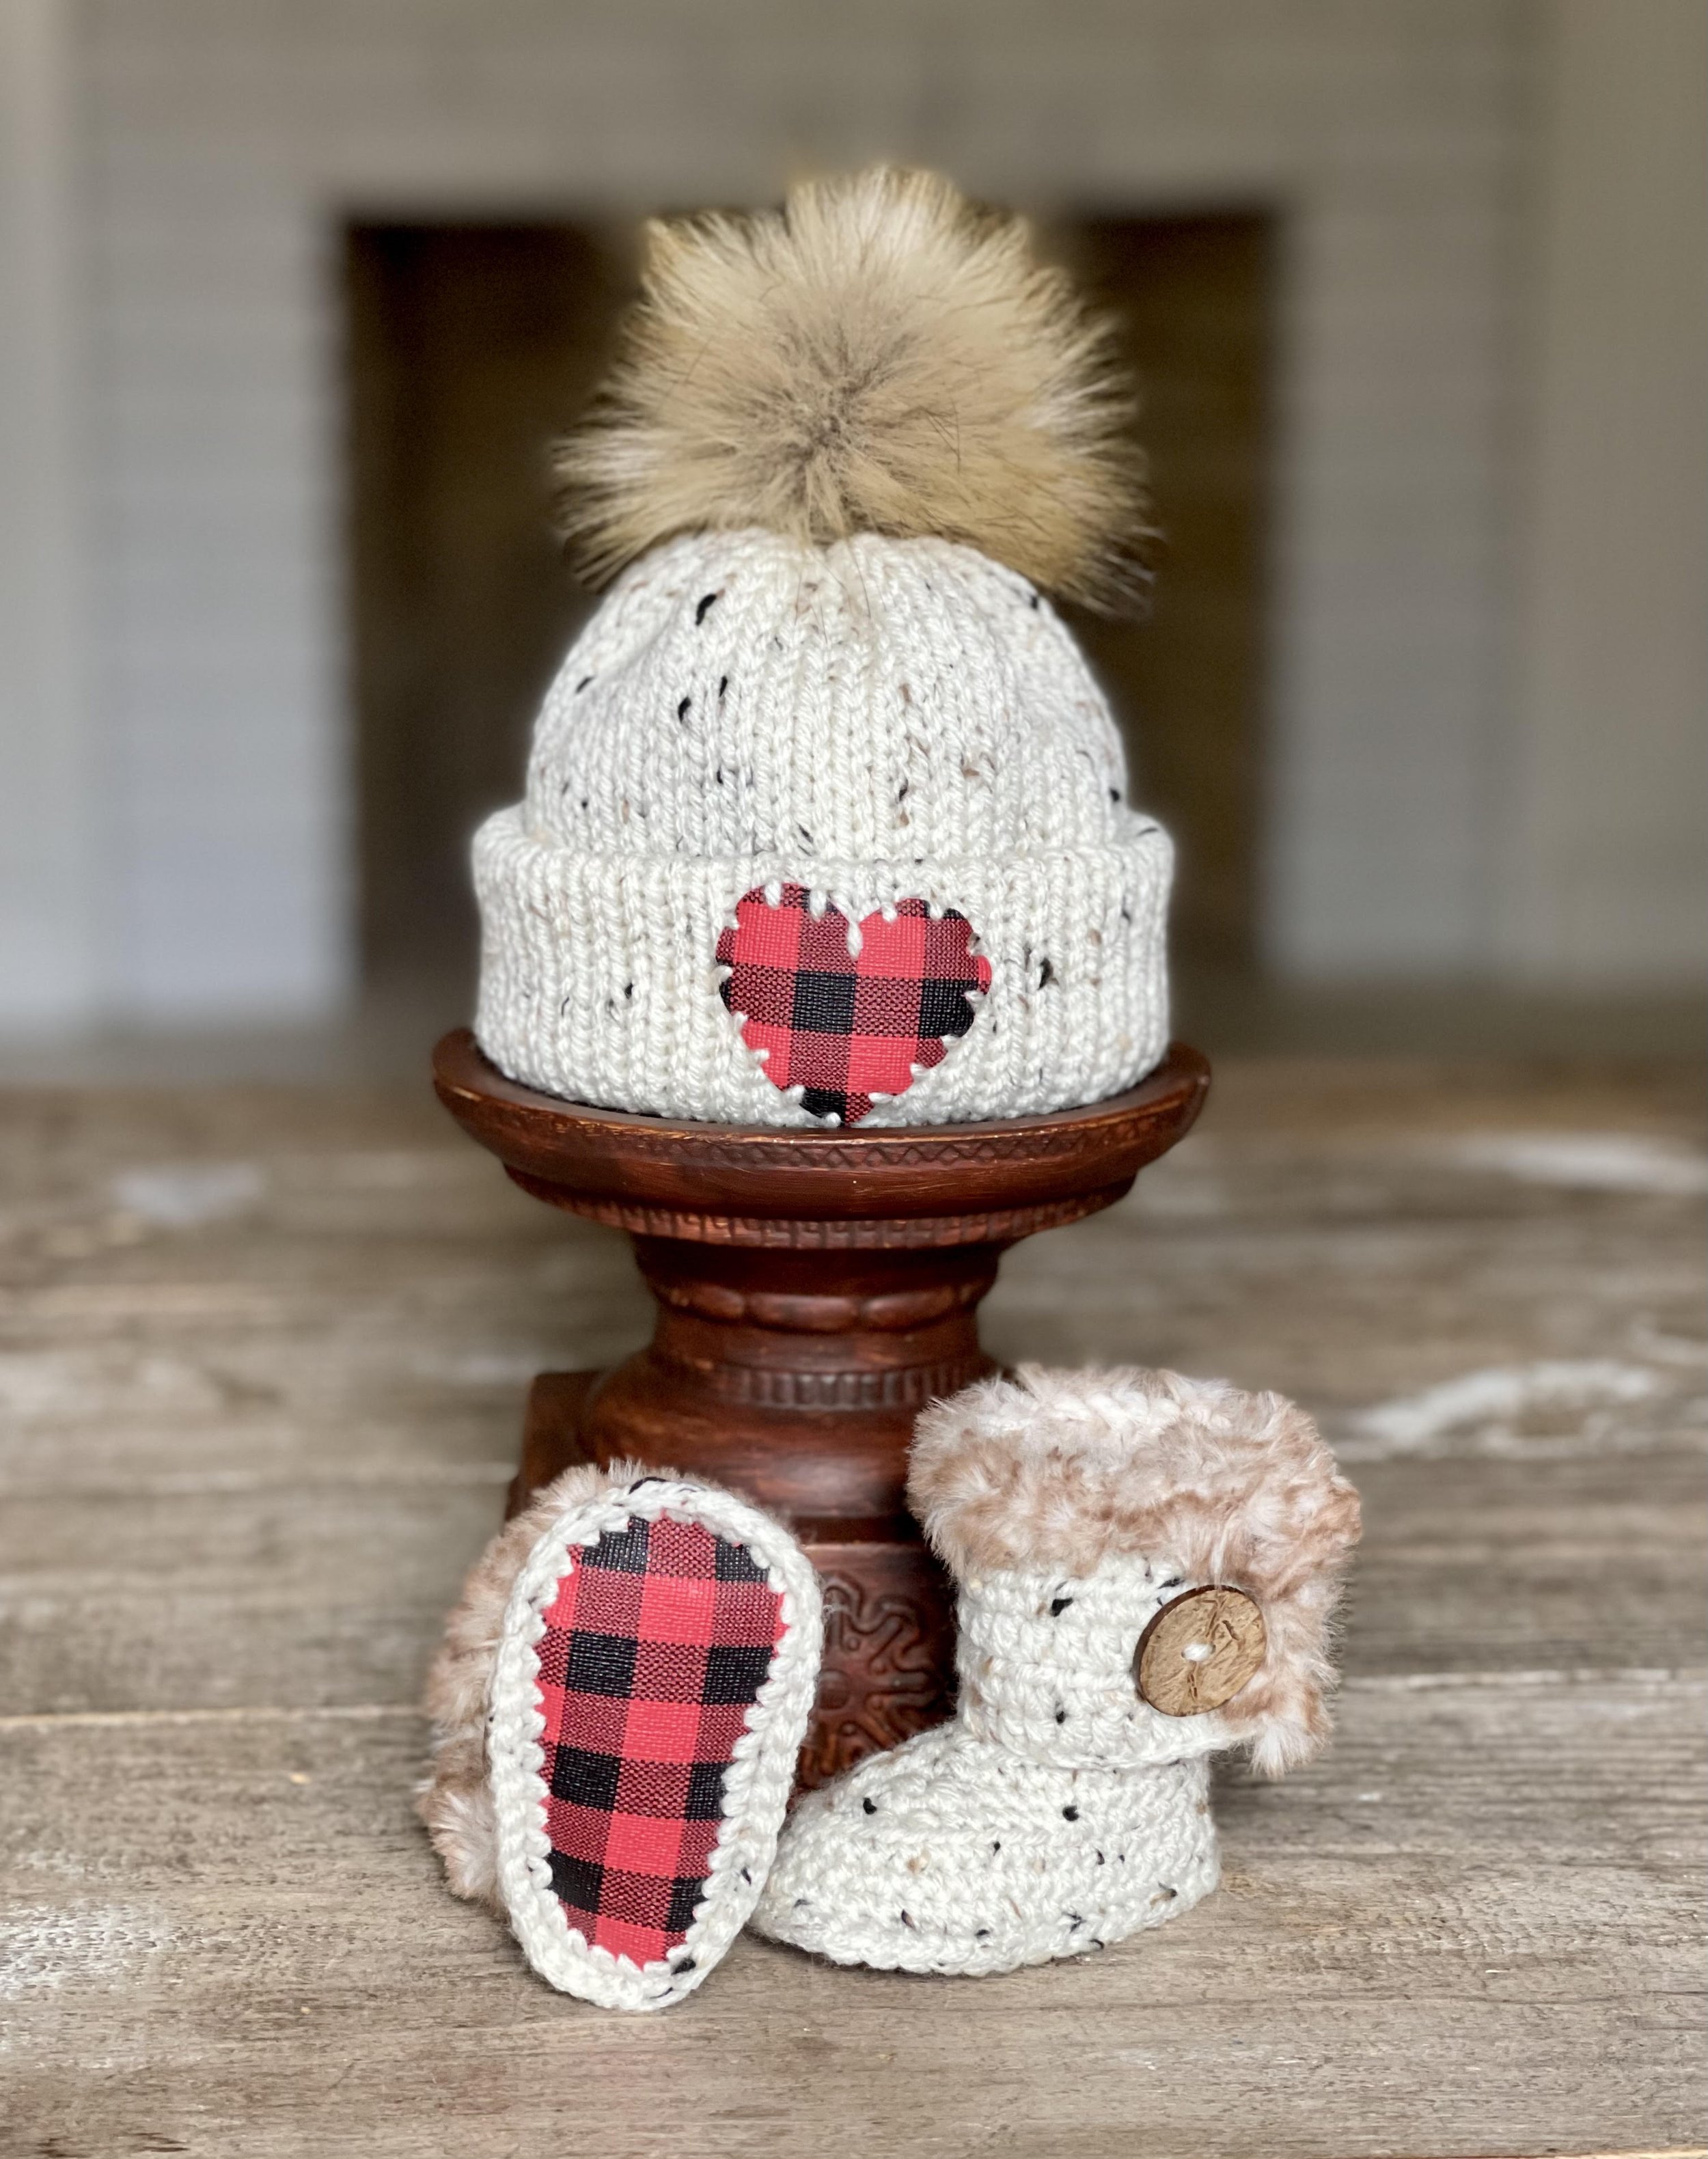
If you follow me on YouTube, you may have noticed my recent mix of using the Addi to make newborn baby hats to go along with my Bailey Boots. They are the CUTEST little sets and they have sold like hot cakes for me. If you are interested in seeing that video, click here.
I also recently set out to make some Santa hats as a gift for my son’s pre-k class and I watched some other YouTube videos….and let me just say….they are doing it harder than it has to be. So I set out to create a YouTube video that shows you a MUCH easier way to make them and I am putting the written “recipe” for row counts here in my blog (for those of you who don’t have time to watch a YouTube video. So without further ado,
Let’s make this thing!
Supplies Needed:
-Approx. 100-200 yds of hat body color in any size 4 worsted weight yarn, depending on which size you make
-Approx. 40-60 yds of hat brim color in any size 4 worsted weight yarn, depending on which size you make
-Enough waste yarn for 5 rows
-A 4.25 mm crochet hook, or size needed to complete slip stitches
-Scissors, yarn needle, tape measure
Gauge:
5 rows = 1" using medium tension
Finished Measurements:
Listed respectively with each size’s recipe
Instructions:
Adult Beanie
Cast on using main color for hat body and make 30 rows (sm/med) or 35 rows (lg/xl). Cut yarn and change to brim color. Make 40 rows of brim color. Cut yarn and add waste yarn. Make 5 rows of waste yarn and cast off.
Measurements:
Sm/med: stretched tube should measure approx. 12" (30.5 cm) before doubling brim, 9" (23 cm) after doubling brim.
Lg/xl: Stretched tube should measure approx. 13" (33 cm) before doubling brim, 10" (25 cm) after doubling brim.
NOTE: For a slouched version of either size, I would add 3-5 rows to the base count given above in the hat body color.
Adult Santa Hat
Cast on using main color for hat body and make 70 rows. Cut yarn and change to brim color. Make 40 rows of brim color. Cut yarn and add waste yarn. Make 5 rows of waste yarn and cast off.
Measurements:
Stretched tube should measure approx. 29.5" (57 cm) before doubling brim, 17" (43 cm) after doubling brim.
Child Santa Hat
Cast on using main color for hat body and make 60 rows. Cut yarn and change to brim color. Make 30 rows of brim color. Cut yarn and add waste yarn. Make 5 rows of waste yarn and cast off.
Measurements:
Stretched tube should measure approx. 16.5" (42 cm) before doubling brim, 13.5" (34 cm) after doubling brim.
Assembly
All hats will be assembled this way, regardless of the size you choose to make.
Step 1: Cinch cast on end closed and reinforce the stitches as shown in my video. Knot to secure and bring excess to inside of hat.
Step 2: Turn hat inside out and roll up brim so that row 1 and row 40 (or 30) of the brim colors meet.
Step 3: Beginning after the loose strands, use your crochet hook to slip stitch the brim stitches together, as shown in my video.
Step 4: Hide tails inside brim. Add pom button and pom-pom if desired. See my trick for adding pom-poms here.
Your Double Brim Beanie is complete! I would love to see your finished work! If you want to tag me on IG, I’m @dayscrochetnc. I can’t wait to see your projects! If you would like to see other versions that I will be making after this publication, be sure to check me out on IG!

Pictured is the child-sized Santa hat on my 4 year old son.
Please note that you do not have my permission to sell, share, copy, or duplicate this pattern or my photos in any way. Please do not use this pattern for a video, blog, or class tutorial. Thank you so much for following these simple rules! Please message me on Facebook or send me an email at dayscrochetnc@gmail.com with any questions.
Come join my Facebook group, Crochet for Days! We have a lot of fun and I often offer discounts and coupon codes to my members that I don’t offer anywhere else! Request to join and answer the questions by following this link.
Would you like to see more Addi knitting machine tutorials and patterns? Let me know in the comments!
Happy Making!
~Dana