
Addi Turban Hat
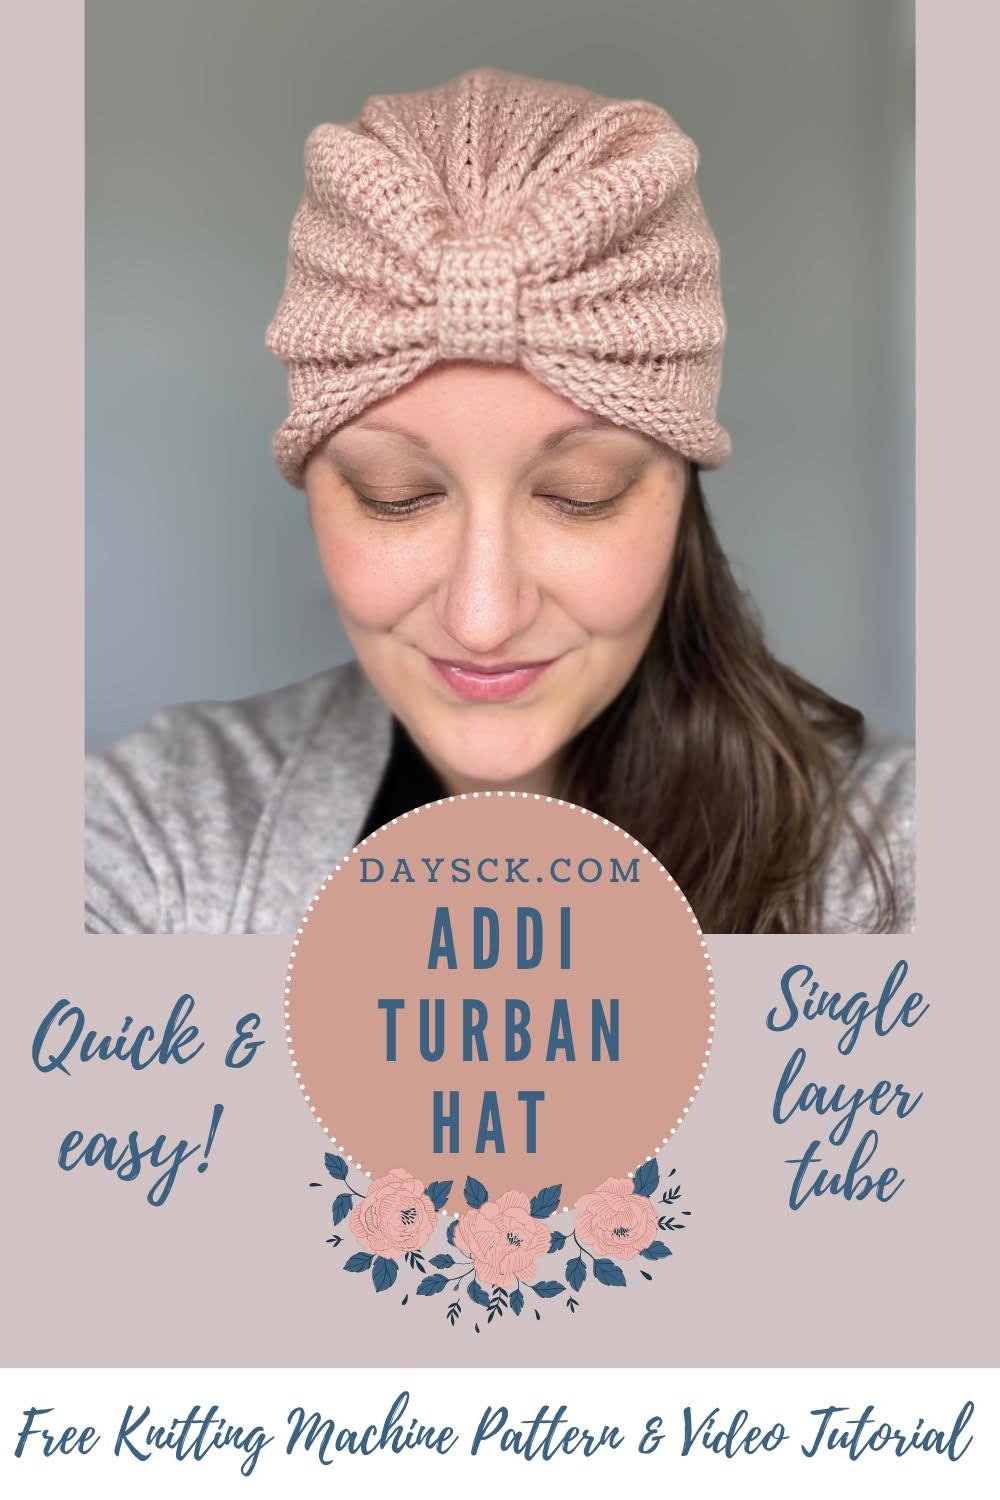
PIN it here!
I have been playing around with single layered tubes here lately and I have had so much fun coming up with new designs!
This hat actually came about because someone in one of the Facebook groups I am in requested a turban chemo cap pattern. After searching to help her find one, I realized that all the turban style hats are double layered and super thick with multiple steps and a lot of sewing. So I set out to design for her so she could make one for her friend.
This post may contain affiliate links that help me to continue to post free content. To skip the ads and have a printable pdf of this pattern, you can find it in both my Etsy and Ravelry shops for relatively little cost.
The design came together so quickly in my mind, I just knew I had to try it. When you see how easy and simple it is, you are going to love making it! I will say that you will want to have a styrofoam head form on hand to help you with this project. It does require some shaping prior to sewing/tacking the front together and I highly recommend using one for accuracy purposes. I bought mine from Walmart for around $5 and I use it ALL the time, so it is definitely a worthy investment.
I will also mention that I have included a toddler size in this pattern. Although I designed it with chemo caps in mind, I would totally wear this hat myself and (if I had a little girl) I would put it on my little girl. I think it is just darling and very flattering when worn. It would be adorable as a Mommy and Me set!
Even though I made this using the Addi King (46 pin) knitting machine, you could totally use this same concept on the Sentro without any hiccups. I get asked that question a lot so I wanted to be sure you know you can make this on your Sentro if that is what you have. I have included a YouTube video tutorial of the entire project for you to be able to create it on the machine you have available.
Enough of my rambling! Let’s make this thing!
Supplies Needed:
-100-110 yds of any size 4 ww yarn for hat body
-7-10 yds of any size 4 ww yarn for waste yarn
-4.25 mm and 5.0 mm crochet hooks
-Styrofoam head form
-Addi King (46 pin) or a Sentro (48 pin) circular knitting machine
-Yarn needle or tapestry needle, scissors, measuring tape
Terms Used and Abbreviations:
Pattern is written in US terminology.
Begin(ning) - beg
Chain(s) - ch(s)
Fasten Off - FO
Repeat - Rep
Single Crochet - sc
Skip - sk
Slip Stitch - sl st
Space(s) - sp(s)
Stitch(es) - st(s)
Yarn Over - YO
Gauge:
15 sts and 20 rows = 4" (10 cm) using medium tension for knitted portion. Gauge for crocheted portion is not imperative since you will be crocheting according to measurements.
Finished Measurements:
Designed to fit toddler sized heads 19-20"(48-51 cm) in circumference for the toddler version and adult sized heads 21-23" (53-58 cm) in circumference for the adult version.
Pattern Notes:
-All cast-on and cast-off methods used in this pattern will be the provisional (basic) cast-on and cast-off methods.
-You will need to be able to read and follow basic beginner crochet pattern instructions.
-You will be using your circular/tube setting on your machine for this project.
Instructions:
Hat will be made as a tube from top to bottom. It will be a single layer tube, so you will need to have some waste yarn available.
1) Cast on with your hat body color.
2) Knit 67 rows for an adult-sized hat, 60 rows for a toddler-sized hat.
3) Leave yourself a very long tail for a round of sc later (I leave myself approx. 5 yds), then cut yarn and set in center.
4) Add waste yarn and knit 5 more rows.
5) Cast off.
Gauge check: Tube should measure approx. 12.5" (32 cm) for toddler size and approx. 14" (35.5 cm) for adult size slightly stretched and lying flat.
Assembly
1) Beg with cast-off end. Use excess tail you left yourself and your 5.0 mm crochet hook. With right side of tube sts facing you, insert crochet hook into first st with the long tail coming out of it. YO and pull up a loop.
2) Ch 1, sc in same st and in each st around. Join with a sl st in first sc. FO and weave in your tail. [46 sc] To visualize this portion, see my video.
3) Remove waste yarn from cast-off end.
4) Take your cast-on tail and pull so that the tube end cinches almost all the way closed. Leave a small hole about the size of your pinky finger. Thread tail onto your yarn needle and go back through the sts to reinforce row 1 and close the hole smaller, but not all of the way. Take tail inside and leave for sewing purposes later. To visualize this portion, see my video.

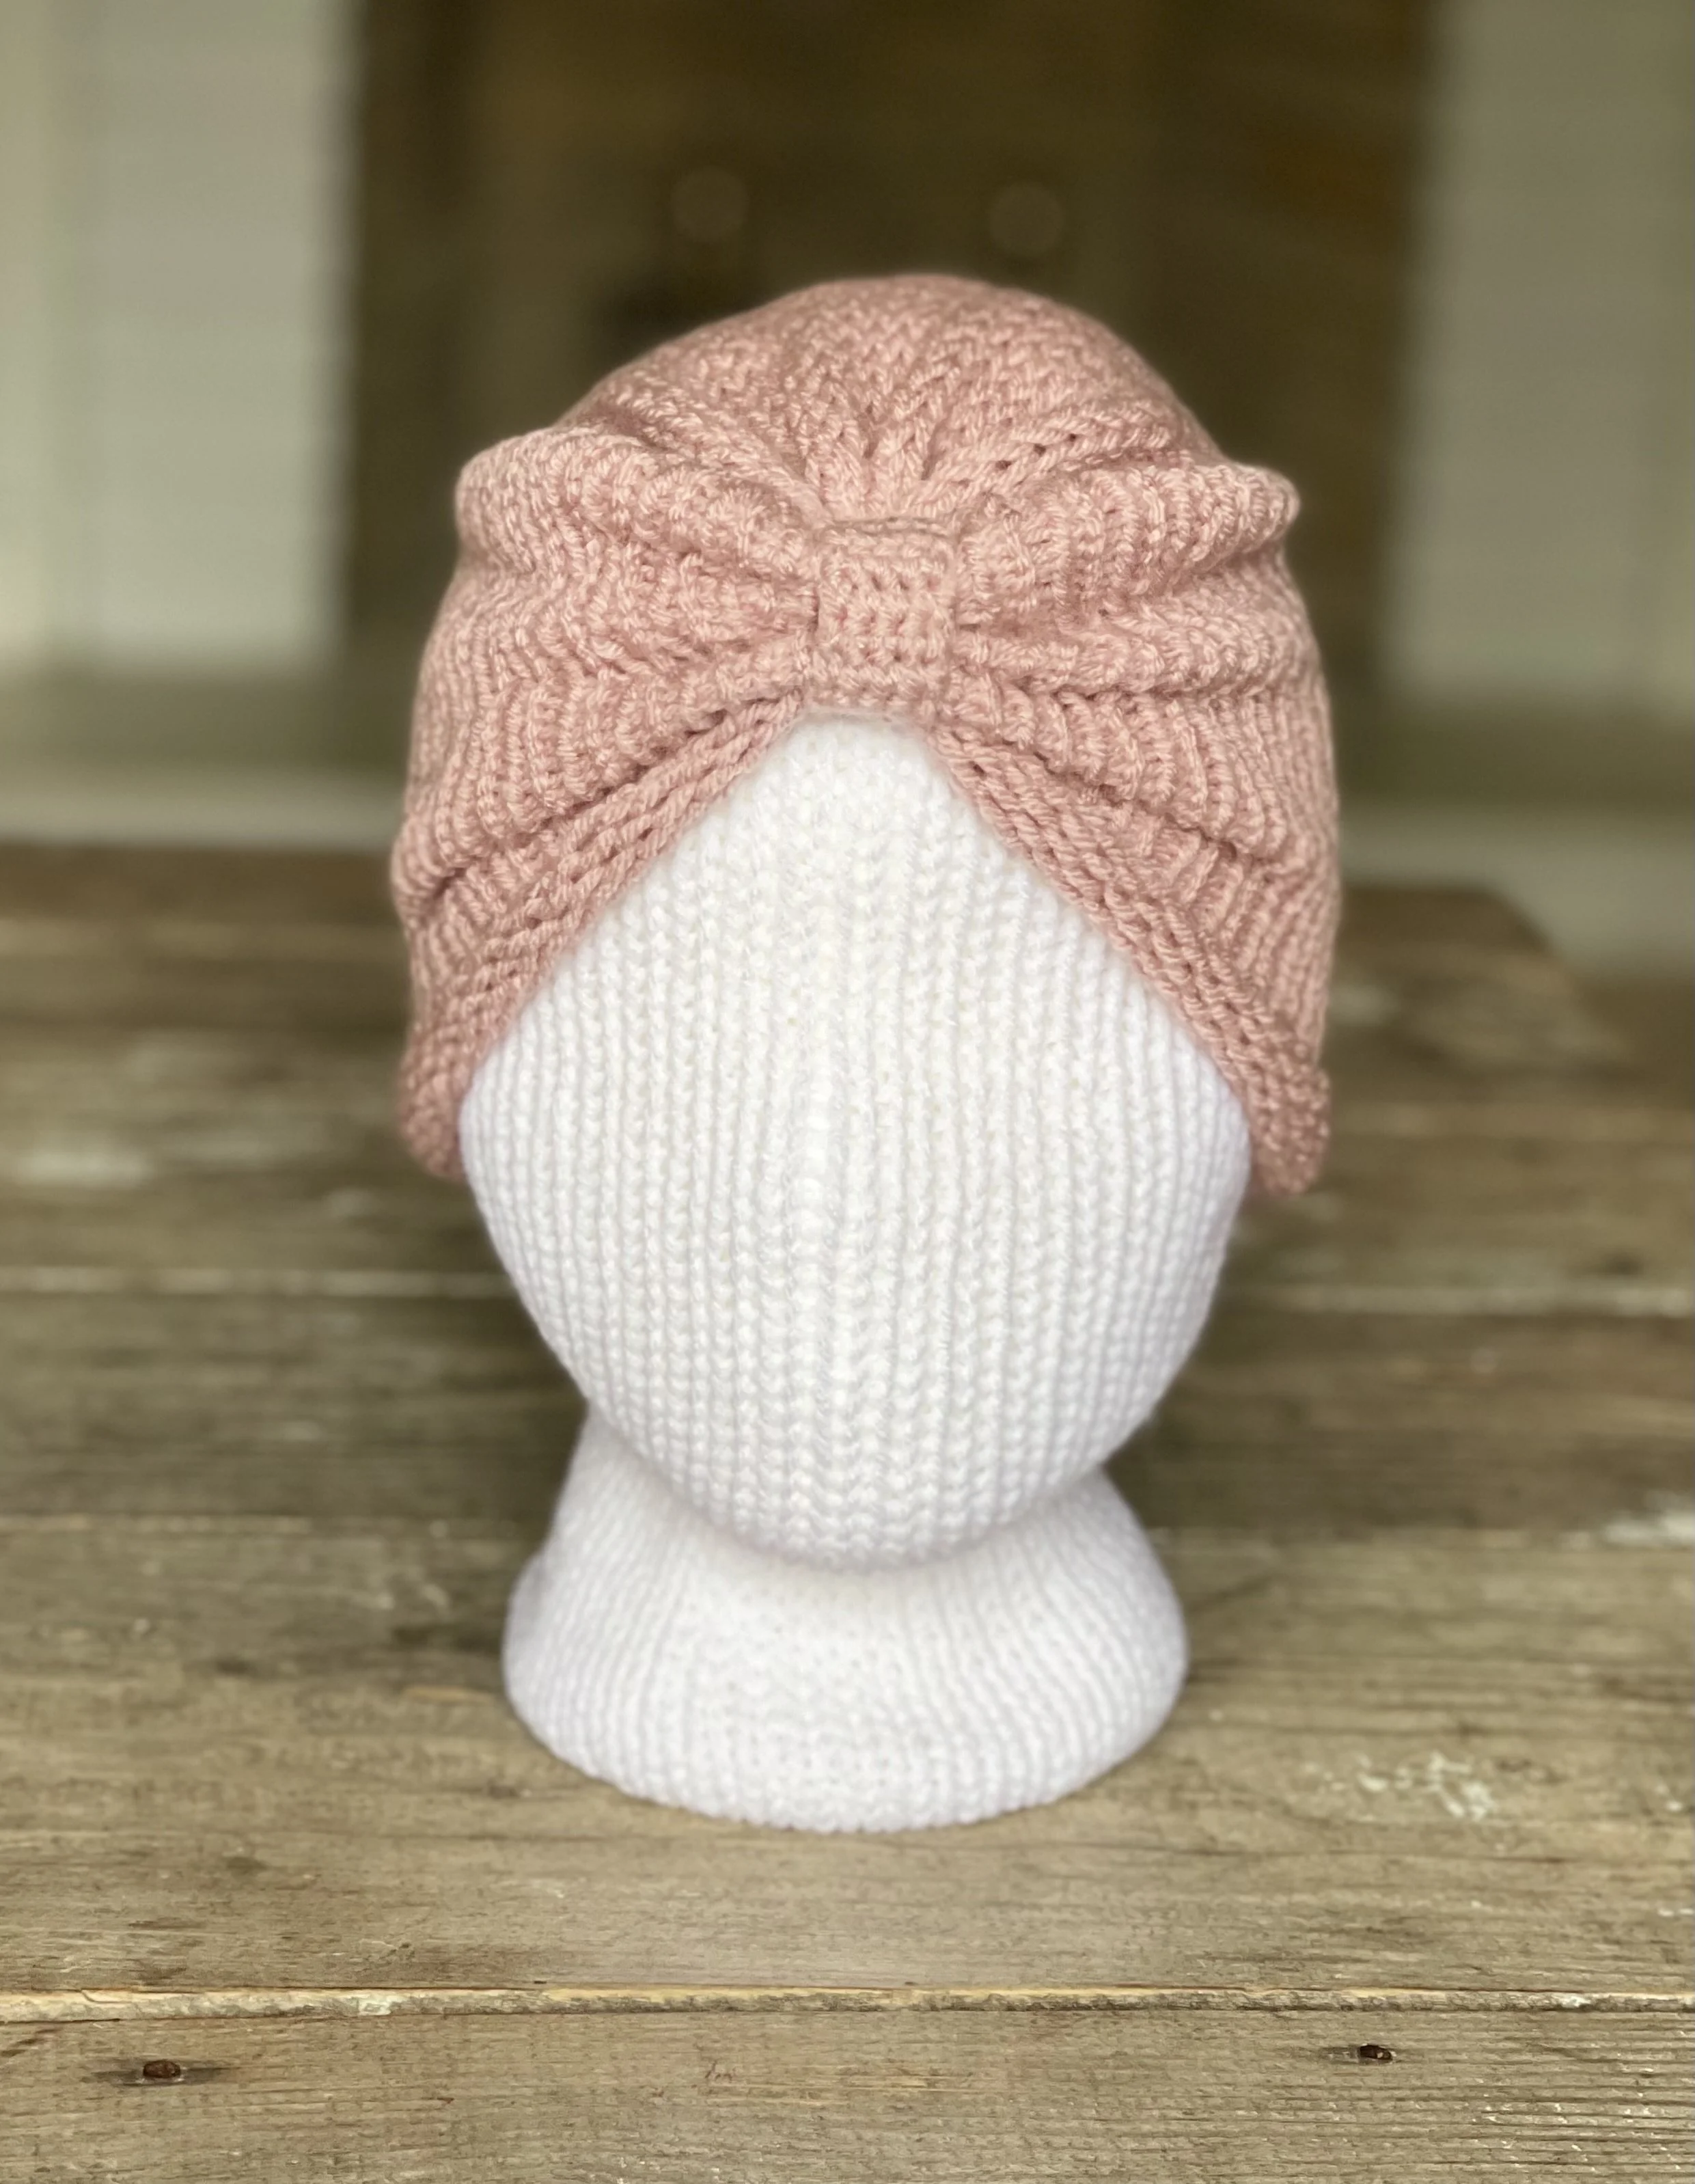
5) Place hat on Styrofoam head form. Bring cast-on end’s hole to the top front and center (at level of forehead). To visualize this portion, see my video.
6) Gently fold layers between rows 1 and 60/67 together so that it bunches up in the front. Bring the gathered area as close to the cast-on hole (row 1) as possible.
7) Using the excess tail left-over from the cast-on end, loosely tack the layers together to keep them in place. Do not knot off. Leave tail for sewing purposes later. To visualize this portion, see my video.

Make crocheted loop
This portion is completely optional. This small piece we are going to make is to place in the front center to hold the folds together and give the hat a more polished look. You could also realistically use ribbon, fabric, or just wrap a strand of yarn several times to achieve this. But I wanted to include this crocheted strip in case you preferred this look. If you choose this method, I recommend watching the video first to see the concept so you can be sure your piece measures the correct size according to your hat. I talk about this more in my video.
Row 1: Using your 4.25 mm hook ch 5, turn and sc in 2nd ch from hook and in each st across. [4 sc]
Rows 2-13: Ch 1, turn, sc in each st across. [4 sc]
FO leaving yourself a long tail for sewing purposes. Your piece should measure approx. 1” (2.5 cm) wide and approx. 3" (7.6 cm) long.
Assembly continued
8) Place crocheted strip in front center around folds, until both ends meet inside the hat. The top portion should be going through the small hole you left yourself on the cast-on end. To visualize this portion, see my video.


9) Sew strip’s ends together using long tail you left yourself. Knot off and weave in tails of strip. To visualize this portion, see my video.
10) Using tail from cast-on end, go back through the sts of row 1 to beg the process of reinforcing the sts more in order to close off the hole from our cast-on end all the way. To visualize this portion, see my video.
11) Once hole from cast-on end is completely shut, knot off and weave in tail.
12) Embellish how you desire!
Your Addi Turban Hat is complete! I would love to see your finished work! If you want to tag me on IG, I’m @dayscrochetnc. I can’t wait to see your projects! If you would like to see other versions that I will be making after this publication, be sure to check me out on IG!

It would also look really cute style with the gathered area to the side by the ear!
Please note that you do not have my permission to sell, illegally share, copy, or duplicate this pattern or my photos in any way. Please do not use this pattern for a video, blog, or class tutorial. Thank you so much for following these simple rules! Please message me on Facebook or send me an email at dayscrochetnc@gmail.com with any questions.
Come join my Facebook group, Crank & Crochet! We have a lot of fun and I often offer discounts and coupon codes to my members that I don’t offer anywhere else! Request to join and answer the questions by following this link.
Did you enjoy this project? Let me know in the comments!
Happy making!
~Dana