
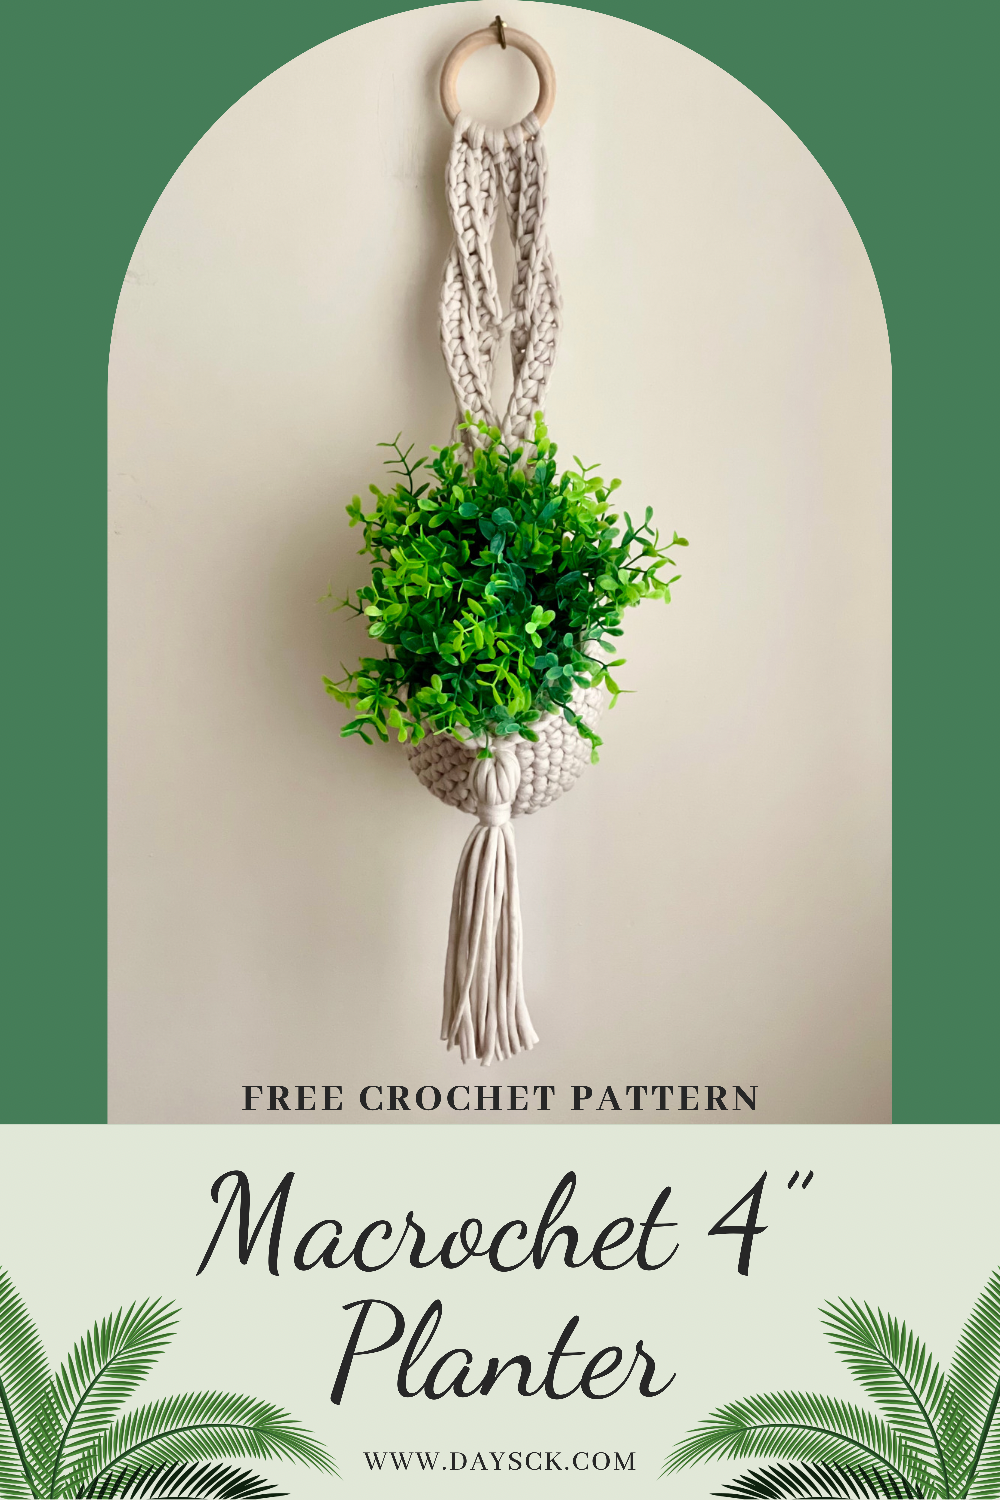
Macrochet 4" Planter
PIN it here!
I had so many requests for a larger version of my Mini Macrochet Planter that I set out to make one. I absolutely LOVE how it turned out!
This post may contain affiliate links that help me to continue to post free content. To skip the ads and have a printable pdf, you can find this pattern in both my Etsy and Ravelry shops for relatively little cost.
My original mini version of this design (pictured below) was perfect for gifting and for boho offices, dorms, tiny homes and RV’s. The car charm size with the essential oil bead is very popular as well. The resounding comments from many who made them were for a bigger version to hold bigger pots. I was actually able to make some using a jumbo size 7 yarn and a 12 mm hook, but then the yarn was discontinued. I had to create a new pattern from scratch, but I think you will find you love it.

I use the Big Twist Textile yarn from Joann’s for this project, but several of my testers used polyester macrame cording as well as t-shirt yarn. You may find that those materials actually hold the shape of the braid better for this planter, but I did not have any on hand. You may also find that you could get a 6” pot in there if you could find a bigger hook and even bulkier weight yarn. It’s really so much fun to play around with!
Some of my testers got creative and used double strands of Bernat Home Maker Dec yarn in 2 different colors. Another made the braided attachment one color and the pot a different color with a stripe of the braid color in it. I absolutely love seeing the different variations! The sky is the limit in how you can add your own flair, and I can’t wait to see what you come up with!
Let’s make it!
Supplies Needed:
-Approx. 90-100 yds of Big Twist Textile yarn, or any super bulky weight size 6 yarn
-Size L 8.0 mm hook, or size needed to obtain gauge
-3" (70 mm) wooden ring (I use these)
-Piece of cardboard 6-8" wide (for tassel)
-Scissors, measuring tape, stitch marker
Terms Used and Abbreviations:
Pattern is written in US terminology.
Back Loop Only - BLO
Begin(ning) - beg
Chain - ch
Fasten Off - FO
Front Loop Only – FLO
Half Double Crochet - hdc
Half Double Crochet 2 Together - hdc2tog
Place Marker - PM
Repeat- rep
Right Side - RS
Single Crochet - sc
Single Crochet 2 Together - sc2tog
Skip - sk
Slip Stitch - sl st
Stitch Marker - SM
Stitch(es) - st(s)
Gauge:
9 hdc and 8 rows = 4.5 x 4.5" (11.5 x 11.5 cm)
Finished Measurements:
Hanger measures approx. 17" long from top of ring to bottom of planter and 7" wide when empty and lying flat.
Instructions:
Hanger is made in 2 pieces. The strands from the ring are made first then the planter itself, attaching them together on the last round of the planter. The tassel is added last.
Leaving a length of tail of approximately 3" for weaving in later, sl st into the wooden ring. Ch 1 to further secure (it will not count as a stitch).
Row 1: Ch 32, working into the “back humps” of the ch sts, hdc in 3rd ch from hook and in each st to end. Join with a sl st into the ring once more. Ch 1 to further secure (will not count as a st). [30 hdc]
Count from the wooden ring down to your 8th hdc and PM in it before moving on.
Row 2: Ch 22, working into the “back humps” of the ch sts, hdc in 3rd ch from hook and in each st across. Join with a sl st into the wooden ring once more. Ch 1 to further secure (will not count as a st). [20 hdc]
Row 3: Rep row 2.
Row 4: Ch 32, working into the “back humps” of the ch sts, hdc in 3rd ch from hook and in next 20 sts. Bring both longer strands side-by-side, being careful not to twist either strand. Going through both the st with the SM and the next ch, hdc loosely in next st. Hdc to end. Join with a sl st into the ring once more. Ch 1 to further secure (will not count as a st) and FO, leaving a length of tail of approximately 3" and weave in tails. [30 hdc]


Make the planter
Planter is worked in the continuous round, so you will need a SM. Do not sl st to join unless instructed to do so. PM in first st of each round, moving it as you go.
Round 1: Ch 2, 7 hdc in 2nd ch from hook. [7 hdc]
Round 2: {2 hdc} in first 3 sts, hdc in next st, {2 hdc} in last 3 sts. [13 hdc]
Round 3: {2 hdc, hdc in next st} 3 x’s, hdc in next st, {2 hdc, hdc in next st} 3 x’s. [19 hdc]
Round 4: {2 hdc, hdc in next 2 sts} 3 x’s, hdc in next st, {2 hdc, hdc in next 2 sts} 3 x’s. [25 hdc]
Round 5: {2 hdc, hdc in next 3 sts} 3 x’s, hdc in next st, {2 hdc, hdc in next 3 sts} 3 x’s. [31 hdc]
Round 6: {2 hdc, hdc in next 4 sts} 3 x’s, hdc in next st, {2 hdc, hdc in next 4 sts} 3 x’s. [37 hdc]
Rounds 7-8: Hdc in each st around. [37 hdc]
Round 9: Hdc in first 18 sts, sk next st, hdc in last 18 sts. [36 hdc]
Round 10: Hdc in first 16 sts, hdc2tog twice, hdc in last 16 sts. [34 hdc]
Round 11: Hdc in first 14 sts, hdc2tog 3 x’s, hdc in last 14 sts. [31 hdc]
Round 12: Sk first st, sl st in every st around. Ch 1, TURN. (NOTE: If you haven’t already, turn your planter so that the RS is facing out.) [30 sl sts]
Join your pieces
This process is actually very similar to my mini version. Several of my testers said it would be helpful to visualize how the smaller one is made in reference to the larger one as well. If you would like to visualize how the smaller one is made so that you can better understand how this one is made, you will want to watch my video here.
Mark the 14th st from the bottom of each of the longer strands attached to your ring. These lower 14 sts will be joined to your planter in this last round. (See photo below)

● With the RS of the left longer strand facing you, sl st through the FLO of the next st of the planter and the FLO of the marked st; sl st in same manner in last 13 sts of strand 1.
● Being careful to make sure your piece is not twisted, bring RS of the right longer strand to meet your next st. Sl st through the FLO of the next st of the planter and the FLO of the bottom st of strand 2; sl st in same manner in last 13 sts of strand 2, ending on the st with the SM.
Before moving on, push your 2 shorter strands so that they are behind the 2 longer strands and not twisted. Going from outer to inner, bring the bottom tips to meet in the center top of the planter, criss crossing the bottoms so that the bottom of the left shorter strand is flush against the far right longer strand first. (See next 2 photos below)
● Beg with the shorter strand that came from left to right, sl st in both FLO of next st of planter and bottom of strand. Bring shorter strand on right so that the bottom is crossing over the top of the left and sl st in both the FLO of next st of planter and bottom of right shorter strand. FO, leaving a long tail for sewing the shorter strands further to the planter to clean up the appearance. Weave in tails.


Add your tassel
Cut a length of yarn approximately 12” long. To prevent the planter from having a toilet appearance, we are going to bring the tips of the longer strands together while simultaneously adding our tassel.
Thread your yarn onto your yarn needle. With the planter facing you, take your yarn from bottom to top of the tip of the left strand’s last st. Going from top to bottom, take your yarn through the tip of the last st of the other strand on the right. Make your ends even and tie in a knot to secure.

Using a piece of cardboard 8" wide, wrap your yarn approx. 15 times. Cut bottoms to create tassel tails. Open remaining tails at bottom of planter and place tassel tails inside so that they are even on both sides. Tie Remaining tails around tassel and knot a few times secure.
In order to keep the tassel tails from going wild, cut a length of yarn approx. 8" long. Using the Gathering Knot, tie the tassel tails together about 1" from the top of the tassel. Trim tassel bottoms evenly.
Your Macrochet Planter is complete! I would love to see your finished work! If you want to tag me on IG, I’m @dayscrochetnc. You could also follow the hashtag #macrochetplanter to follow what others are making. I can’t wait to see your projects! If you would like to see other versions that I will be making after this publication, be sure to check me out on IG!
Please note that you do not have my permission to sell, share, copy, translate, or duplicate this pattern or my photos in any way. Please do not use this pattern for a video, blog, or class tutorial. Thank you so much for following these simple rules! Please message me on Facebook or send me an email at dayscrochetnc@gmail.com with any questions.
Come join my Facebook group, Crochet for Days! We have a lot of fun and I often offer discounts and coupon codes to my members that I don’t offer anywhere else! Request to join and answer the questions by following this link.