
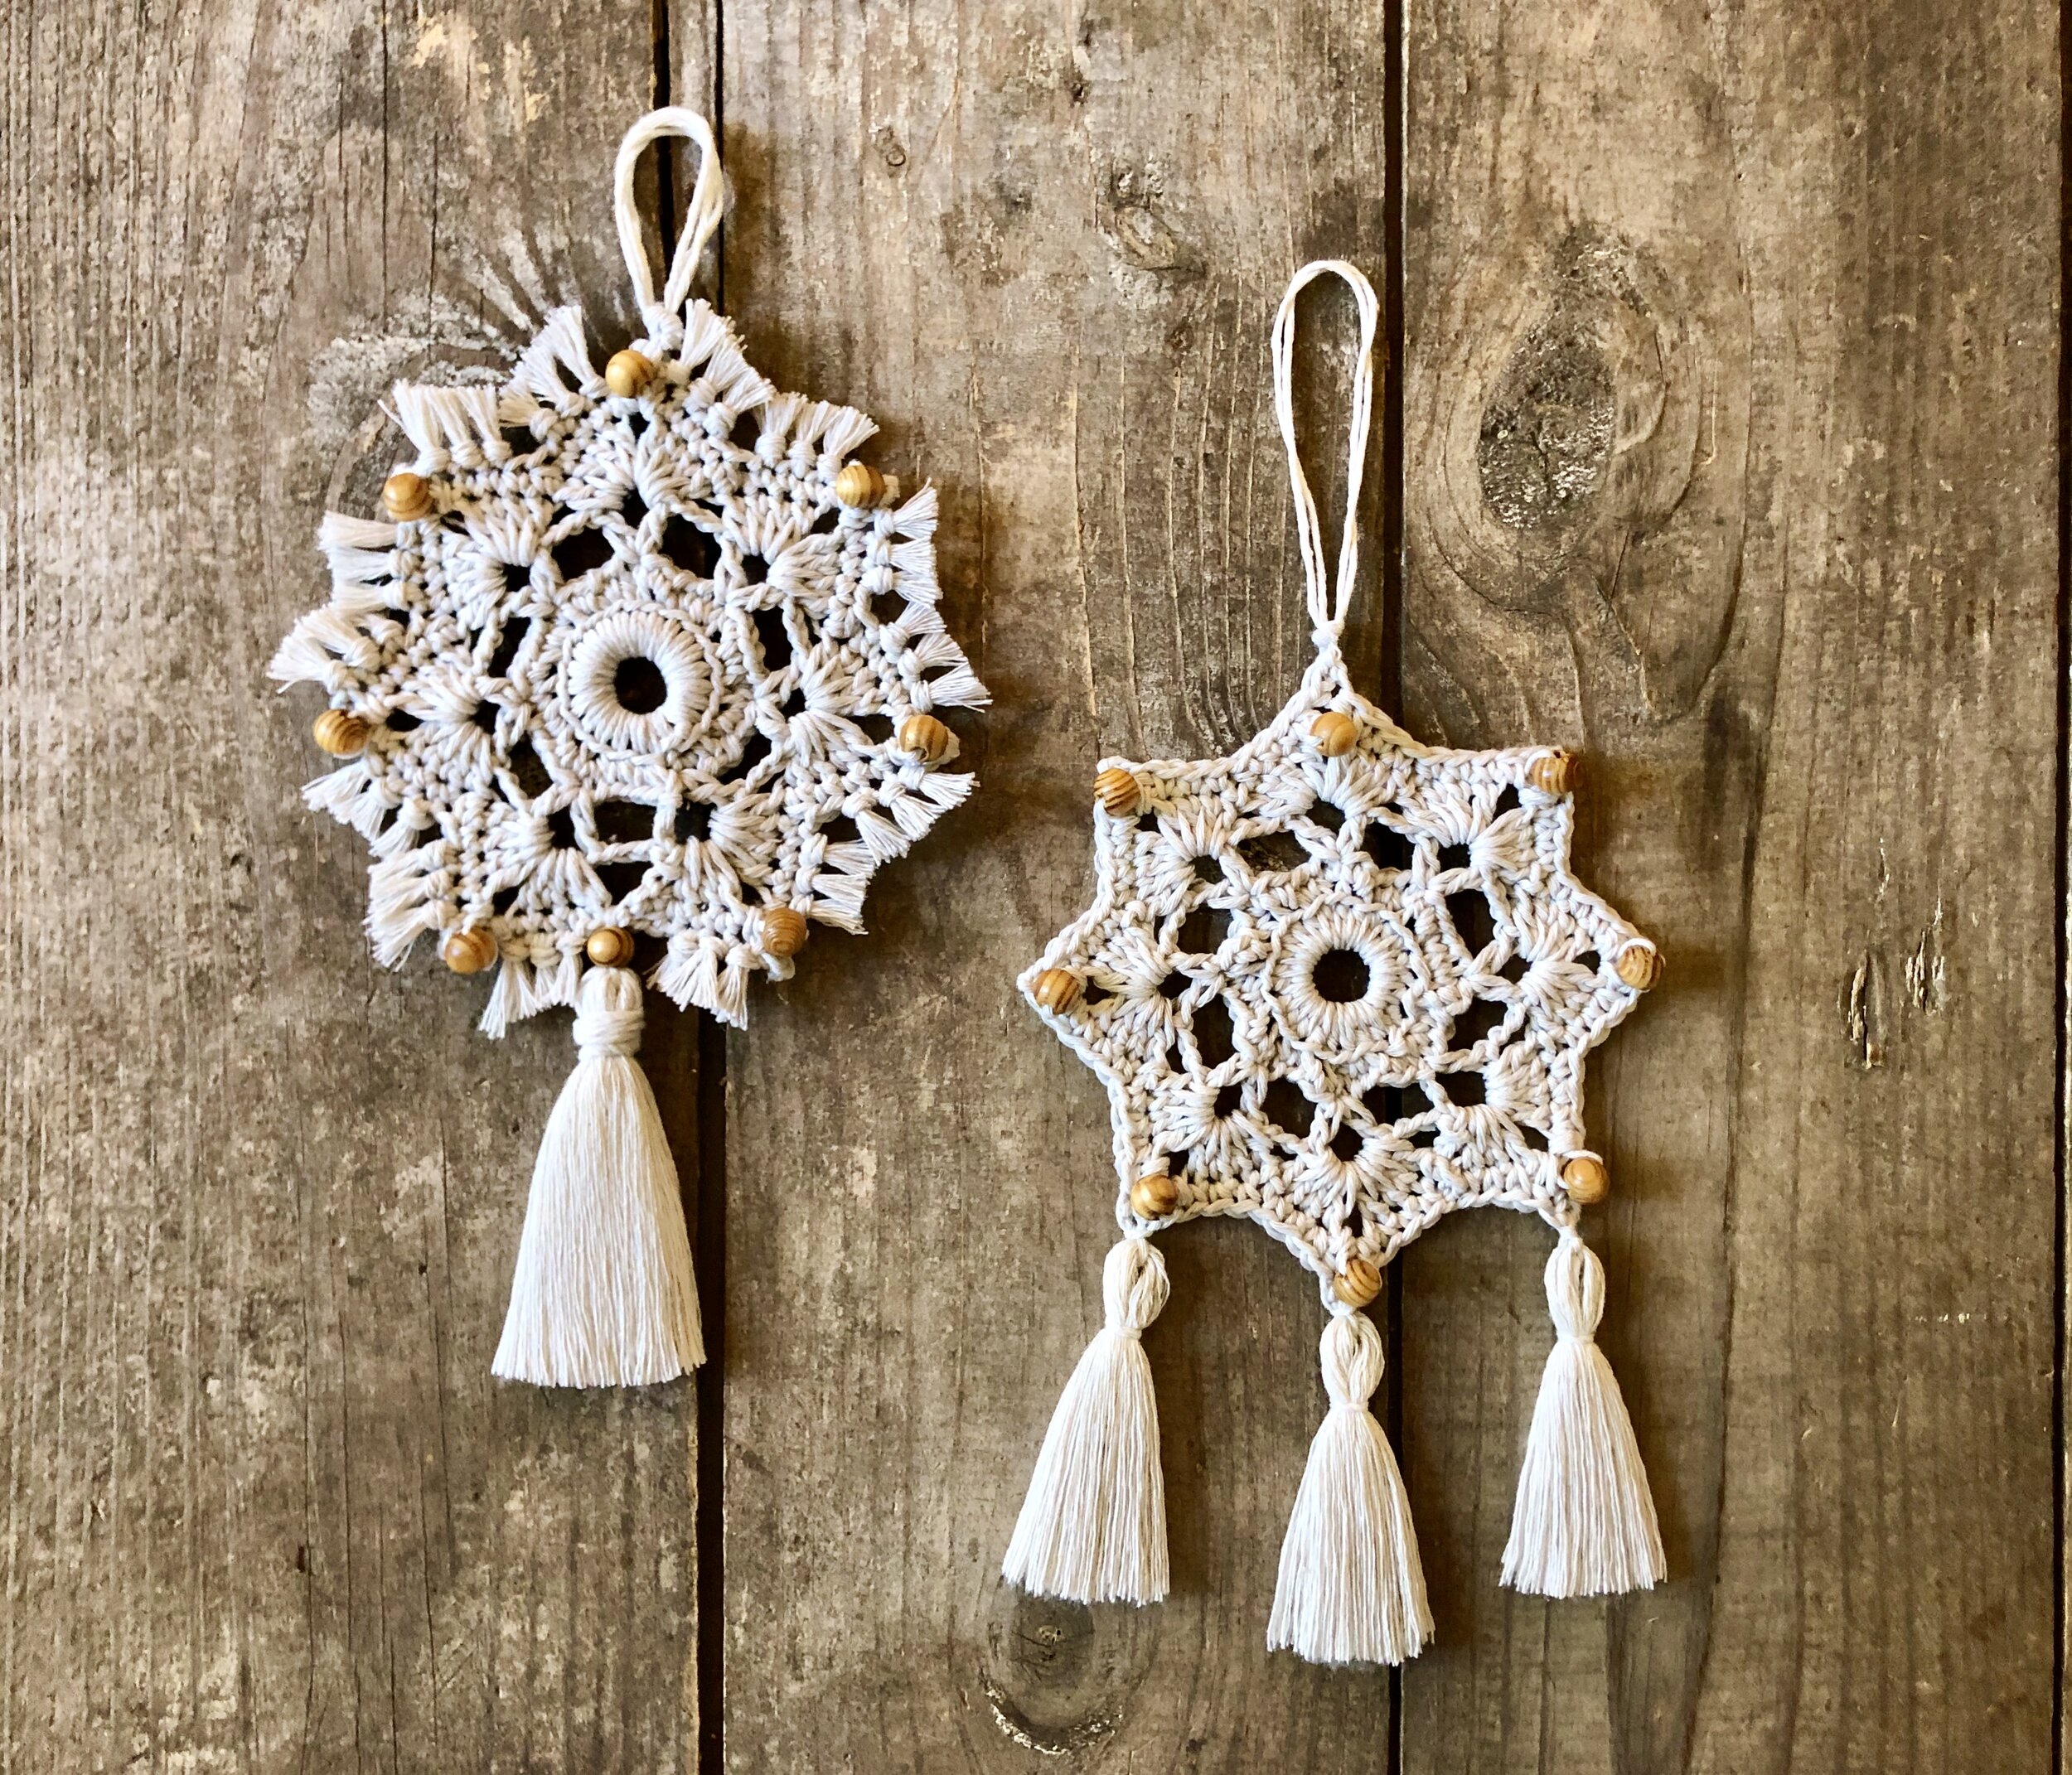
The Boho Napkin Ring
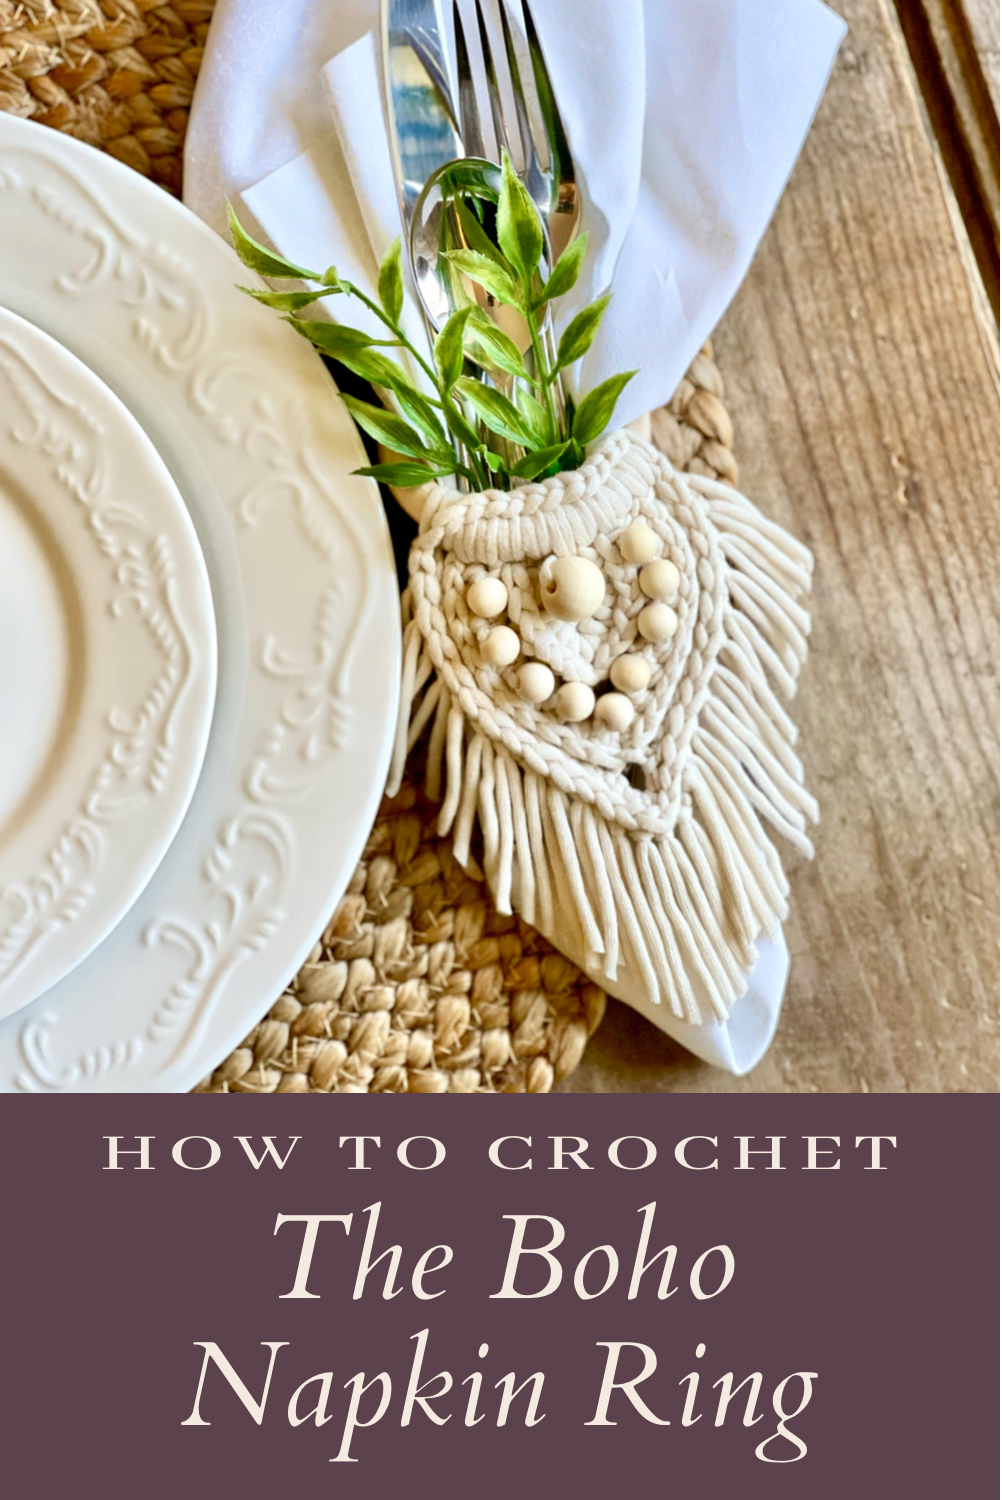
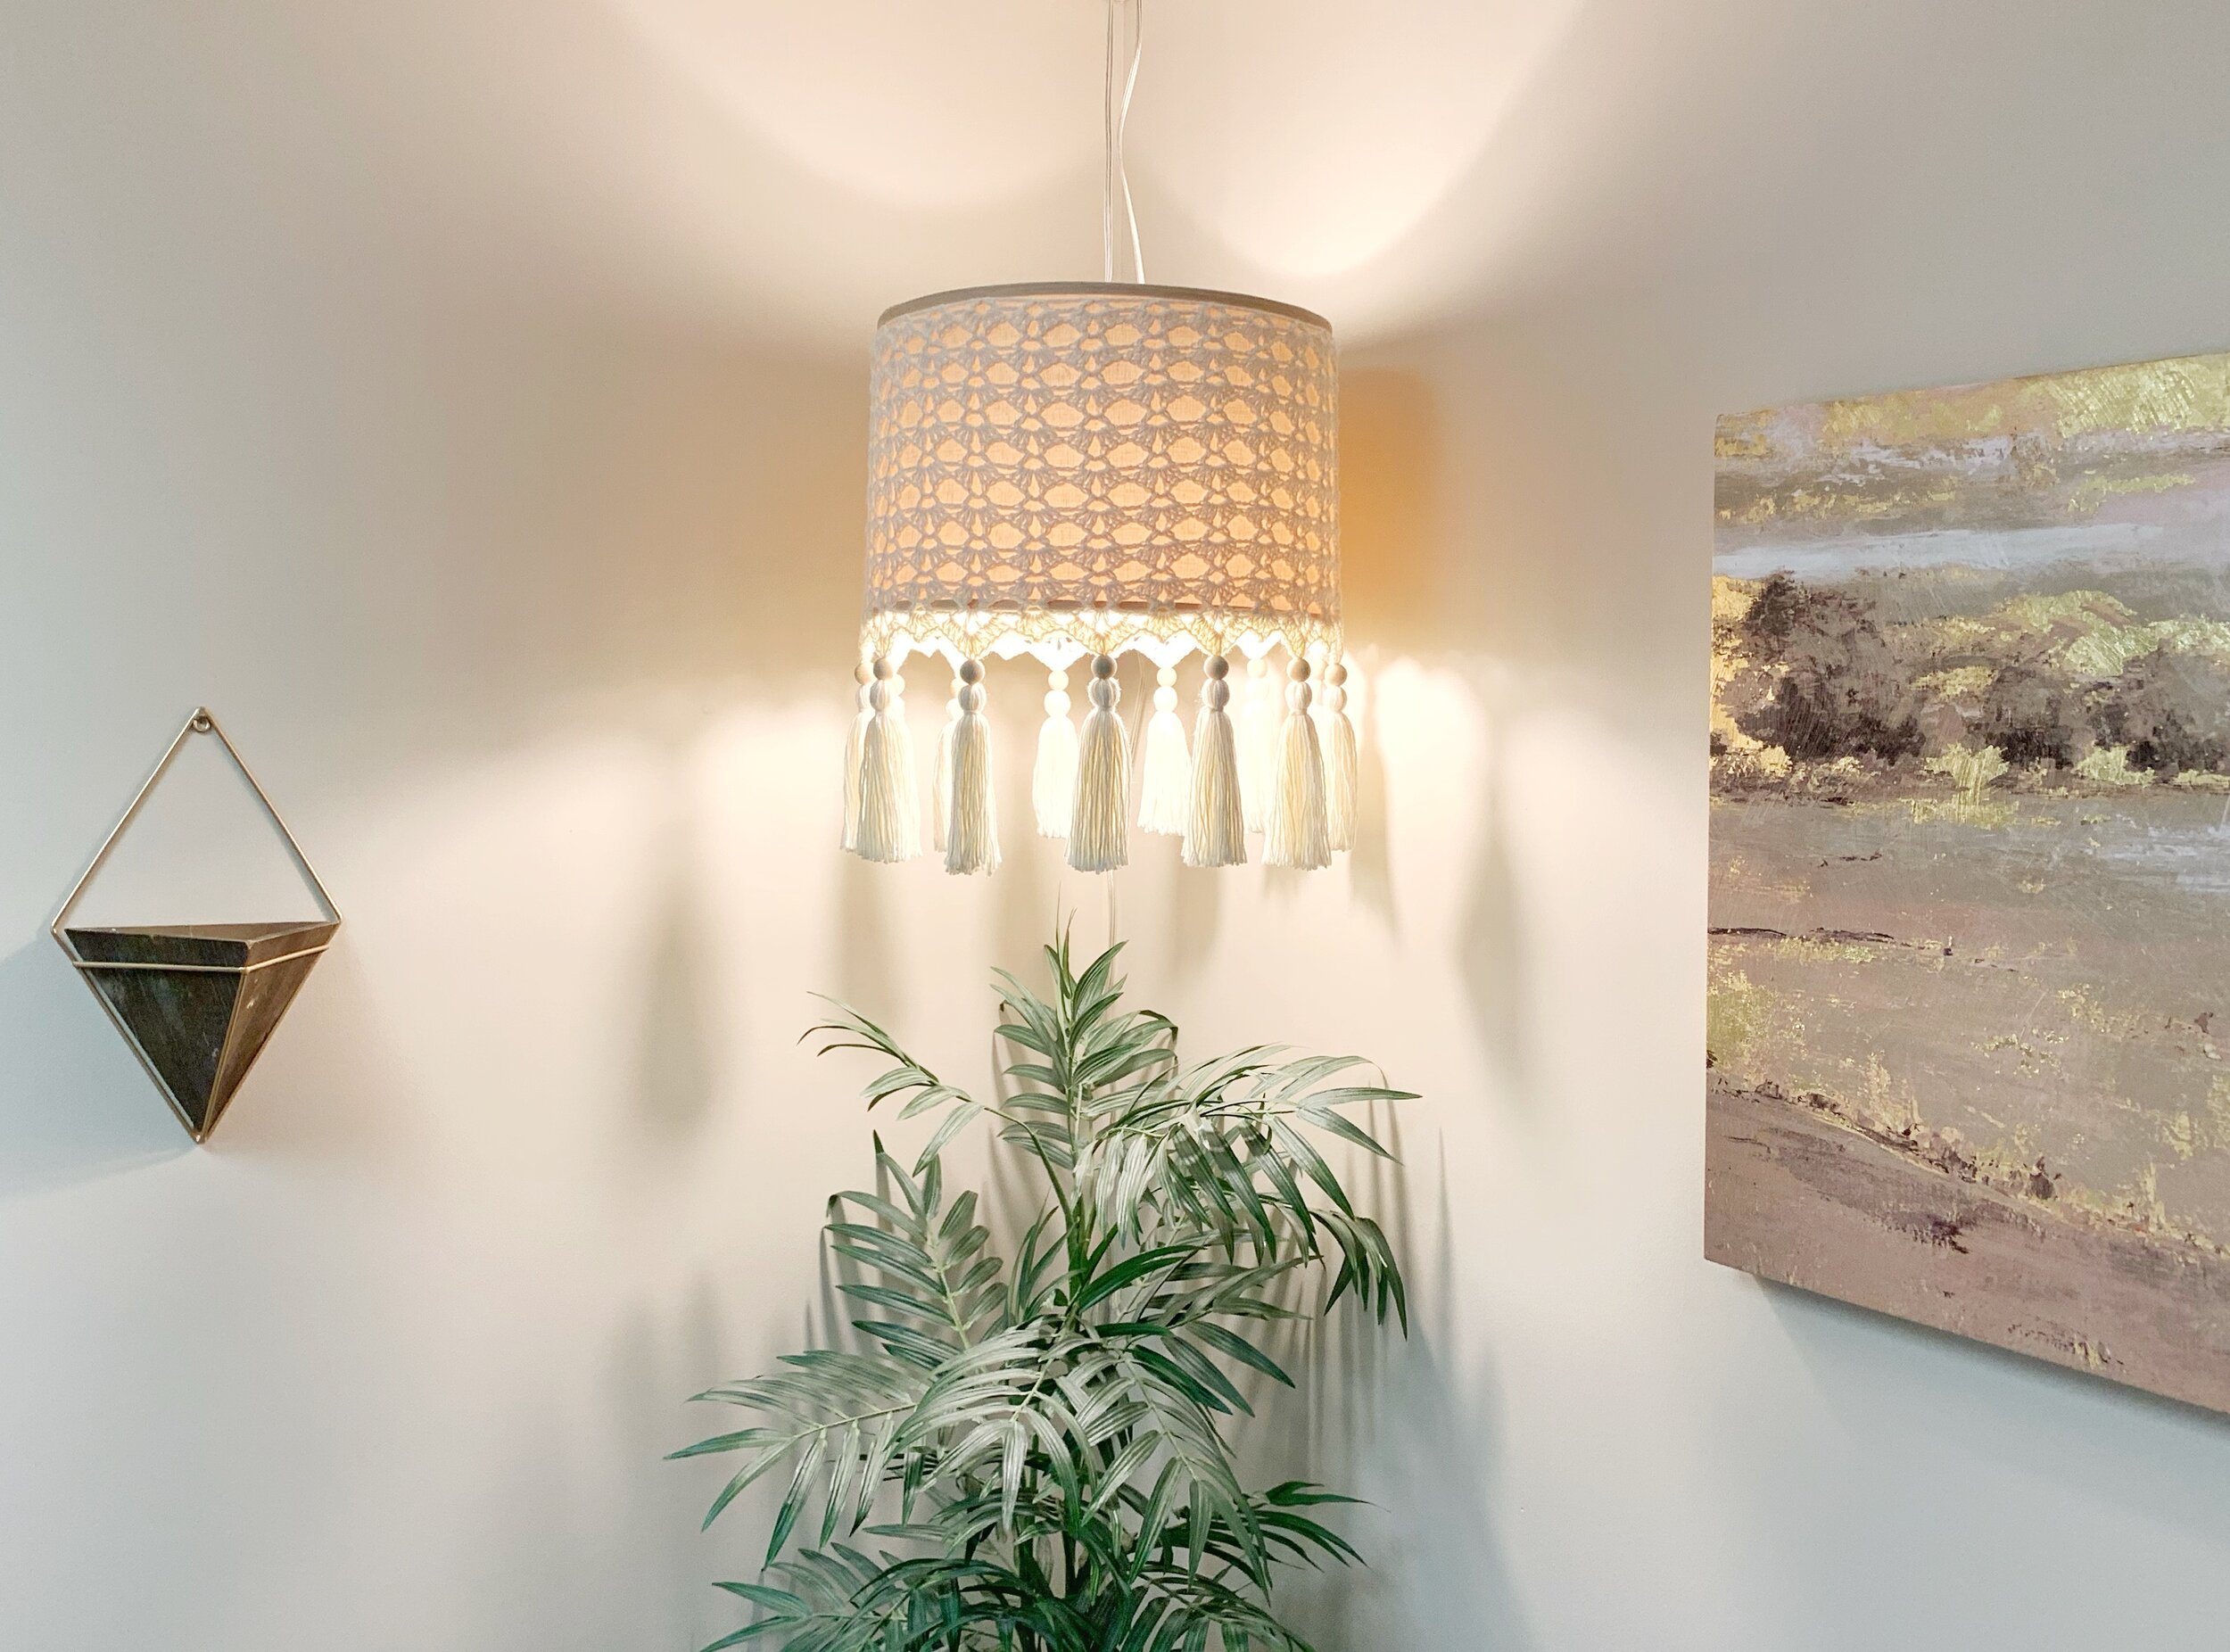
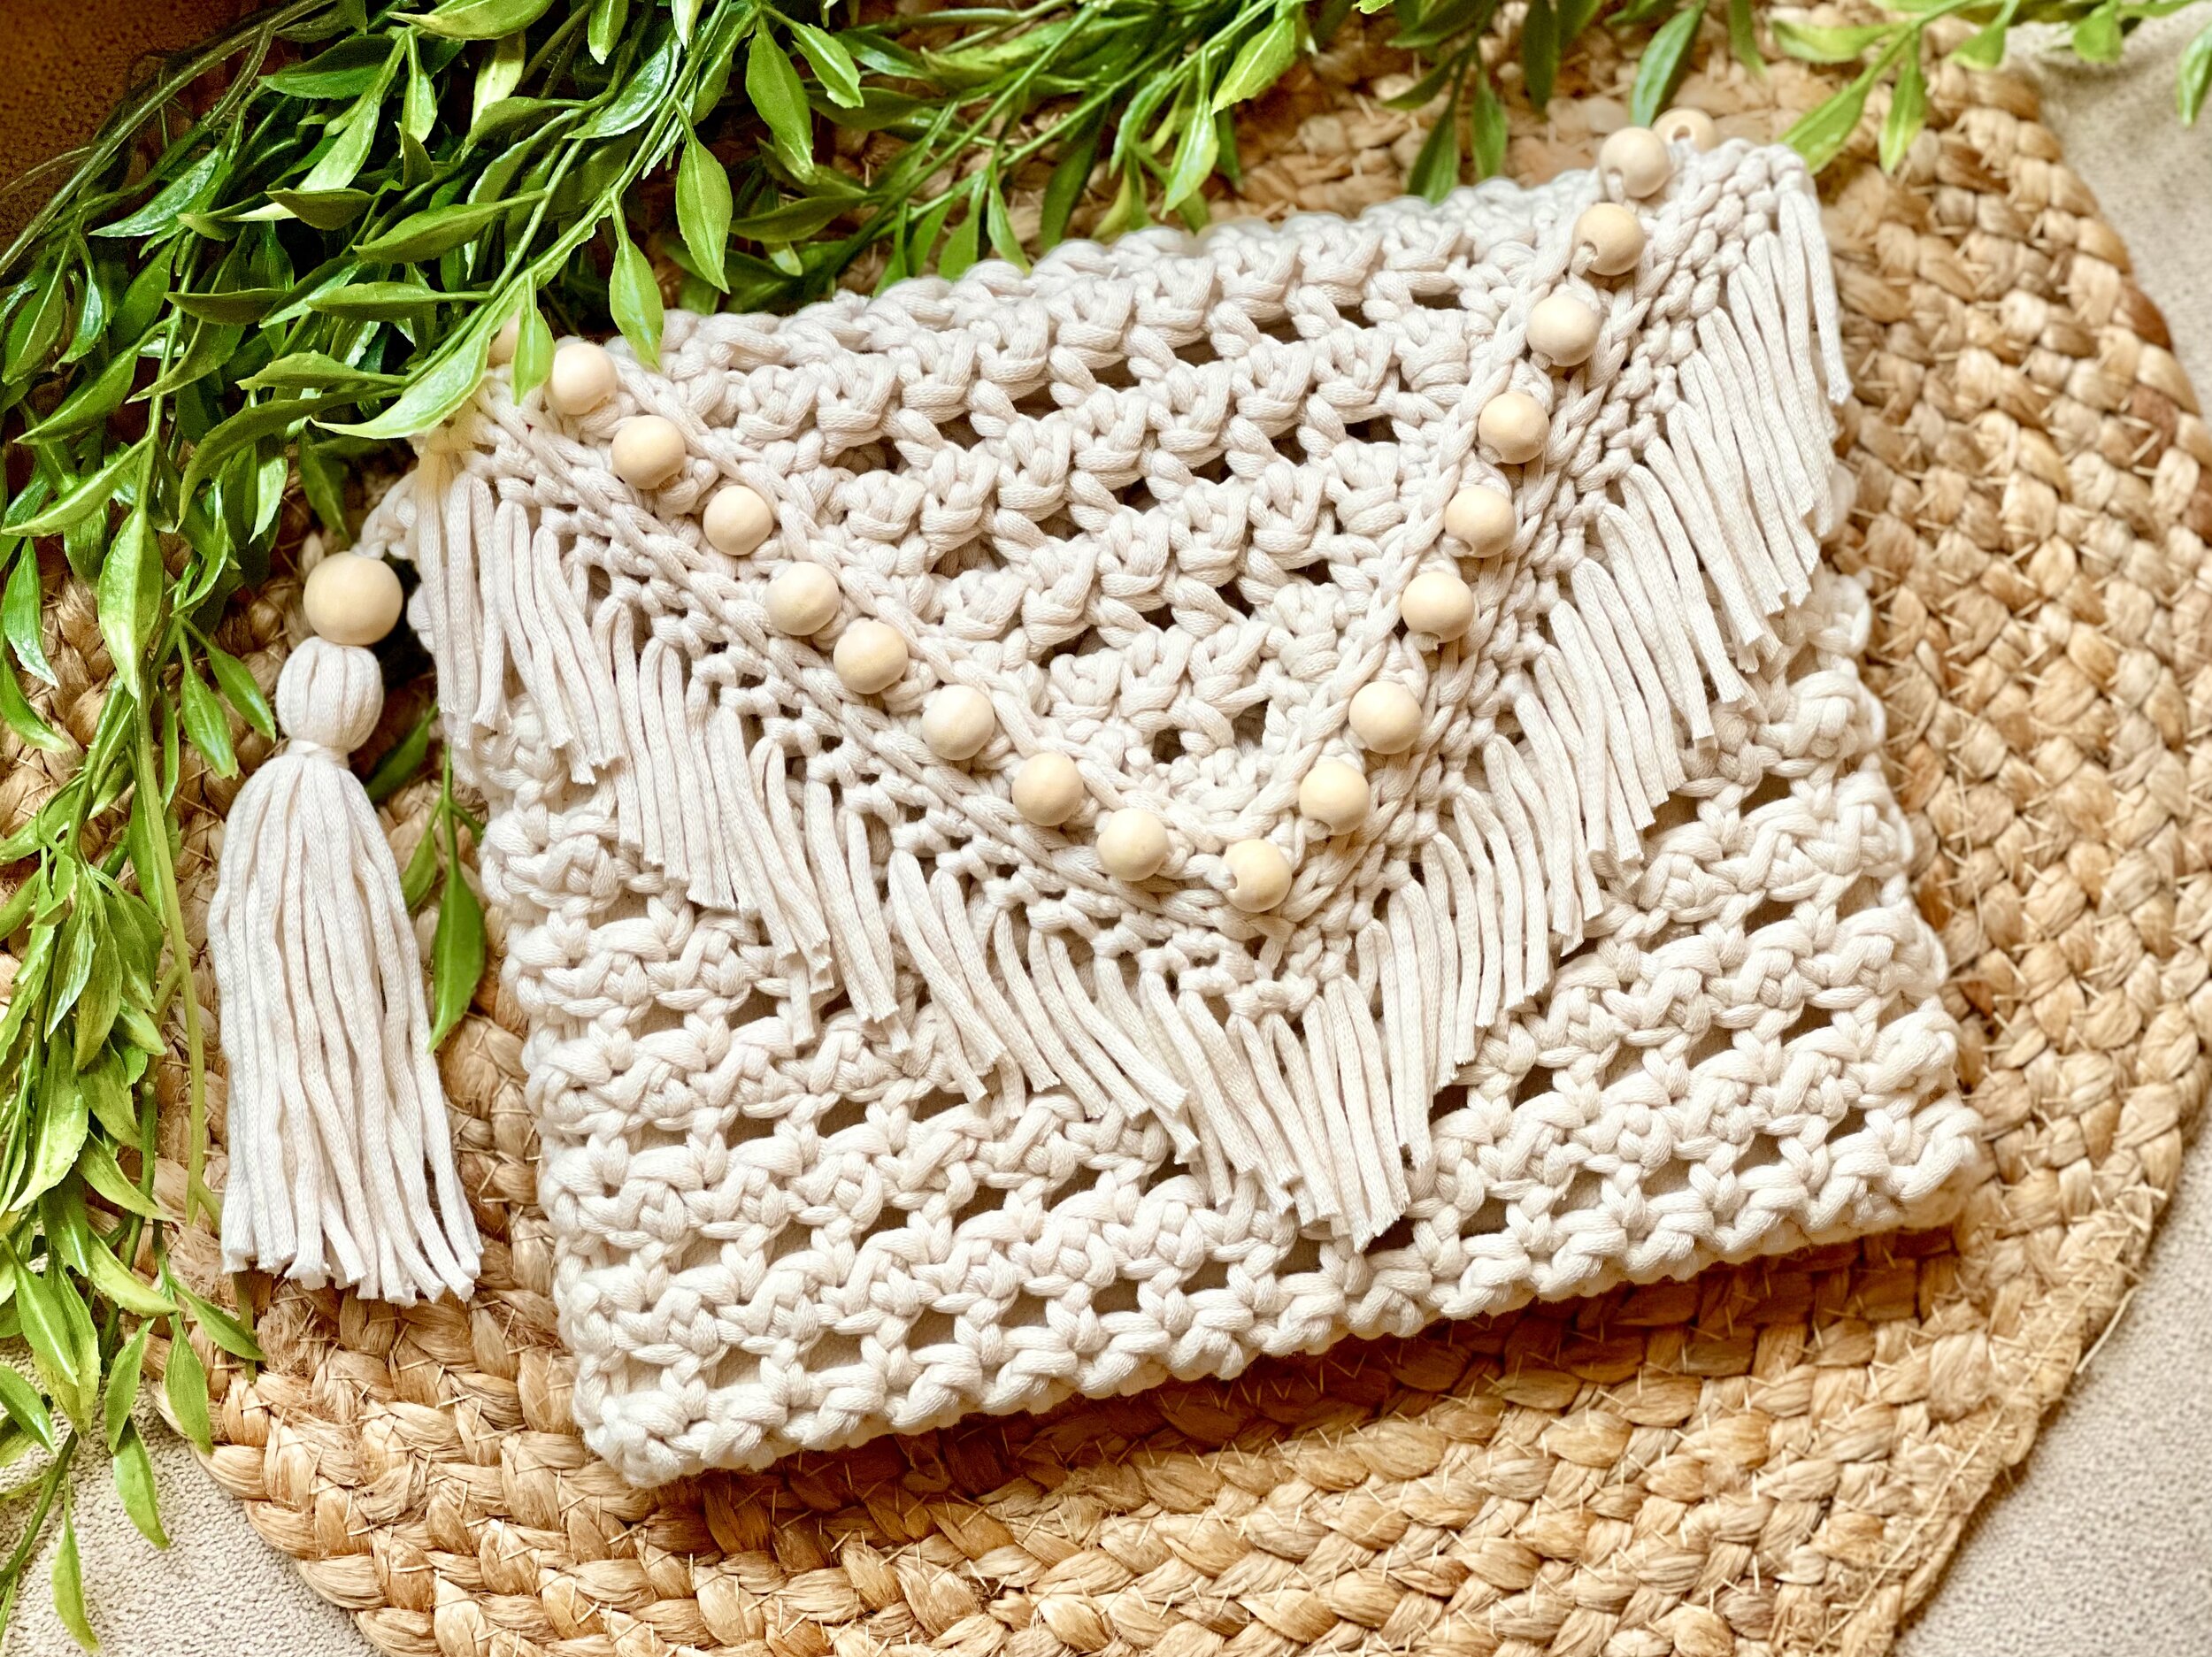
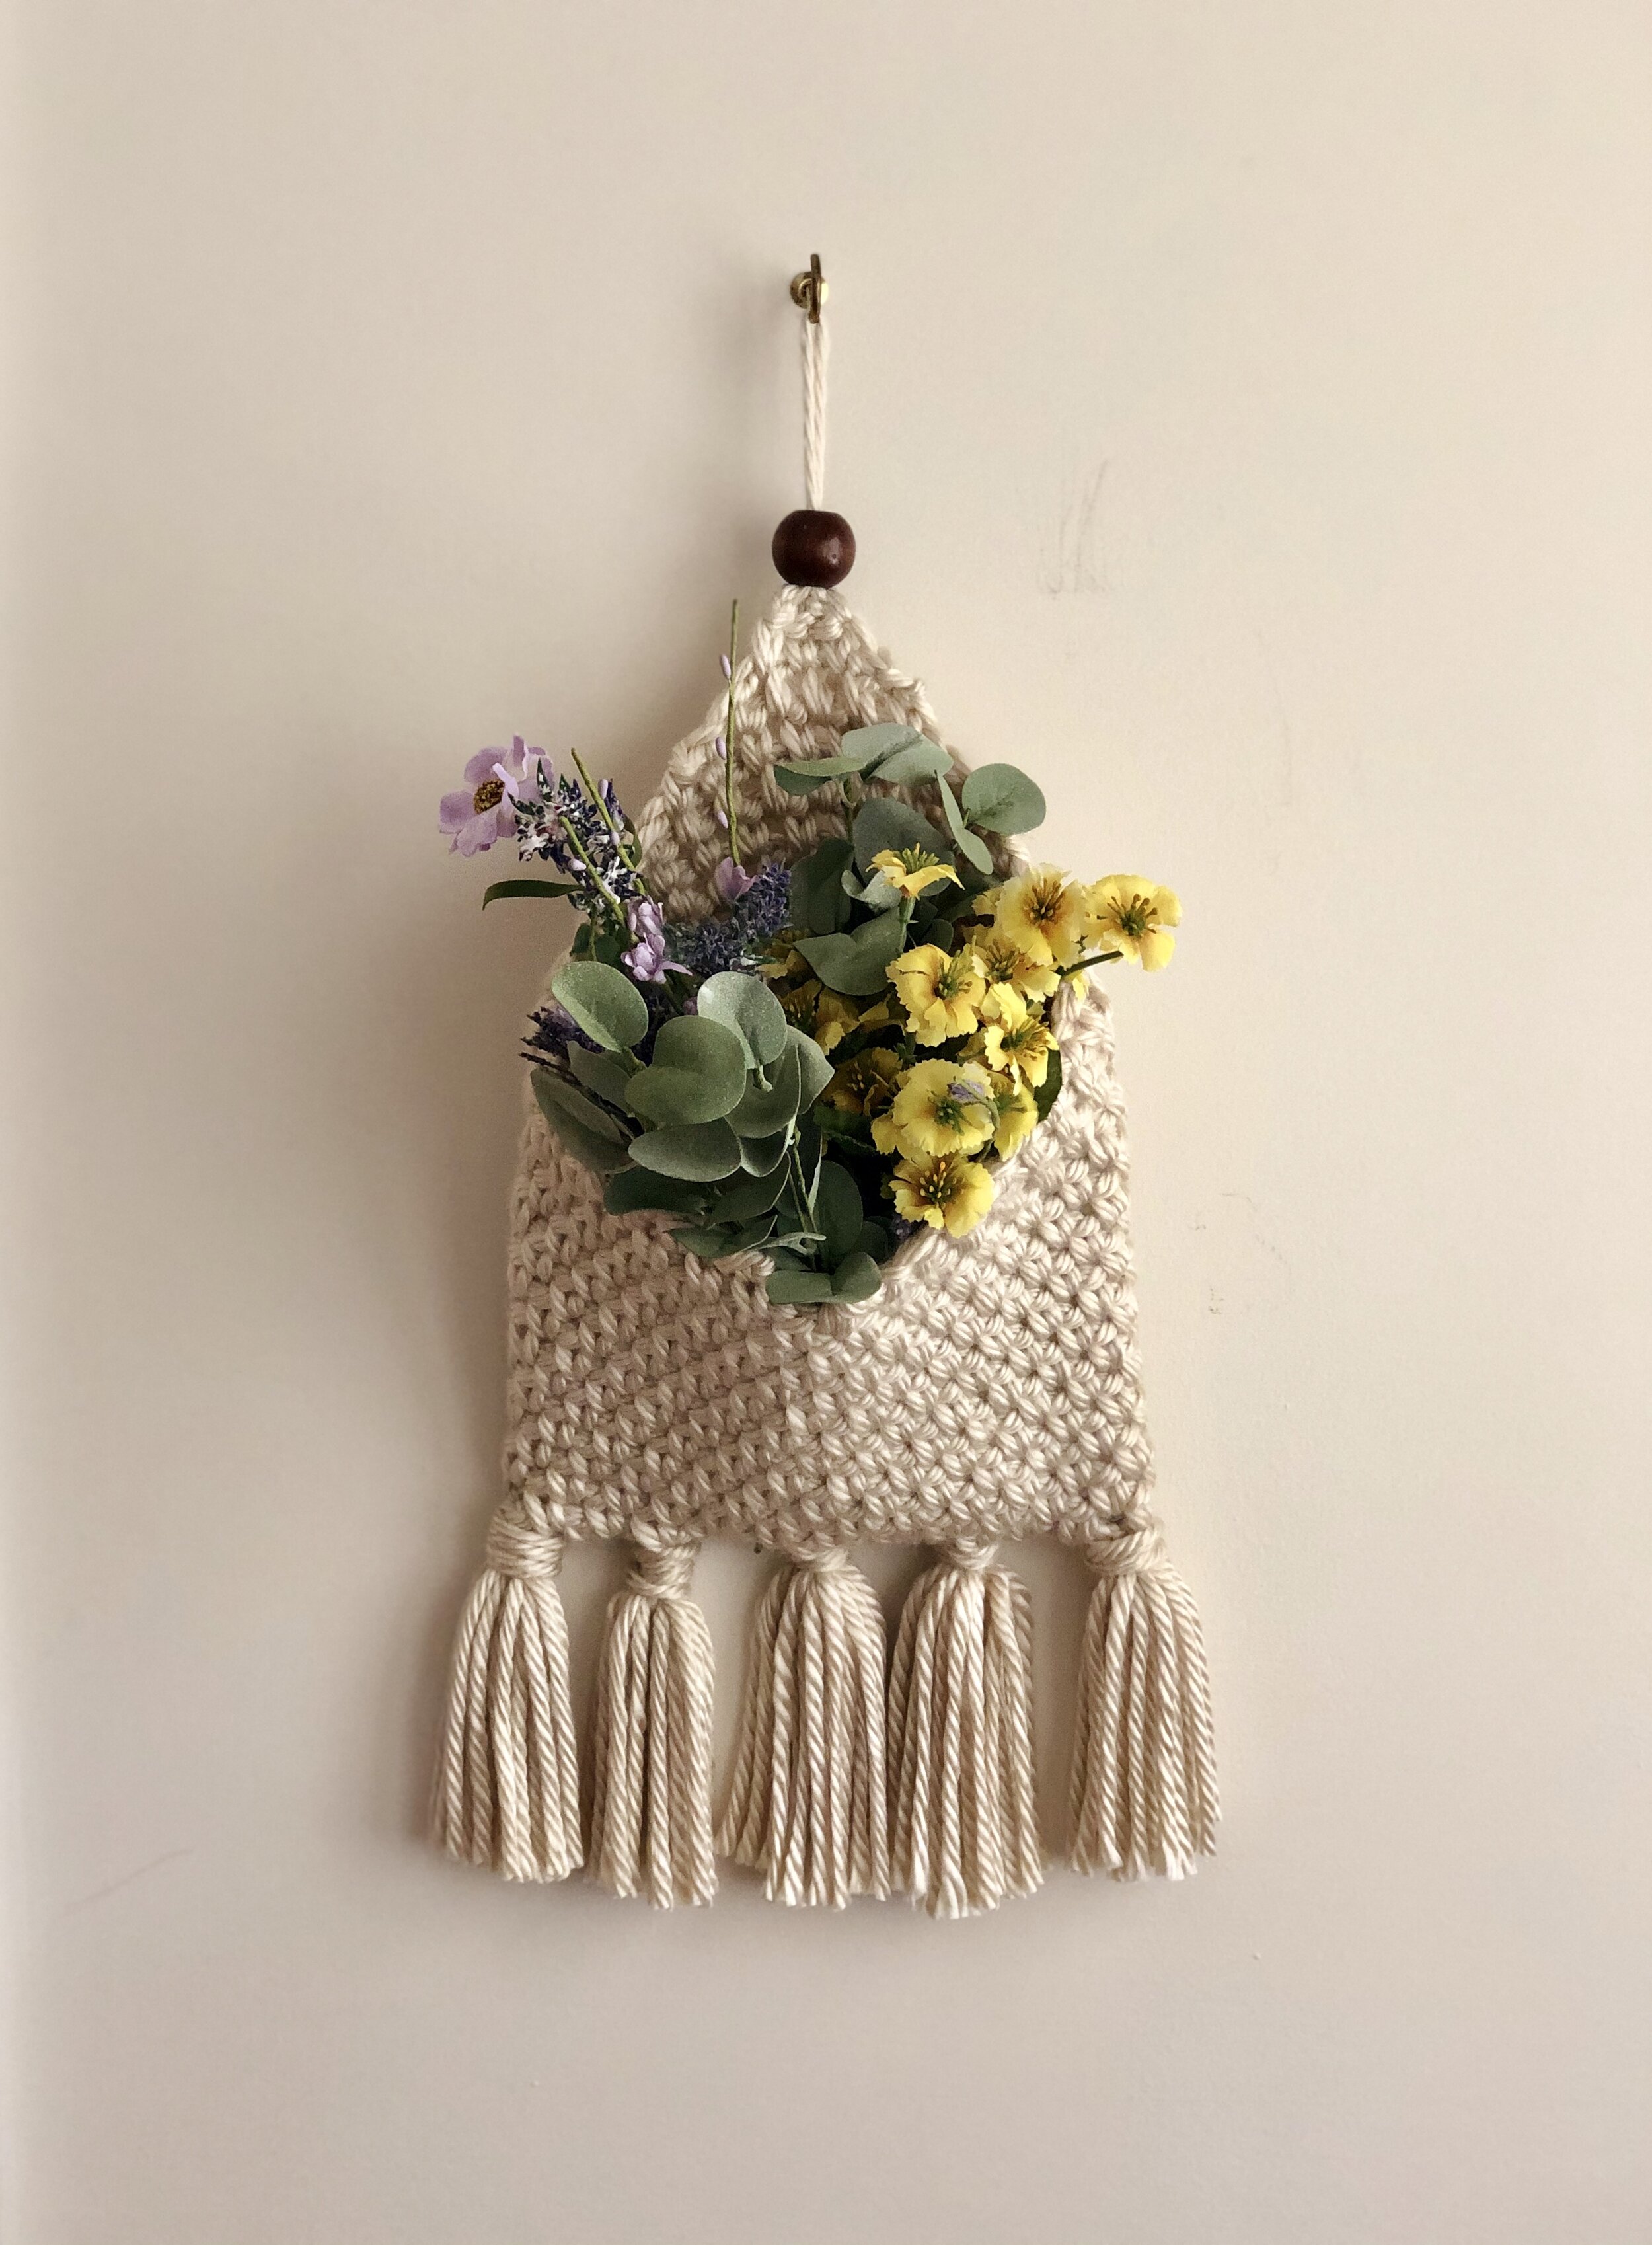
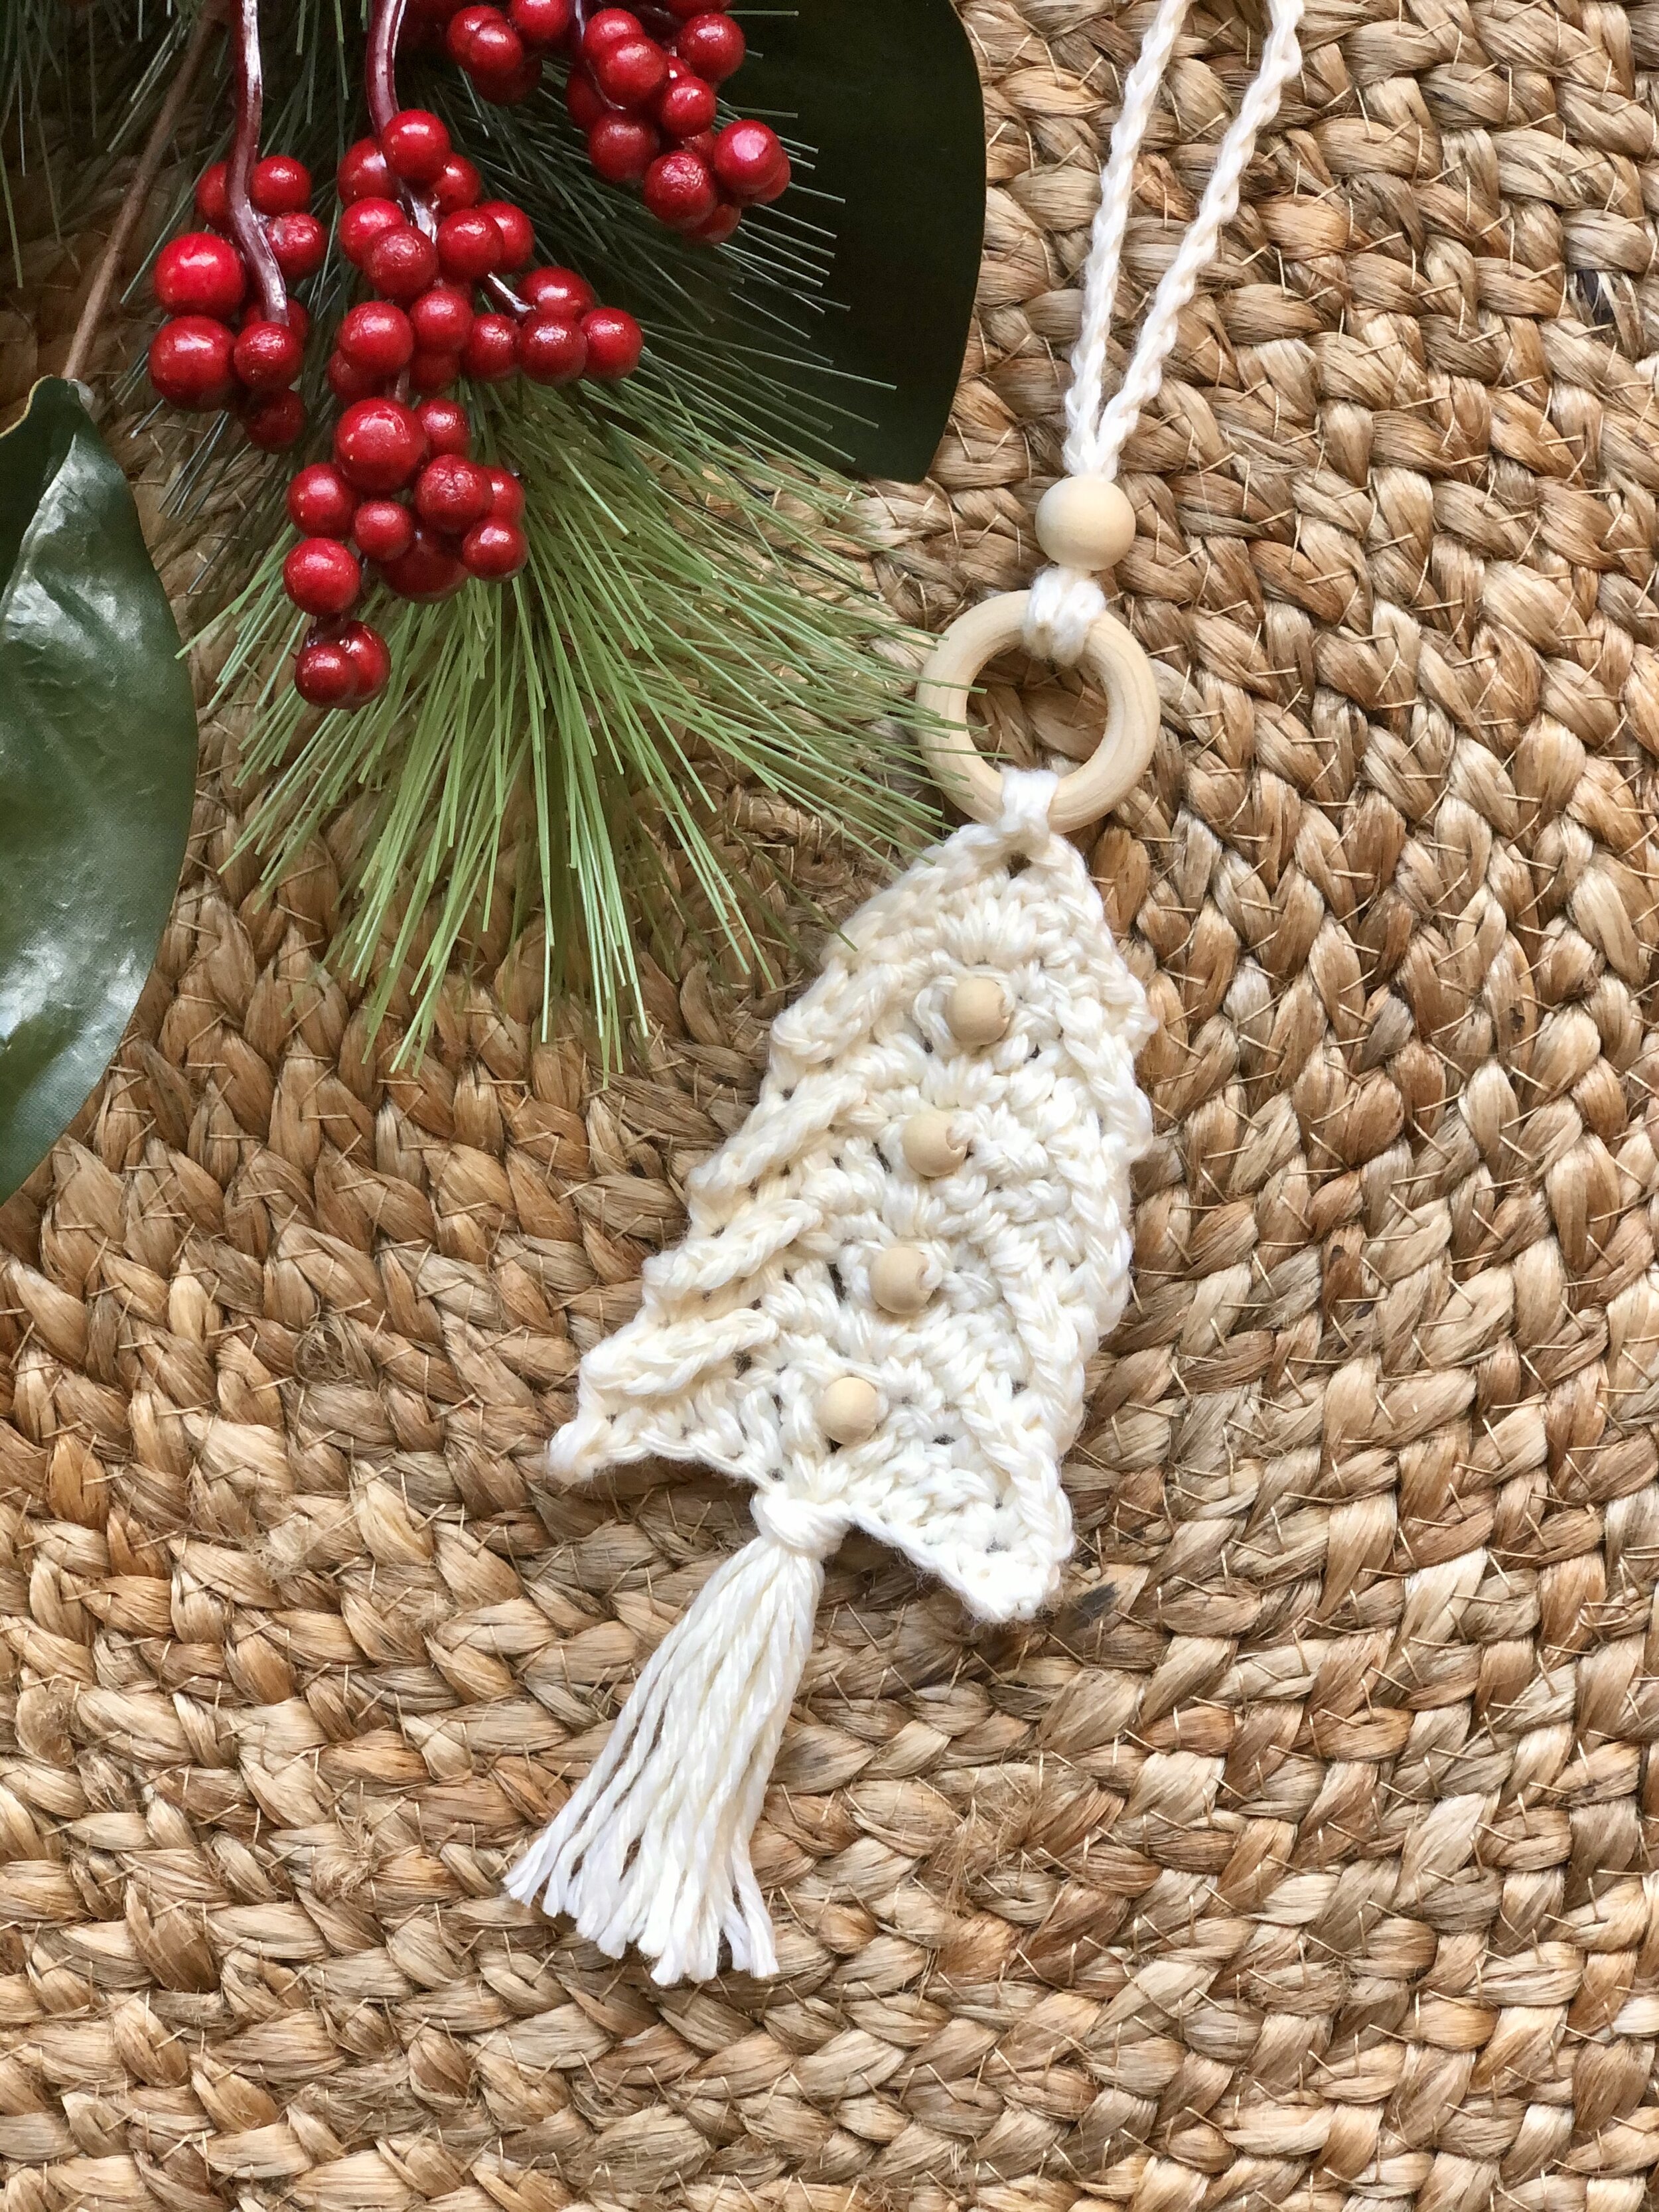
If you follow me on any of my social media accounts, you have probably already figured out that I have a slight obsession with mimicking macramé using crochet stitches. I love the look of a lot of macramé items, but I love to crochet. I could learn macramé, but I sort of like the challenge of creating the same look using my hook and some yarn. So far I have created a clutch, a lampshade, mini pocket wall hangings, a large pocket wall hanging, jar covers, Christmas ornaments, kitchen towel rings, and now—napkin rings! All were inspired by something done in macramé on Pinterest.

These napkin rings give all the boho flair and only take about 15-20 minutes to make! And you know me, I love a versatile pattern. You could also use it for a keychain or an embellishment to a purse, someone even mentioned a wall hanging! It’s completely up to you!
For an ad-free printable pdf of this pattern, click here.
They make great housewarming gifts, but would also be a beautiful addition to a wedding reception or shower place setting, or even a boho baby shower place setting! If you love to go glamping, you could also use these in your boho décor for your camper!
Before we get to the pattern, I wanted to note a few things about the supplies. I originally made this pattern using Bernat Home Maker Dec yarn, which is extremely hard to find these days. My recommendation for a substitute yarn would be either a 3 or 4 mm macramé cording, or double strands held together of Lion Brand’s Comfy Cotton Blend in the color Whipped Cream. Lion Brand also has a yarn called Rewind Tape that I often use as a substitute for the Home Maker yarn. I also recently discovered JoAnn’s carries a similar yarn called Big Twist Textile that is the chainette yarn with the polyfil center. Since the Home Maker is a bulky weight size 5 yarn, you need to pay attention to the weight of whatever yarn you are choosing to sub it with (for example, one of my testers used Peaches N’ Cream single strand, and the finished project was simply smaller). If you choose to use a thinner yarn to create the napkin rings, you may want to double up your strands for the fringe part. If not, it will look sickly LOL!
Another thing I will note about the yarn used is, if you choose cotton cording I highly recommend brushing out the fringe gently with a fine-toothed comb and then spraying it with fabric stiffener and letting it dry prior to cutting it. This will improve the overall look and make the final product look even more like a macramé project. Some of my testers used the Home Maker yarn for the body of the napkin ring, then used a cotton yarn for the fringe, brushed it out and sprayed it, then cut it. You cannot even tell it isn’t the same yarn throughout and it looks awesome! So these are all things to consider when picking out your yarn.
I also wanted to mention that bead size really IS important in this project. If you don’t get the size ratio correct, the finished product will look imbalanced. I know a lot of people like to use the supplies they have on hand, but you really can get a good selection of wooden beads for relatively cheap on Amazon (get the bead assortment I love HERE). I have also found great bead assortments in Michael’s and Hobby Lobby if you do not wish to order online.
Enough of my rambling—let’s make it!

Pictured is Bernat Home Maker Dec in the color Cream
Supplies Needed Per Napkin Ring:
- 20-30 yds of Bernat Home Maker Dec yarn (good subs are Lion Brand Rewind Tape, double strands of Lion Brand Comfy Cotton Blend, or a size 3-4 mm cotton macramé cording)
-Size J 6.0 mm hook (Exact hook size is not imperative in this pattern. I crochet loosely, so you may want to go up a hook size or two if you crochet tightly.)
-A 2.75” (7 cm) wooden ring
-1 15 mm or 16 mm wooden bead
-9 8 mm or 10 mm wooden beads
-Scissors, yarn needle, fabric stiffener (Optional. For fringe of macramé cording)
Terms Used and Abbreviations:
Pattern is written in US terminology.
Begin(ning) - beg
Chain - ch
Double Crochet - dc
Fasten off - FO
Half Double Crochet - hdc
Place Bead - PB
Repeat - rep
Single Crochet - sc
Slip Stitch - sl st
Space(s) - sp(s)
Stitch(es) - st(s)
Together - tog
Yarn Over - YO
Special Terms and Definitions:
Sc 3rd loop - The st itself is worked the same, but the place where you insert your hook is slightly different. Please see my YouTube video demonstrating this method here:
https://youtu.be/XACeGd6kxyU?t=224
Place Bead- Slide bead flush to your hook. Complete st as usual.
Gauge:
Gauge is not imperative in this particular pattern.
Finished Measurements:
Finished napkin ring motif should measure approx. 3.5” (9 cm) from top to point of motif.
Click the link below to see a full video tutorial of how to make this napkin ring:

Instructions:
Thread the 9 smaller beads onto your working yarn, then thread the large bead last.
Ch 3, PB, ch 1, dc in very first st you made.
Row 1: Ch 2 (beg ch-2 counts as a hdc), turn so that you are working around the dc post, 5 hdc around dc post, {2 hdc, ch 1, 2 hdc} in first foundation st where you place your dc, turn so that you are working around the post of the beg ch- 3, 6 hdc around ch-3. [16 hdc]
Row 2: Ch 1, turn, PB, ch 1, sk first st, * sc 3rd loop, PB, ch 1, sk next st; rep from * to ch-1 sp of point, sc in “back hump” of ch-1 st at point, PB, ch 1, ** sk next st, sc 3rd loop, PB, ch 1; rep from ** to end, sl st to next st into top of ch-2 from previous row to secure last st. [9 beads/ch-1 sps, 8 sc] NOTE: some of my testers struggled on this row. For a visual demonstration of this row, see: https://youtu.be/XACeGd6kxyU?t=212
Row 3: Ch 1, turn, working into both the beaded ch-1 sps and the sc sts from the row below hdc in first 8 sts, {2 hdc, ch 1, 2 hdc} in beaded ch-1 sp at point, hdc in last 8 sts. [20 hdc]
Row 4: Ch 1, turn, sc 3rd loop in first 10 sts, {2 sc, ch 1, 2 sc} in ch-1 sp of point, sc 3rd loop of last 10 sts. [24 sc]
Row 5: Ch 1, turn, loosely sl st in every st and sp to end. [25 sl st]
Add your ring
Ch 1, turn so that you are working along the top of the motif, sl st into wooden ring. Sc 11 sts evenly across top into wooden ring following this method:
1. Move wooden ring to right of your work. Insert hook into next st, YO, pull up a loop.
2. Move ring back between hook and working yarn.
3. Insert hook through wooden ring, YO, draw through both loops on your hook.
To finish, use the invisible join method to sl st into the first st down the piece. FO, weave in tails. To see how to make the invisible join, see: https://youtu.be/XACeGd6kxyU?t=867
Wrap a piece of cardboard 3.5” wide 25 times and cut to make fringe tails. Using the larks knot, insert your hook into the sc sts behind the last sl st row and add 1 piece of fringe per st all the way around. Cut evenly so that the fringe is about 1.5”-2” in length.
If you chose to use cotton cord, comb the fringe out to make the fringe look more like macrame. Then spray with fabric stiffener. Let dry. Cut fringe so that the fringe is evenly about 1.5”-2” in length. NOTE: Some of my testers used yarn for the body of the napkin ring, then added cotton fringe, brushing it out and adding fabric stiffener. If you choose to do this, you may need to add 2 strands of fringe per st so it is fuller.

Your Boho Napkin Ring is complete! I would love to see your finished work! If you want to tag me on IG, I’m @dayscrochetnc. You could also use the hashtag #bohonapkinring to follow what others are making. I can’t wait to see your projects! If you would like to see other versions that I will be making after this publication, be sure to check me out on IG!
Please note that you do not have my permission to sell, share, copy, or duplicate this pattern or my photos in any way. Please do not use this pattern for a video, blog, or class tutorial. Thank you so much for following these simple rules! Please message me on Facebook or send me an email at dayscrochetnc@gmail.com with any questions.