
The Ushanka Hat

PIN it here!!
This gorgeous hat pattern I’m going to share with you is one of my top sellers year round.
Shocking, I know! It has always been one of the very first things to sell at ANY vendor market, no matter the season. Twice it was the very first thing to sell. It baffles me because I designed it according to those giant winter hats worn in Russia (thus the name Ushanka Hat). But people love it!
This post may contain affiliate links that help me to continue to post free content. To skip the ads and have a printable pdf, you can find this pattern for relatively little cost in both my Etsy and Ravelry shops.
I think the most appealing aspect of this hat is how glamorous and elegant it truly looks. I normally don’t wear hats myself, but I even love the look of this hat on myself (that’s saying a lot, trust me!).
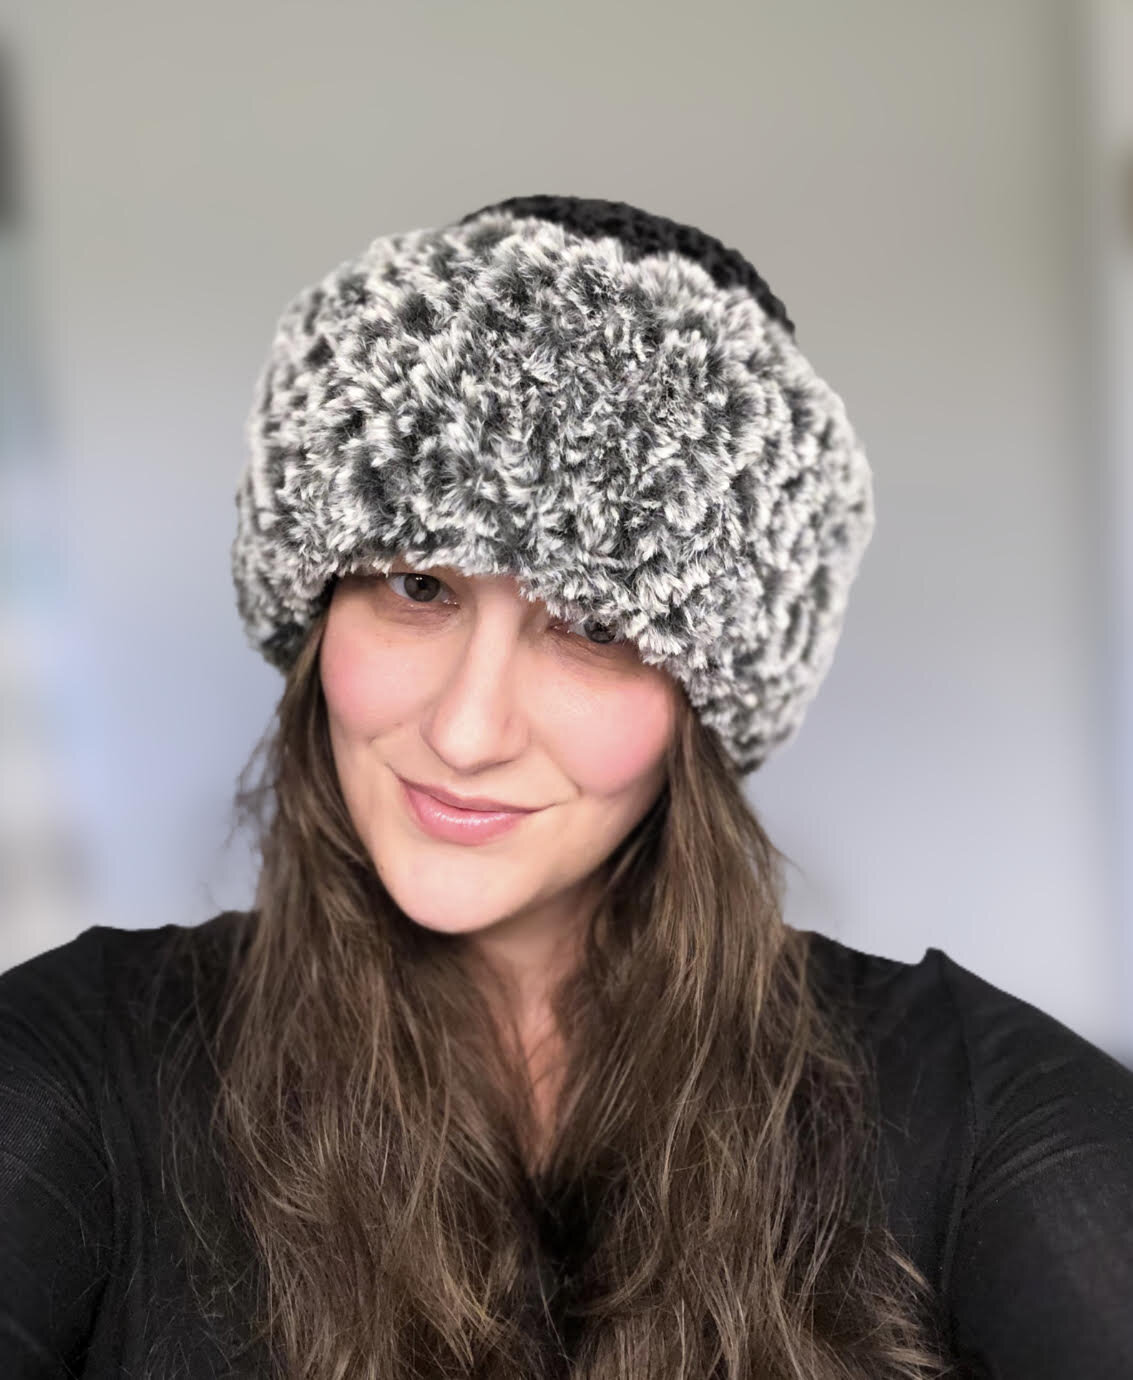
The Ushanka Hat I’m wearing here is made using a single strand of Bernat Velvet in the color Black and LB Go for the Faux in the color Mink.
This design came about because one of my good friends sent me a photo of a fur-trimmed hat and asked me if I could replicate it. She also wanted a pair of wrist warmers, boot cuffs, and a scarf. So I set out to make what she envisioned. It is such a beautiful set and I always sell out every time I take it to a market. Pictured below are the accessories to the Ushanka Hat. You can find the pattern set in my Ravelry shop.

The scarf can be made so that it has pockets!

I have also released the pattern for the fur-trimmed wrist warmers as a YouTube video. They are beginner friendly and take about 30 minutes to make a whole pair! They sell extremely well, even without the other items in the set. I sell mine for around $15 a pair.
The set is incredibly soft when made with the suggested velvet and faux fur yarns, but I will warn you it is extremely warm. If you live in a warmer climate, chances are your customers will not see the need for such an item. That’s not to say they won’t travel to colder climates to go skiing, etc., but just keep in mind that it may not be something you want to make in bulk until you test the waters of your customer base.
As far as pricing goes, I tend to sell the hat for $35-$45 (in my area, that’s what people are willing to pay), and the entire set is usually around $100. I have found the best sellers as a set together are the hat, scarf, and wrist warmers; especially the hat and scarf. They also work up very quickly because I double the strands of velvet, and I use the simplest of stitches throughout.
Let’s make it already!!
Supplies Needed:
-150-160 yds of any size 4 ww yarn. I chose to use Lion Brand Vel-luxe yarn (this yardage reflects the use of double strands. If you choose to use a single strand of chunky velvet yarn like Bernat velvet, divide the yardage in half)
-65 yds of faux fur yarn (NOTE: Pay attention so that you do not accidentally get jumbo weight yarn for this project). It appears that Lion Brand is discontinuing their regular Go for the Faux fur yarn, but Knitpicks carries some almost identical called Fable Fur and you get more yardage with theirs
-Size 9.0 mm N crochet hook or size needed to obtain gauge
-Scissors, yarn needle, measuring tape
Terms Used and Abbreviations:
Pattern is written in US terminology.
Beginning - beg
Chain - ch
Double Crochet - dc
Fasten Off – FO
Half Double Crochet - hdc
Repeat - rep
Slip Stitch(es) - sl st(s)
Stitch(es) - st(s)
Space(s) - sp(s)
Gauge:
Diameter after completing rounds 1-4 should measure approx. 6.5" (17 cm)
Finished Measurements:
Hat should measure approx. 11" x 8" (28 x 20 cm) when laying flat and not including faux fur trim. Faux fur trim should measure approx. 11.5" x 4.5" (29 x 11 cm)
Instructions:
Hat is made from top to bottom in the round with the faux fur trim made separately and sewn to the hat.
If you choose to make the hat using a size 4 yarn (like LB Vel-luxe), you will need to double your strands of yarn. If you choose to use a bulky weight size 5 velvet yarn (like Bernat Velvet), you can use a single strand of yarn.
Round 1: Using double strands held tog, ch 4, sl st to form a ring, ch 2 (beg chs do not count as a st from here on out), 12 dc in ring. Join with a sl st in first dc. [12 dc] (NOTE: You could also start with a magic ring here)
Round 2: Ch 2, 2 dc in each st around. Join with a sl st in first dc. [24 dc]
Round 3: Ch 2, * 2 dc, dc next st; rep from * around. [36 dc]
Round 4: Ch 2, * 2 dc, dc next 2 sts; rep from * around. [48 dc]
Gauge check: The diameter of your piece should now measure approx. 6.5" (17 cm). If your piece does not measure this, adjust hook size accordingly and start over.
Rounds 5-10: Ch 2, dc in each st around. [48 dc] (NOTE: Continue making rounds until your hat measures approx. 8” in length)
FO and weave in tails.
Faux Fur Trim
Using a single strand of faux fur yarn, ch 37 loosely. (NOTE: Make sure it is about the same length as the circumference of your hat or it will bunch up. The st count is not imperative in this portion, so add or remove sts as necessary.)
Round 1: Hdc in the 2nd ch from your hook and in each st across. [36 hdc]
Being very careful to not twist your piece, bring both ends together and sl st into the first hdc to form a ring.
Rounds 2-6: Ch 1, hdc between each st around (instead of the top of the st like you normally would). Join with a sl st in first hdc. [36 hdc] (NOTE: Crocheting between your sts allows you to ‘feel’ your way around so you don’t accidentally increase or decrease. See photo below.)

FO, leaving yourself a long tail for sewing the piece onto the bottom of the hat. Use your beg tail to sew the gap at the bottom of round 1 together.
I also have a YouTube video where I make this fur trim and turn it into faux fur ear warmers! They are also one of my very best sellers at vendor markets and I highly recommend making them to sell. I sell the ear warmers anywhere from $25-$35 (It depends on the market).
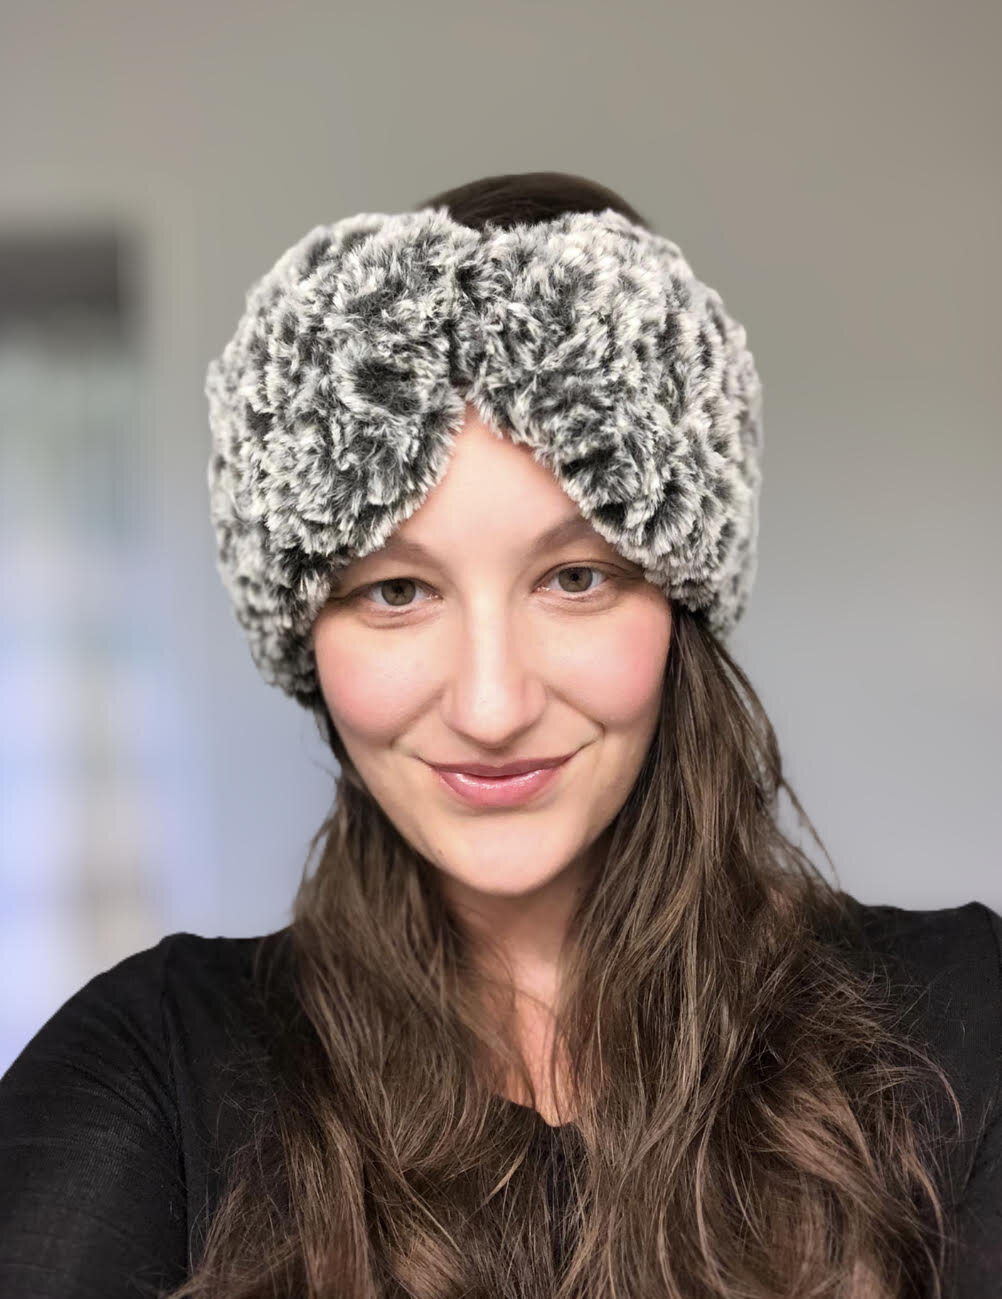
I’m wearing the faux fur ear warmers here in LB Go for the Faux in the color Mink. They scream elegance and glamour to me! (Minus the bathroom pic HAHA)
Sew fur to hat
To sew your trim to your hat, simply place the trim on the outside of the hat like a ring. Line up the bottom of the trim with the bottom of the hat, making sure the long tail you left yourself is also on the bottom. Beg sewing the trim to round 10 (or the last round of your hat if you did more than 10 rounds). FO and weave in tails. (NOTE: I do not sew the top portion of the trim to the hat to allow the hat to stretch to different head sizes without restriction. It will not slide down, so it isn’t necessary anyways.)
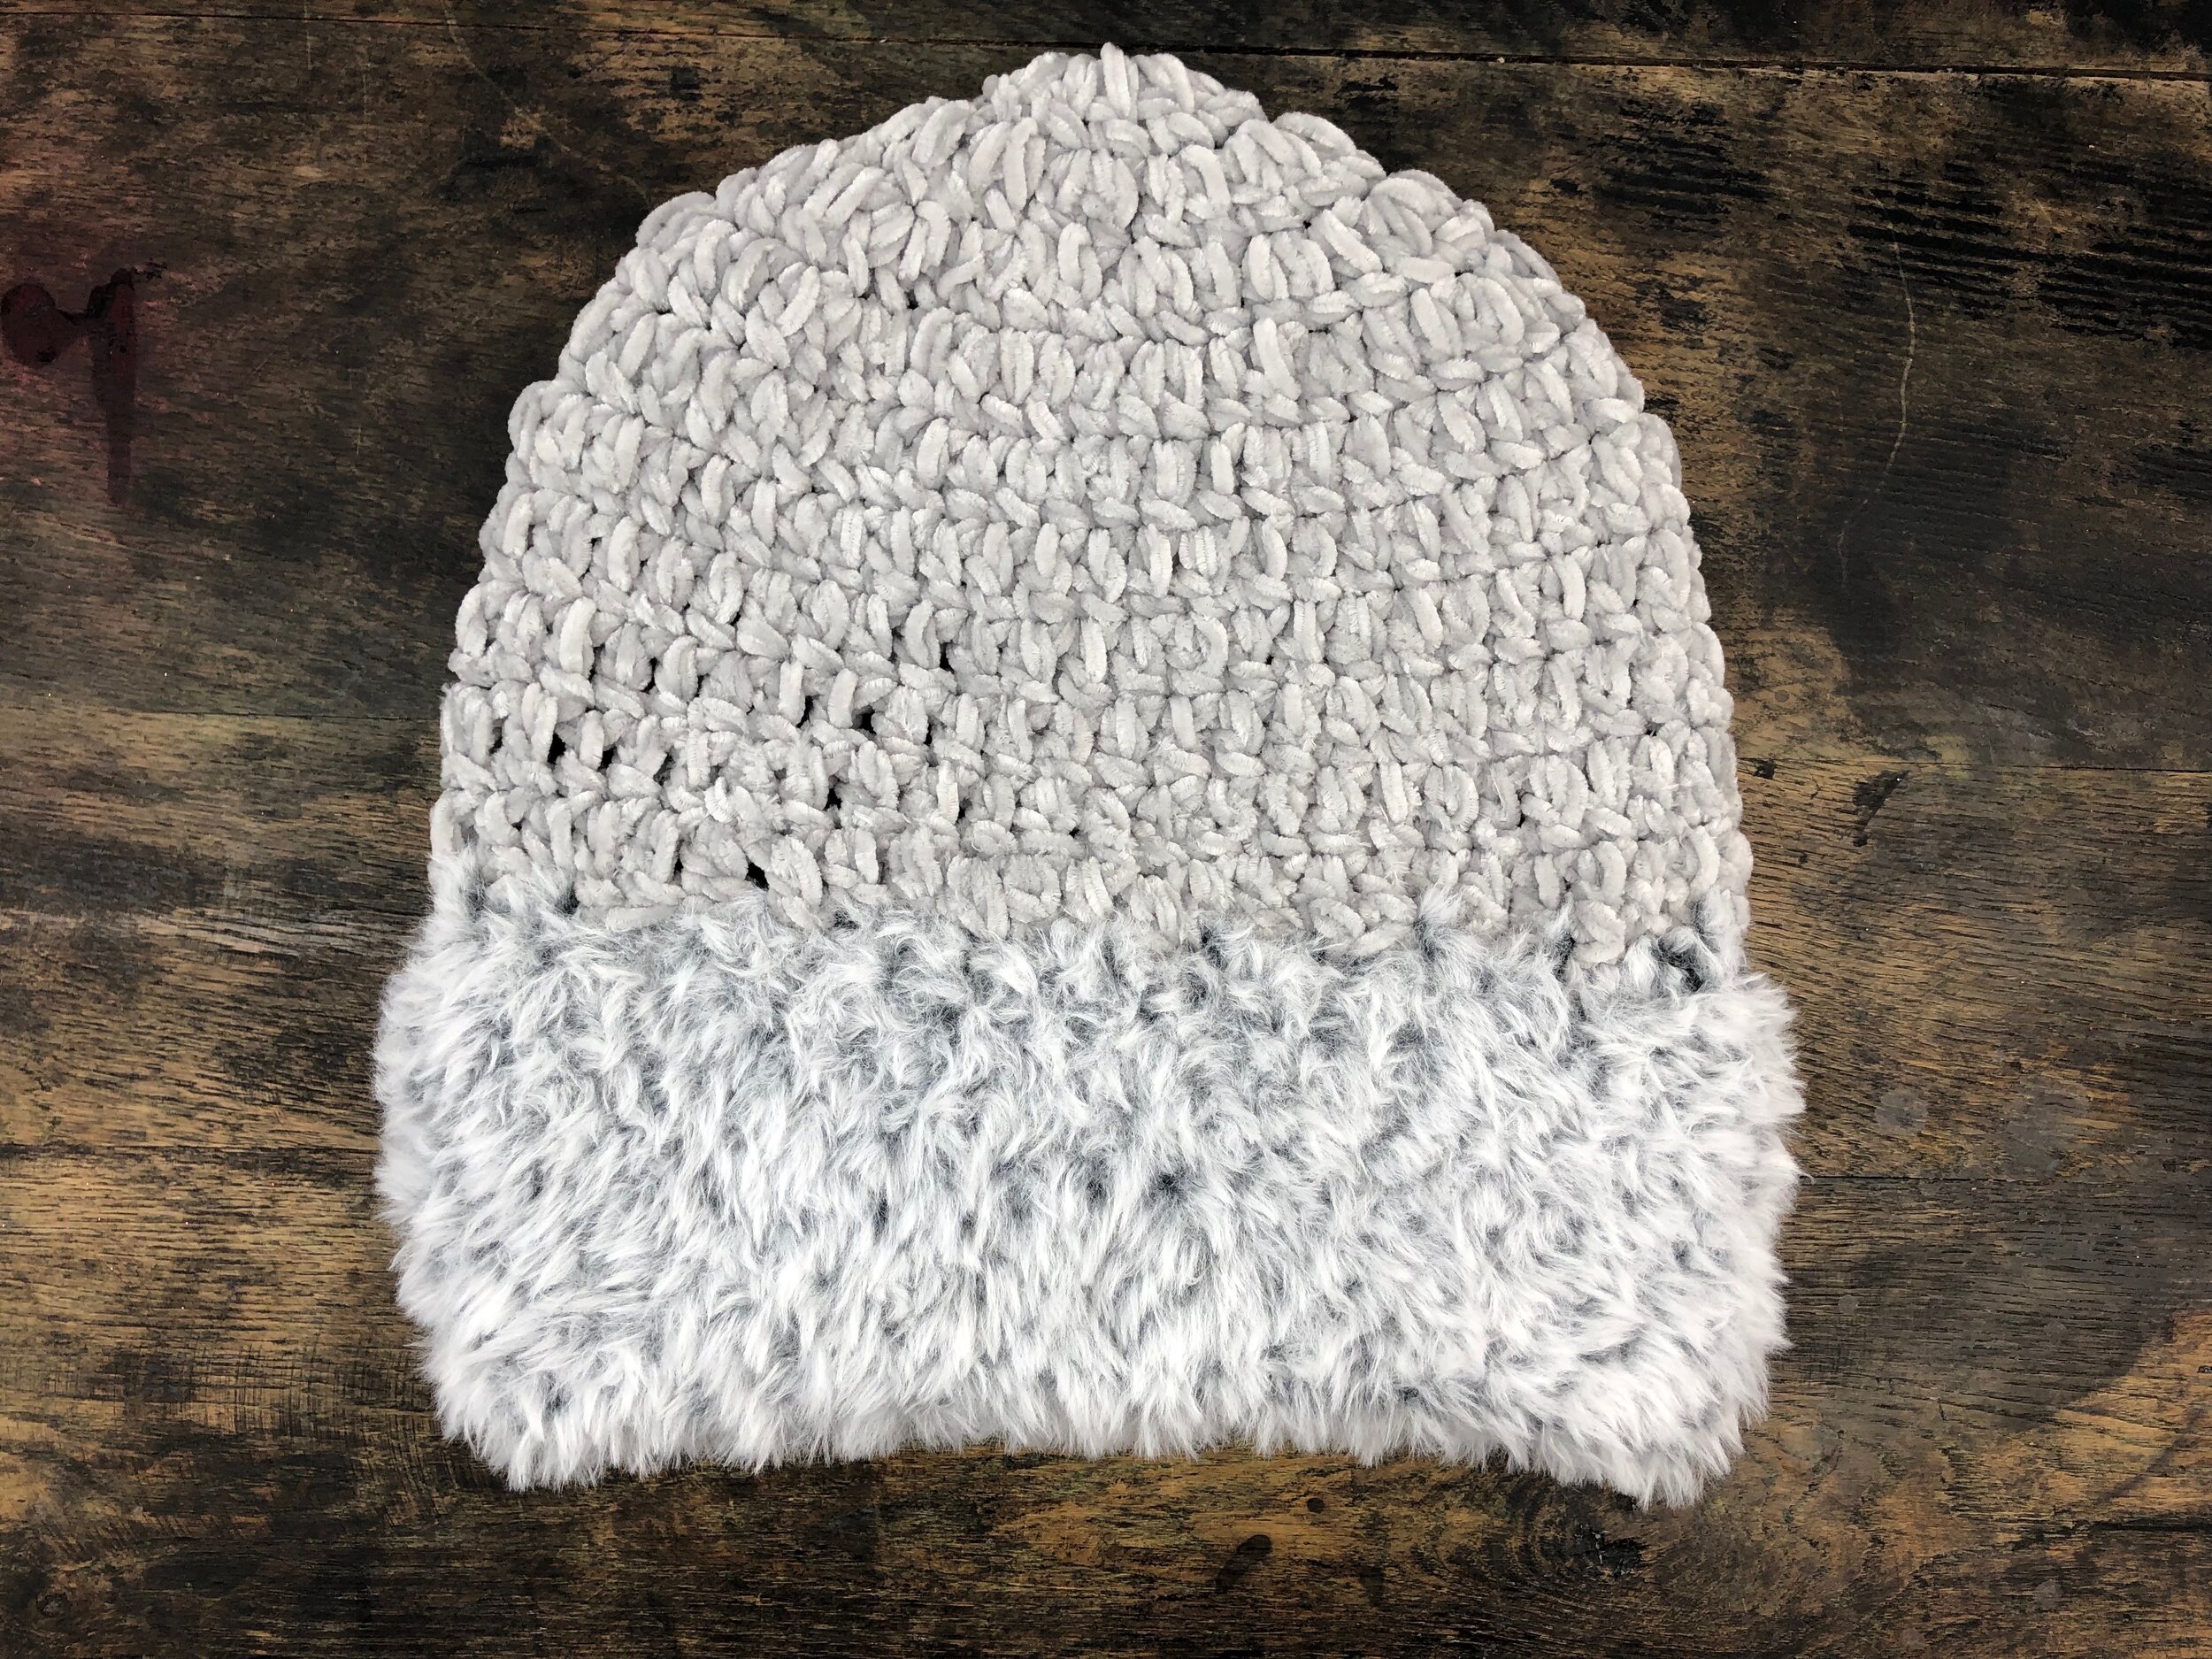
Pictured is how the hat looks before folding up the faux fur band. I used LB Velluxe in the color Silver and Go for the Faux in the color Gray Wolf.

Pictured is how the hat looks with the faux fur trim folded upwards. I used LB Velluxe in the color Silver and Go for the Faux in the color Gray Wolf.
Your Ushanka Hat is complete! I would love to see your finished work! If you want to tag me on IG, I’m @dayscrochetnc. You could also follow the hashtag #ushankahat to follow what others are making. I can’t wait to see your projects! If you would like to see other versions that I will be making after this publication, be sure to check me out on IG!
Please note that you do not have my permission to sell, share, copy, translate, or duplicate this pattern or my photos in any way. Please do not use this pattern for a video, blog, or class tutorial. Thank you so much for following these simple rules! Please message me on Facebook or send me an email at dayscrochetnc@gmail.com with any questions.
Come join my Facebook group, Crochet for Days! We have a lot of fun and I often offer discounts and coupon codes to my members that I don’t offer anywhere else! Request to join and answer the questions by following this link.
Did you enjoy making the Ushanka Hat? Let me know in the comments!
Happy Hooking!
~Dana