
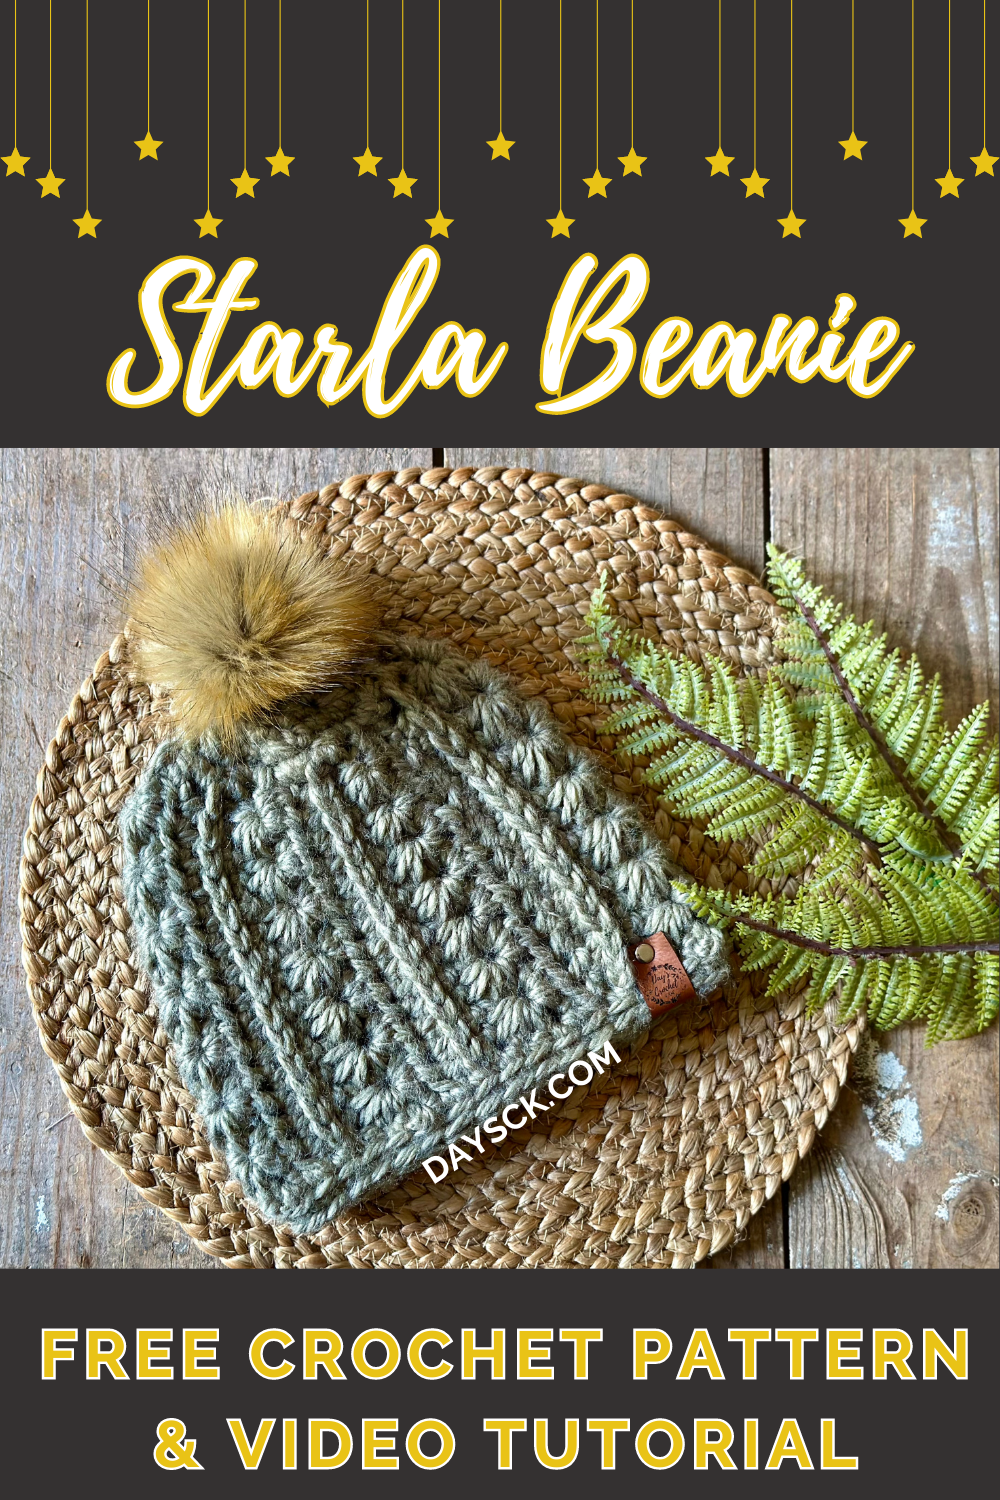
Starla Beanie - Chunky Star Stitch Crochet Hat
PIN it here!
This beautiful star stitch crochet hat is surprisingly simple to make and works up in a jiffy, making it perfect for craft fairs and market prep!
This post may contain affiliate links that help me to continue to post free content. If you make a purchase using the links, I may make a small commission at no additional cost to you. Thank you so much for your support!
To skip the ads and have a printable pdf of this pattern, you can find it in both my Etsy and Ravelry shops for relatively little cost.
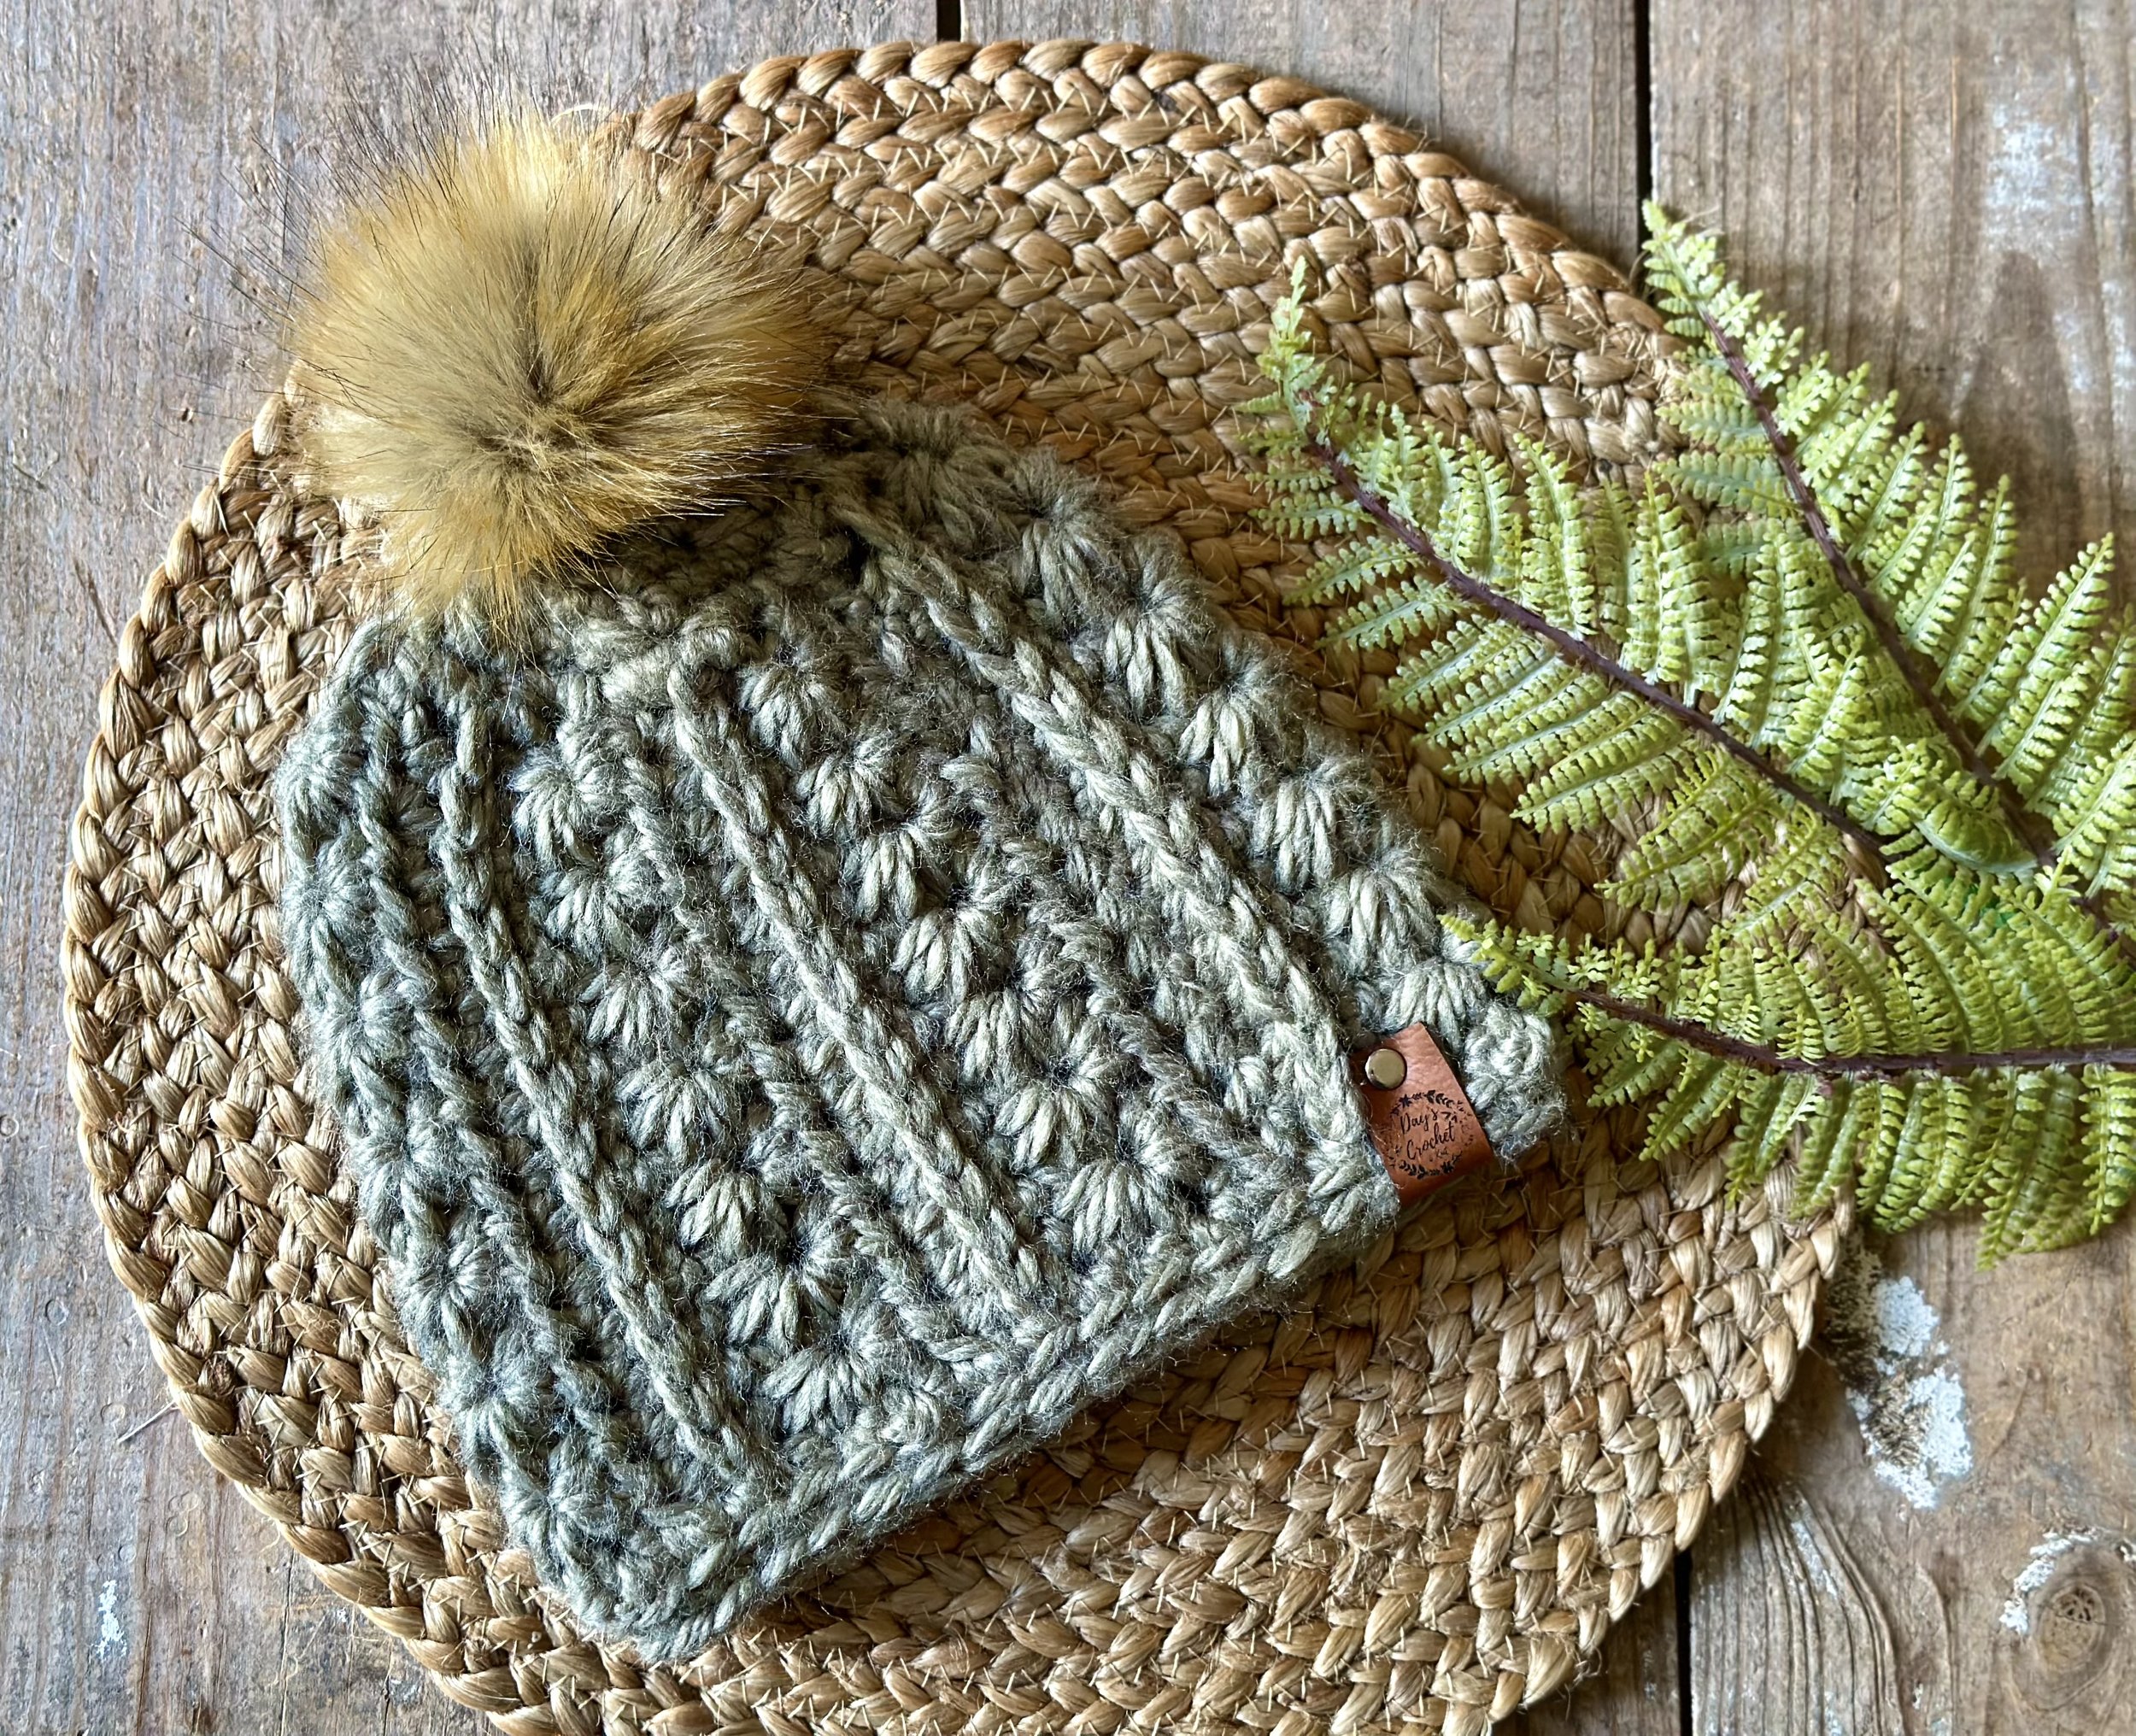
Pictured is Lion Brand Woolease Thick & Quick in the color Coney Island.
I have recently tried the crochet Star Stitch for the first time, and I absolutely love how pretty it is! One of the most surprising things is how it doesn’t seem to create a bulky, stiff fabric even though I used super bulky weight yarn.
One of the biggest challenges I face when using bulky weight yarns is how to create texture without creating thick, uncomfortable bulkiness. The Star Stitch did not disappoint! It gave me that beautiful texture without making my project feel like a helmet.
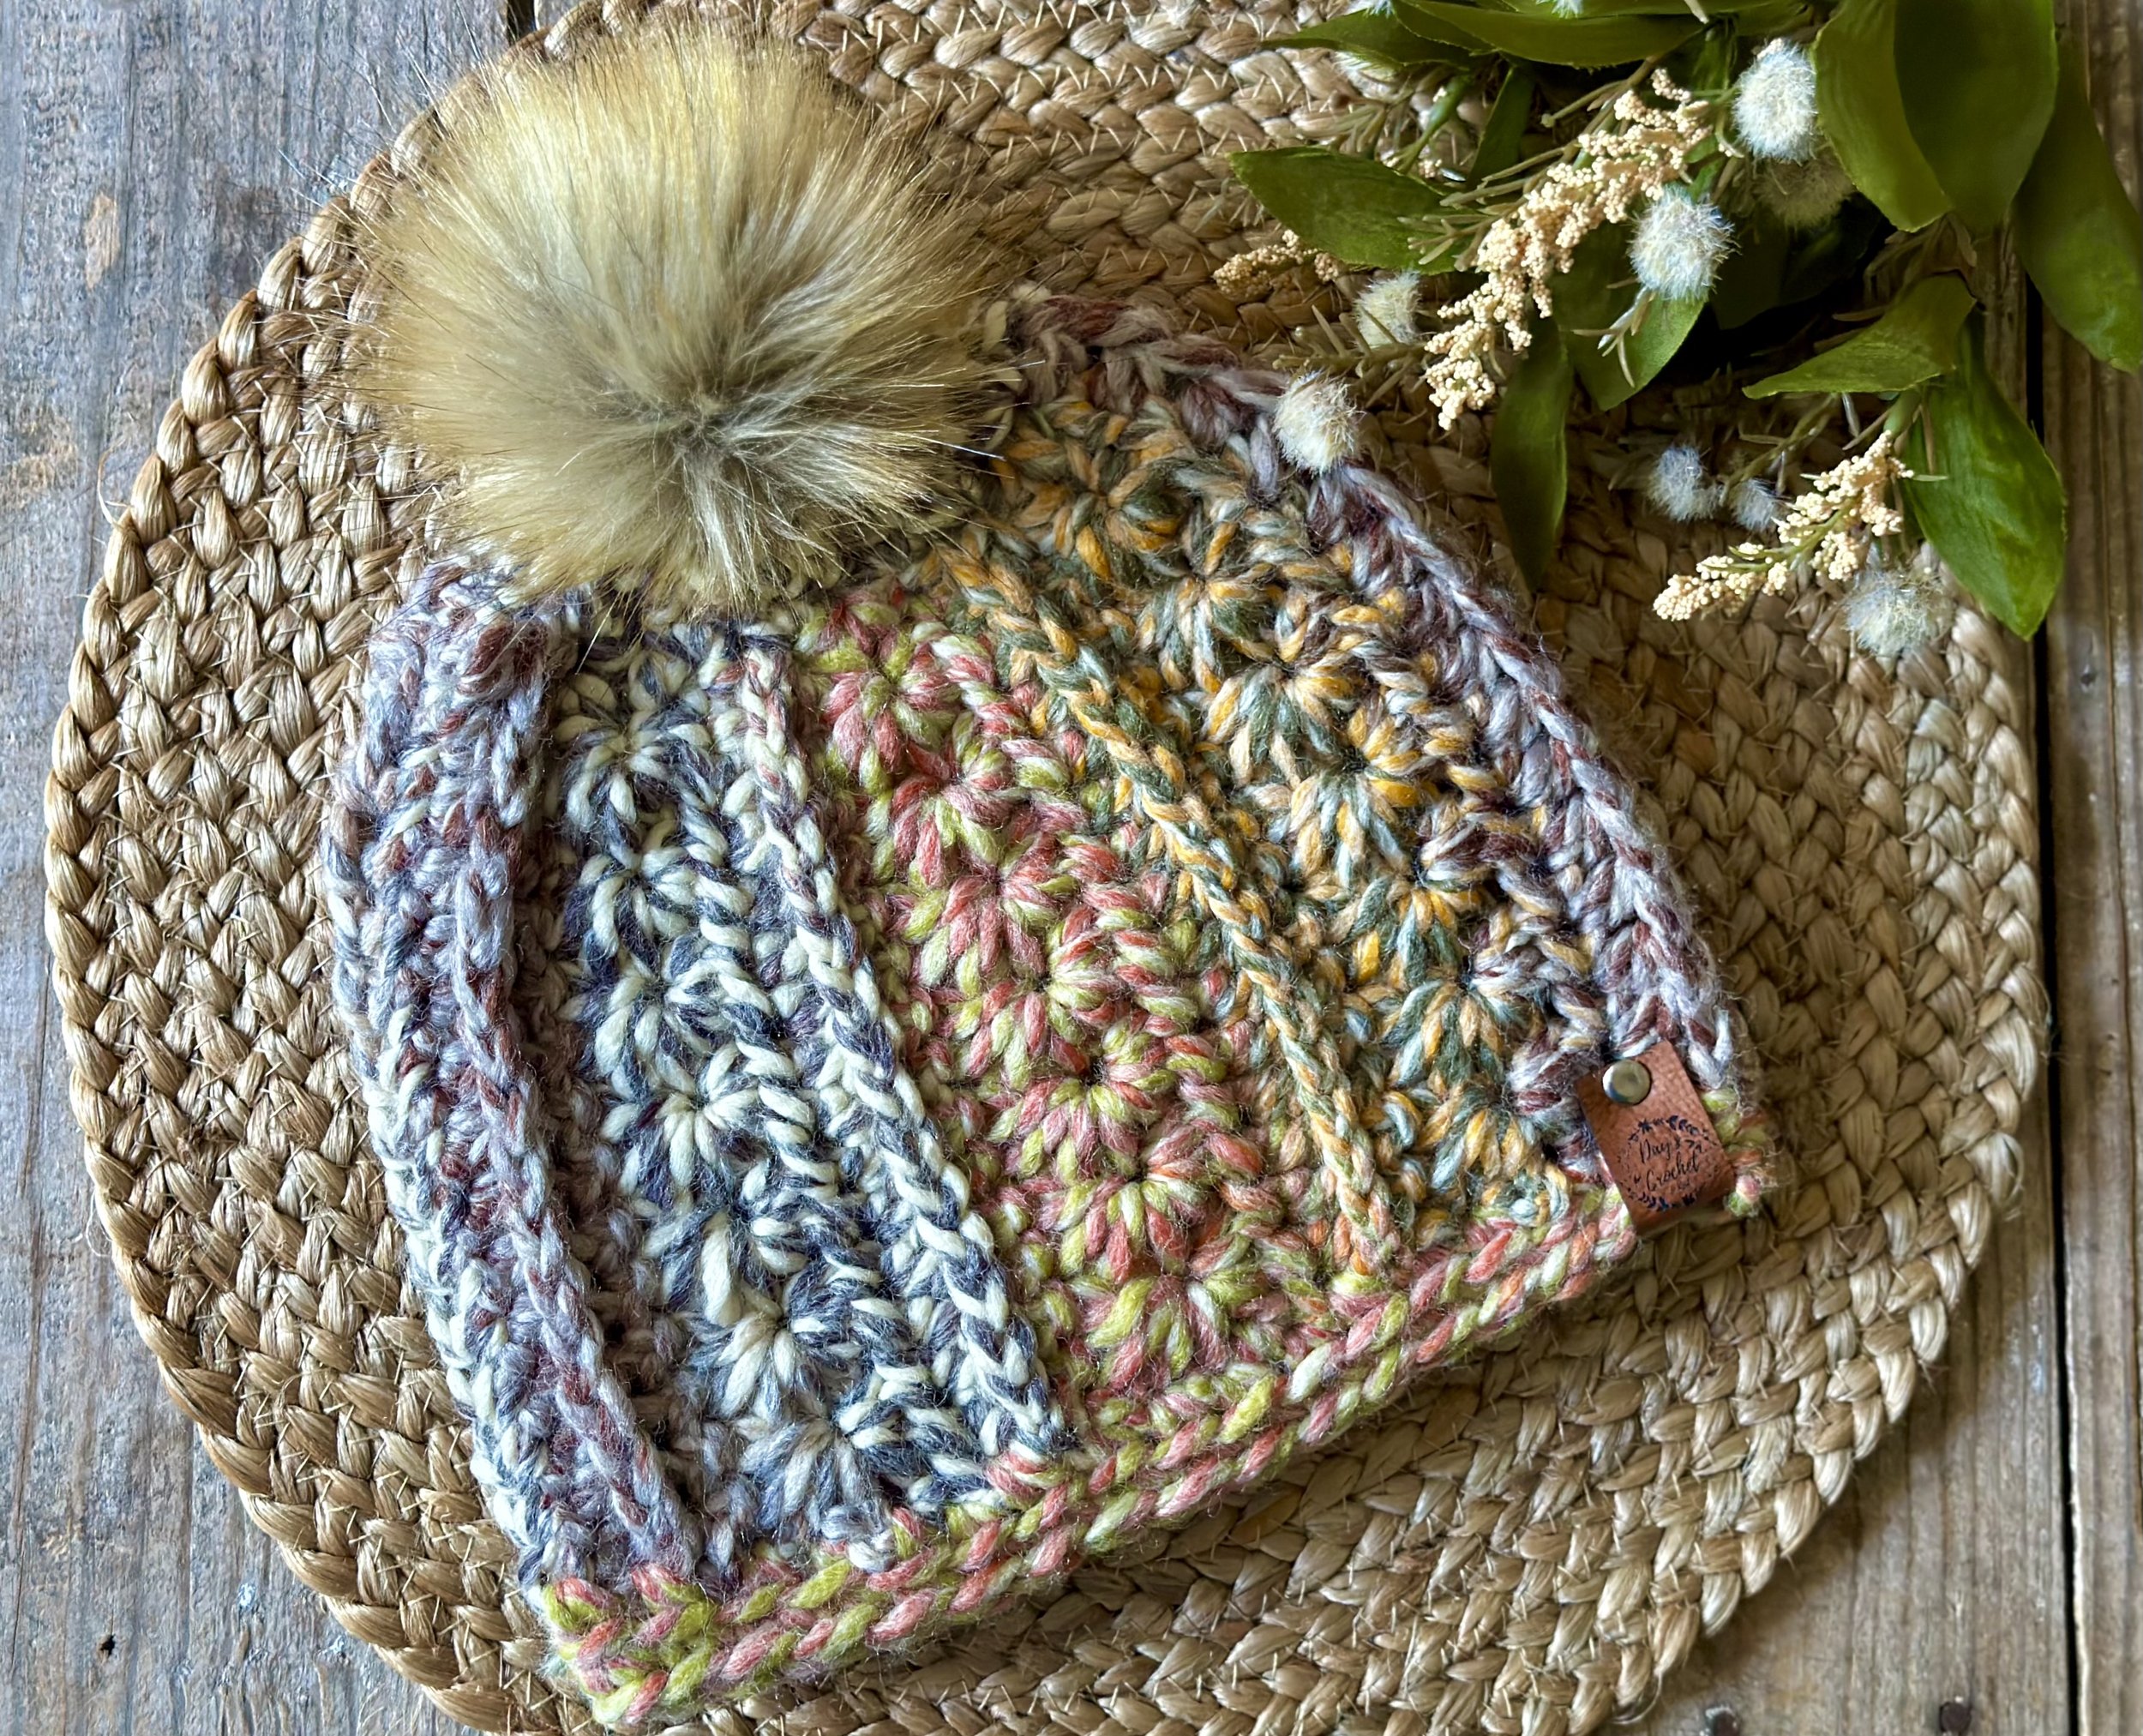
This stitch pattern works well with both solid and variegated or striping yarns. You could even realistically work it up in a size 5 bulky weight yarn and follow the measurements. In my YouTube video, you can see how easy it is to adjust to different yarns by simply following the pattern concept using measurements instead of stitch counts.
If you’ve never tried the Star Stitch before, this would be a great project to test the waters. It requires very little yardage and is very quick to work up, so you wouldn’t be losing out on a lot of expensive supplies or using up too much of your valuable time if you decided the Star Stitch just wasn’t your favorite.
This hat is constructed by making a flat panel in the row, repeating 4 simple and easy-to-remember rows until it measures long enough to wrap around your head. Then you simply add some decreasing rounds at the top and a couple of rounds at the bottom for a band, and you’ve got a beautiful new winter hat to wear all season!
So without further ado, let’s make it!
Supplies needed
Approx. 85-100 yds of a super bulky (size 6) weight yarn like Lion Brand's Hometown USA, Woolease Thick & Quick, or Yarn Bee's True Colors. I’m using Lion Brand’s ReSpun Thick & Quick yarn in the color Olive Branch for this tutorial.
9.0 mm hook, or size needed to obtain gauge
Scissors, yarn needle, tape measure
Embellishments of choice
terms used and abbreviations
Pattern is written in US terminology.
Back Loop Only - BLO
Beginning Star Stitch - Beg SS
Chain - ch
Front Loop Only - FLO
Half double crochet - hdc
Repeat - rep
Right Side - RS
Single Crochet - sc
Skip - sk
Slip stitch - sl st
Space(es) - sp(s)
Star Stitch - SS
Stitch(es) - st(s)
Wrong Side - WS
Yarn Over - YO
* - Repeat directions given from *
[ ] - Indicates the number of stitches you should have
( ) - Work stitches within ( ) in the same stitch or space
{ } - Indicates a group of repeating instructions
special terminology
Beginning Star Stitch (Beg SS) - Ch 3, working into turning ch {insert hook, pull up a loop} complete brackets in the 2nd and 3rd chs from hook, and in the first, 2nd, and 3rd sts of the row (see photo below); you should have 6 loops on your hook. YO, draw through all loops on hook. Ch 1 to secure.
Star Stitch (SS) - {Insert hook, pull up a loop} complete brackets in ch-1 sp of previous st, between bars of last 2 loops of previous st, in bottom of previous st, and in the next 2 sts of the row (see photo below); you should have 6 loops on your hook. YO, draw through all loops on hook. Ch 1 to secure.
3rd Loop - You will not change the way you complete the st instructed, only the place where you insert your hook. Instead of inserting your hook under the 2 bars at the top of the hdc, you will insert your hook into what's known as the "3rd loop", which is a horizontal bar that runs parallel to the back loop of the hdc. In this pattern, the 3rd loop will be facing you when you are instructed to crochet into it. To visualize this, see my video.
Invisible Slip Stitch - Remove hook from working loop. Take working yarn tail to back of work. Insert hook from back to front in first st of round and hook working loop onto your hook. Draw working loop to back of work and continue as usual. To visualize this st, see my video.
Invisible Join - Complete your last st of the round as usual. Leaving a longer tail, cut your working yarn. Pull that tail all the way through your last st (without doing the usual ch 1). Thread tail onto a yarn needle. Going under both loops of the first st of the round, take the yarn needle from front to back. Insert your needle from top to bottom of the BLO of your last st of the round. Weave in this tail extremely well since you are not making a knot of any kind to secure. To visualize this process, see my video.
gauge
7 hdc and 5.5 rows = 4 inches
finished measurements
Designed to fit the average adult head with the circumference of approx. 21-23 inches and a length of approx. 9-9.5 inches.
Instructions
Hat will be worked in a flat panel in the row, then seamed together to create a tube, adding decreasing rounds at the crown and a band at the bottom at the end. I have written the pattern concept so you can adjust to your size preference, but I have included my stitch counts to help you visualize the math.
I have included a YouTube video tutorial for help with this pattern:
Row 1: Ch in multiples 2 until your ch measures approx. 7.5 inches in length (my ch was 16). Hdc in the 2nd ch from hook and in each st across. [15 hdc]
Row 2: Ch 1 (beg chs do not count as a st from here on out), turn, sc 3rd loop across. [15 sc]
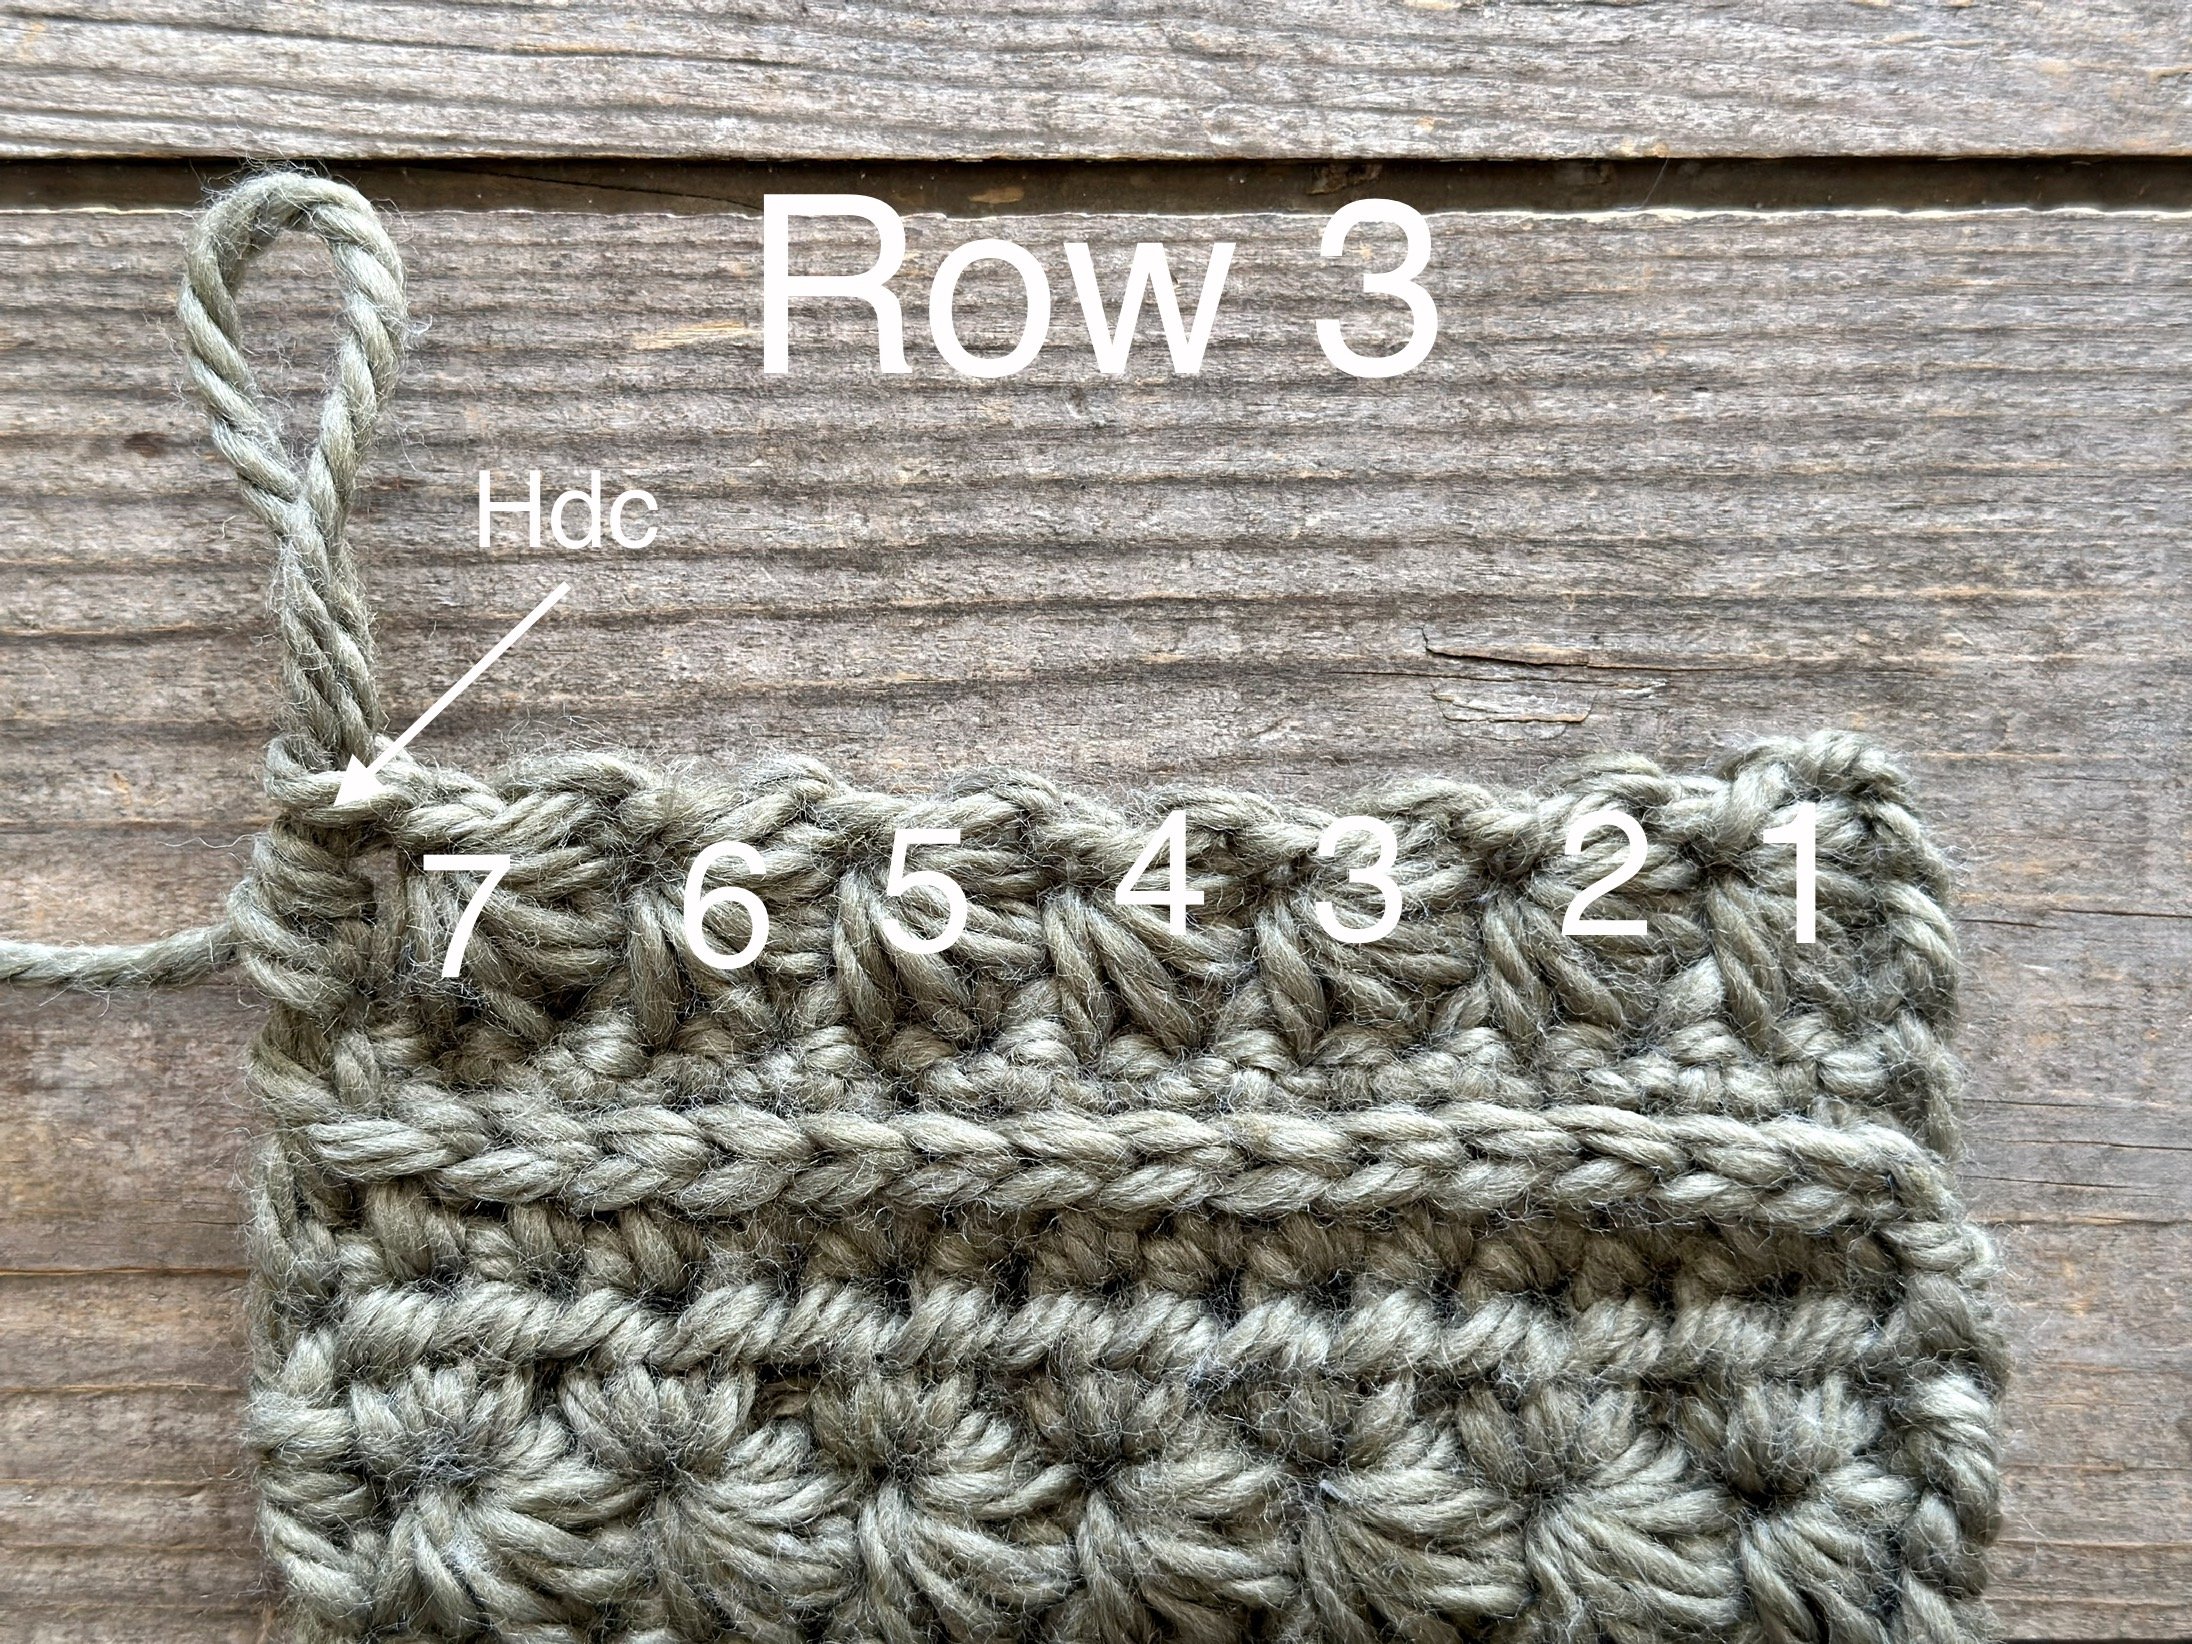
Row 3: Turn, Beg SS, SS across row, hdc in last st. [7 SS, 1 hdc] (See photo below) For help with this row, see my video.


Row 4: Ch 1, turn, {2 hdc} complete brackets in every ch-1 sp of SS below, hdc in last st. [15 hdc] (See photo below) For help with this row, see my video.

Row 5: Ch 1, turn, hdc across. [15 hdc]
Rep Rows 2-5 until your panel measures approx. 18-19 inches slightly stretched (I did a total of 29 rows). Be sure to end on a Row 4 rep.
When making it to fit your own head, simply wrap the panel around your head until it comfortably fits. There is quite a bit of stretch with this stitch pattern, so it should realistically stretch to 23 inches when fully stretched; however, you want it to be 7 inches wide, so you don't over stretch it. See photo below.

Leaving a long tail for sewing purposes, fasten off. With WS together, line up sts of Row 1 with sts of your last row. Thread tail onto yarn needle and whip stitch the seam closed, going under both loops of Row 1 sts and the FLO of sts in last row. Knot off and weave in tails. To visualize this process, see my video.
decreasing rounds
Join your work at the top of your hat (see photo below) in any one of the hdc of a Row 3 repeat.

Round 1: Ch 1, put 2 sc around every hdc post of Row 3 and Row 5 repeats. Join with a sl st in first sc. [28 sc] (See photo below) To visualize this, see my video.

Round 2: Ch 1, sc2tog over first 2 sts, sc in next 2 sts, * sc2tog, sc in next 2 sts; rep from * to end. Join with a sl st in first sc. [21 sc]
Round 3: Ch 1, sk first st, sc, * sk next st, sc; rep from * to last st, sk last st, sc in sl st from prev round. Join with a sl st in first sc. [11 sc]
Fasten off, leaving a long tail for cinching the top of the hat closed. Thread tail onto yarn needle and whip stitch through the FLO of Round 3 and close hat.
Band
Join in any one of the hdc of a Row 3 repeat along the bottom of the hat.
Round 1: Ch 1, place 5 sc evenly along rep rows of panel. Join with Invisible sl st. [35 sc] To visualize how I did this round, see my video.
Round 2: Ch 1, sc BLO in each st around. Join with Invisible Join. [35 sc]
Rep Round 2 if you feel your hat needs more length. Fasten off and weave in all tails. Add embellisments of choice.

Your project is complete! I would love to see your finished work! If you want to tag me on IG, I’m @dayscrochetnc. You could also use the hashtag #starlabeanie to follow what others are making. I can’t wait to see your projects! If you would like to see other versions that I will be making after this publication, be sure to check me out on IG!
Come join my Facebook group, Crochet for Days! We have a lot of fun and I often offer discounts and coupon codes to my members that I don’t offer anywhere else! Request to join and answer the questions by following this link.
Please note that you do not have my permission to sell, share, copy, or duplicate this pattern or use my photos in any way. Please do not use this pattern for a video, blog, or class tutorial. Thank you so much for following these simple rules!
what did you think of this project?
Let me know in the comments!
Happy Hooking,
~Dana