
Addi Boho Towel Ring
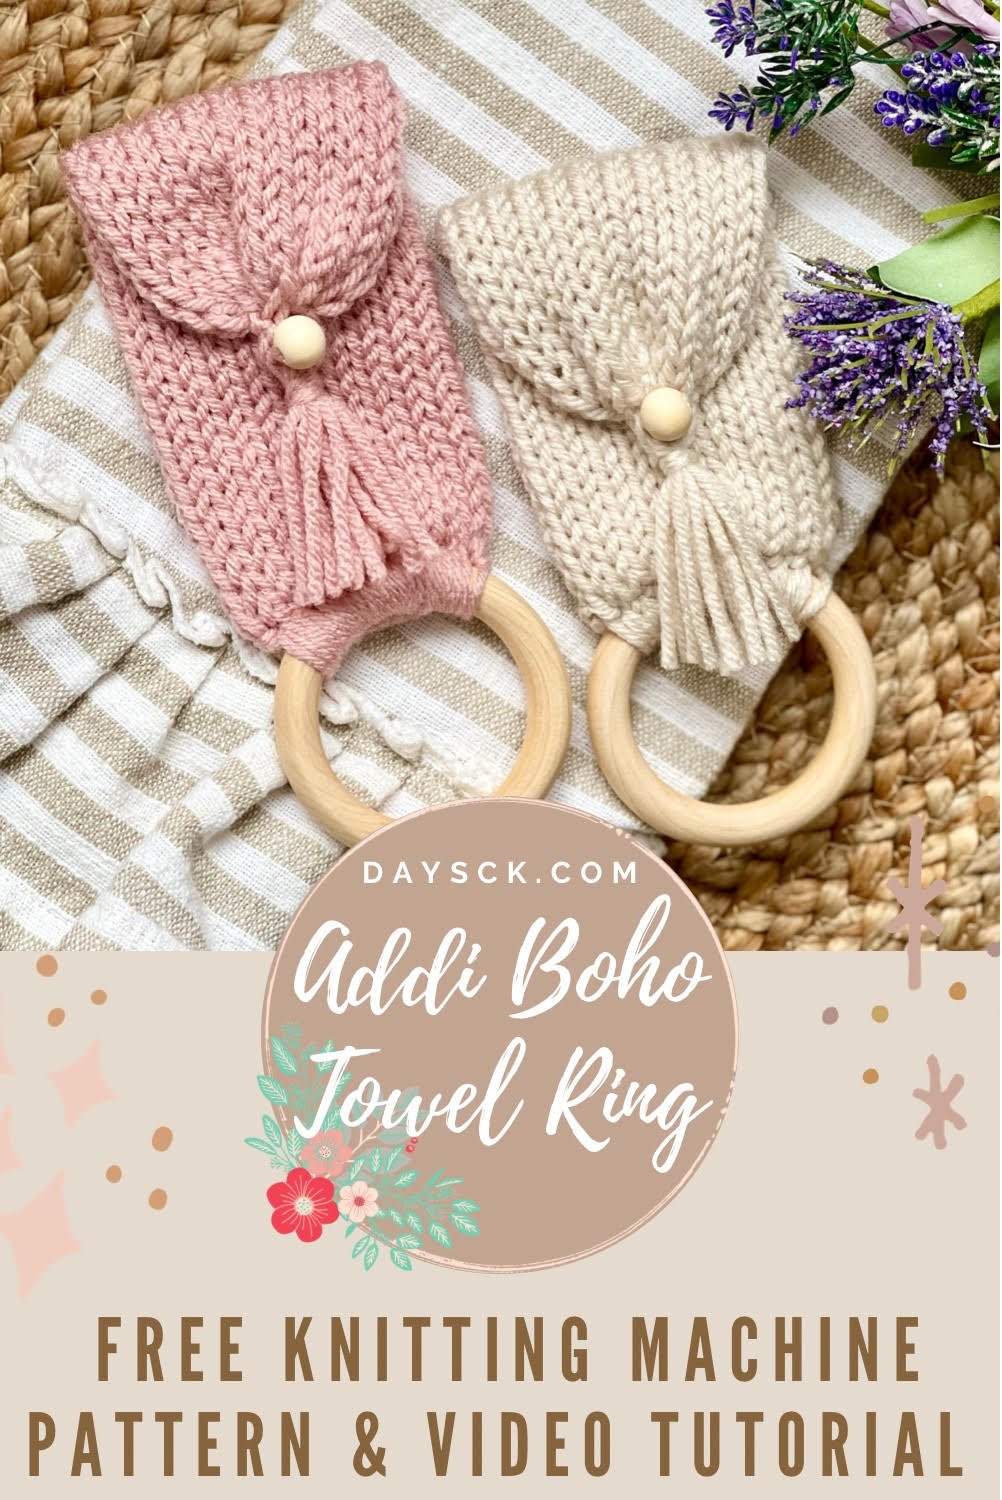
Pin it here!
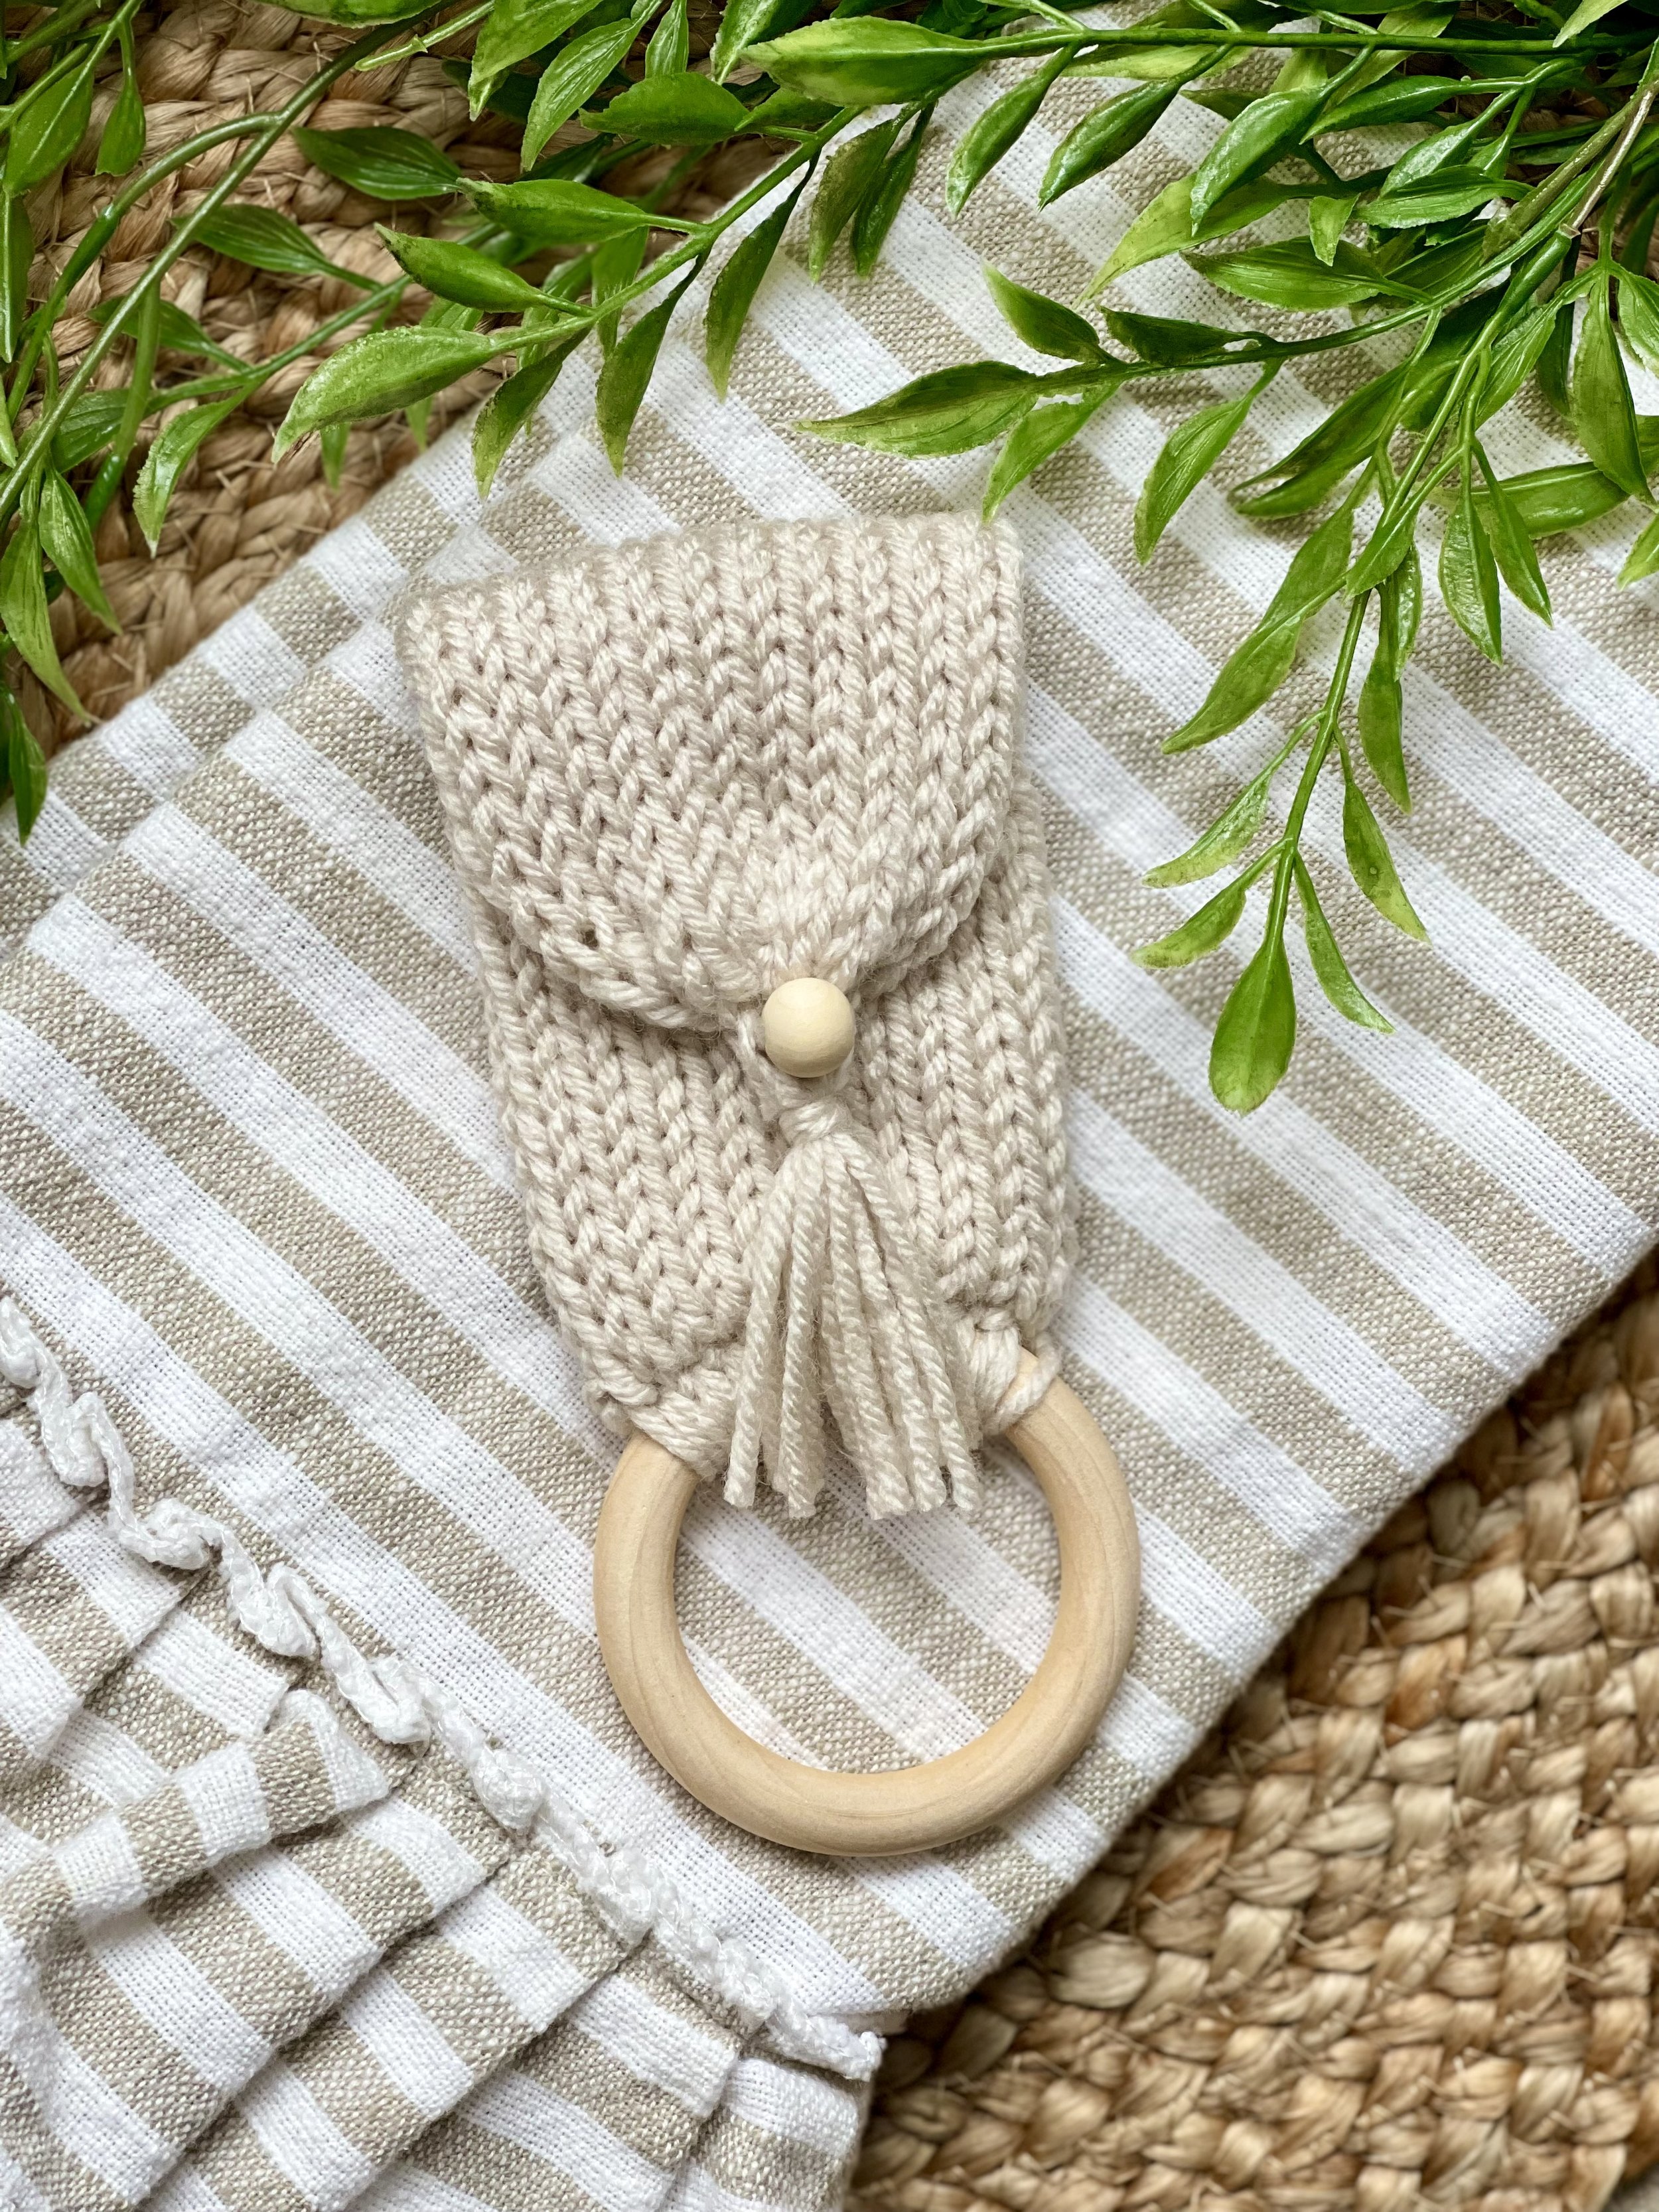
This adorable towel ring is a spinoff of my crocheted boho towel rings.
I decided to try to replicate my crochet towel ring design with my Addi 22. These work up extremely fast and are hot sellers for me at all my vendor markets, especially in the spring and summer, so I figured I would attempt to make it in even less time using my little circular knitting machine and it did not disappoint!
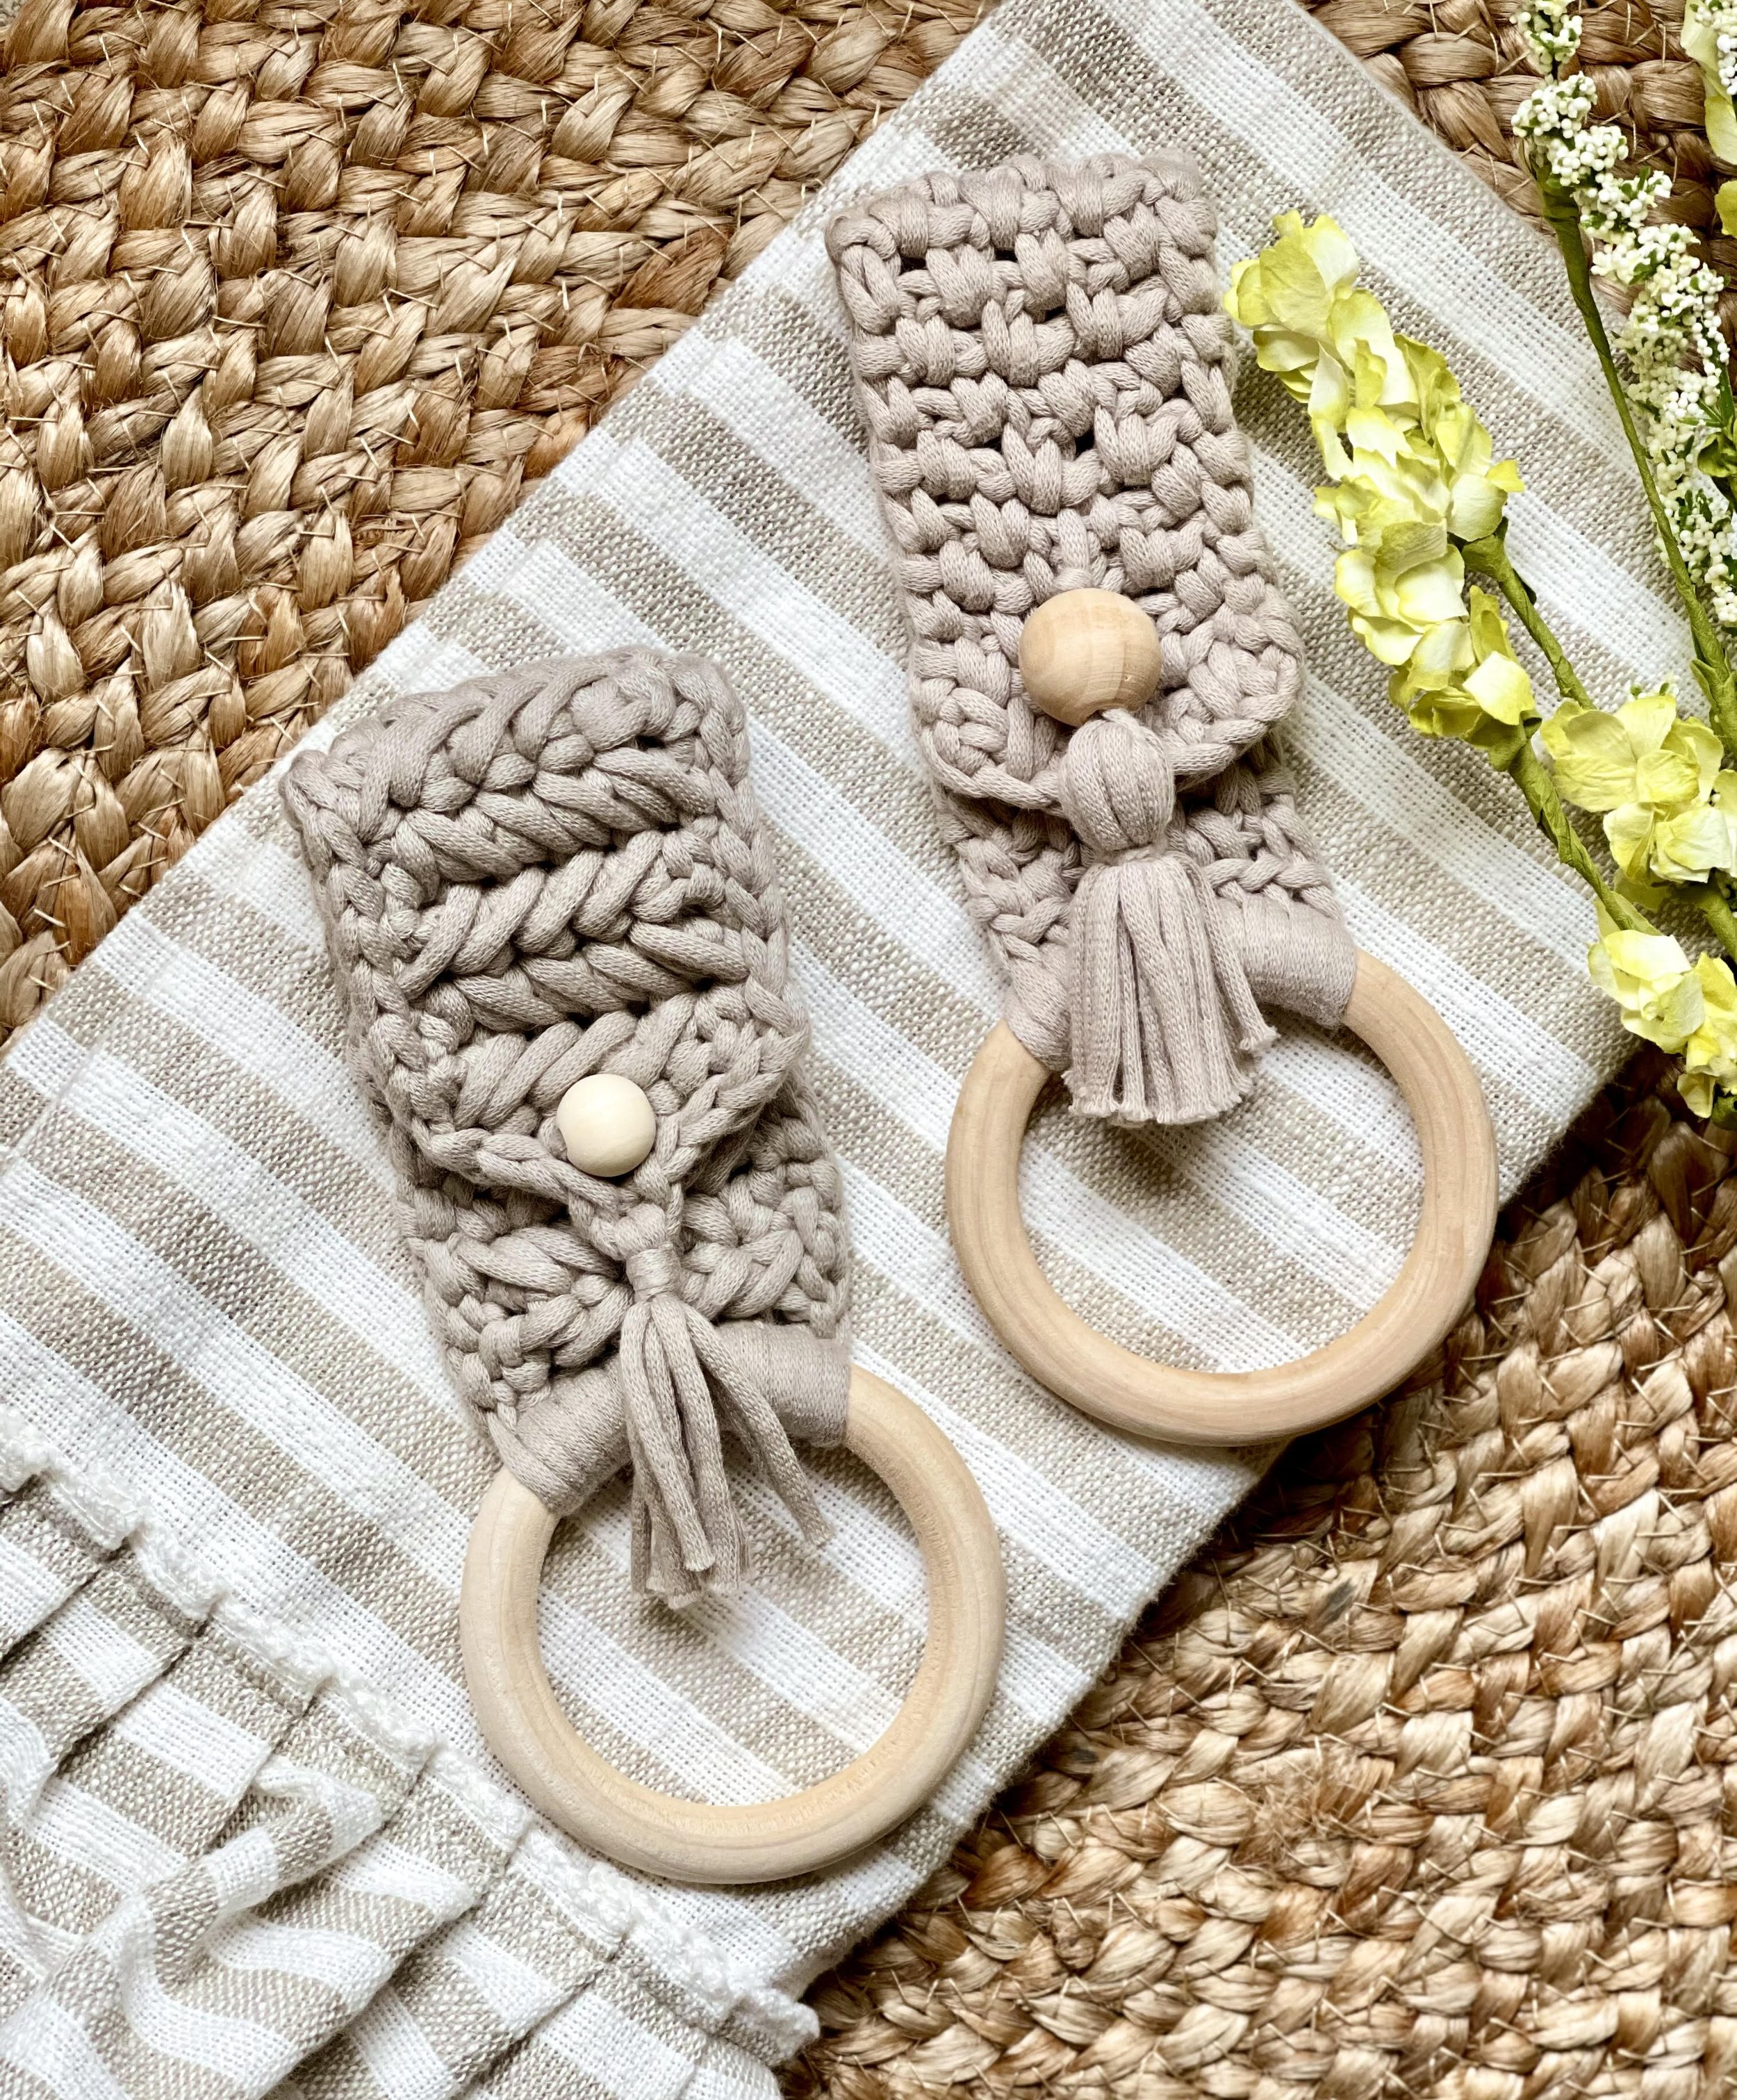
Pictured above are my crocheted versions of this style of towel ring. You can find both in my Etsy and Ravelry shops as well as a free version in this blog post.
This post may contain affiliate links that help me continue to post free content. To skip the ads and have a printable pdf of this pattern, you can find it for relatively little cost in both my Etsy and Ravelry shops.
Even though there’s a foot of snow on the ground and it’s only 15 degrees outside right now, I am dreaming of spring. I usually start to get spring fever about this time every year. Which really stinks because it doesn’t usually feel like spring until May here where I live.
Fortunately I can start making items that I will be selling in my upcoming spring and summer vendor markets. I usually make quite a few household items that are both fashionable and functional. The great thing about these little towel rings is that they can be sold year round at all vendor markets because they are super versatile and useful!
I like to keep them simple by using natural wood for the bead and the ring, but you could probably find other colors and embellish them according to the seasons and holidays if you wanted to. Just keep in mind that neutral colors tend to sell best because they can be used year round. I usually let my customer choose whether or not they want to put a seasonal towel in there and keep my towel ring simple and cute.
I also want to mention that this towel ring looks really great with the beaded tassel, but it looks just as cute without the tassel. If you are more of a minimalist, you can totally leave off the tassel and it would still be pretty and functional.
If you are wanting to make this less boho and more farmhouse, I have decided to include explicit instructions for how to make one in my paid pattern set. You can find the pattern in Etsy and Ravelry.
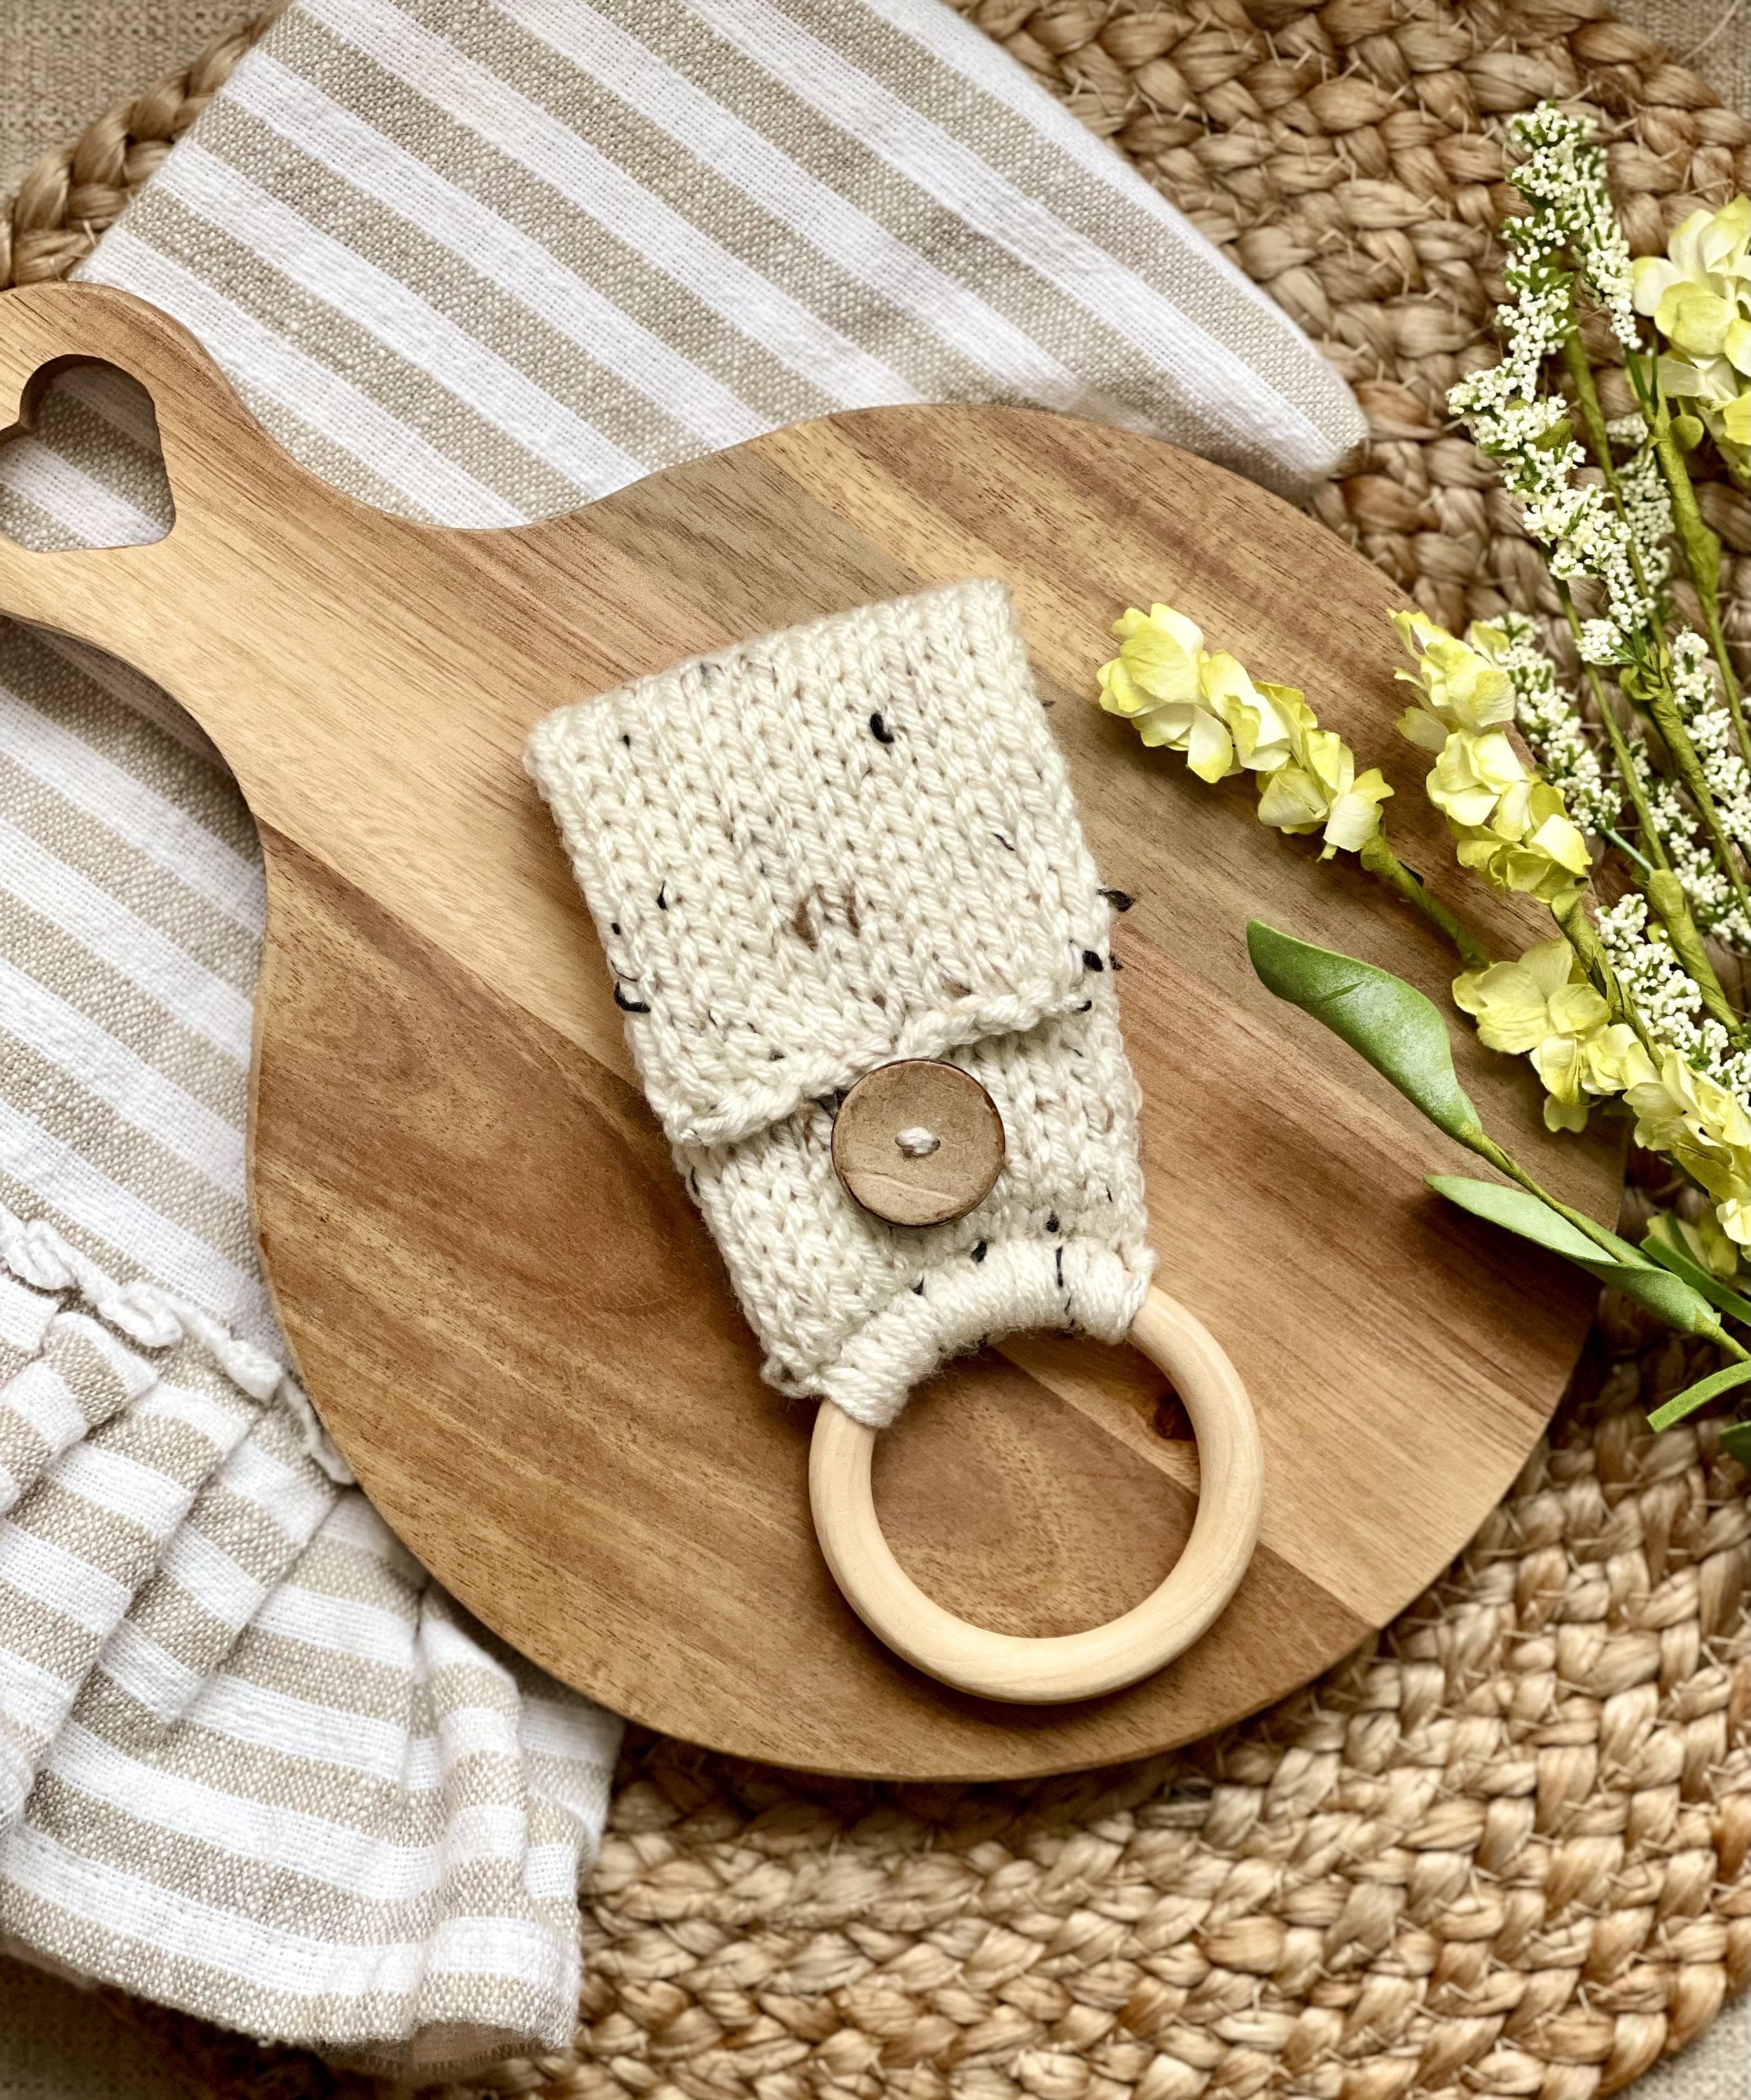
Pictured is the Farmhouse version of this towel ring. You can find the explicit instructions for both the boho and the farmhouse versions in my paid pattern on Etsy and Ravelry.
Enough of my rambling! Let’s make it!
Supplies Needed:
-Addi 22 pin circular knitting machine
-26-30 yds of worsted weight yarn in main color
-5 yds of waste yarn
-Size G 4.25 mm hook
-8 or 10 mm bead or button (I like this variety pack of beads)
-2.5-3" wooden ring (I like these)
-Yarn needle, scissors, measuring tape
Terms Used and Abbreviations:
Pattern is written in US terminology.
Begin(ning) - beg
Chain(s) - ch(s)
Fasten Off - FO
Repeat - Rep
Single Crochet - sc
Slip Stitch - sl st
Stitch(es) - st(s)
Yarn Over - YO
Gauge:
8 sts and 10 rows = 2" (5 cm) using medium tension for knitted portion. Gauge for crocheted portion is not imperative.
Finished Measurements:
Tube was stretched and then allowed to relax before laying flat and taking the measurements. Unfinished tube measures approx. 7.5" (19 cm) prior to assembly and not including waste yarn.
Pattern Notes:
-All cast-on and cast-off methods used in this pattern will be the provisional (basic) cast-on and cast-off methods.
-You will need to be able to read and follow basic beginner crochet pattern instructions.
-You will need to understand basic sewing techniques.
-I have included a YouTube video tutorial for help with the most difficult portions of the pattern. You can find the video here:
Instructions:
Towel ring is made by cinching one end of knitted tube and closing other end with sl st method. It is then crocheted to the wooden ring using basic crochet sts. A wooden bead is added for a button and the tassel (optional) is added last.
Towel Tube
1) Cast on with main color and knit 35 rows.
2) Leaving yourself a long tail for sewing and crocheting purposes later, cut yarn and add waste yarn. Knit 5 more rows.
3) Cast off.
Assembly
1) Beg with cast-on end and cinch shut. Thread yarn needle onto tail and reinforce your sts by taking the tail through all sts once more. Knot off but do not cut yarn.
Insert crochet hook into cast-on bottom near center and pull up a loop with leftover tail. Ch 5 (ch more if your button is larger), sl st into cast-on bottom once more to create a ch loop. This loop will be our button hole. FO and weave tail into tube. To visualize this process, see my video.

1) Line sts up at cast-off end and use the sl st method to close. (Remember to leave your tail long for the next portion.) Remove waste yarn.
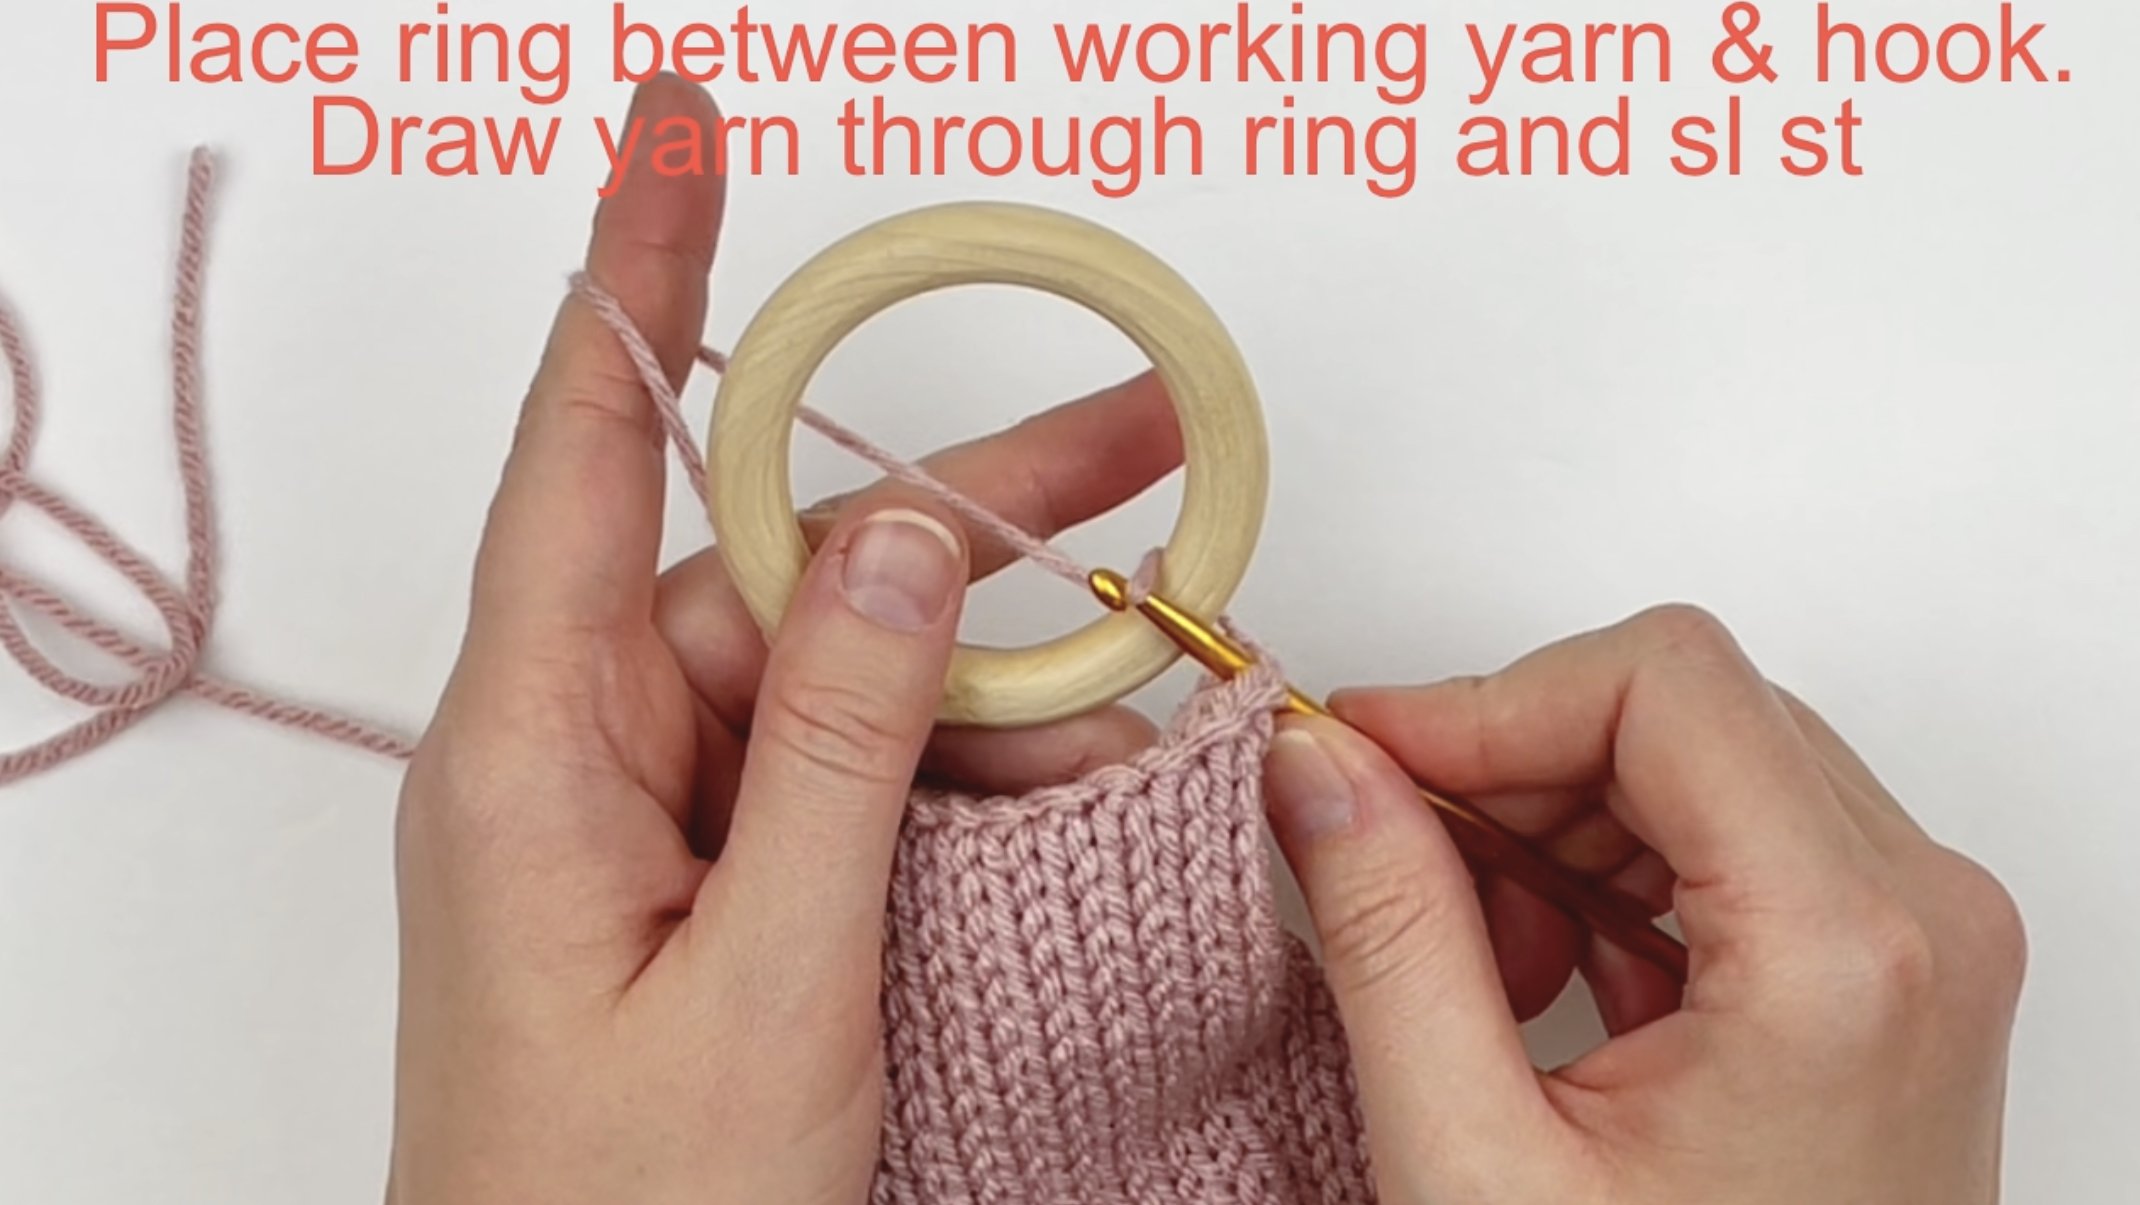
Insert your hook into the sl st nearest your long tail. Grab your wooden ring and attach it following these steps below. To visualize this process, see my video.
a. Place wooden ring between your working yarn (long tail) and your hook. Going through the wooden ring, make a sl st.
b. Move wooden ring to the right of your work and insert your hook into 1st sl st once more. Pull up a loop (you should have 2 loops on your hook).
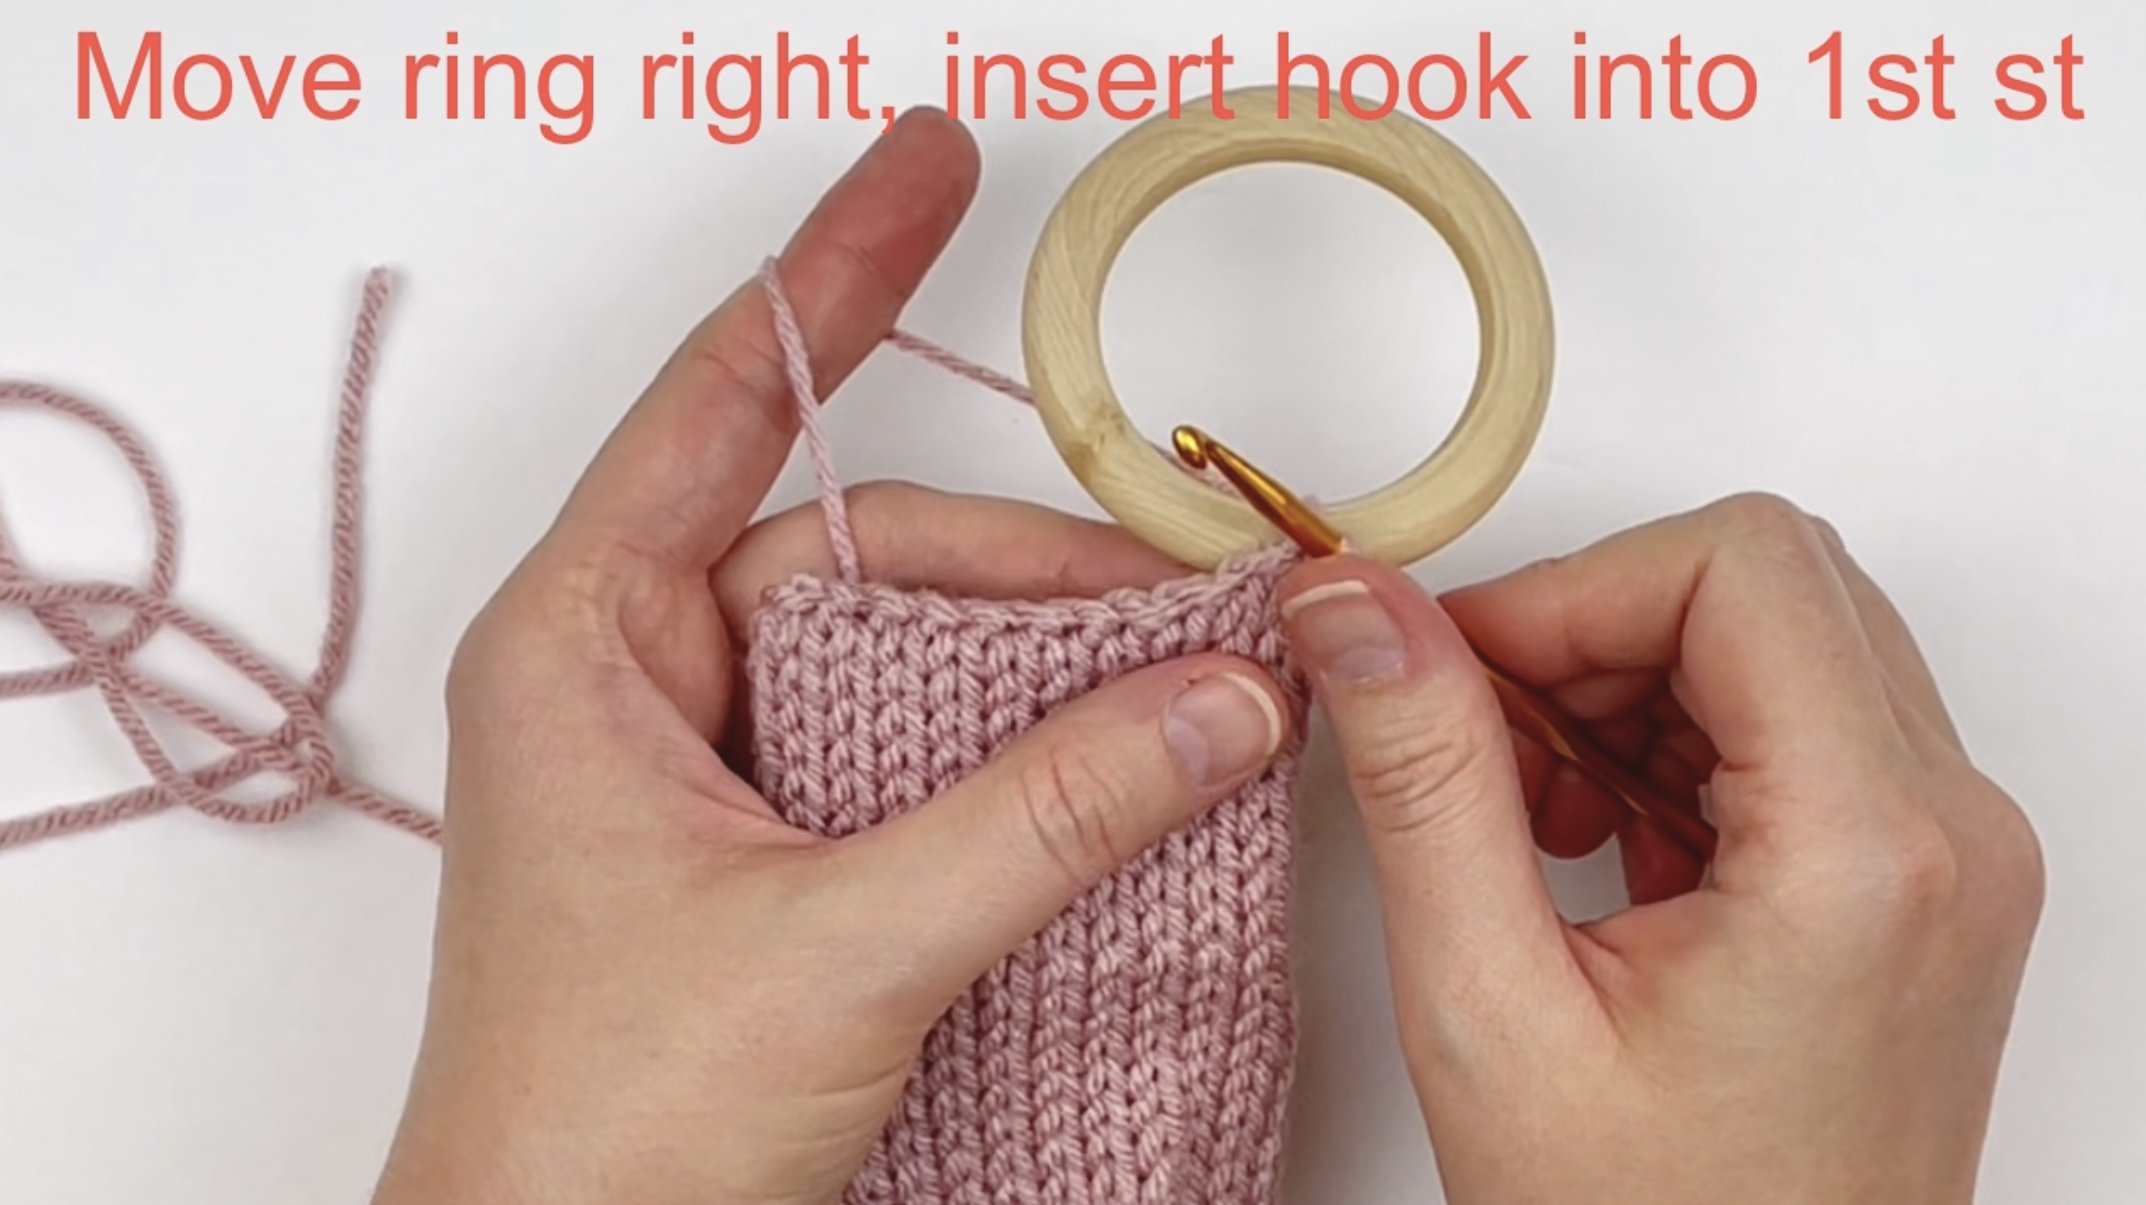

c. Move ring back between your hook and working yarn. Going through the ring, YO and draw through both loops on your hook.

d. Rep steps A-C in every other sl st across until you reach the end. You should have a total of 11 sc when you are done.

e. Sl st into piece once more and FO, weaving in your tail.
Add your bead
With a small length of yarn and your yarn needle, sew your bead onto the front of the towel ring, about mid-way down. If you are adding a tassel, be sure to leave a bit of space below the bead for the tassel to hang. Take tails to inside of tube.
Add your tassel
I usually use my fingers for this part, but you can certainly use a piece of cardboard approx. 3-4" (7.2-10 cm) wide. To visualize this process, see my video.
1) Wrap your fingers/cardboard 7 times and cut bottoms to create tassel tails.
2) Take one end of all 7 tails through your button hole and bring ends together to make them even (It doesn’t have to be perfect. We will cut the tails later).
3) Using the Gathering Knot, secure the tassel tails just below the button hole/loop. Cut off the excess and trim the tassel tails to be even.
Your Addi Boho Towel Ring is complete! I would love to see your finished work! If you want to tag me on IG, I’m @dayscrochetnc. I can’t wait to see your projects! If you would like to see other versions that I will be making after this publication, be sure to check me out on IG and follow the hashtag #addibohotowelring
Please note that you do not have my permission to sell, illegally share, copy, or duplicate this pattern or my photos in any way. Please do not use this pattern for a video, blog, or class tutorial. Thank you so much for following these simple rules! Please message me on Facebook or send me an email at dayscrochetnc@gmail.com with any questions.
Come join my Facebook group, Crank & Crochet! We have a lot of fun and I often offer discounts and coupon codes to my members that I don’t offer anywhere else! Request to join and answer the questions by following this link.
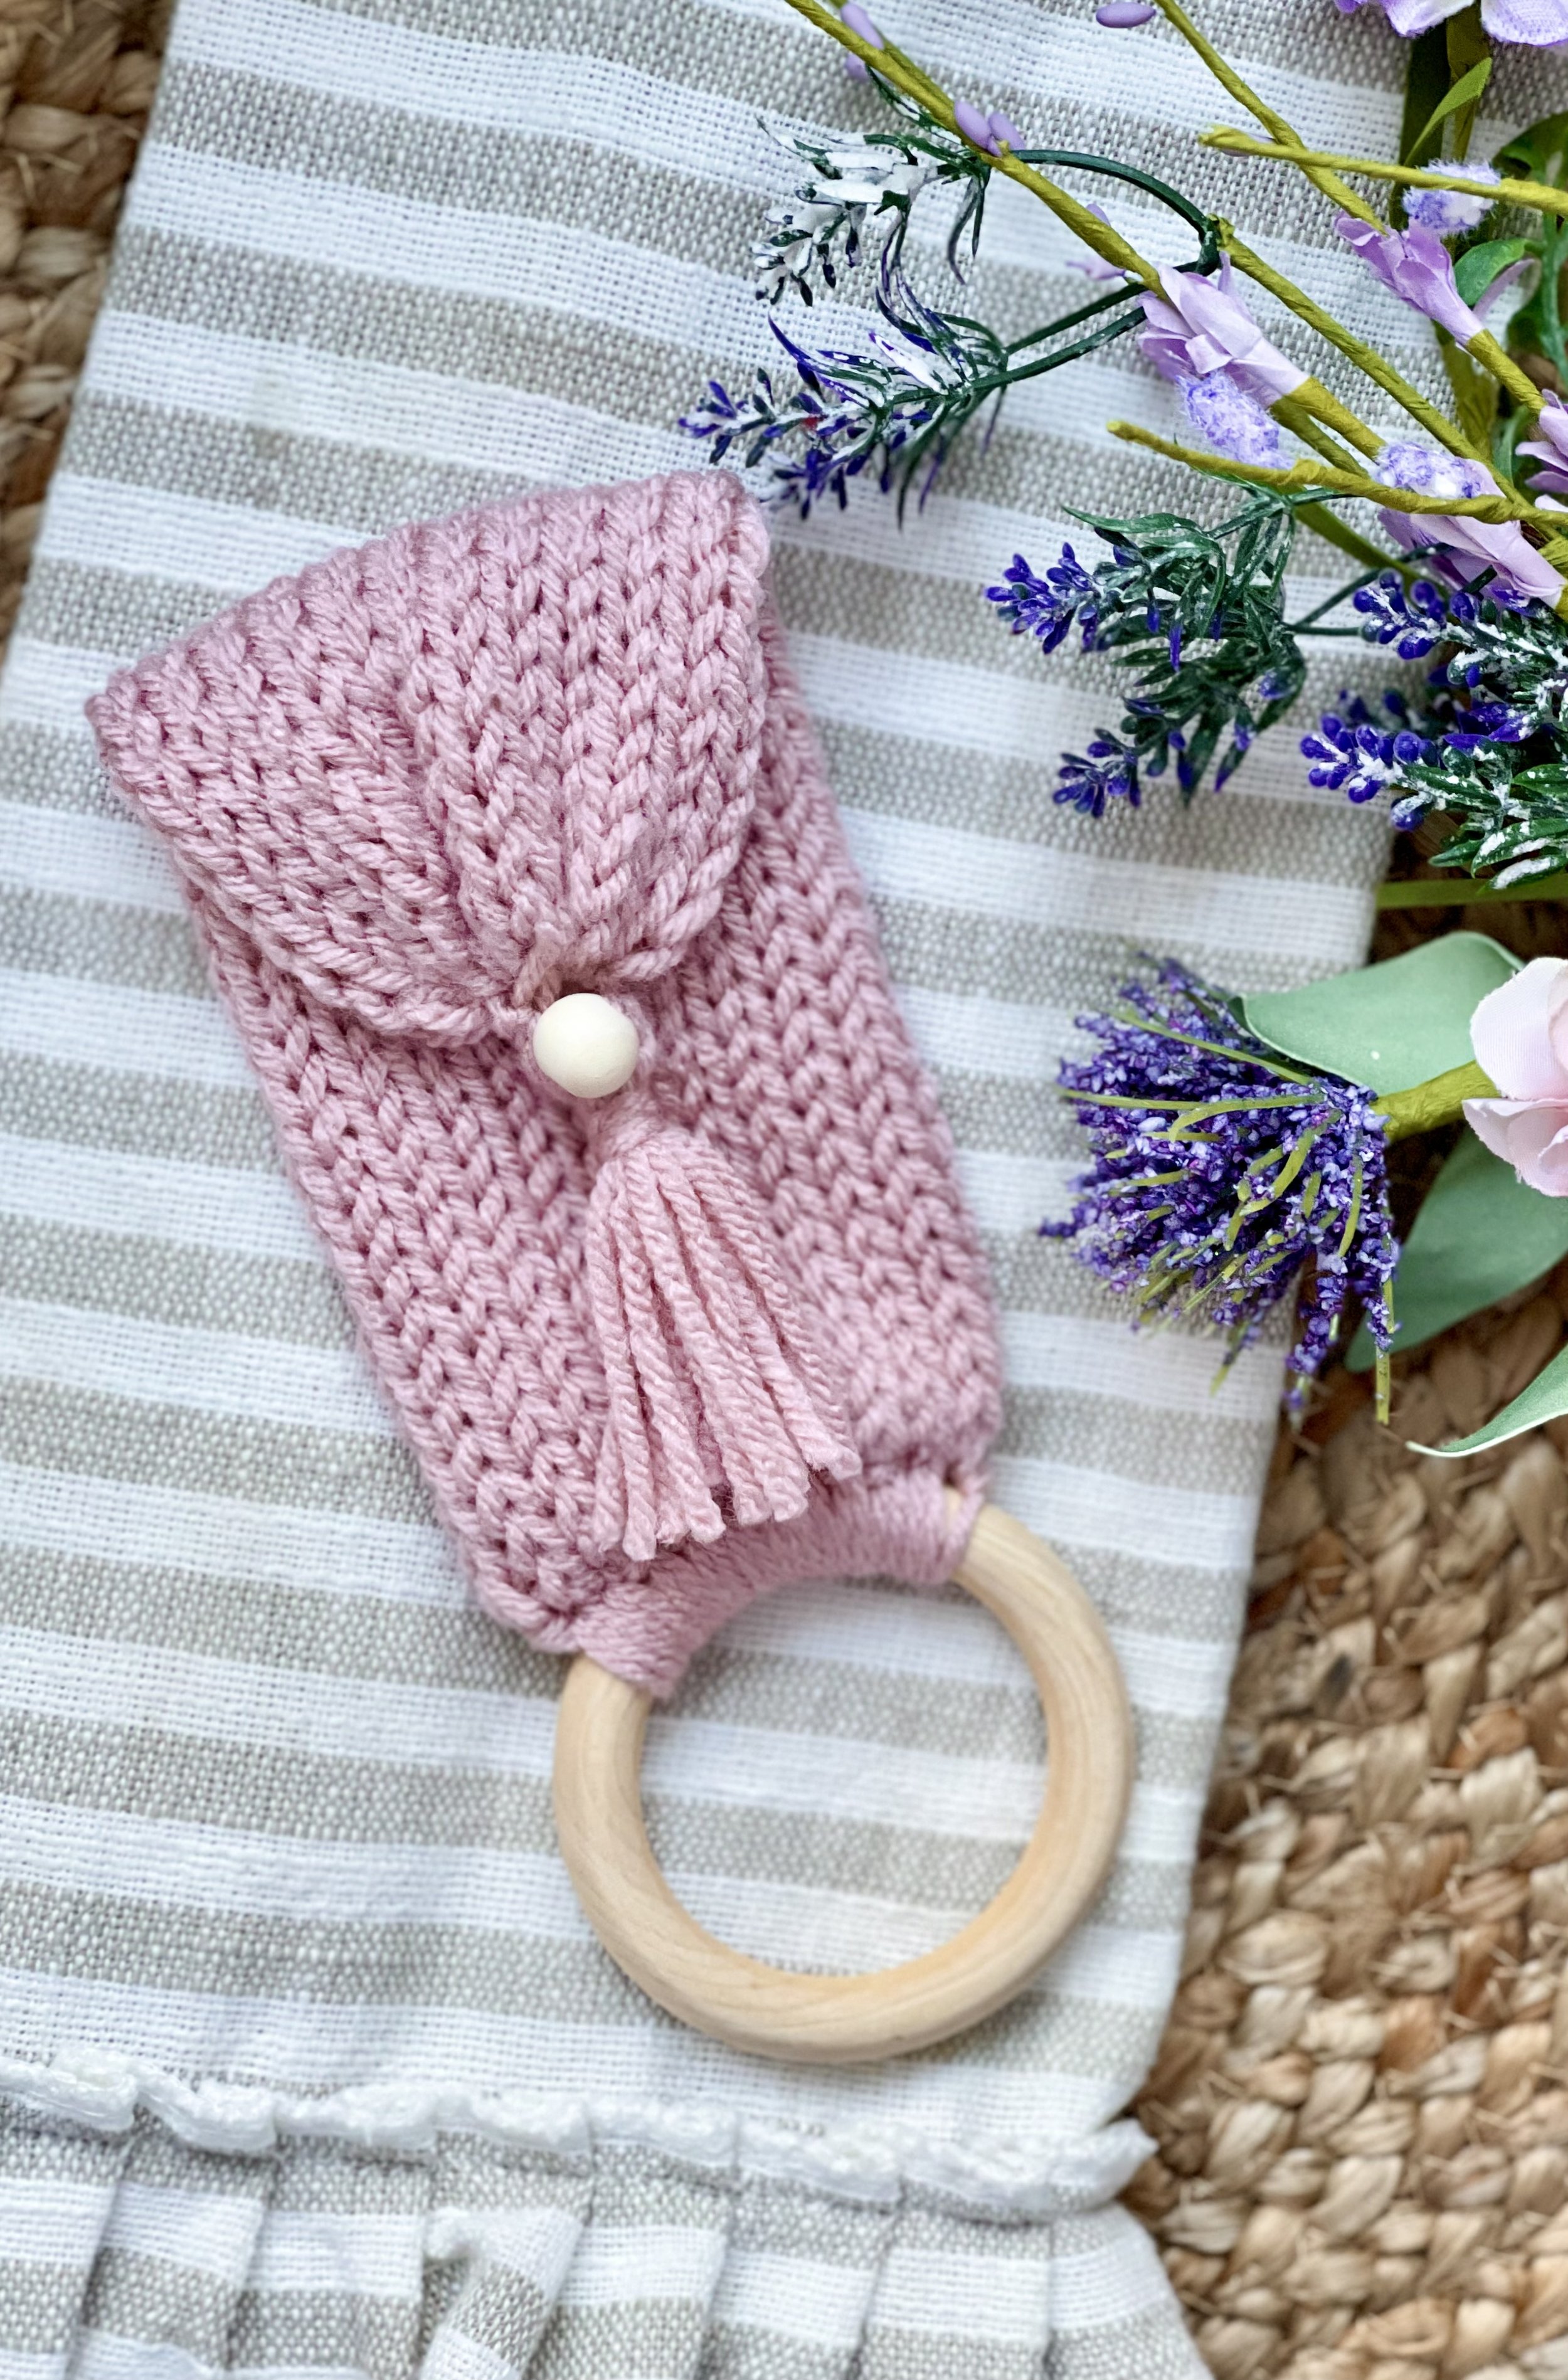
Pictured is Hobby Lobby’s ILTY in the color Rosy Cheeks.
What did you think about this project? Let me know in the comments!
Happy making!
~Dana