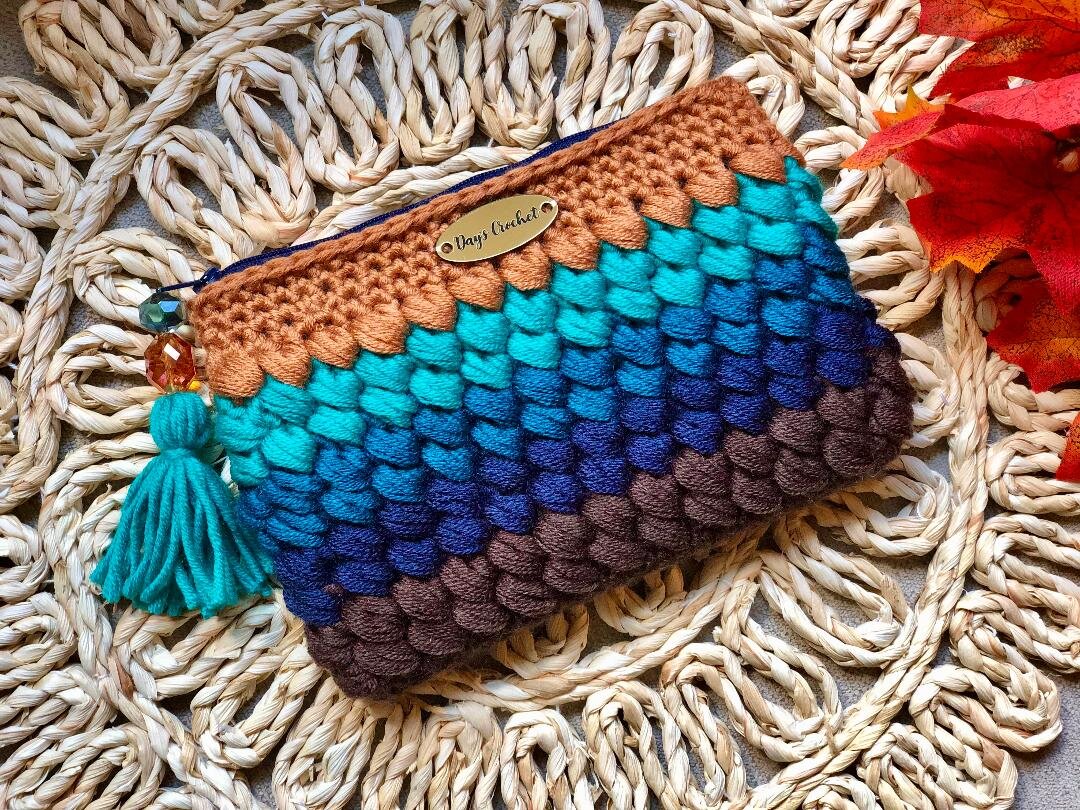
Crochet Puff Stitch Bag
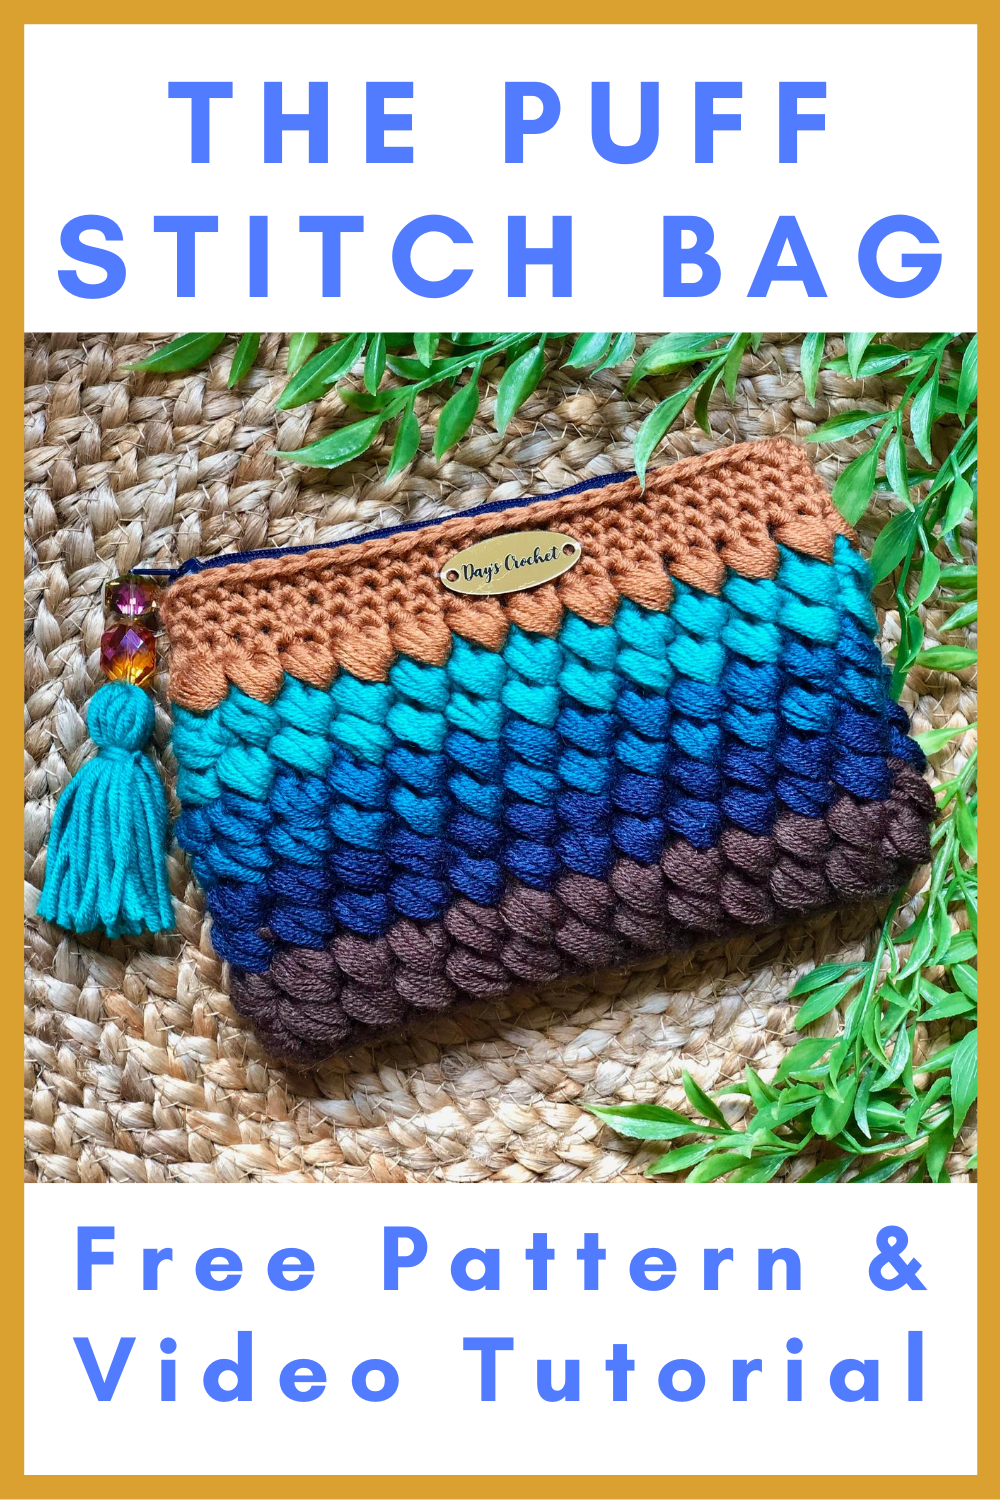
I have made nearly 100 of these adorable little bags. They have always been a great seller for me. The technique is a bit challenging, but well worth the effort. My customers love looking inside to see the matching fabric liner. It also makes a really great gift. This is the revised pattern, as I have improved my technique since writing the first edition.
For all my weekly content follow me below:
On Pinterest Click Here
On YouTube Click Here
On Instagram Click Here
On Facebook Click Here
Etsy shop Click Here
Ravelry shop Click Here
Come join my Facebook group Crochet for Days! We have a lot of fun in there and I often offer coupons and discounts to my members that I don't offer anywhere else! Just follow this link to answer the questions and request to join: Facebook Group
For an Ad-free printable pdf, see my Etsy shop or my Ravelry store.
Ravelry: https://www.ravelry.com/patterns/library/puff-stitch-bag
Etsy shop: https://www.etsy.com/listing/692425237/puff-stitch-cosmetic-bag-pdf-pattern
Supplies Needed:
-Approximately 150-200 yards of your choice of yarn (I usually use size 4 ww and size 5 bulky weight yarns) For my bag I used Caron Pantone in the color palette Moody Pumpkins.
-Suggested hook size on yarn packaging (I use a J 6.0 mm hook)
-Sizes F 3.75 mm and H 5.0 mm hooks for brim rounds
-A matching fat quarter of fabric, or a piece of fabric that is at least 10” x 10” (25 x 25 cm). You can find fat quarters for around $1 at Wal-mart. They are pieces of fabric pre-cut to a quarter of a yard.
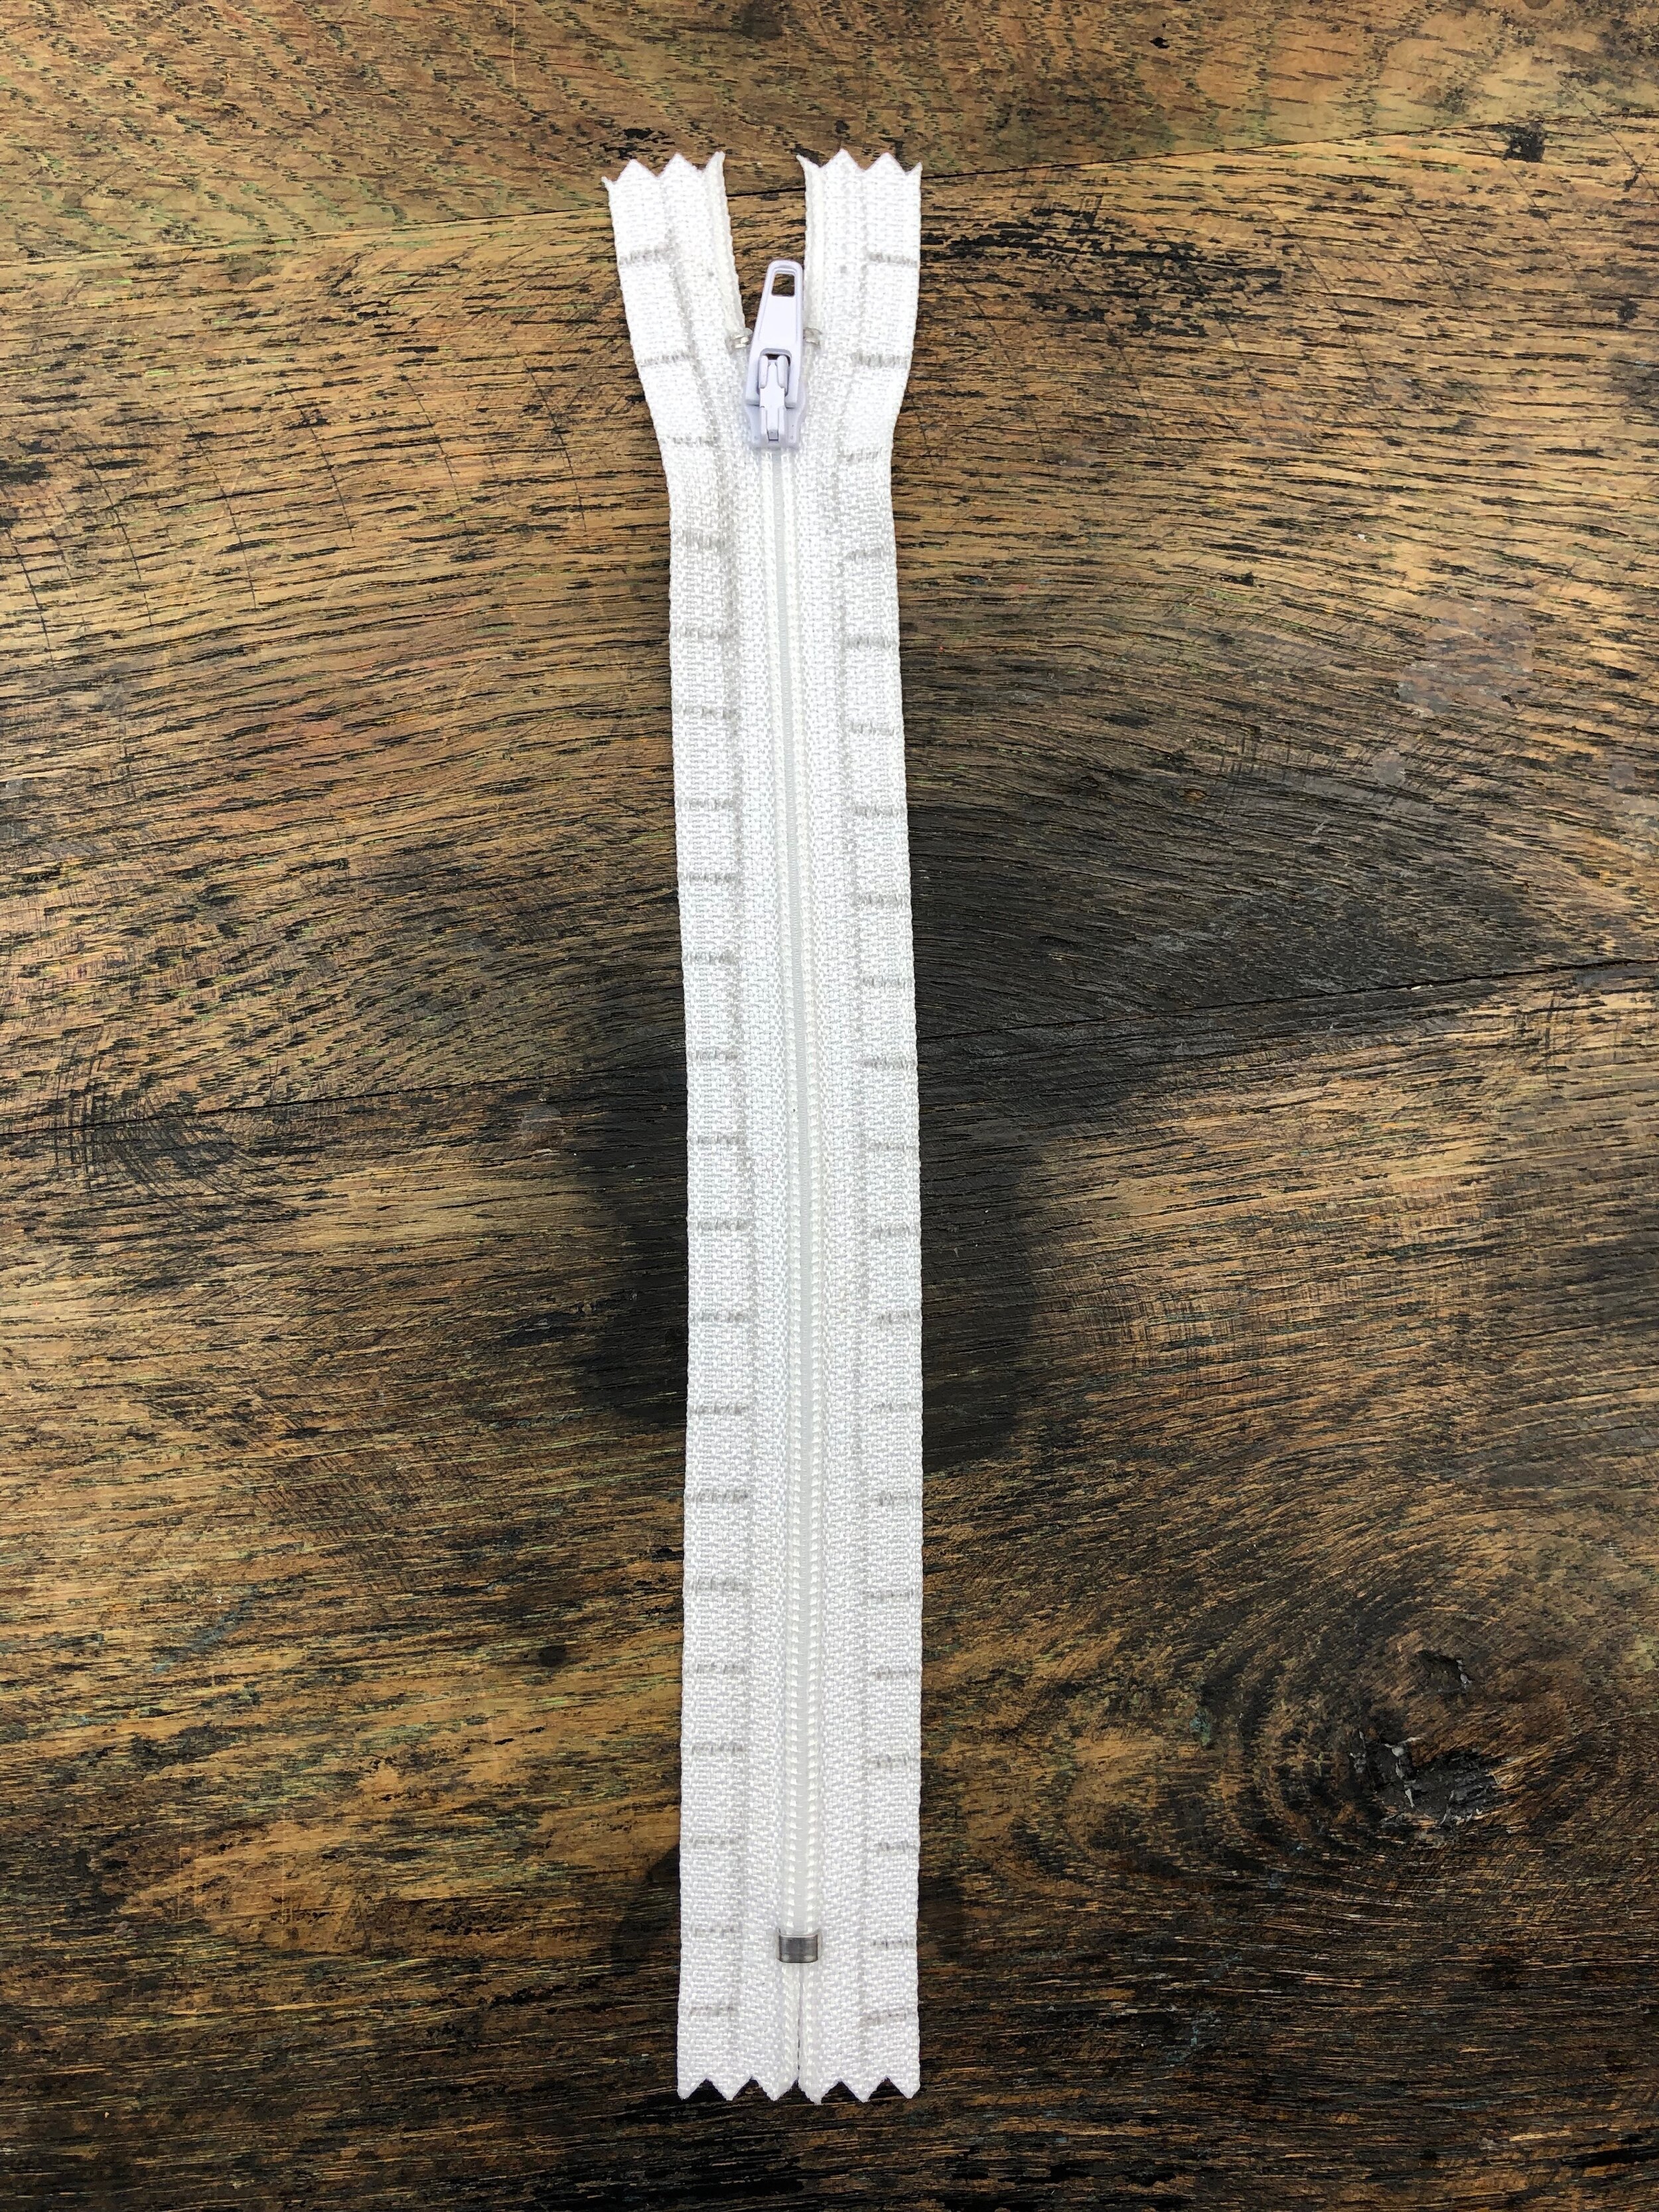
-A matching 7” (18 cm) or 9” (23 cm) zipper
-Matching thread for sewing fabric liner
-Approximately 4’ of embroidery thread that matches your zipper color and a sharp ribbon needle (it looks like a yarn needle, only much sharper. It will be used to sew back stitches in the zipper going through the fabric and zipper lip. See photo below.)
-Sewing notions, such as: straight pins, sewing needle, and small hemming ruler (If you are using a sewing machine, you will need both a regular sewing foot and a zipper foot).
-Embellishments of your choice, such as beads and tassels. If you follow my beaded tassel tutorial, I also use Monofilament Illusion cord from the bead section at my local craft store. It is for beading jewelry, and it does not stretch.
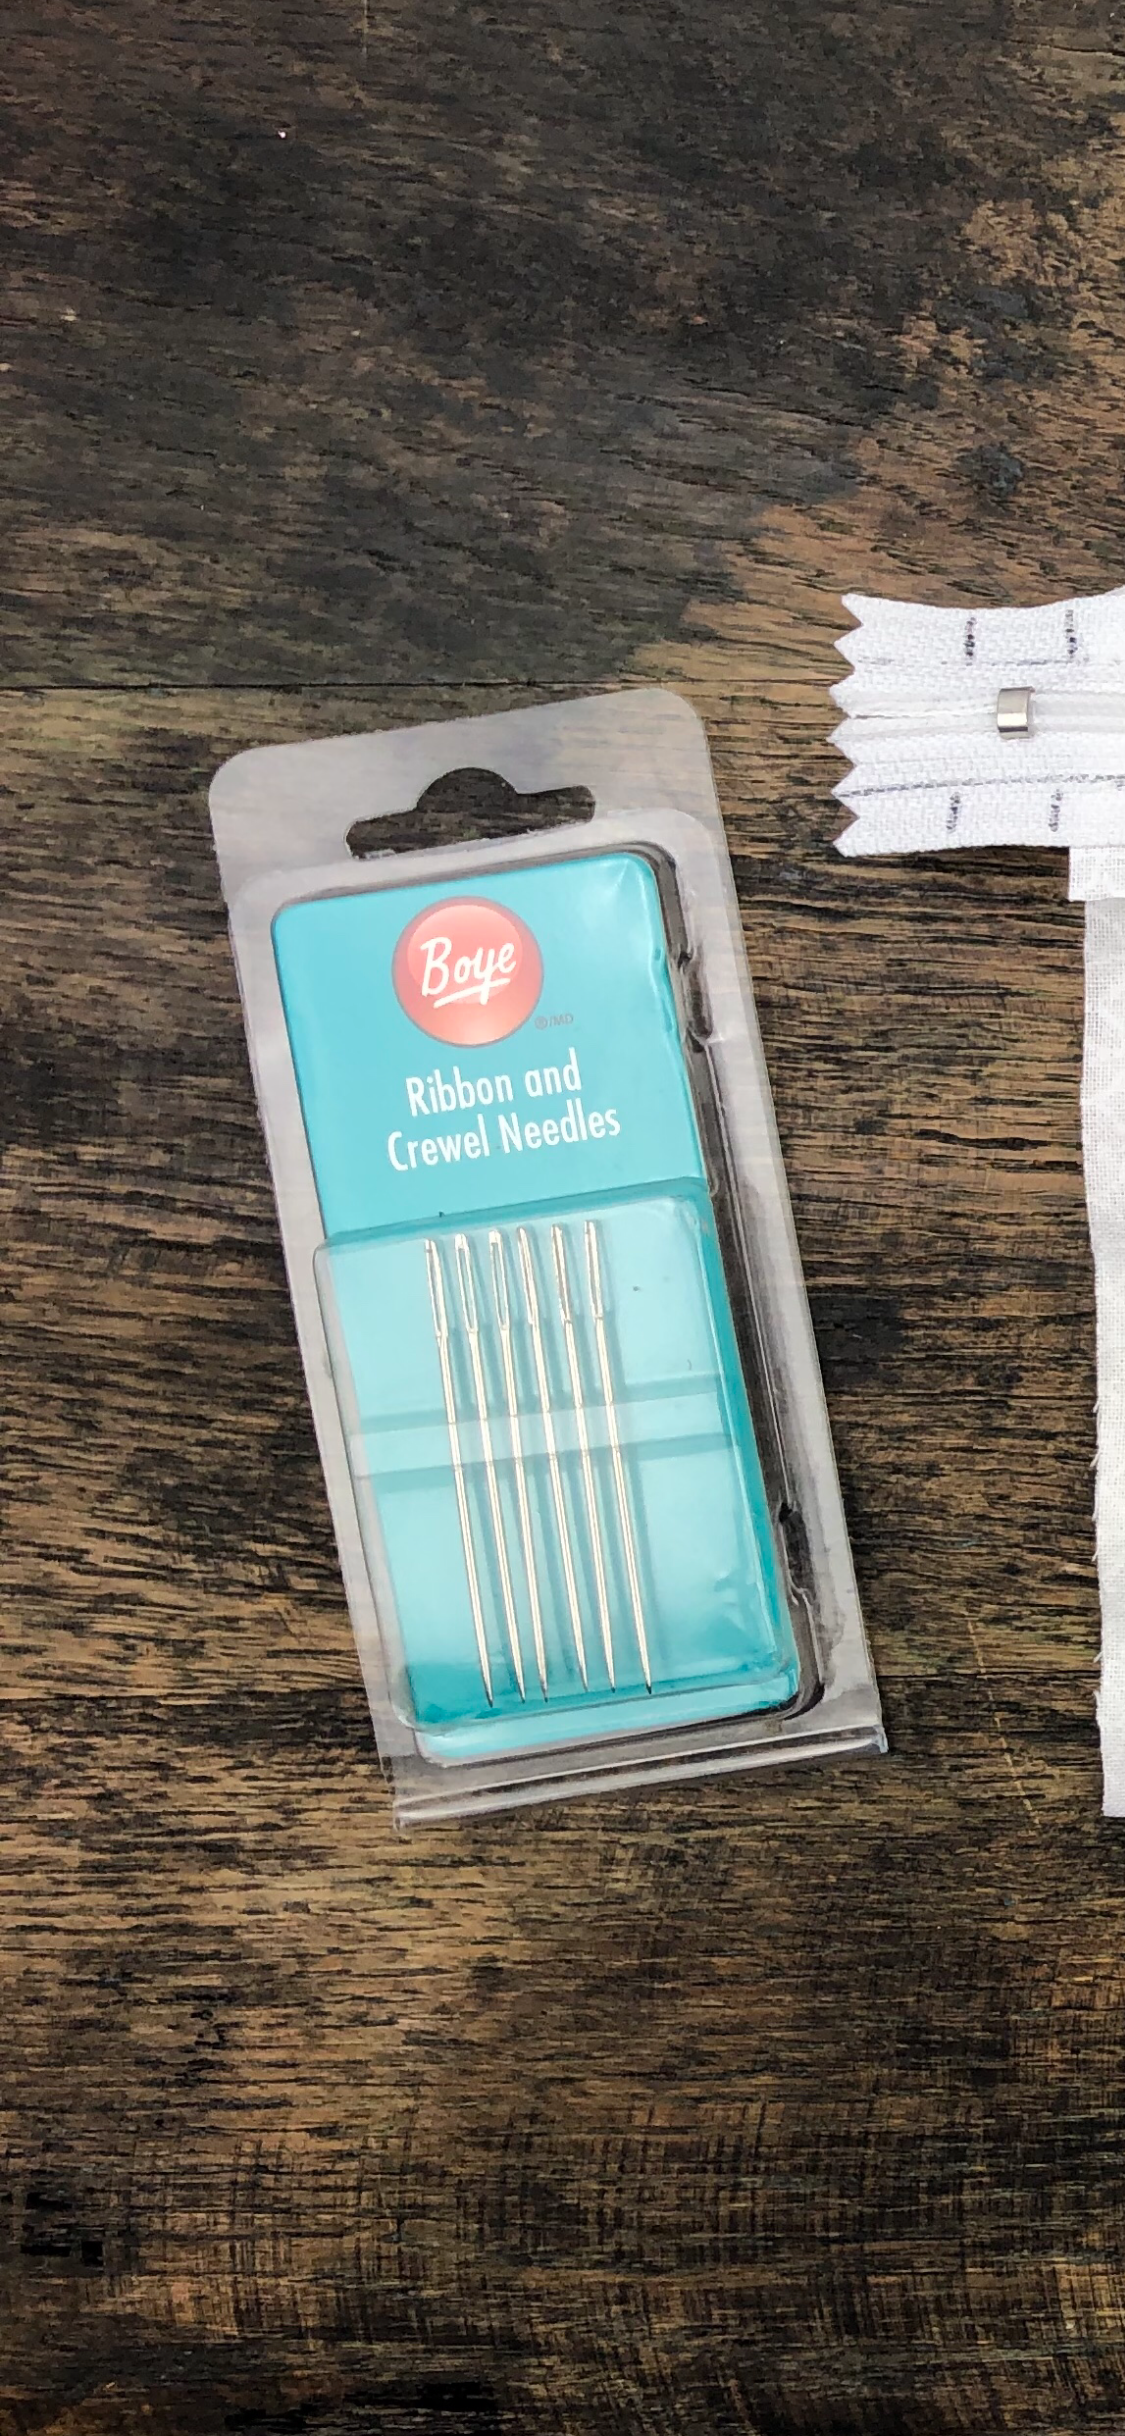
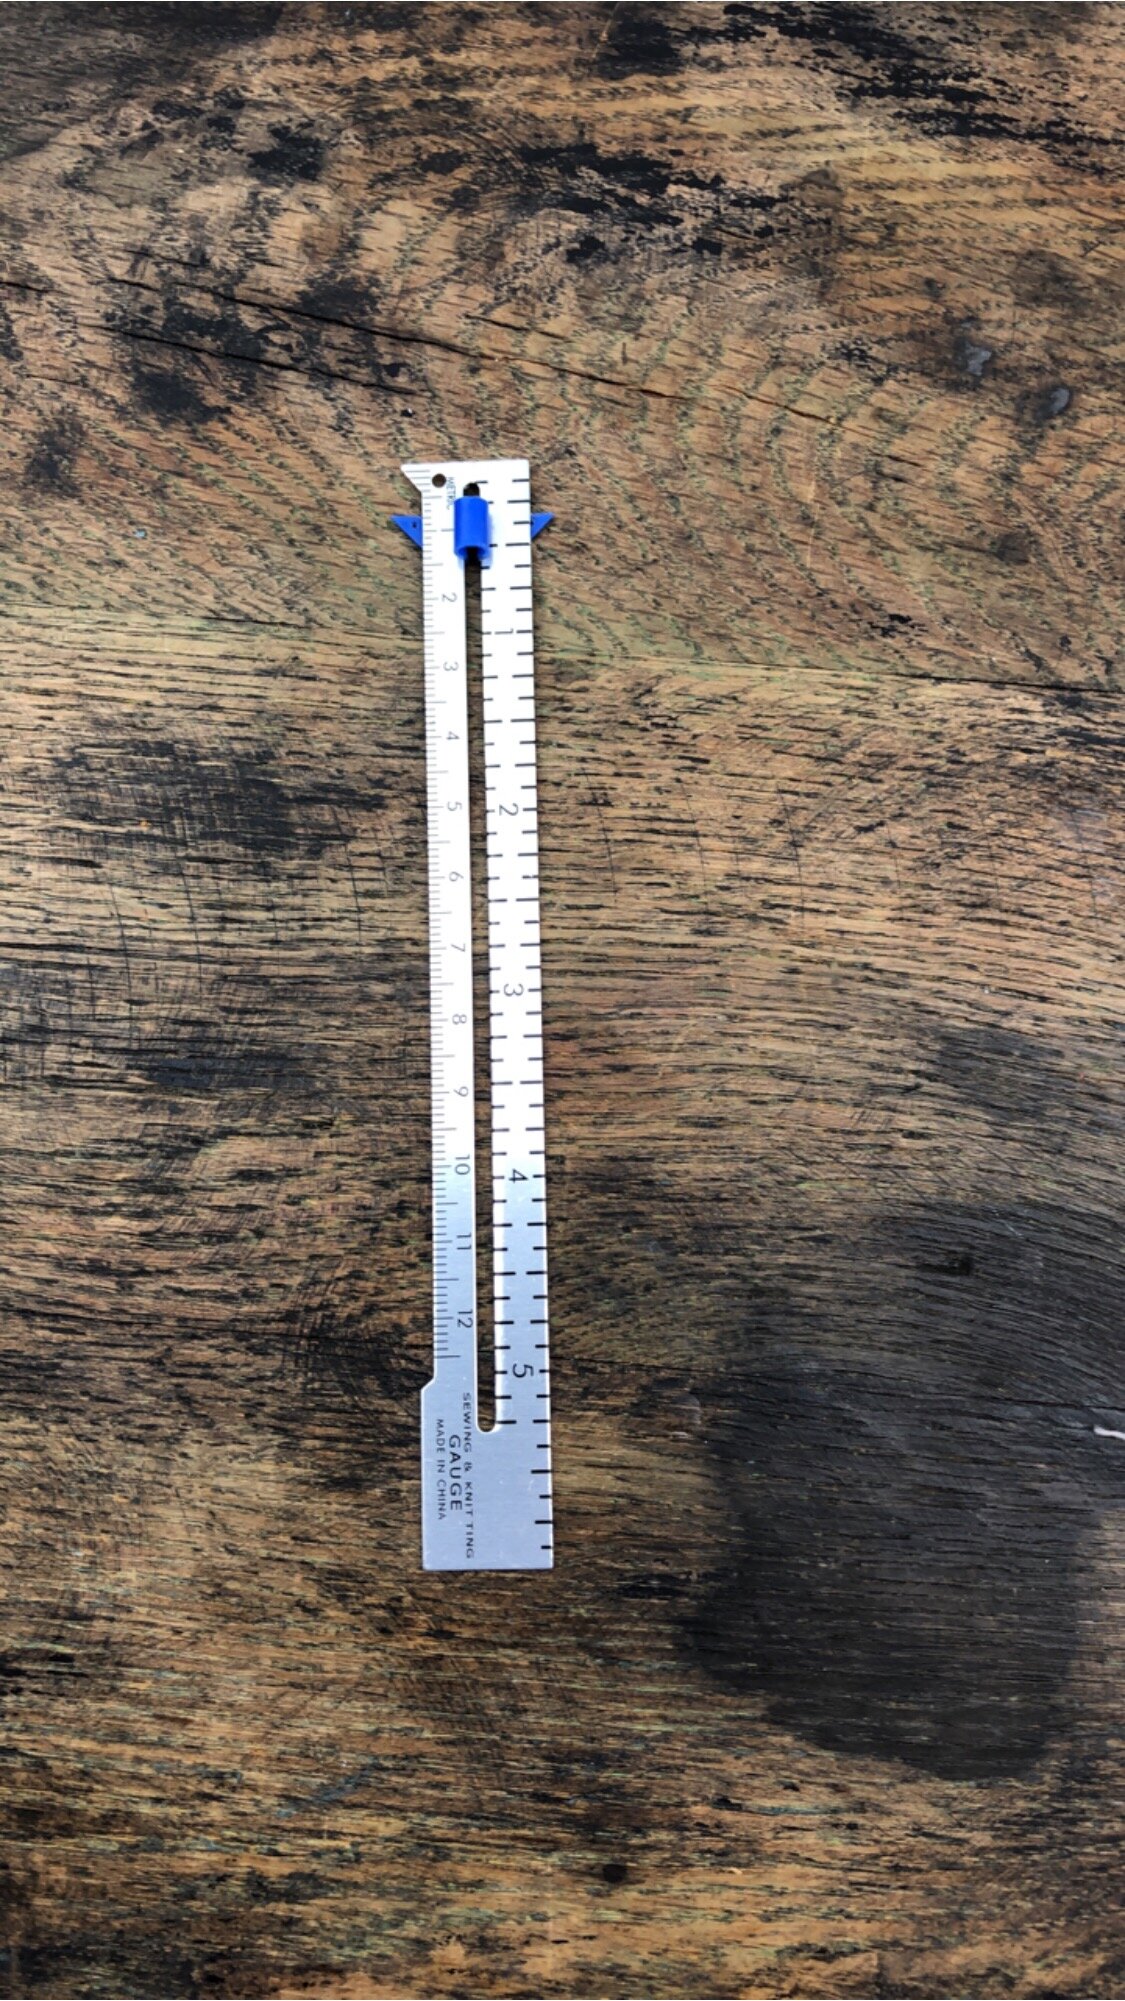
Ex. of ribbon needles on left, hemming ruler on right.
Terms Used and Abbreviations:
Pattern is written in US terminology.
Beginning - beg
Chain(s) - ch(s)
Fasten Off – FO
Place Marker - PM
Puff Stitch- PS
Repeat - rep
Single Crochet – sc
Skip - sk
Slip Stitch - sl st
Space(s) - sp(s)
Stitch(es) - st(s)
Yarn Over - YO
Special Stitches:
Puff Stitch- Place hook in specified stitch, YO and draw up a loop. {YO, draw up a loop} 3x’s. YO, draw through all 8 loops on hook.
Gauge:
Not necessary due to simple use of st multiples.
Finished Measurements:
You can make your bag to be any size you desire, but I tend to make mine 7” (18 cm) x 5” (13 cm).
Be sure to subscribe to my YouTube channel!
Instructions:
Bag is worked in the round from bottom to top.
Begin by making a ch in multiples of 2 until it measures 1” (2.5 cm) longer than your chosen zipper size. I am going to give you my st counts to help you visualize the math. My foundation ch is 26.
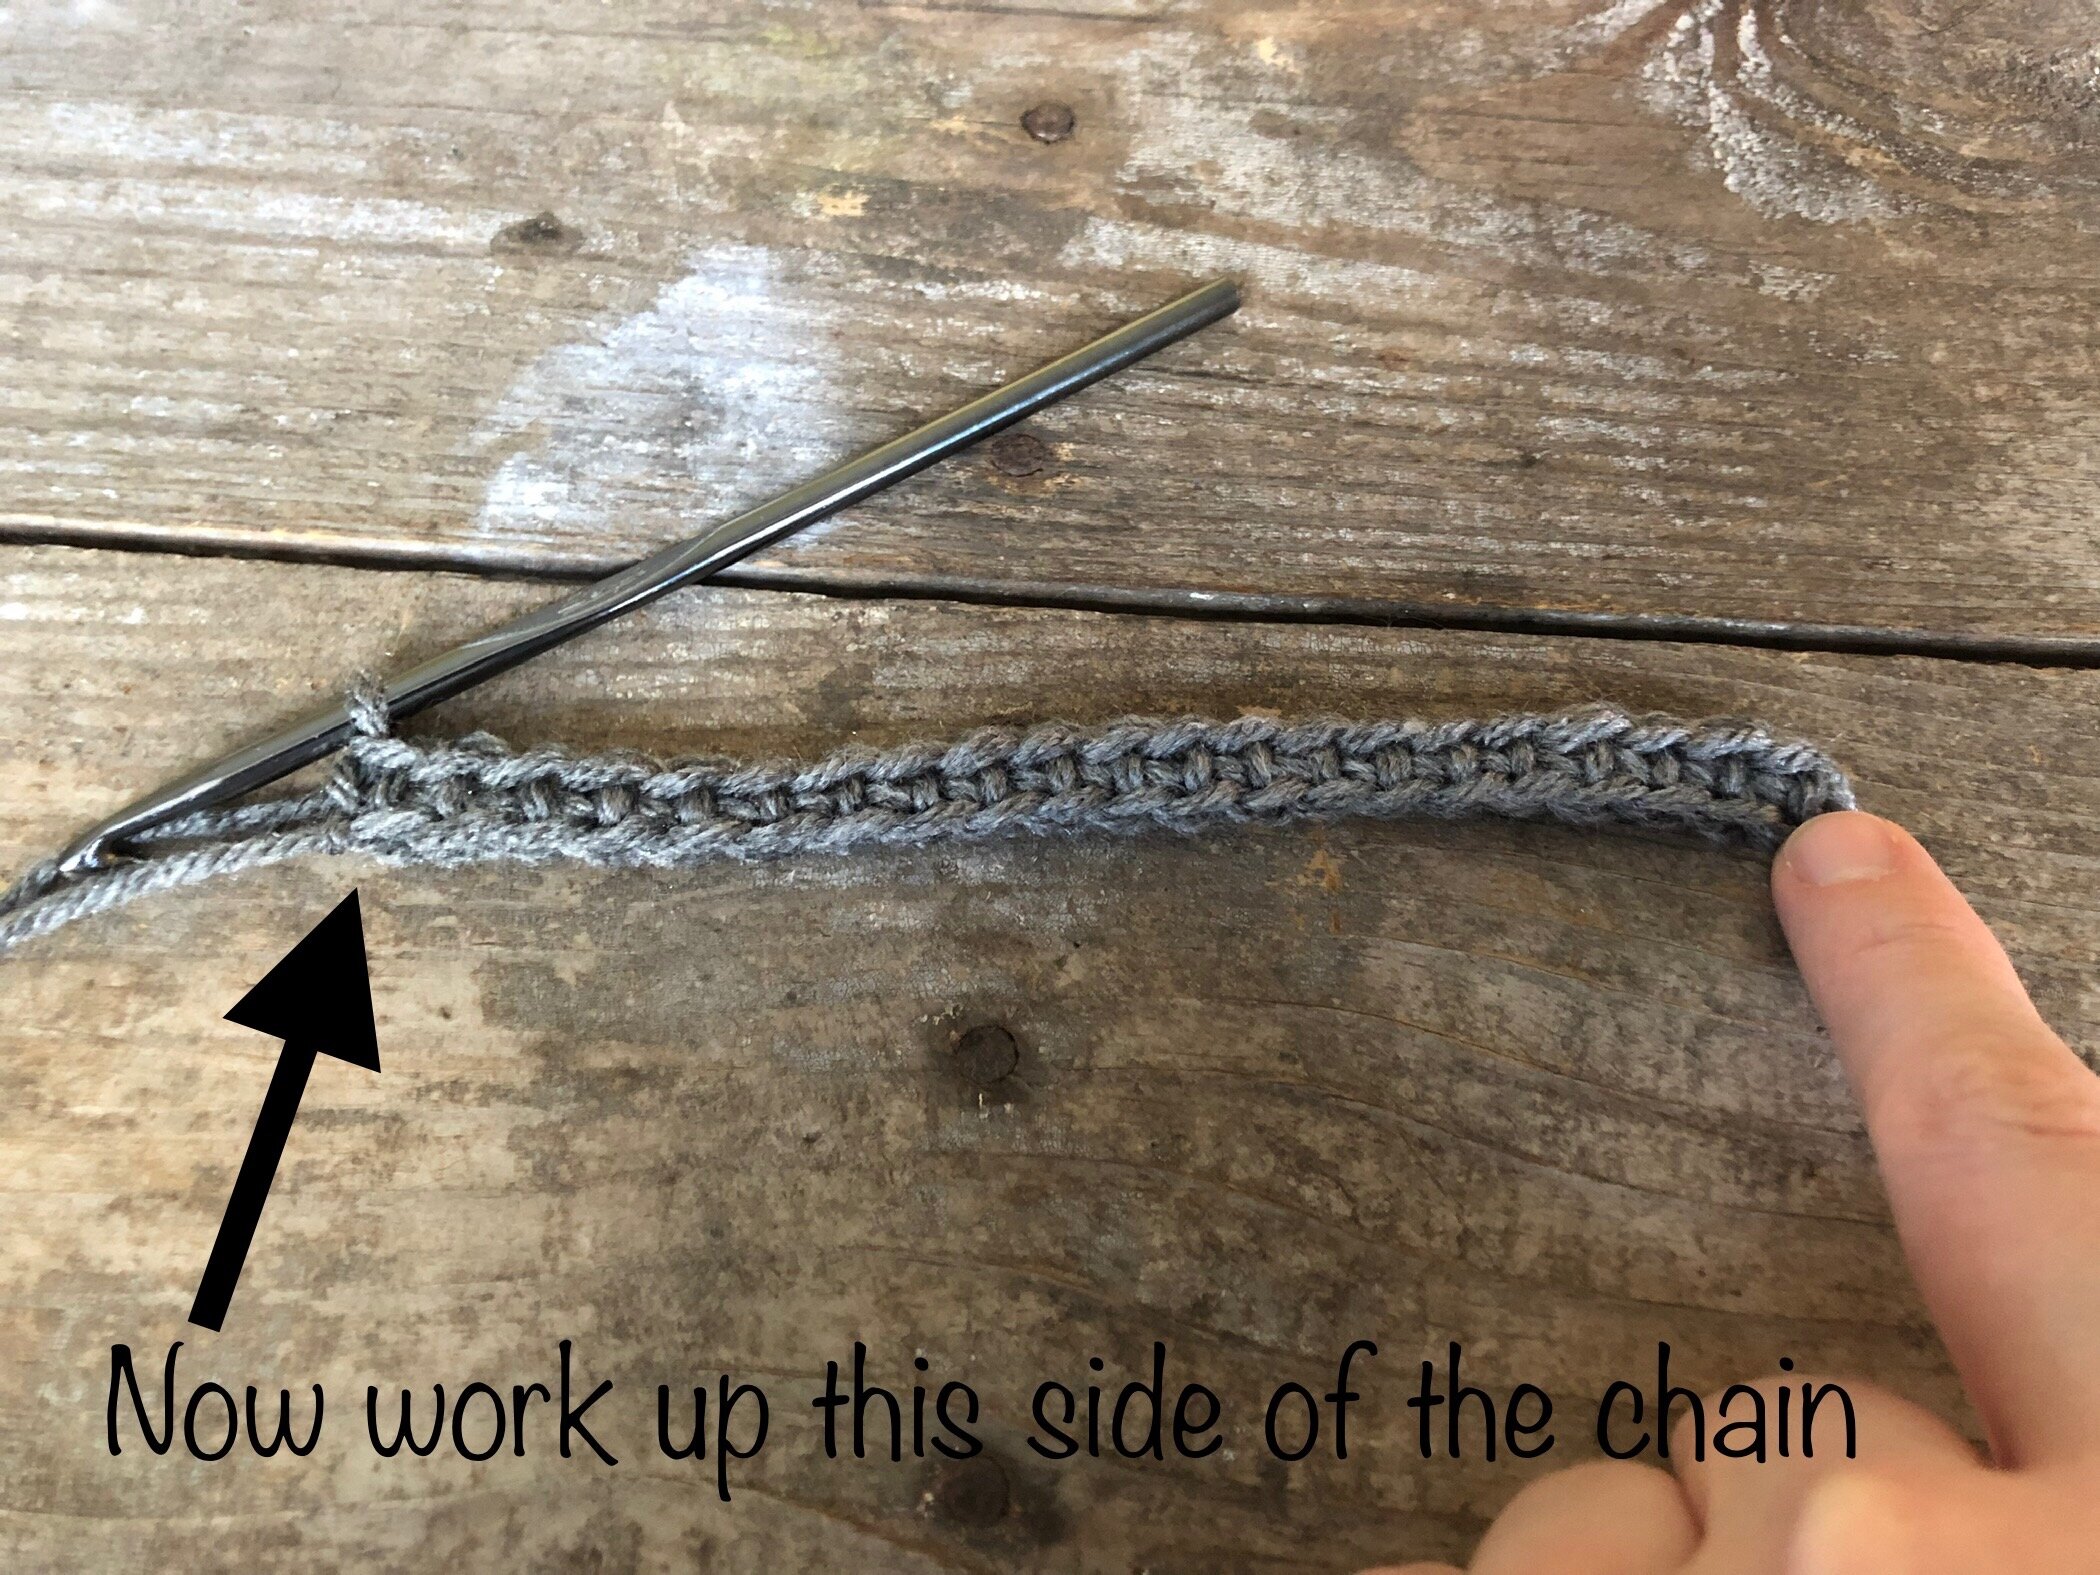
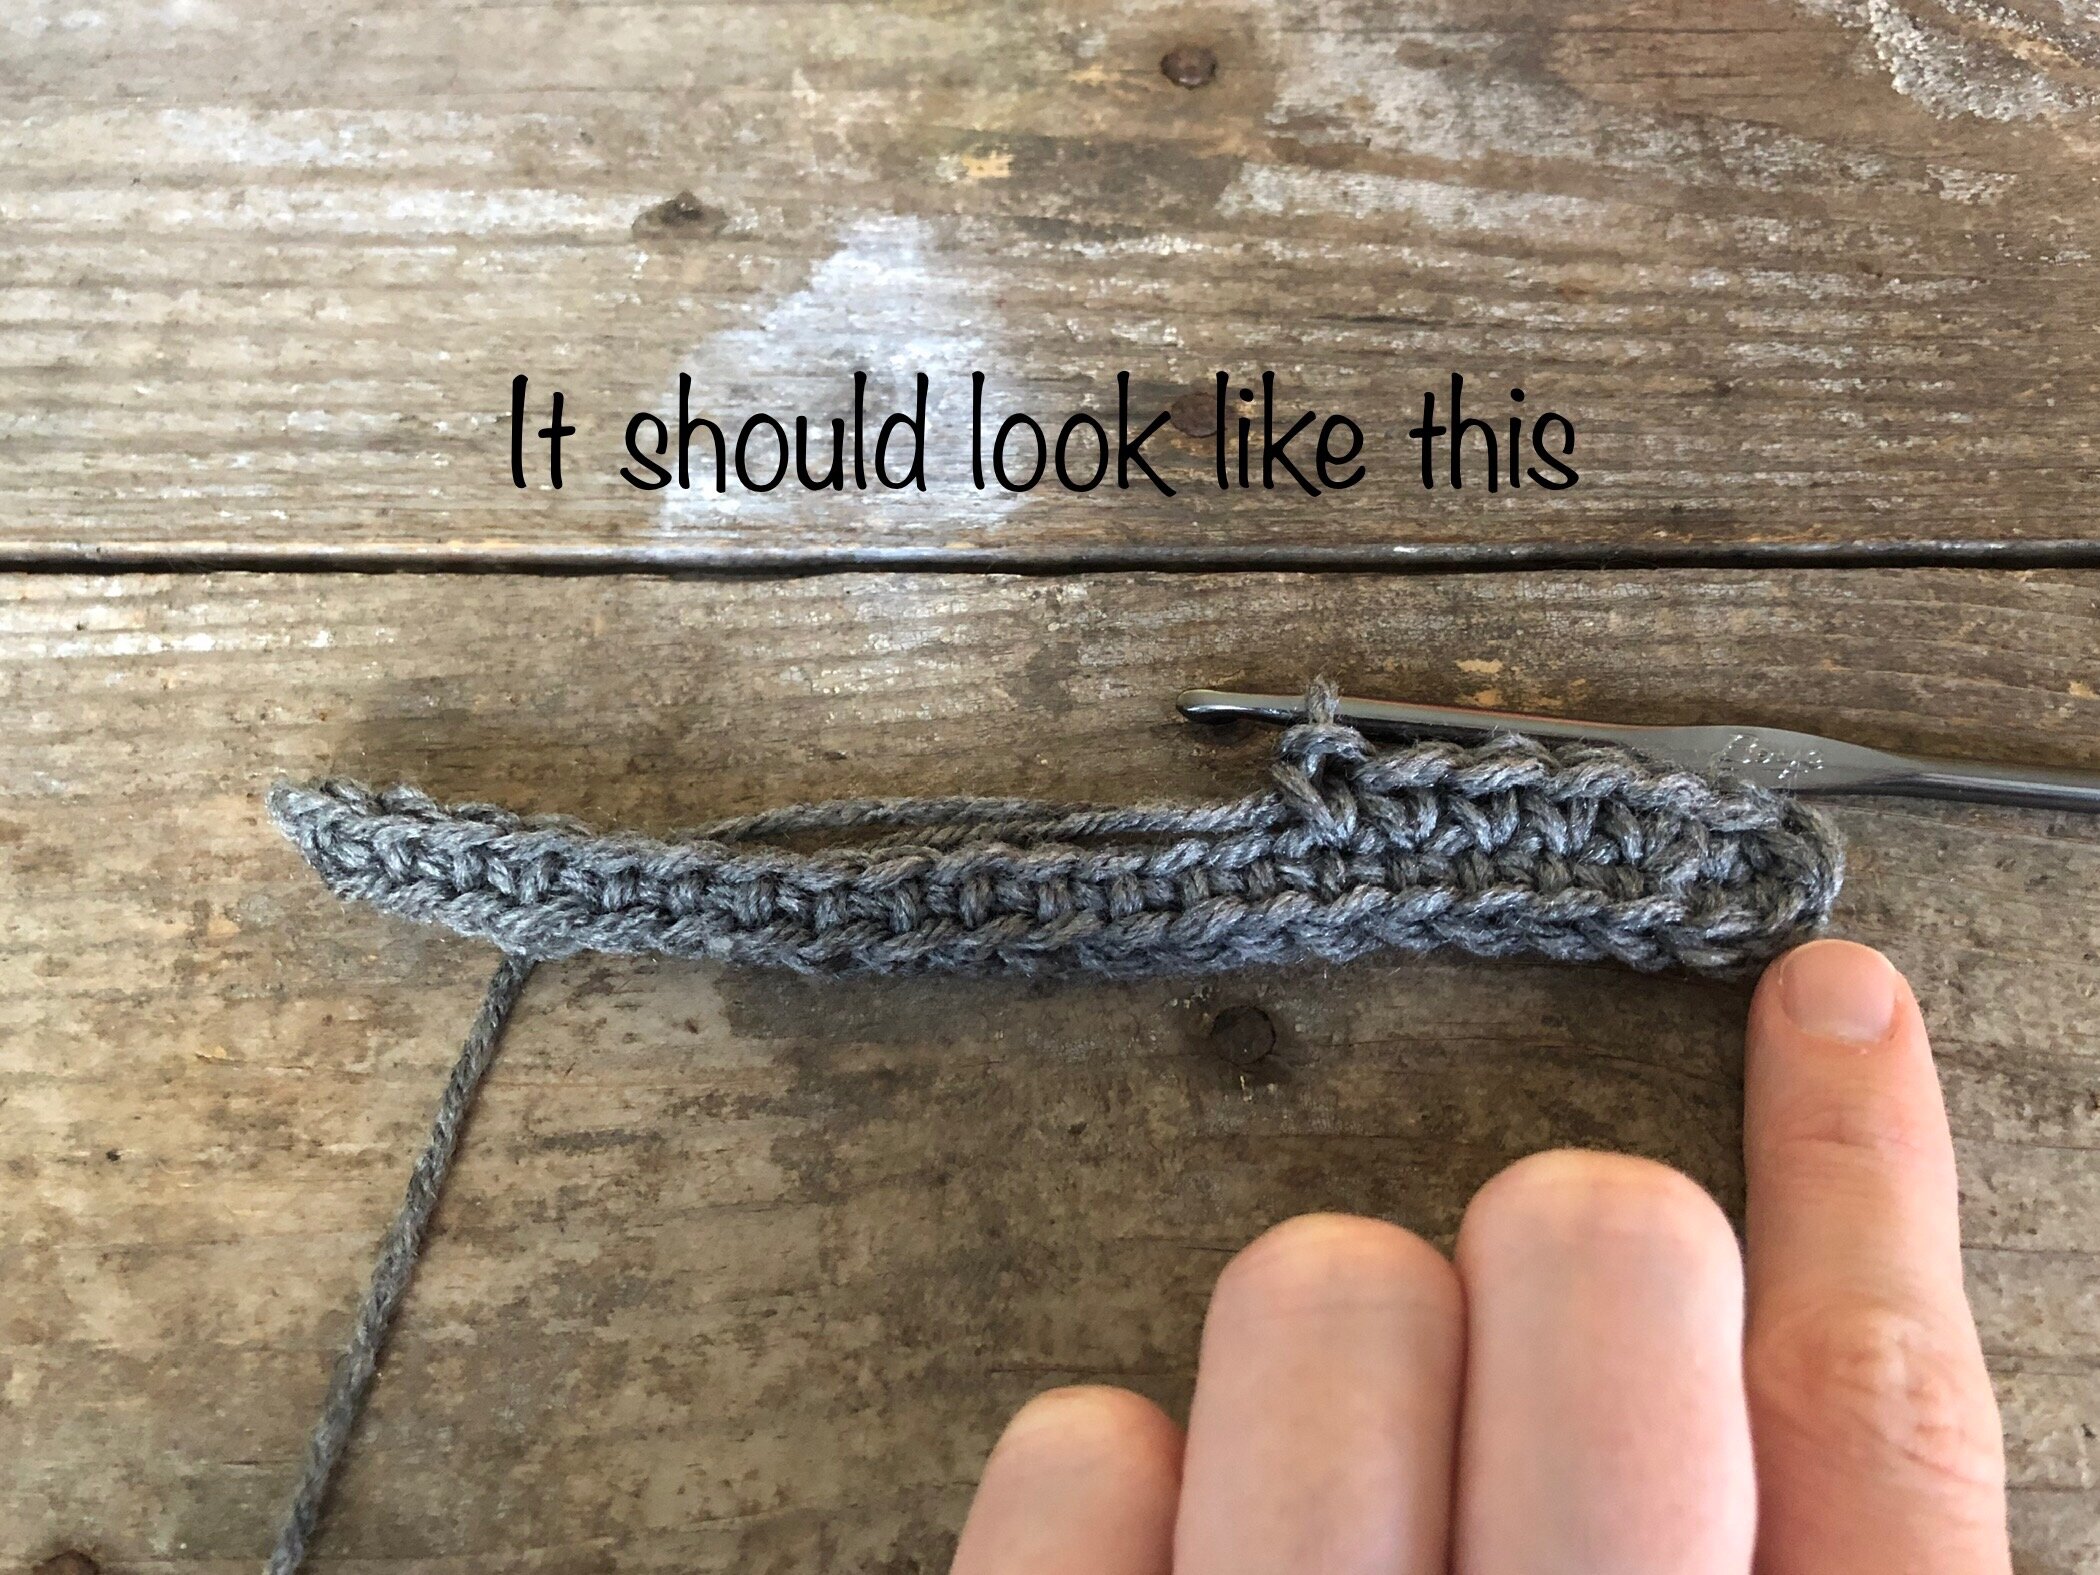
Round 1: Sc in 2nd ch from your hook and in each st to end. Place 2 sc in last st and turn your work so that you are working back up the ch in the base of the sts you just made. (See photo below) Sc in every st to end. Join with a sl st in top of first sc made. [50 sc]
Round 2: Ch 1, sc in the 3rd st from your hook. PS in last sk st. *sk 1 st, sc in next st. PS in sk st; rep from * to end. Join with a sl st in top of first PS. [25 PS, 25 sc]
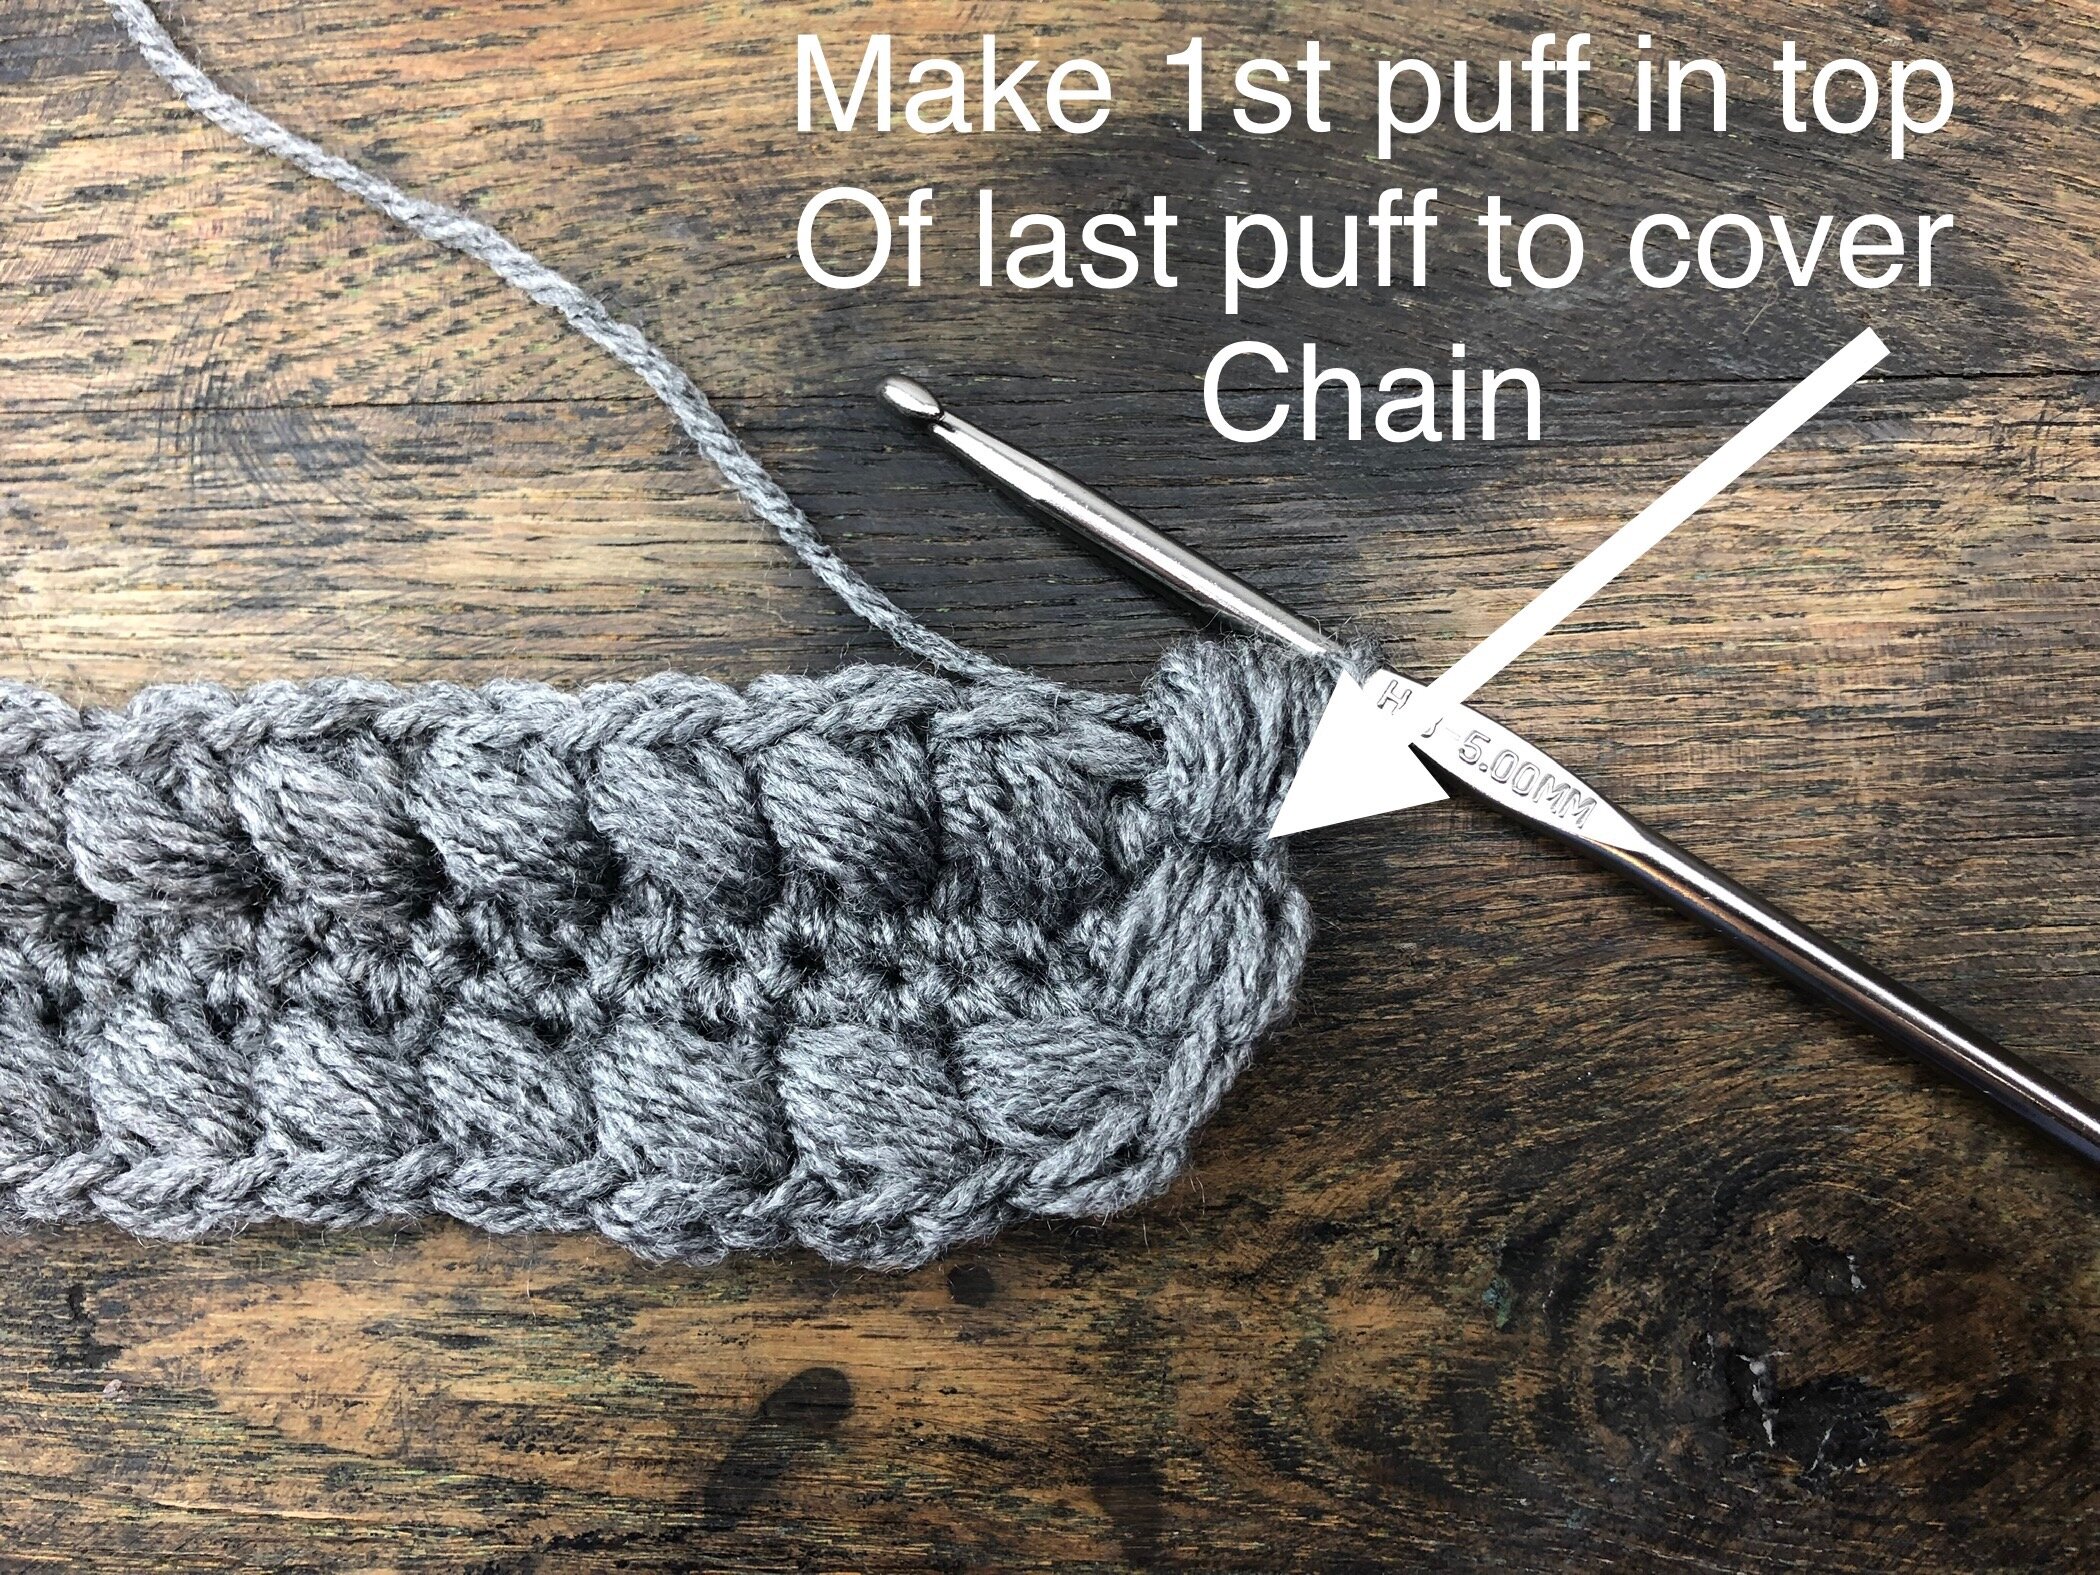
Round 3: Ch 1. PS in top of last PS made in round 2 (you are essentially covering up your ch 1 this way so there is no visible seam. See photo below). Sk next 2 sts, sc in next st, PS in last sk st. *sk next st, sc in next st, PS in sk st; rep from * to end. Join with a sl st in top of first PS. [25 PS, 25 sc] (NOTE: You should be placing each PS in the top of the PS in the round below. There should not be any sc sts in the tops of your PS.)
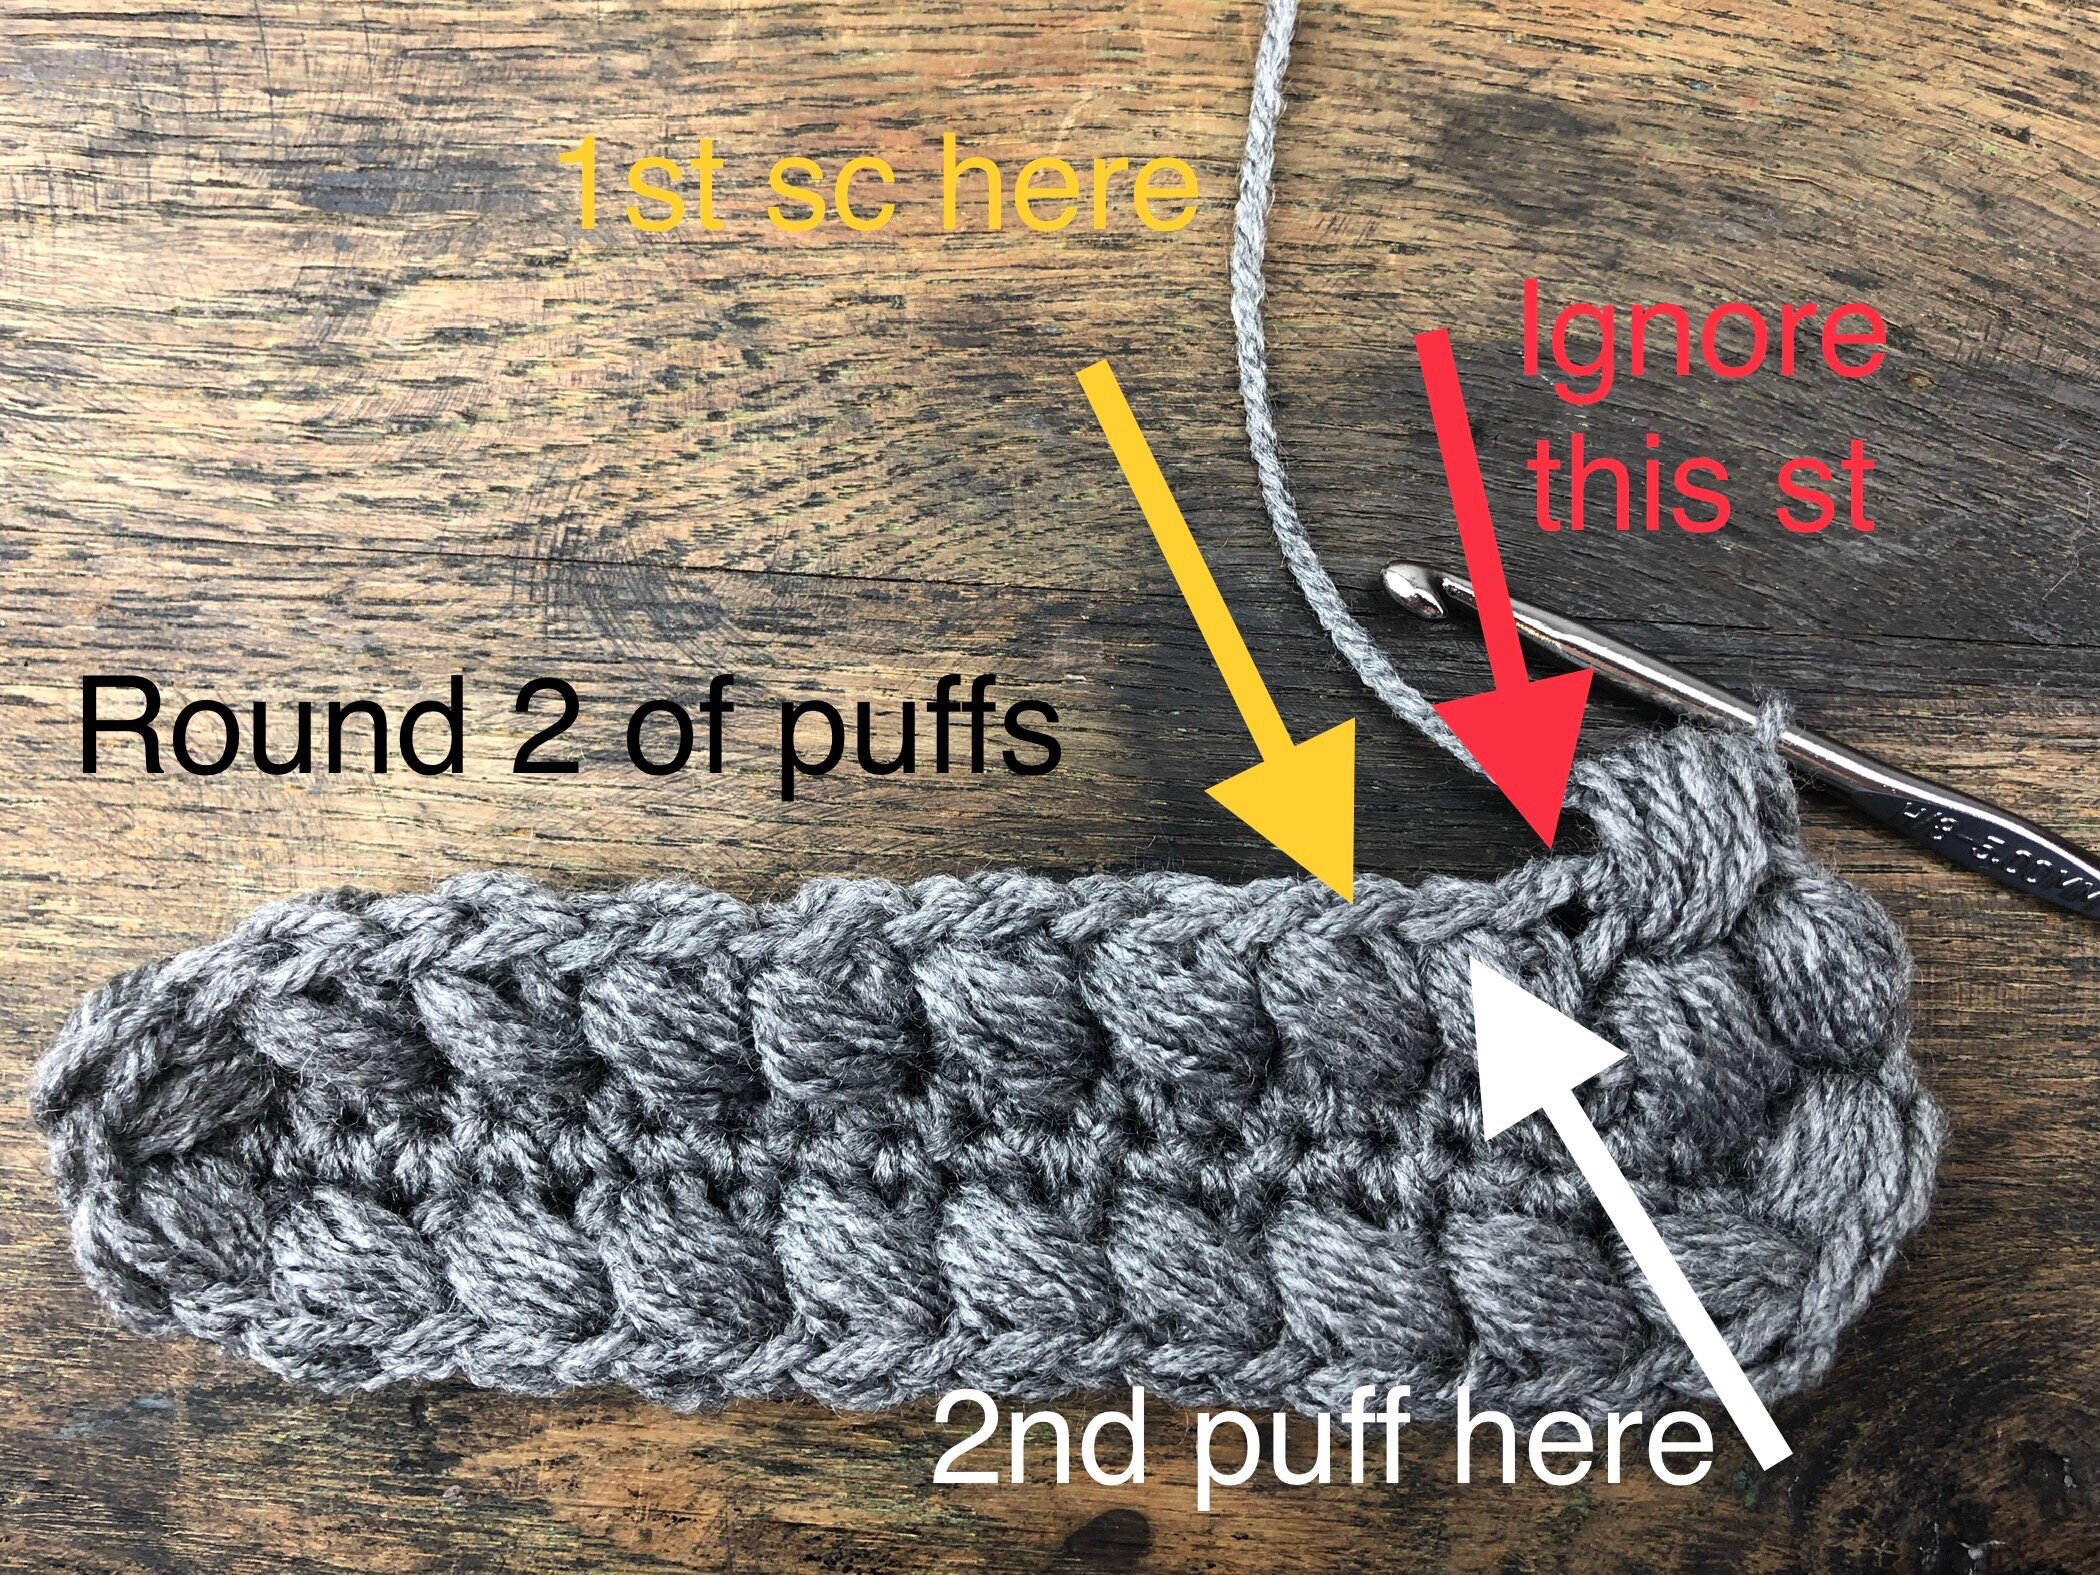
Technically, the photo on the right is Round 3. Sorry for the poor choice in wording.
Round 4: Ch 1, PS in top of last PS made in last round. Sk next 2 sts, sc in next st, PS in last sk st, *sk next st, sc in next st, PS in sk st; rep from * to end. Join with a sl st in top of first PS. [25 PS, 25 sc]
Rep Round 4 until you reach your desired size. For me, that was a total of 7 rounds of puffs. If your brim is not the same color as your last round, you will need to FO and join your brim color to a corner of your bag. Since you have 50 sts, there should be 25 sts equally on each side of your bag.
Brim
The brim is worked in continuous rounds, so you will need a st marker. Switch to your H 5.0 mm hook.
Round 1: Ch 1. Sc in same st as joining. PM in first st. Sc in every st around. Do not sl st to join. [50 sc]
Round 2: Sc in first st of last round and PM in top of last st made. Sc in every st to end. Do not sl st to join. [50 sc]
Round 3: Sc in first st of last round and PM in top of last st made. Sc in every st to end. Sl st in top of first sc to join. Do not FO. Set aside. (NOTE: IF you did not FO after the last round of puffs and re-join for your brim, you will need to loosely sl st in every st until you reach the corner of your bag.)
Round 4: of the brim will not be done until the zippered liner is ready to be added to your bag.
Make your lining
For a video tutorial, see: https://youtu.be/MmJv1AIfatI.
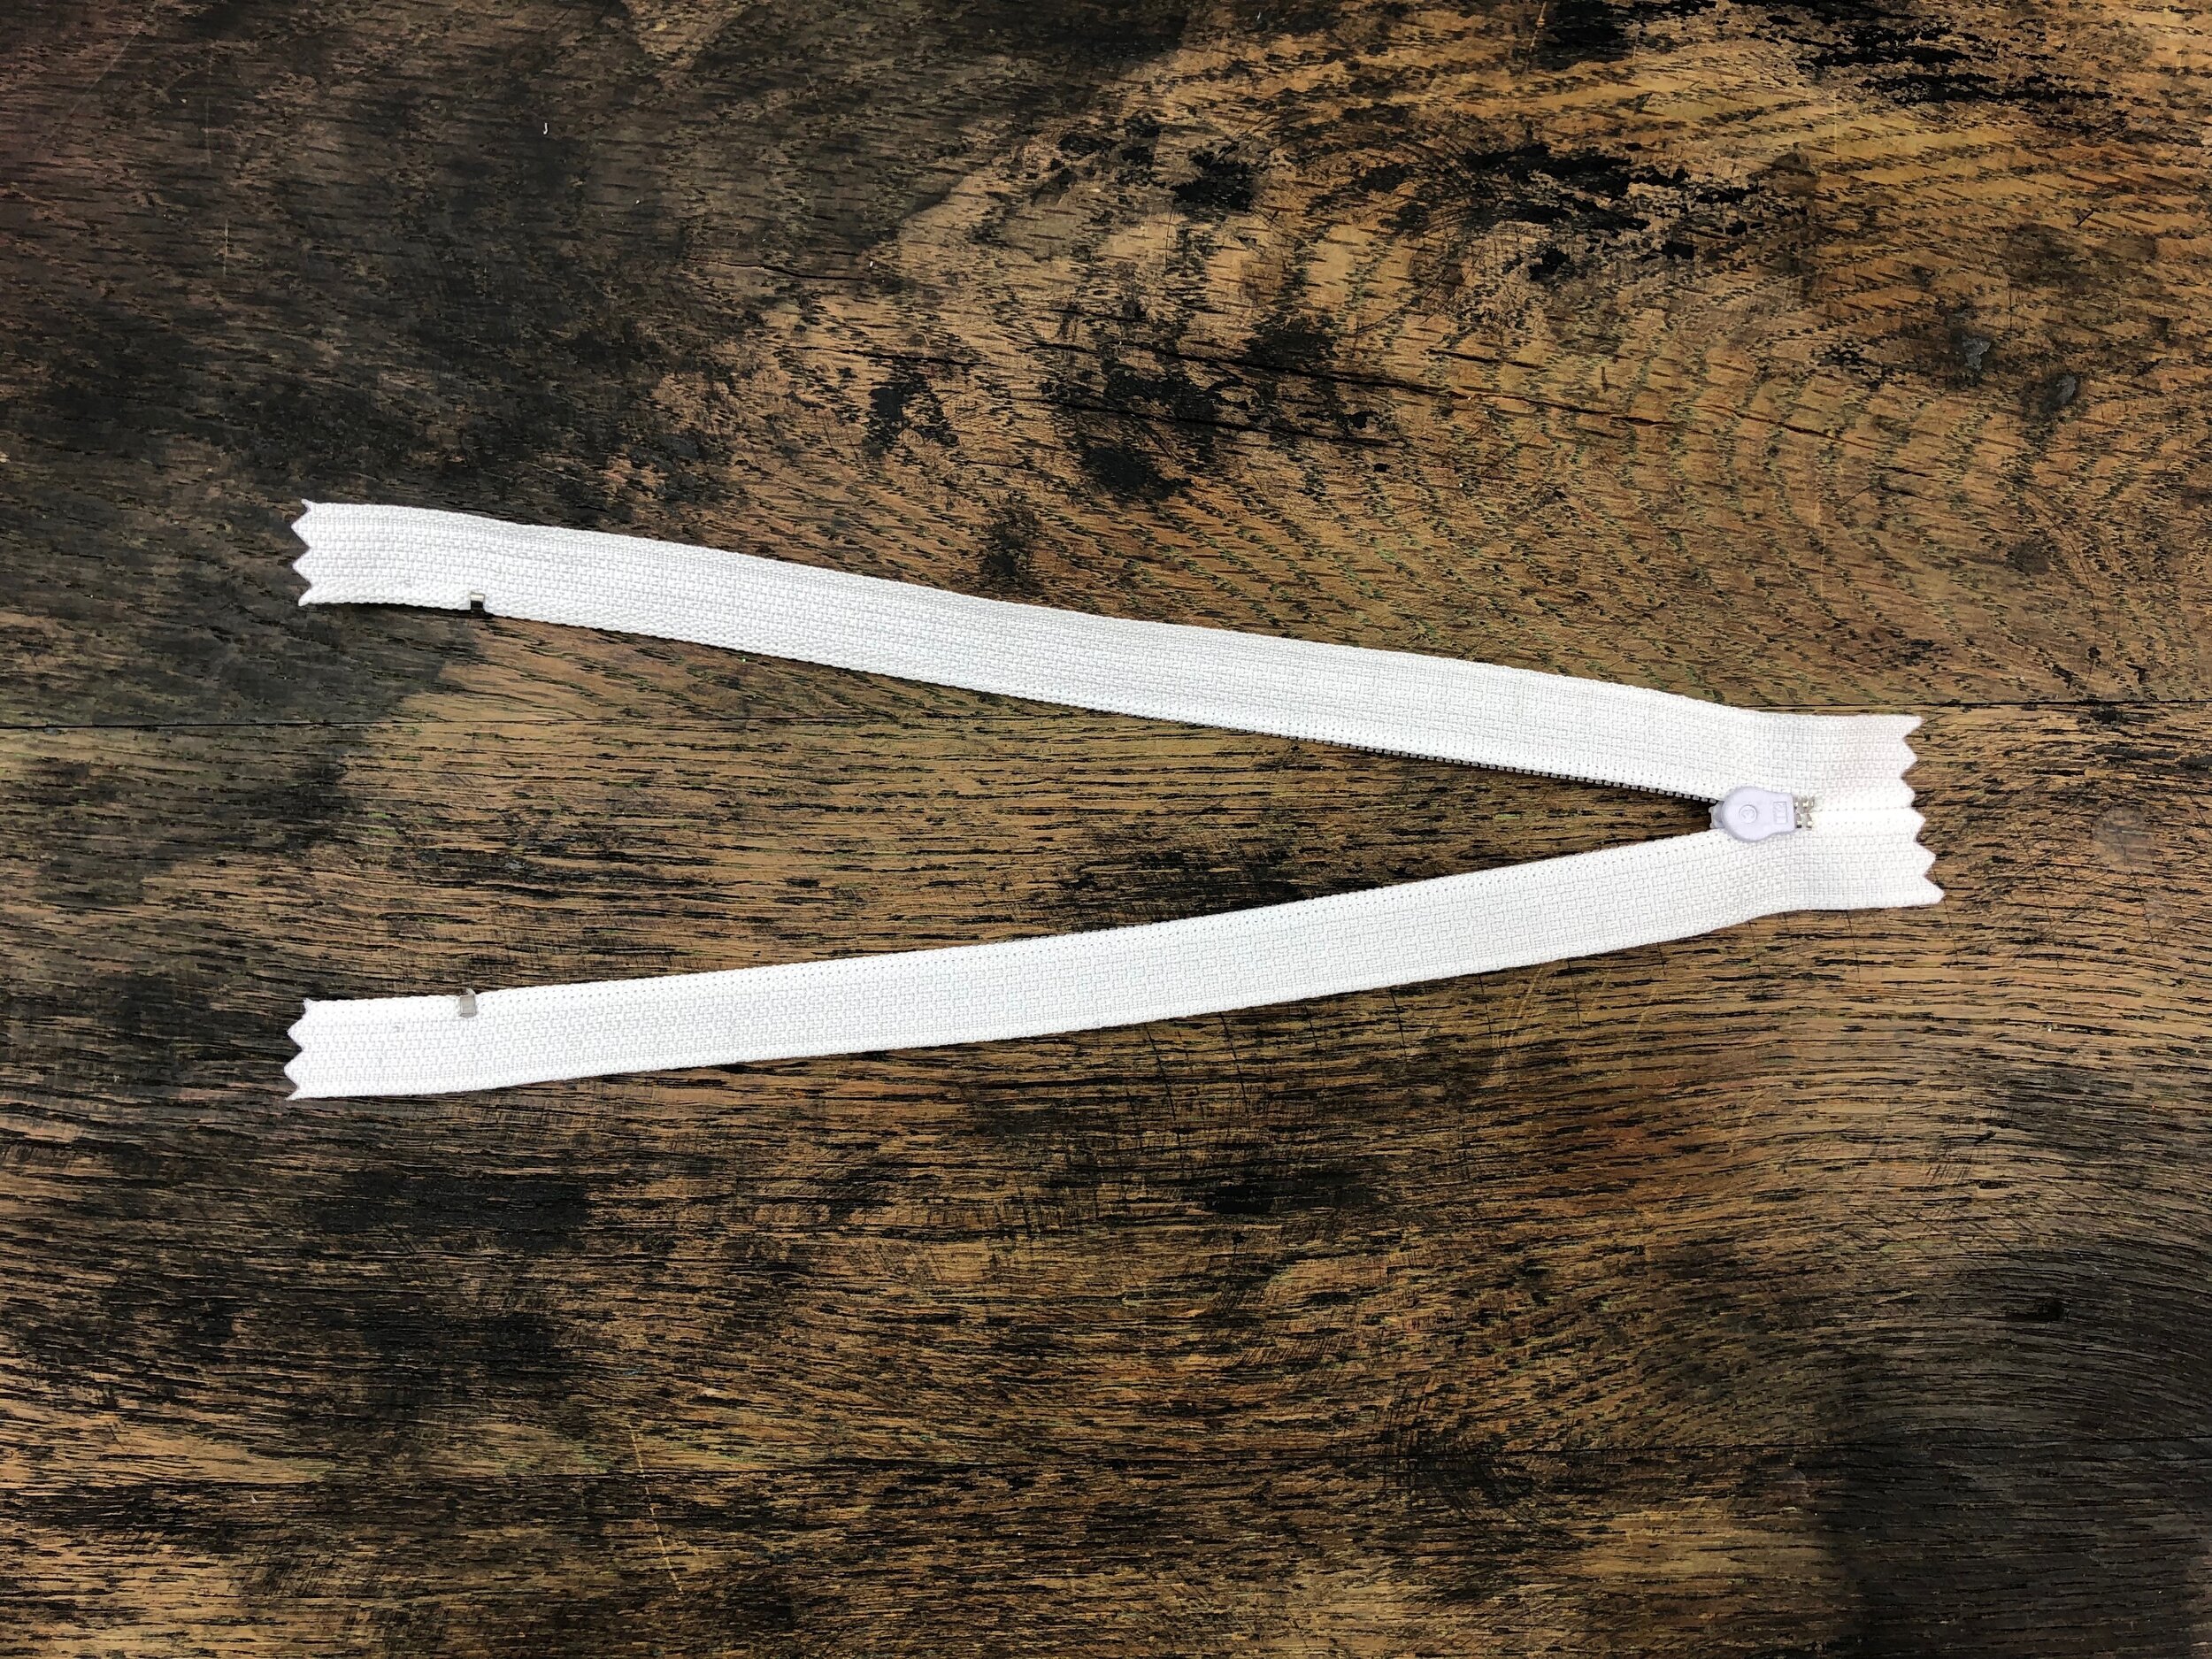
Take your zipper out of its packaging and lay it flat, face side up. Grab a pen or pencil and your hemming ruler.
Make a tick mark every 3rd mm starting at the metal “end” of the zipper. (See image). You will make 21 tick marks on each side. You only need the ruler for one side. I usually freehand the opposite side to save time. These tick marks will show you how far apart to make your hand stitches later.
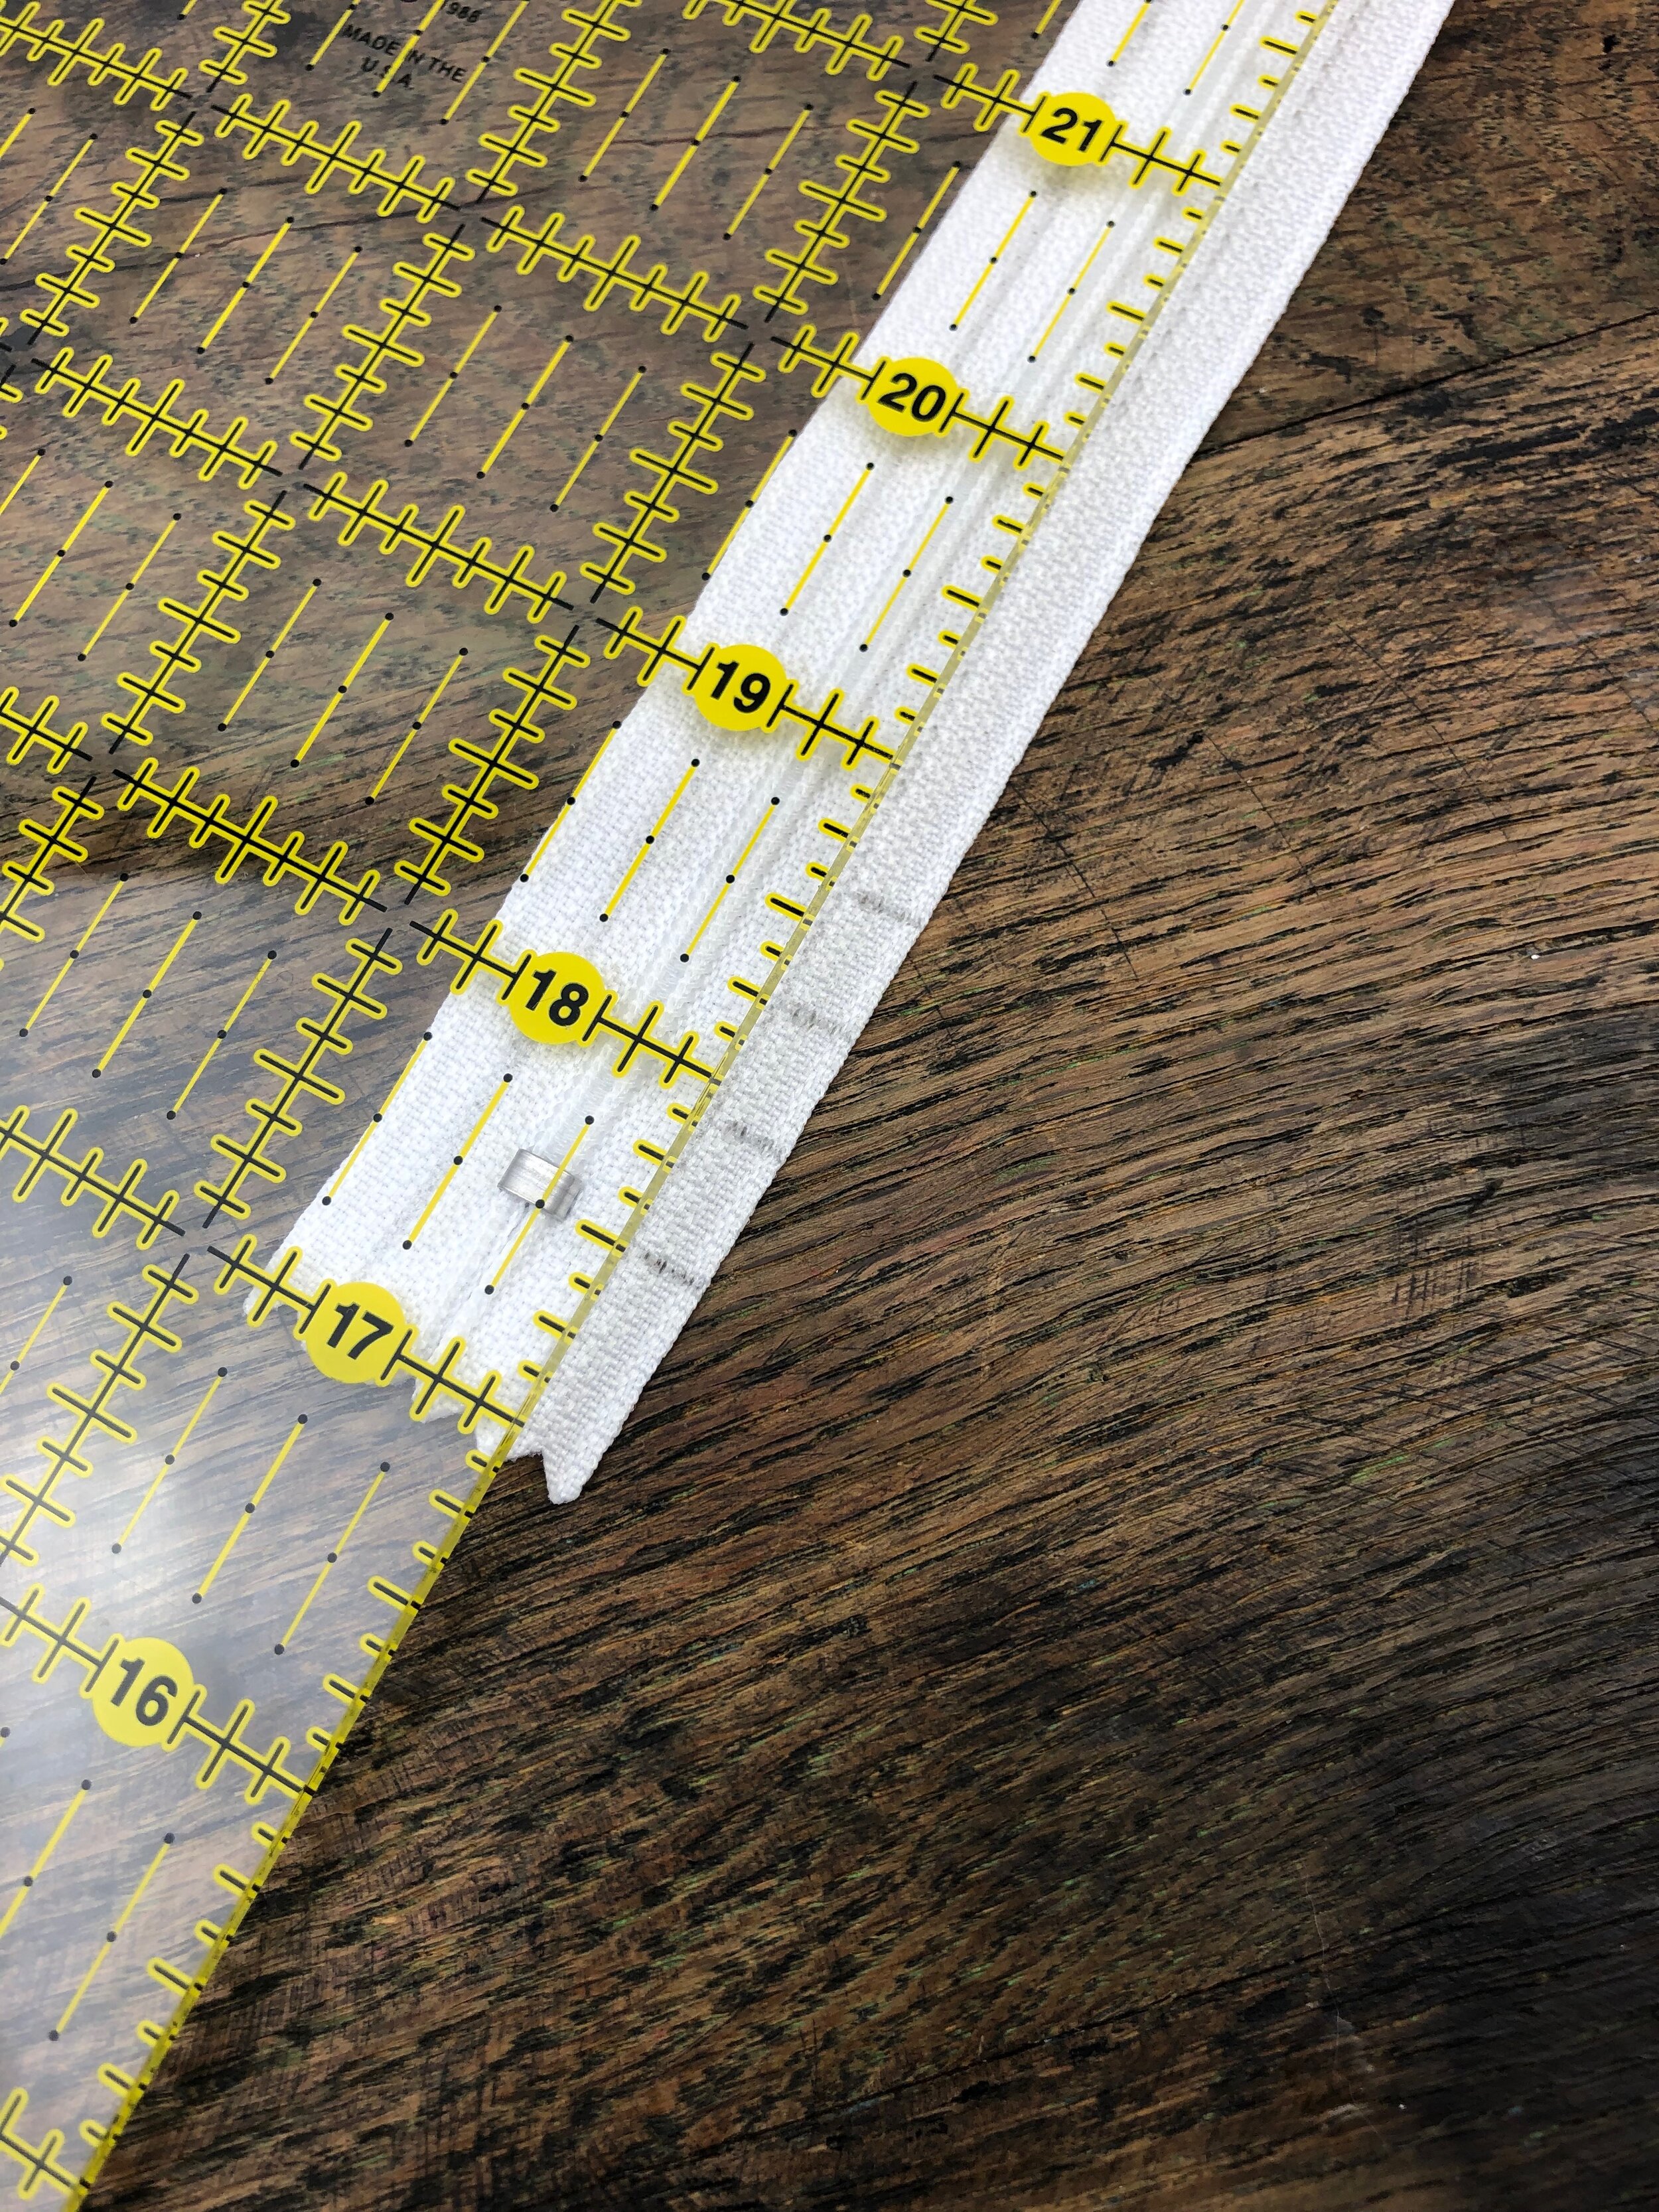
I did not have my hemming ruler for these photos, but the concept is the same.
Cut your fabric
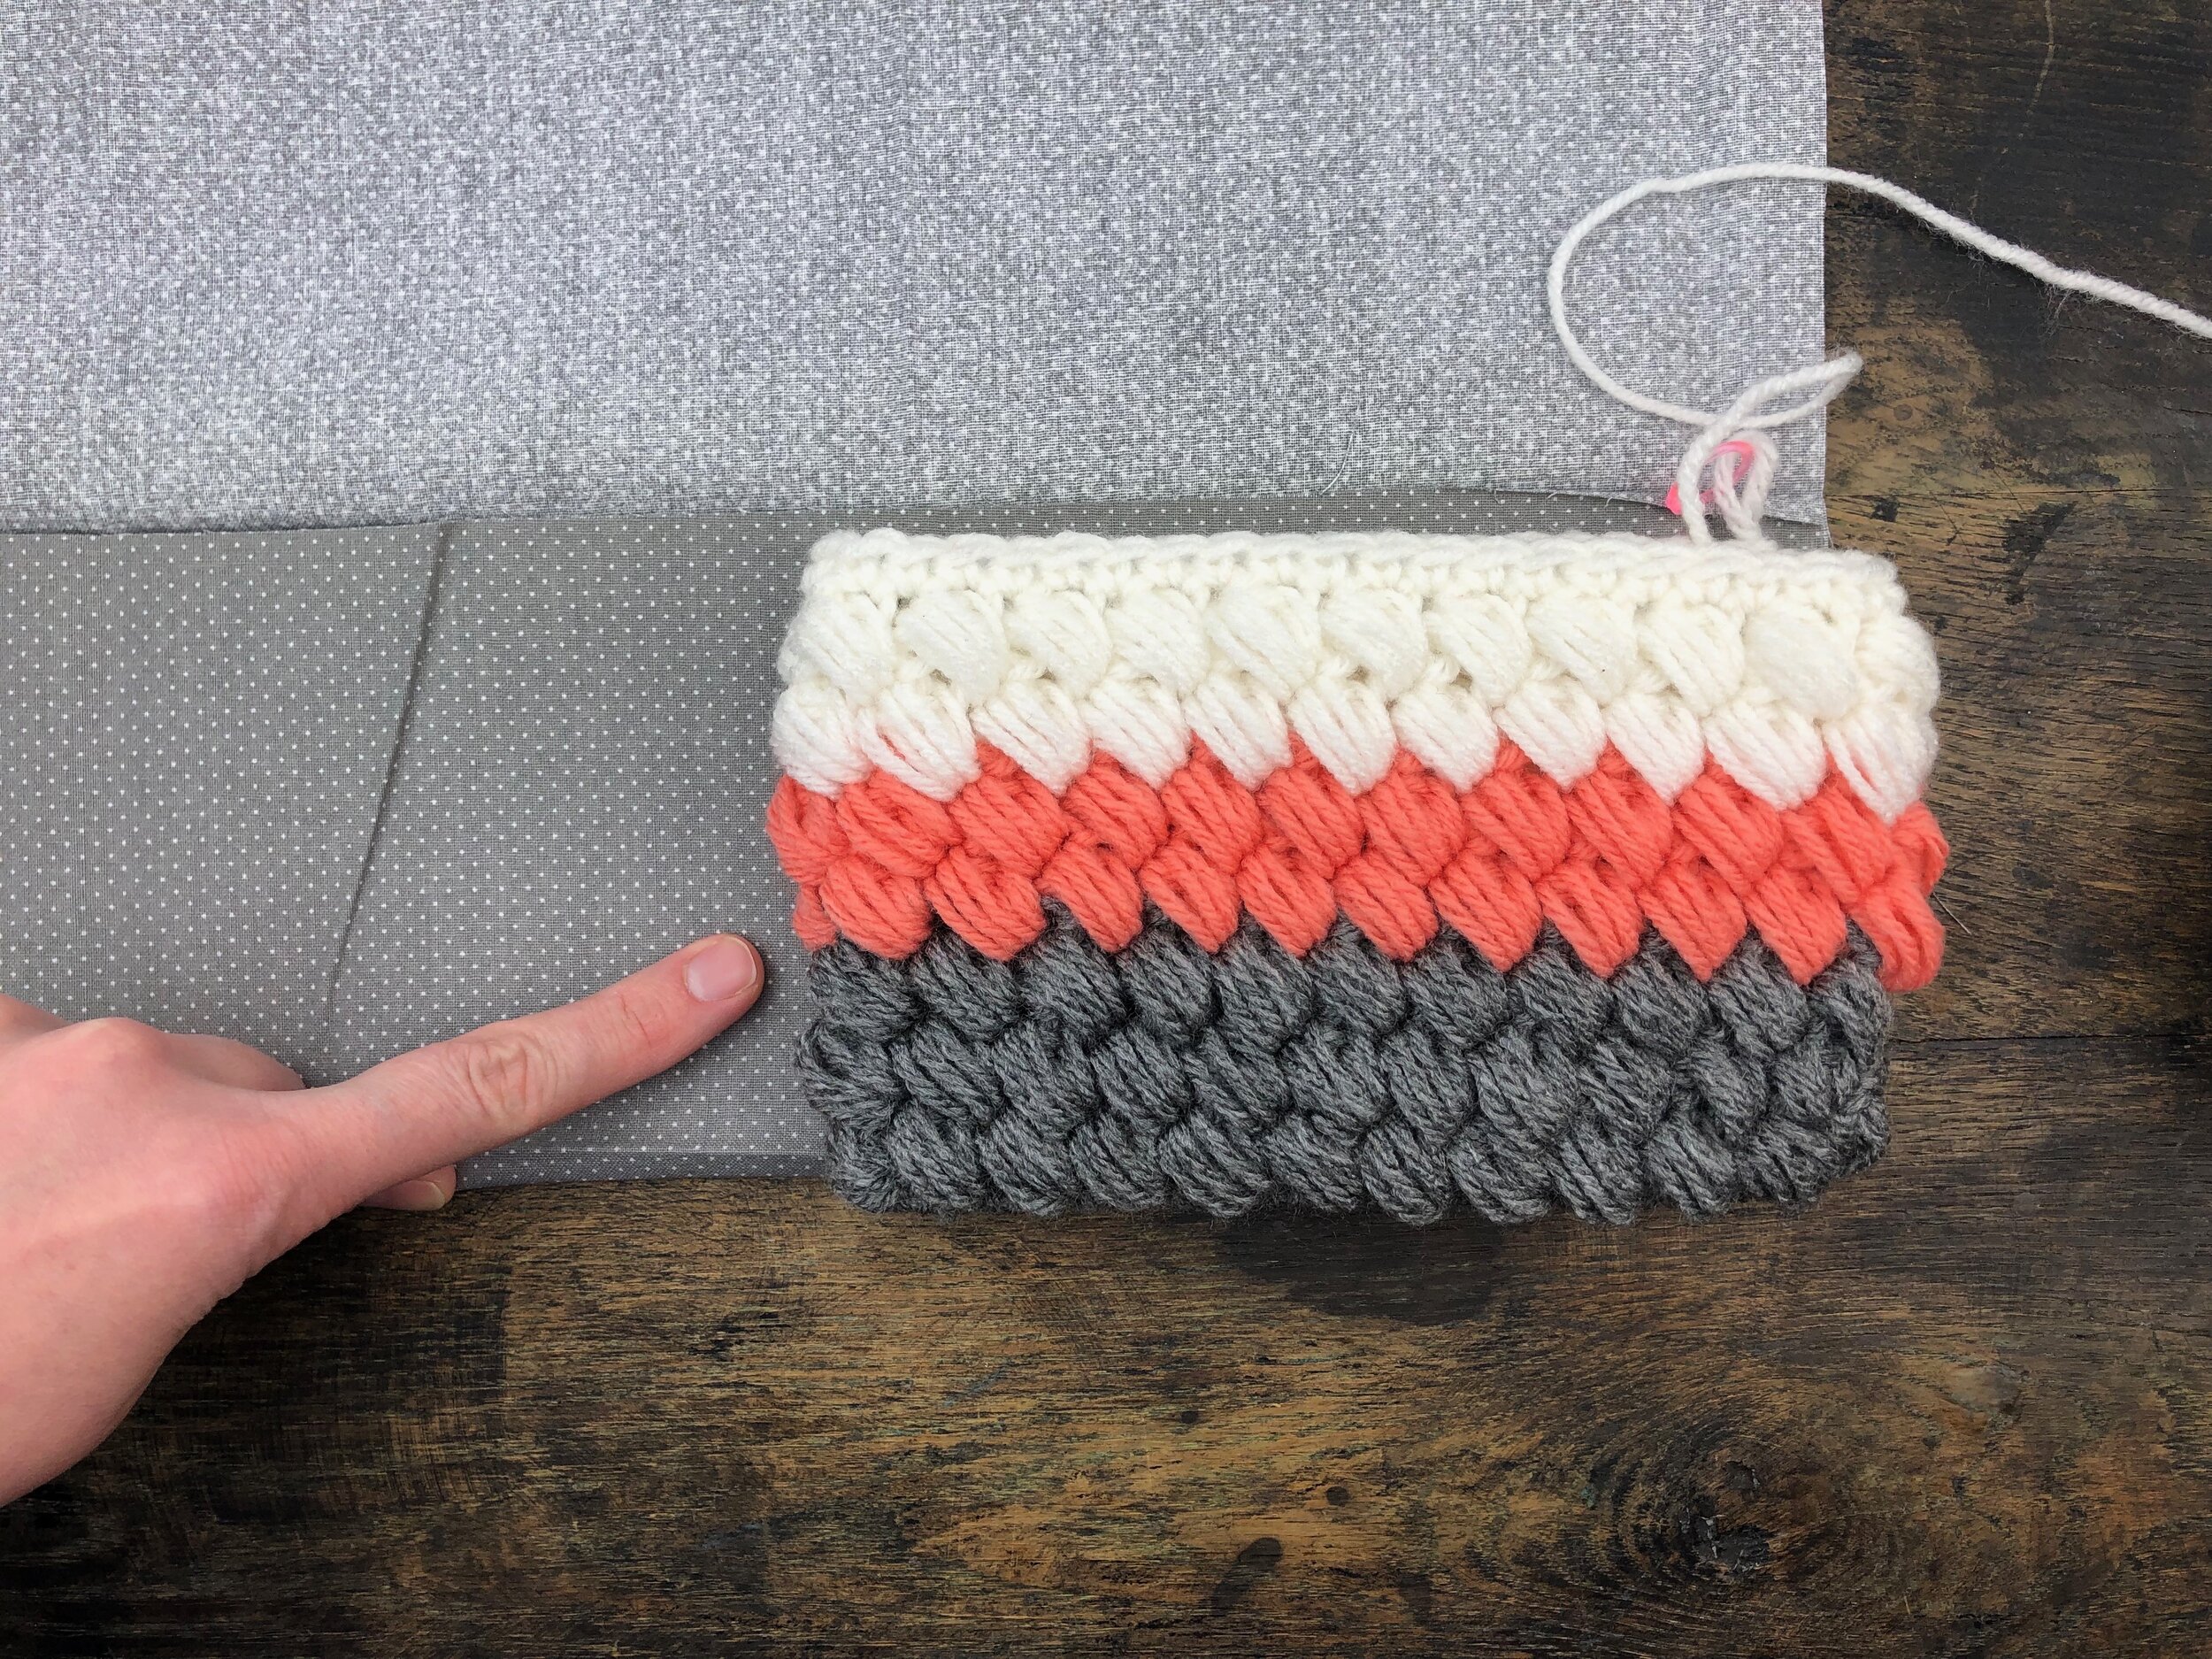
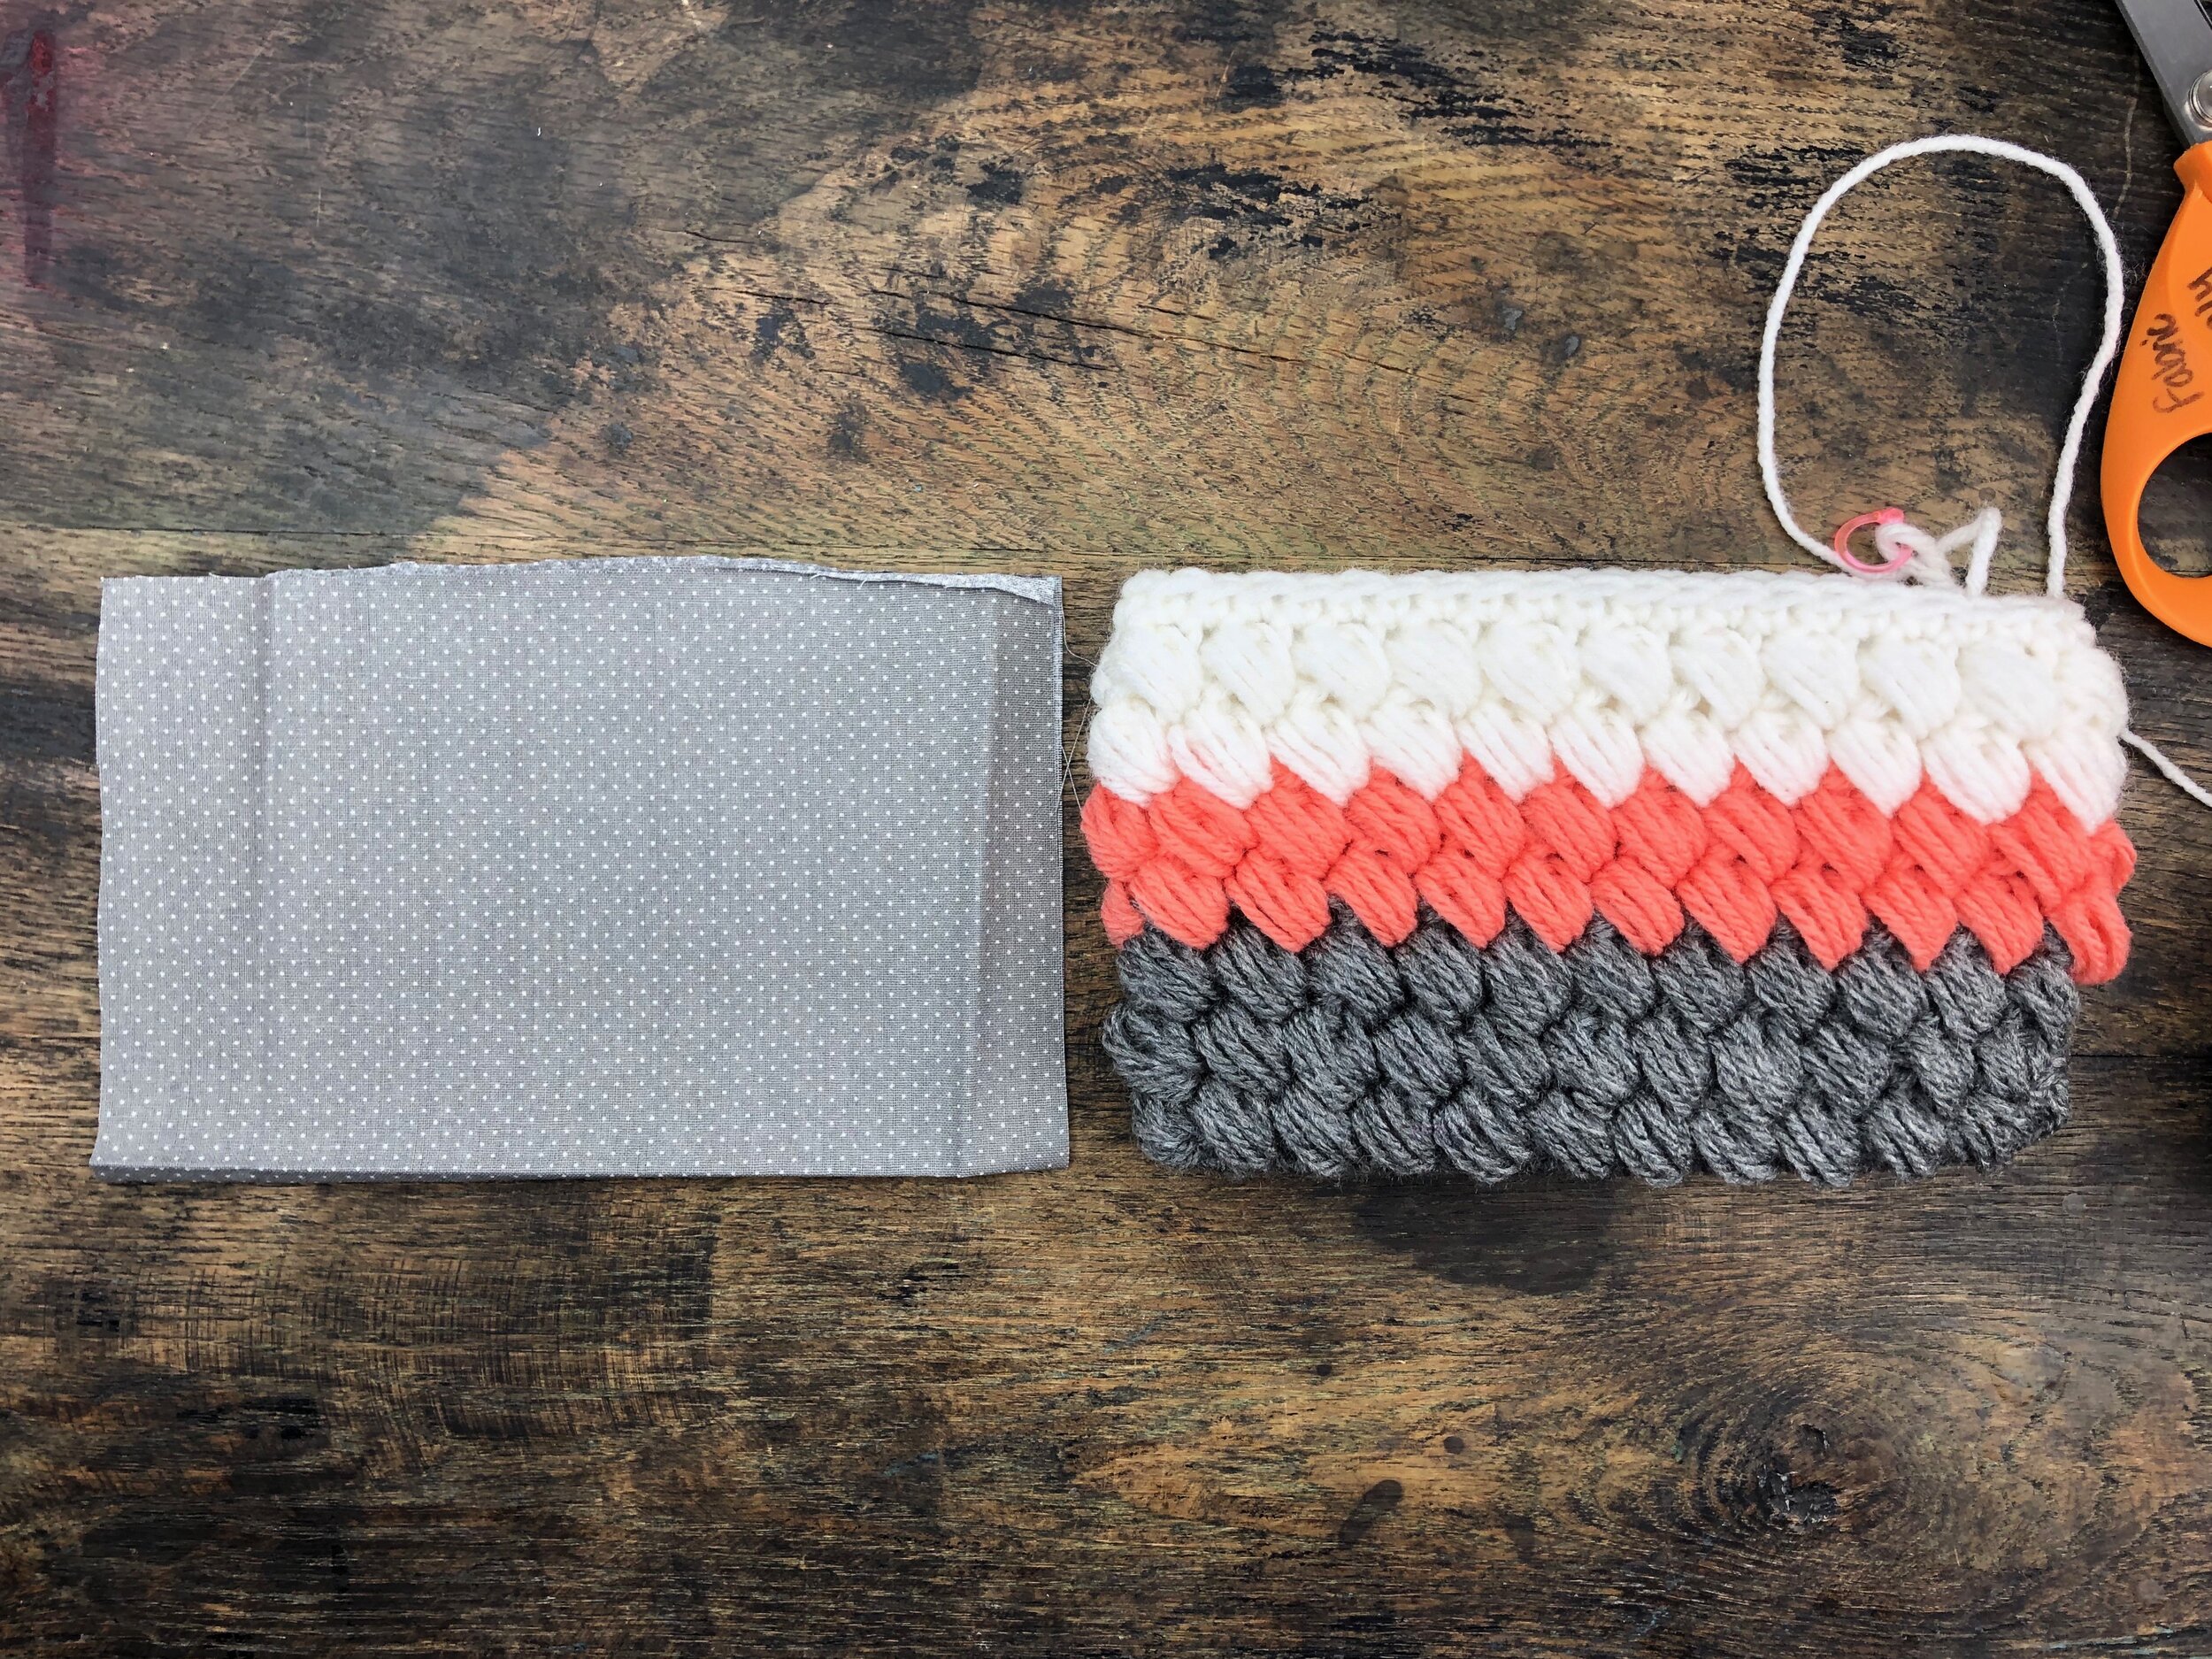
The simplest way to cut your fabric to size is to place your bag on an equally folded piece of fabric. Cut along the outside of the bag, leaving yourself about 1” (2.5 cm) seam allowance. Iron your fabric when done cutting.
Sew your liner to your zipper
(See photos for these steps on next page)
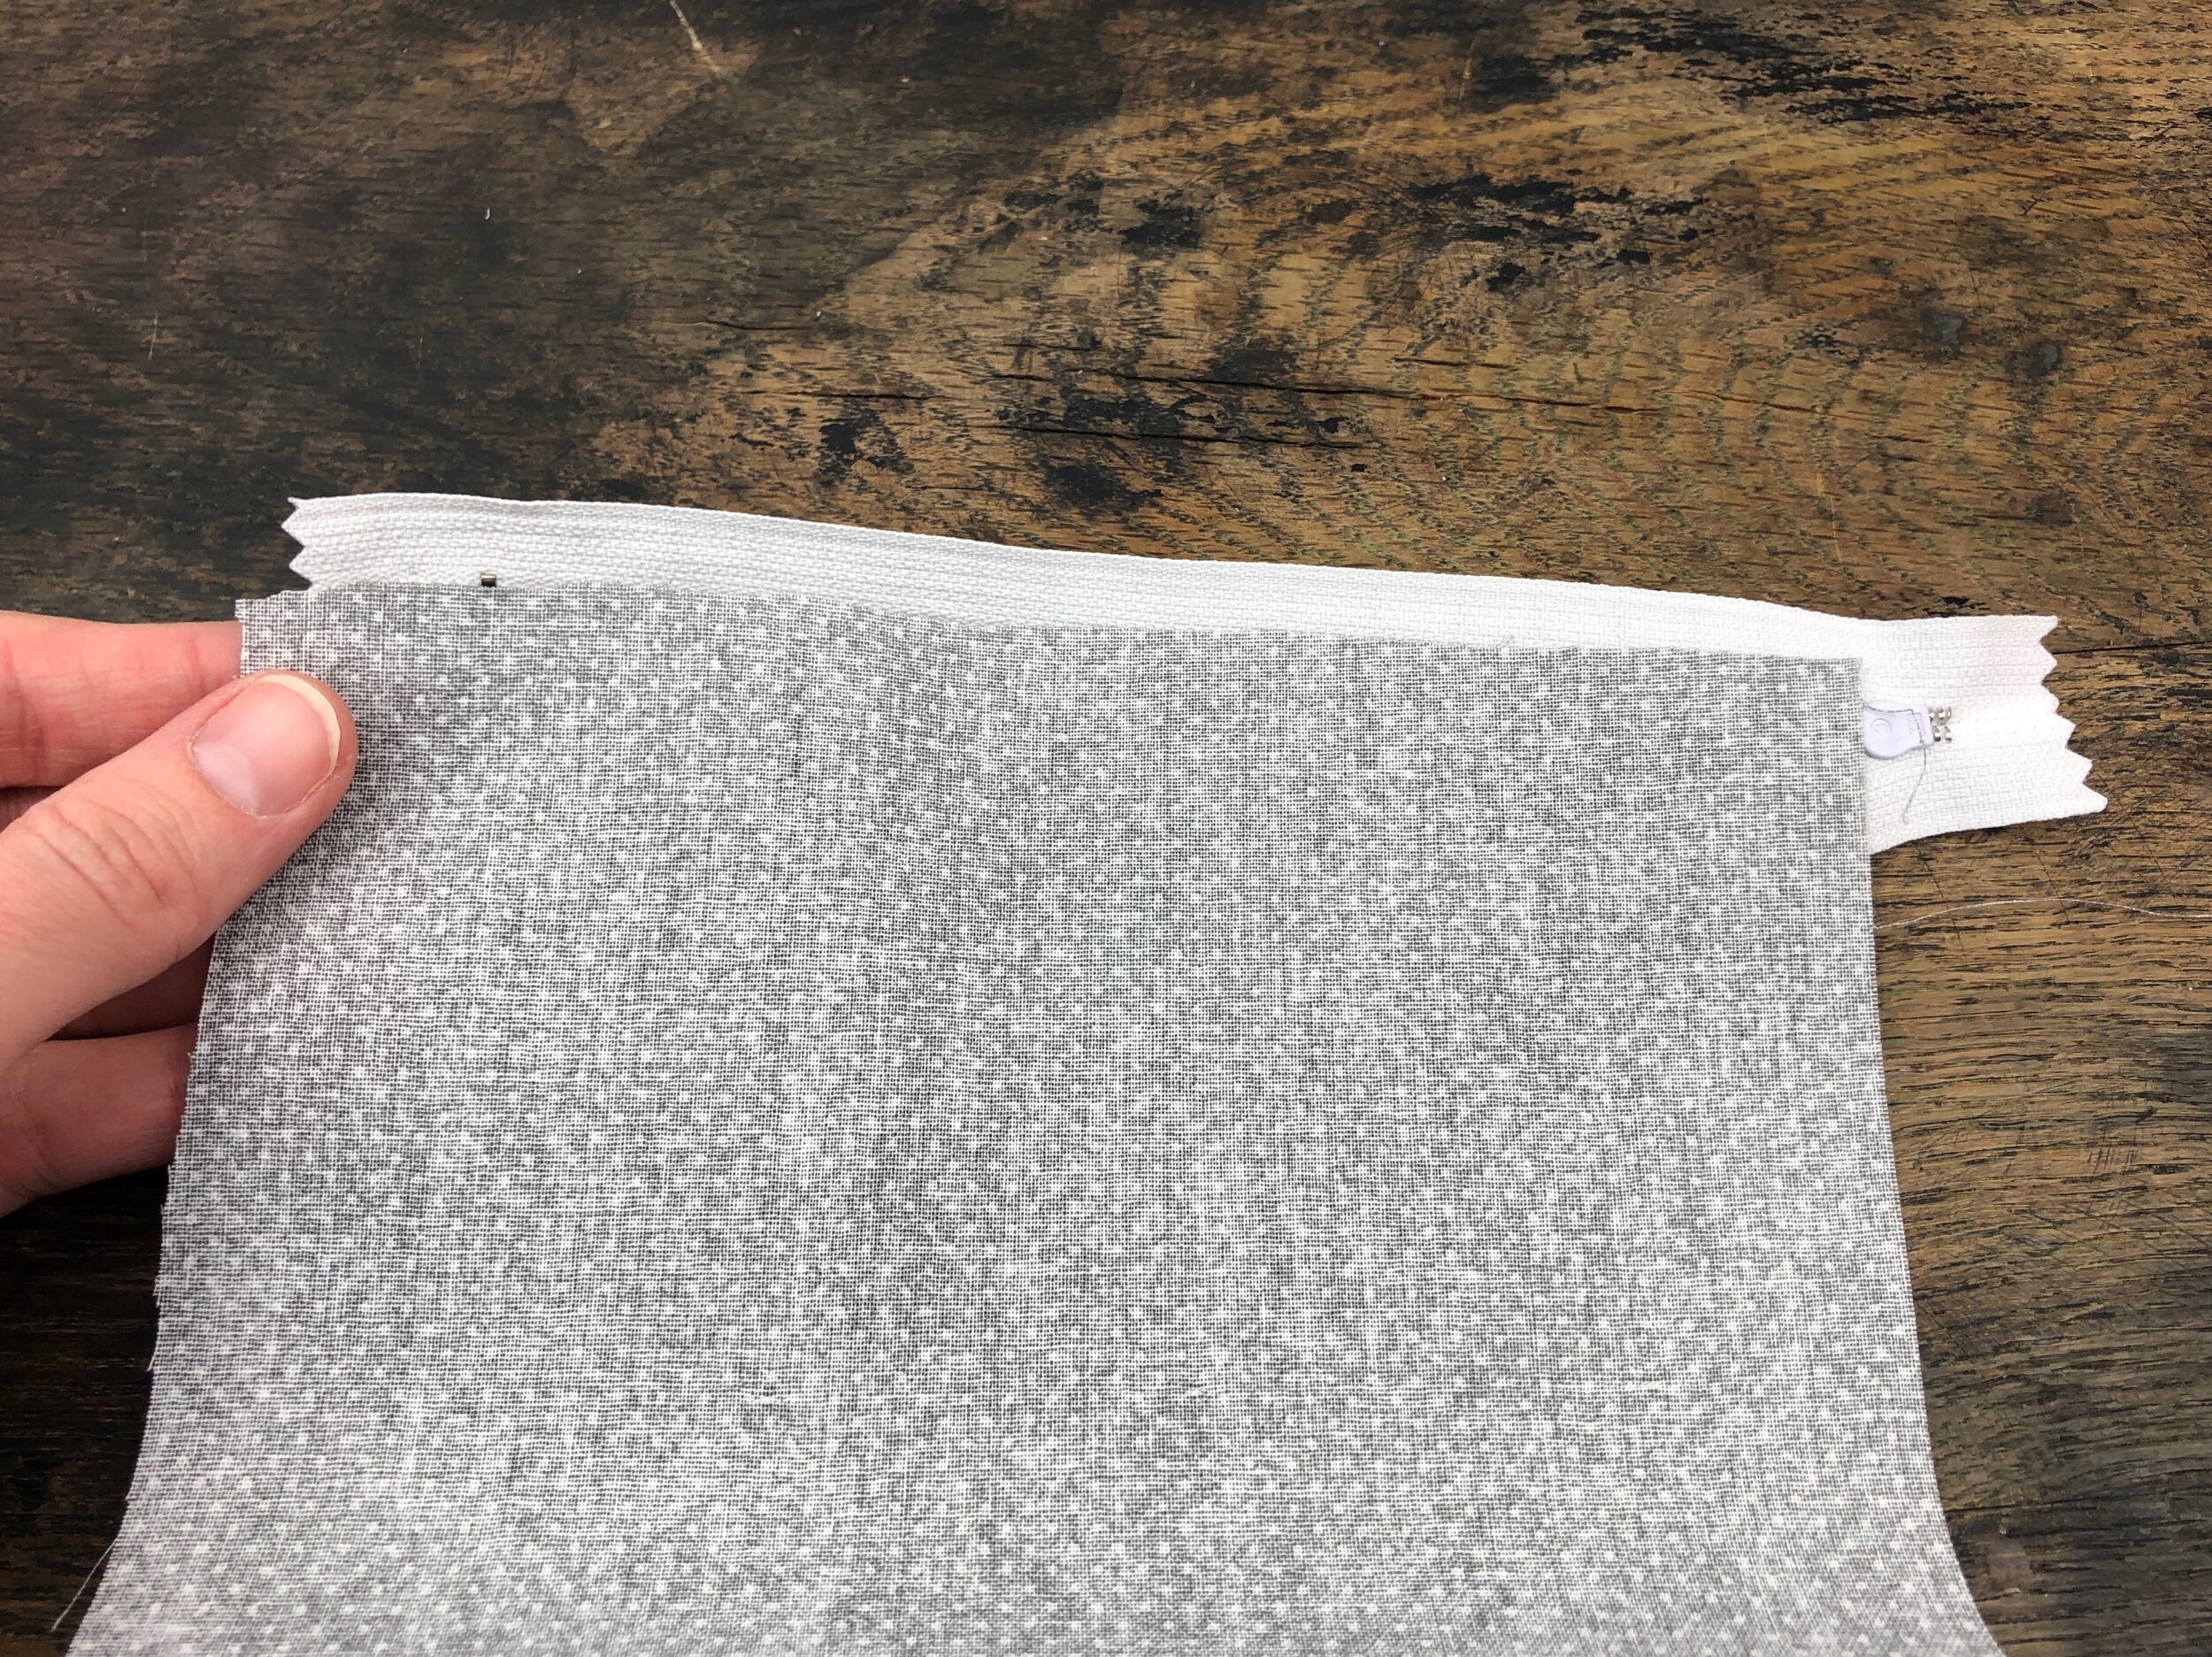
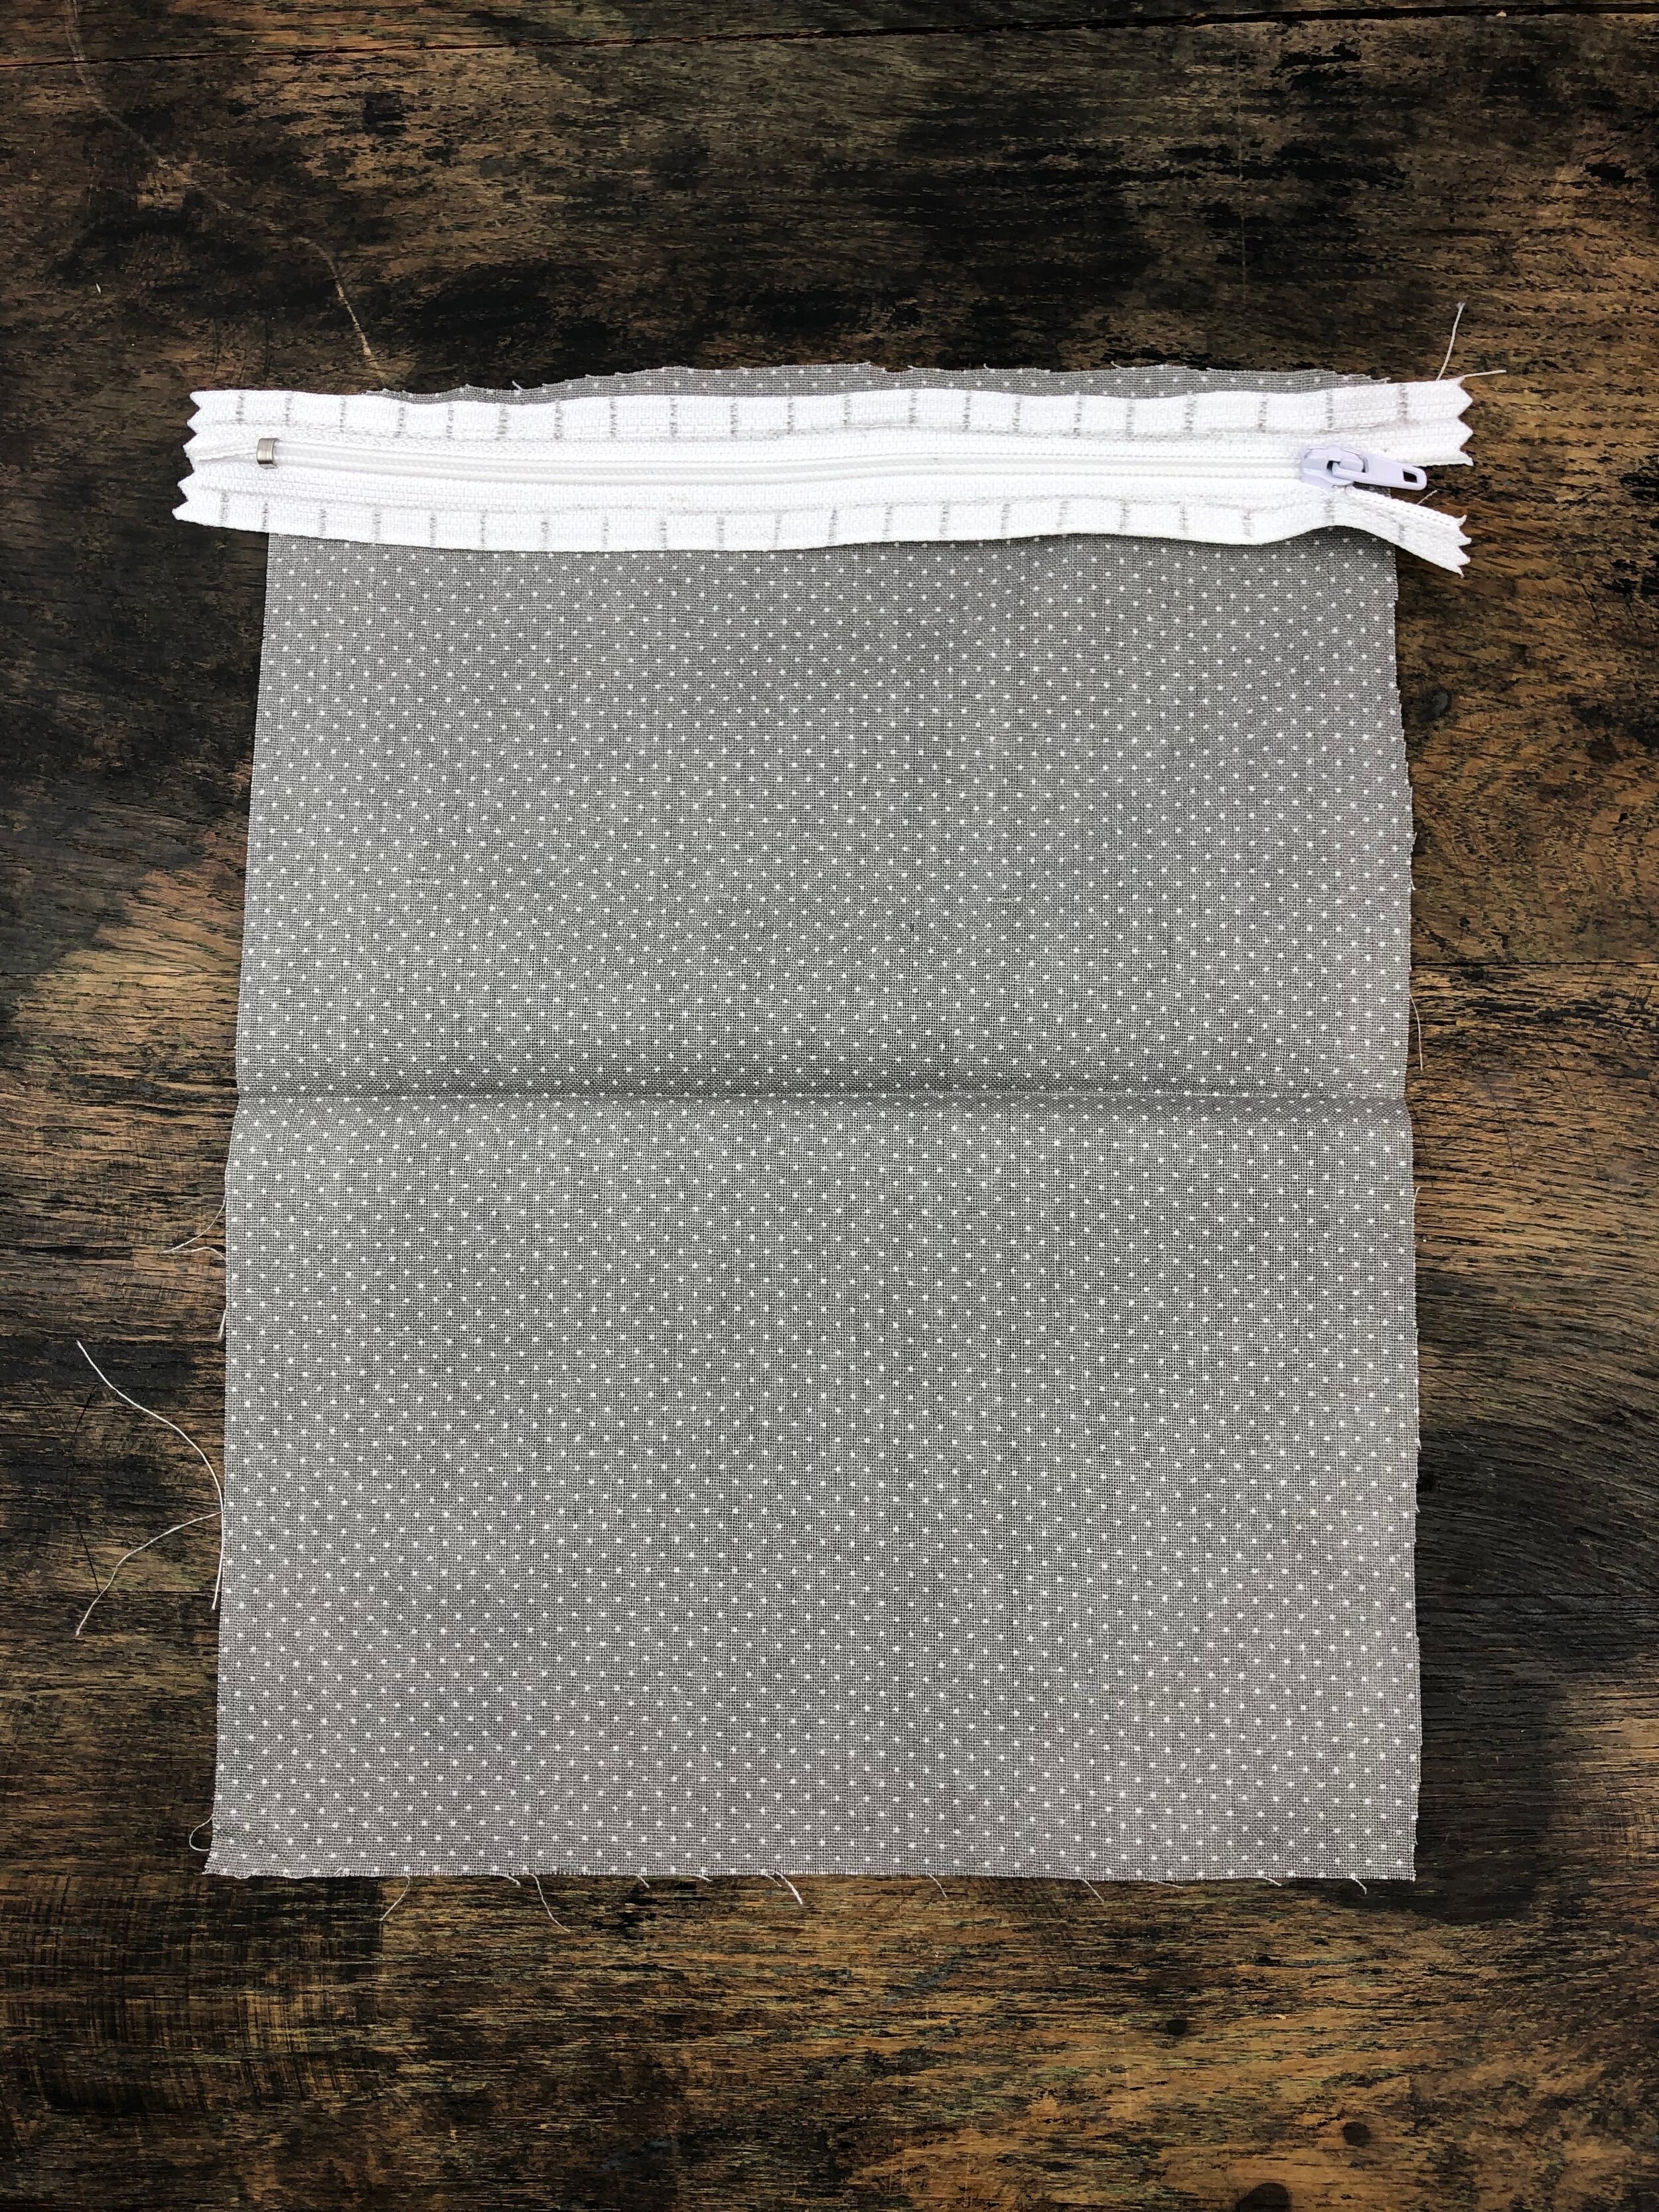
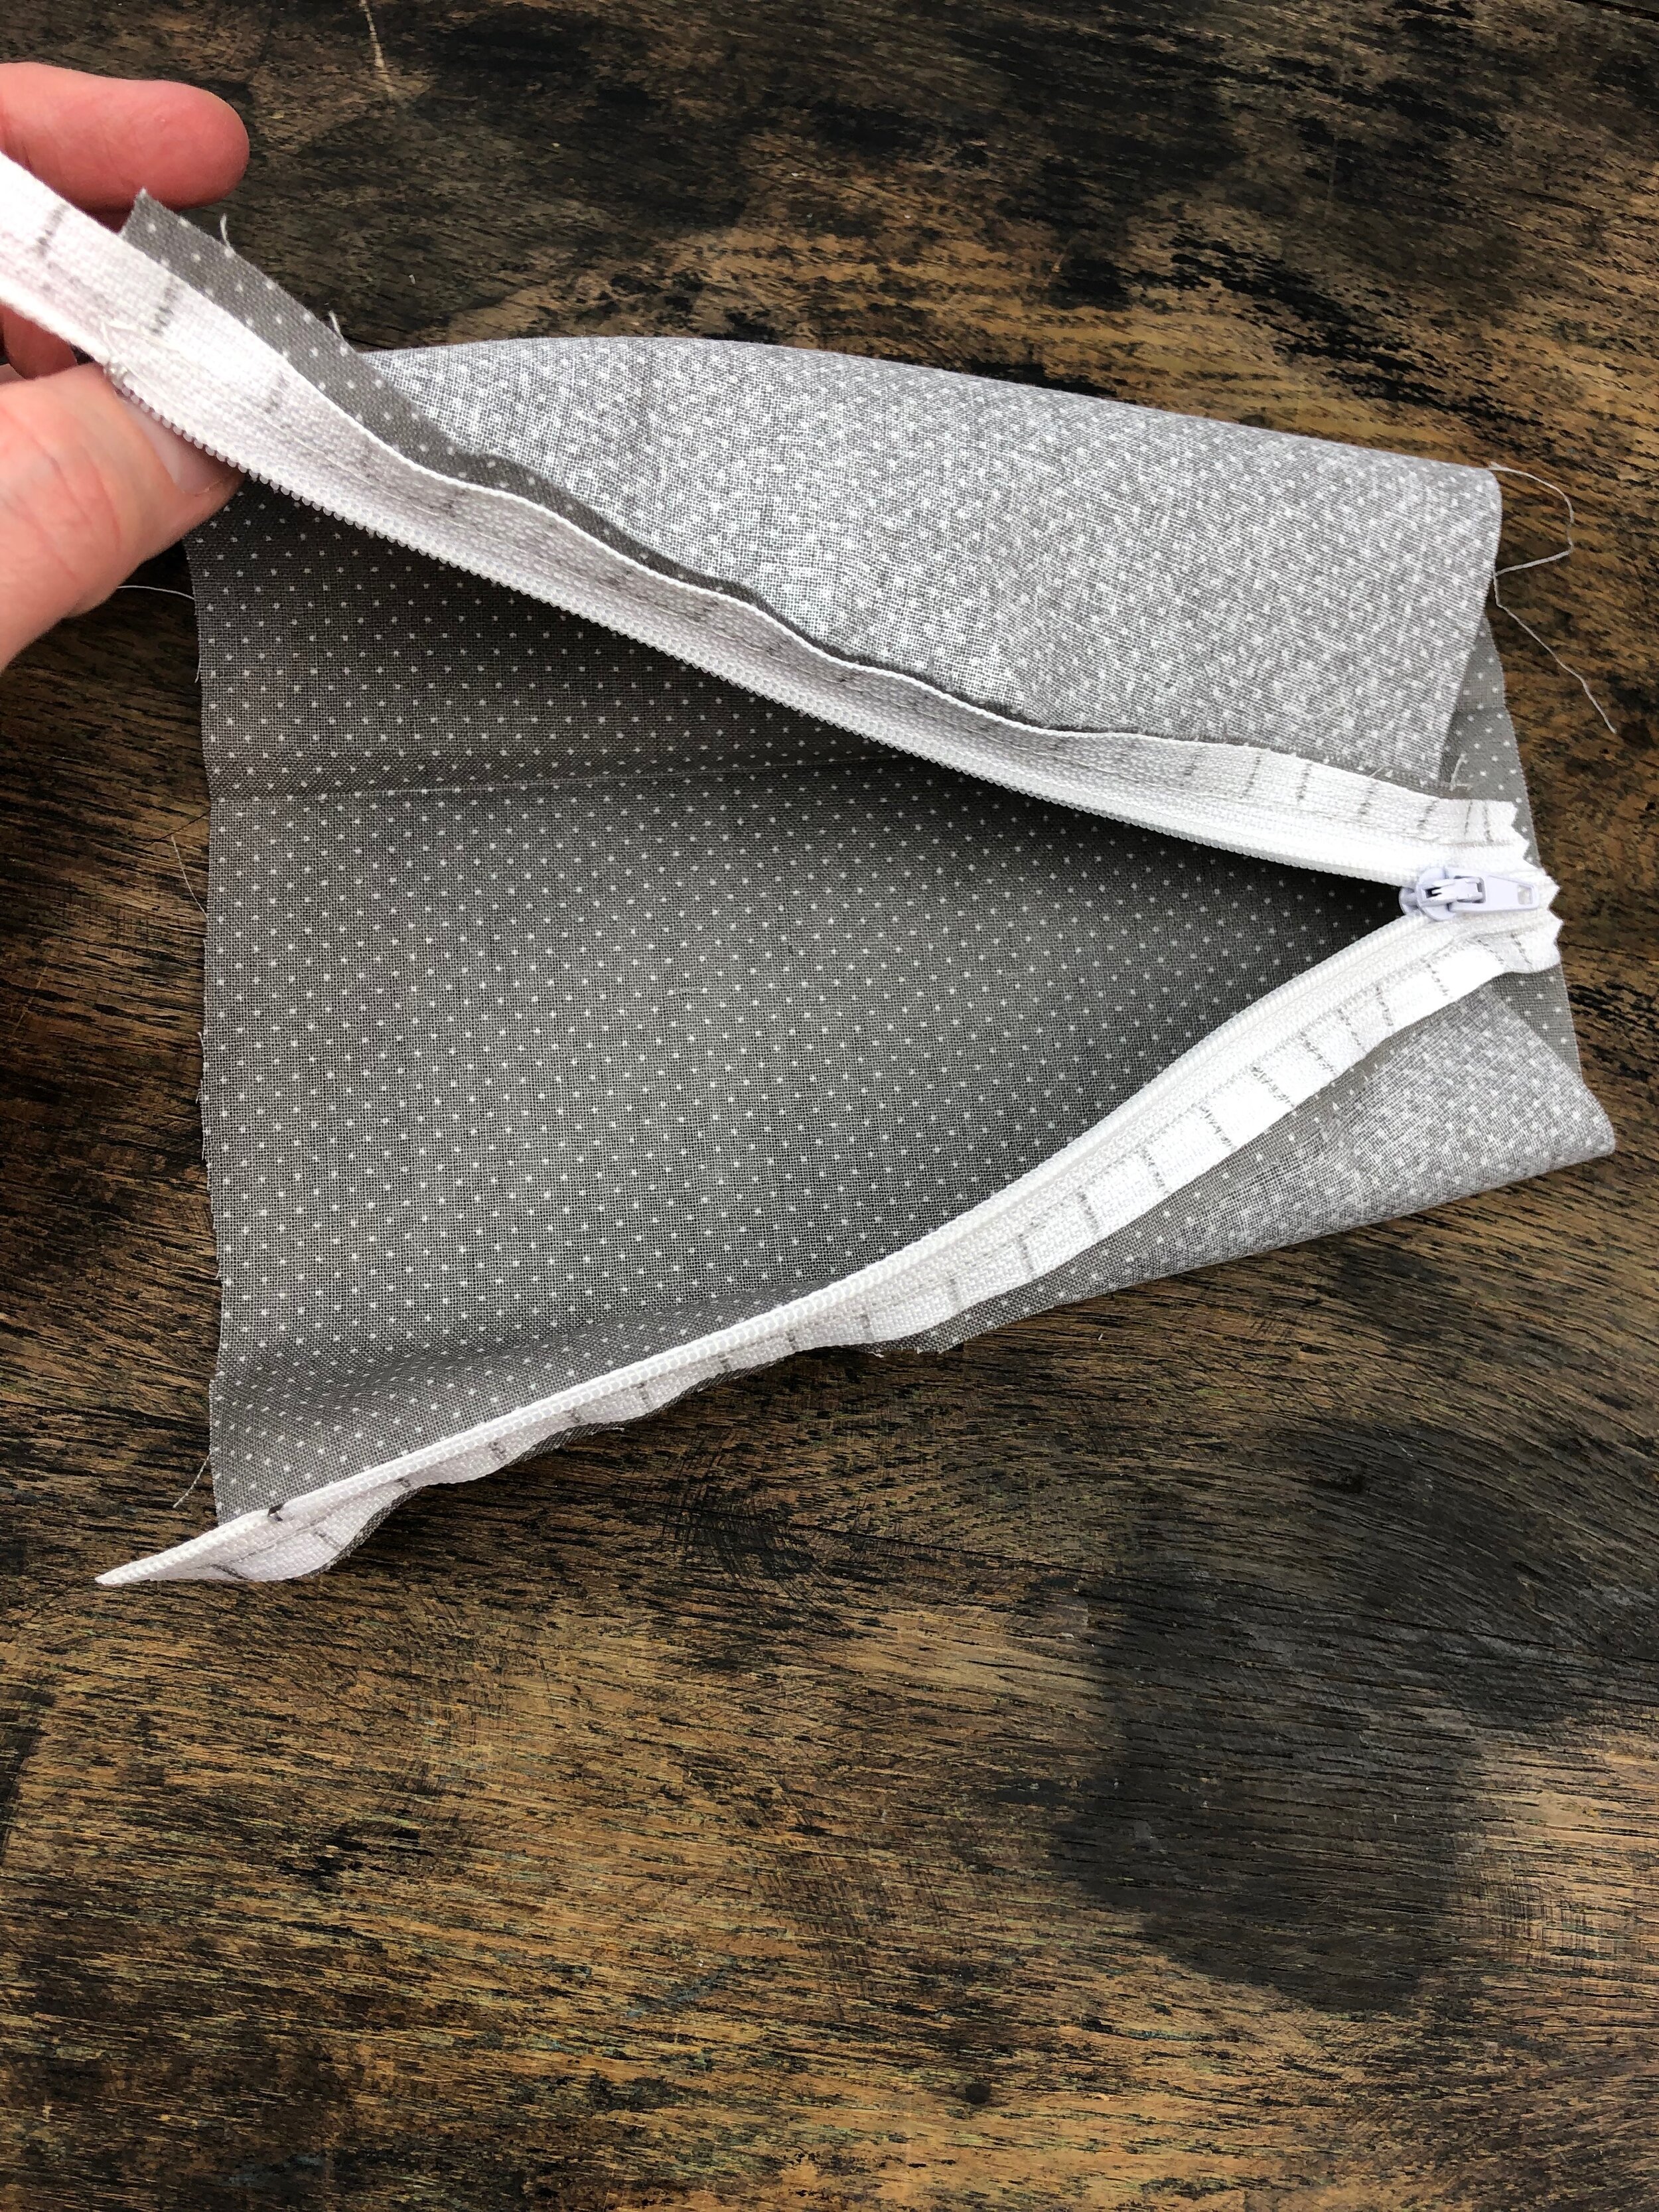
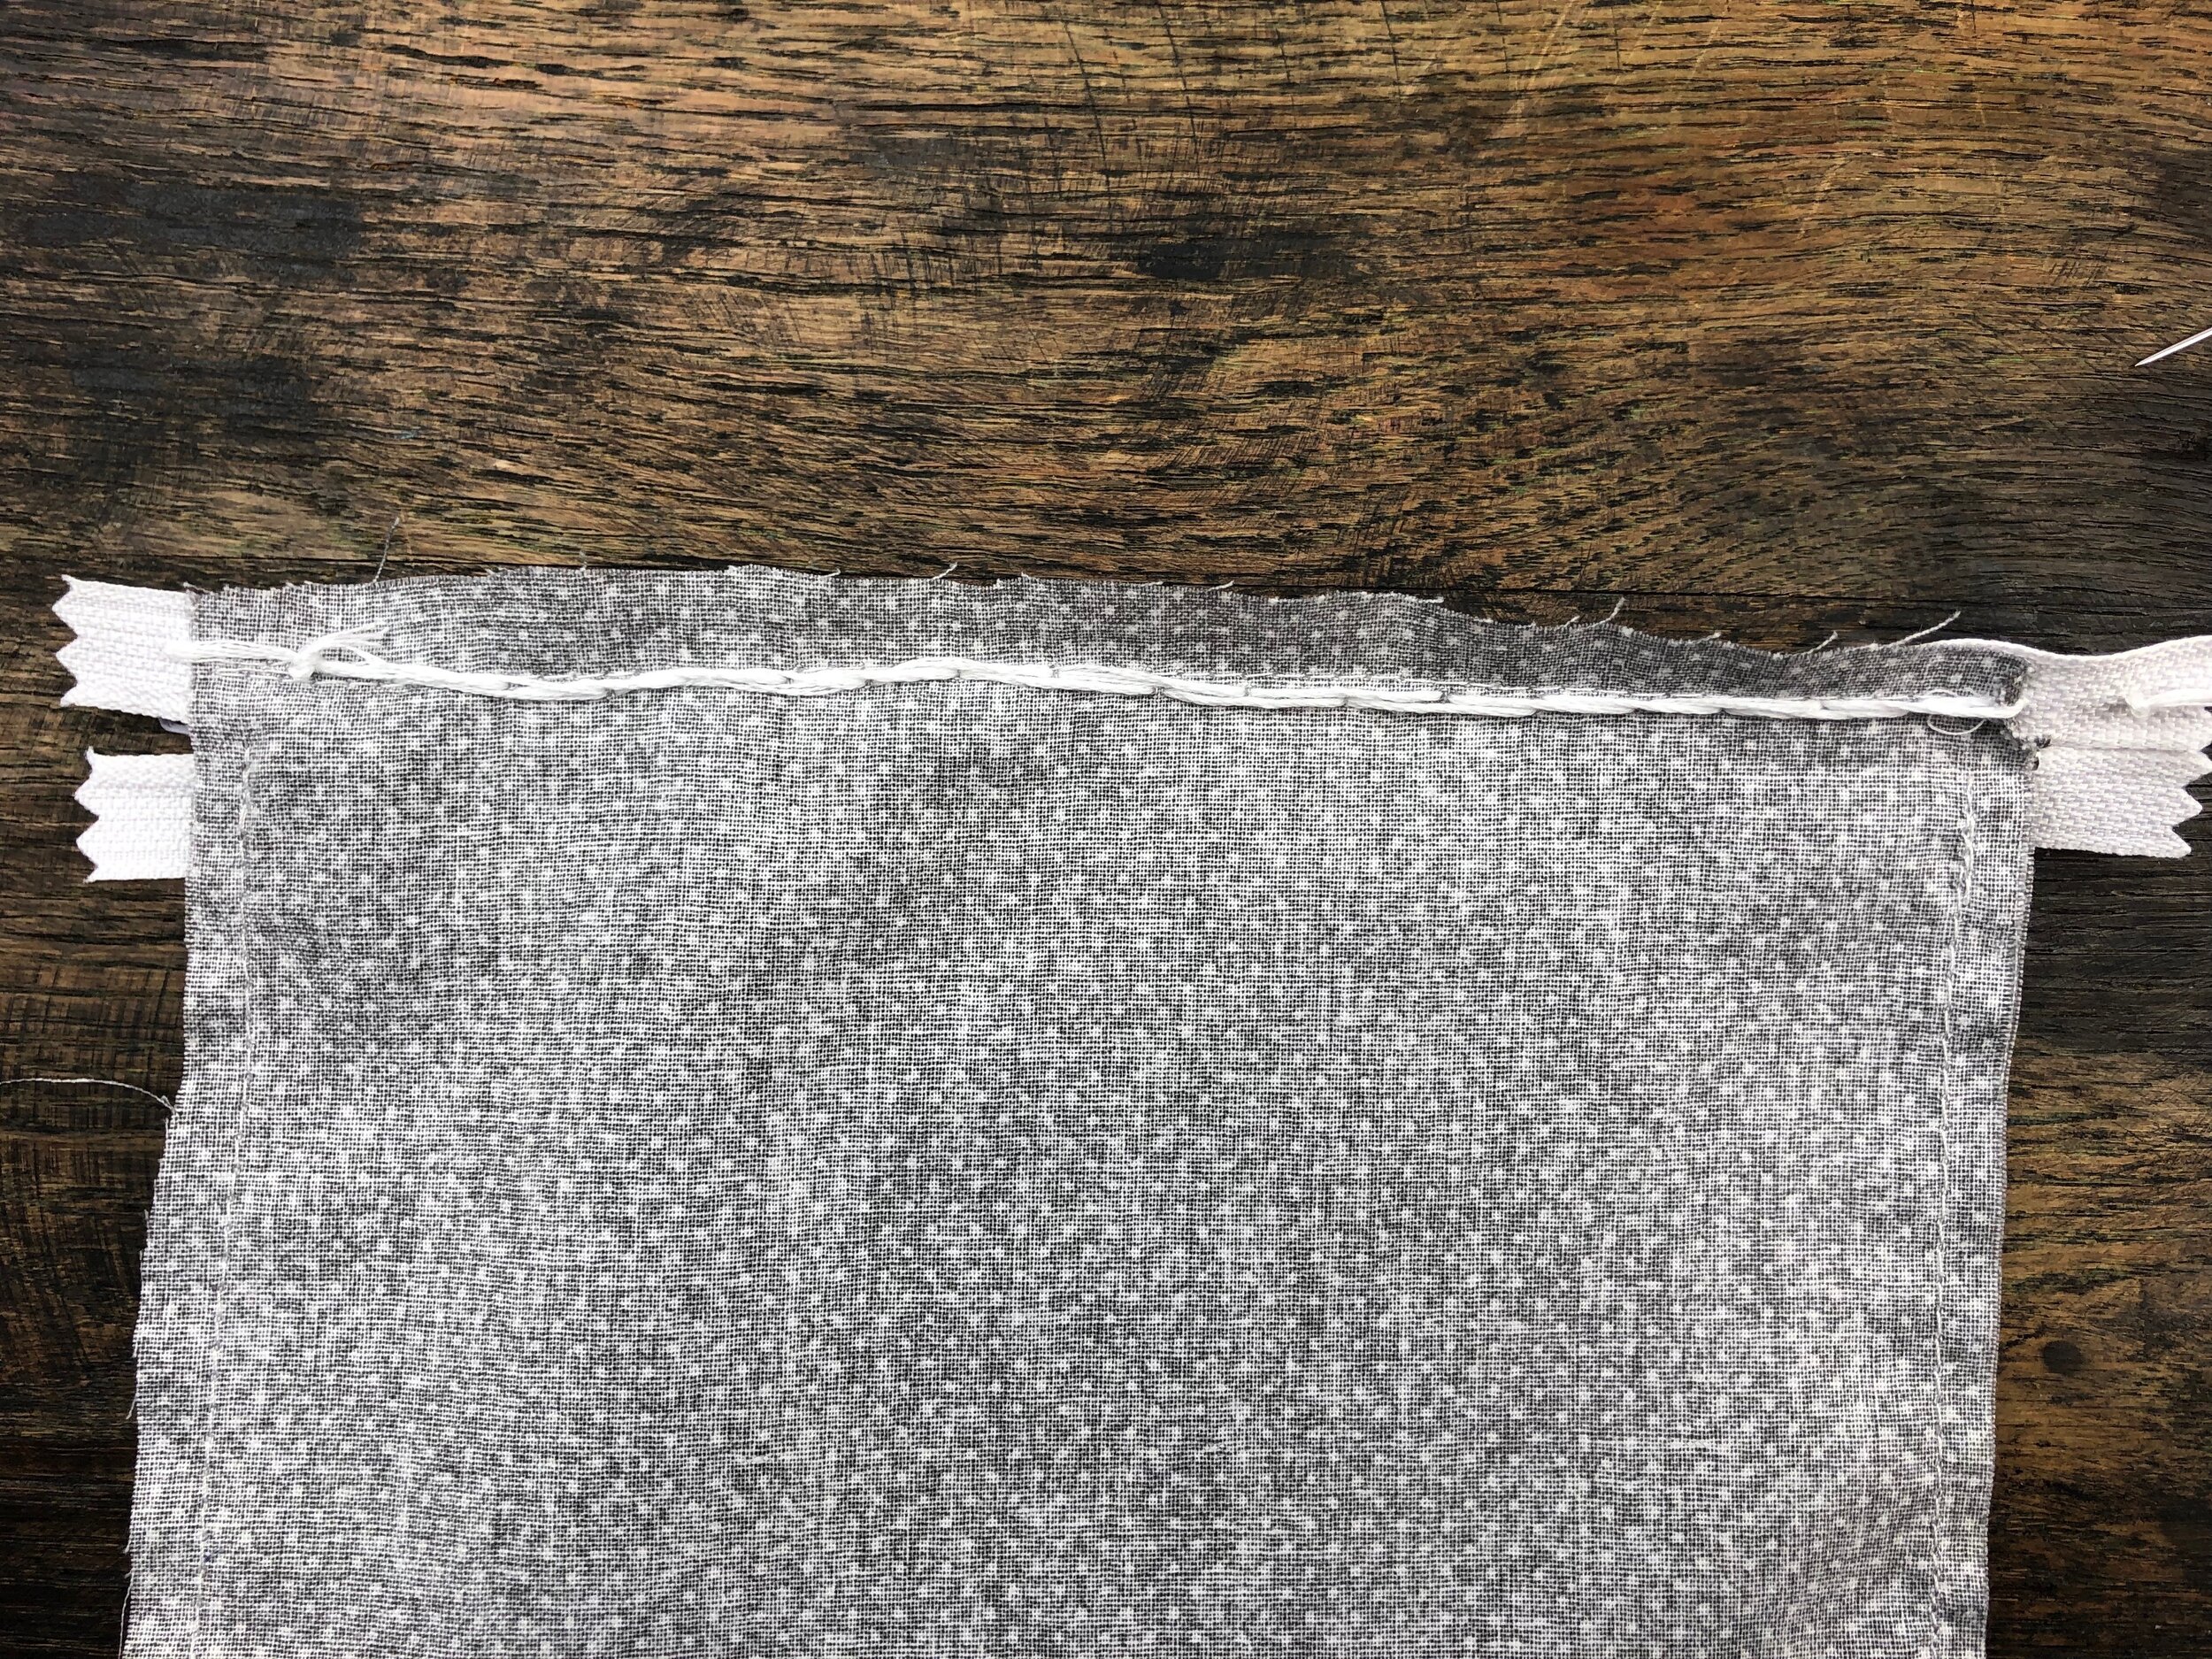
Open your zipper and place it face down.
Place your fabric face down as well. Line the top of your fabric to the top lip of the zipper and pin across.
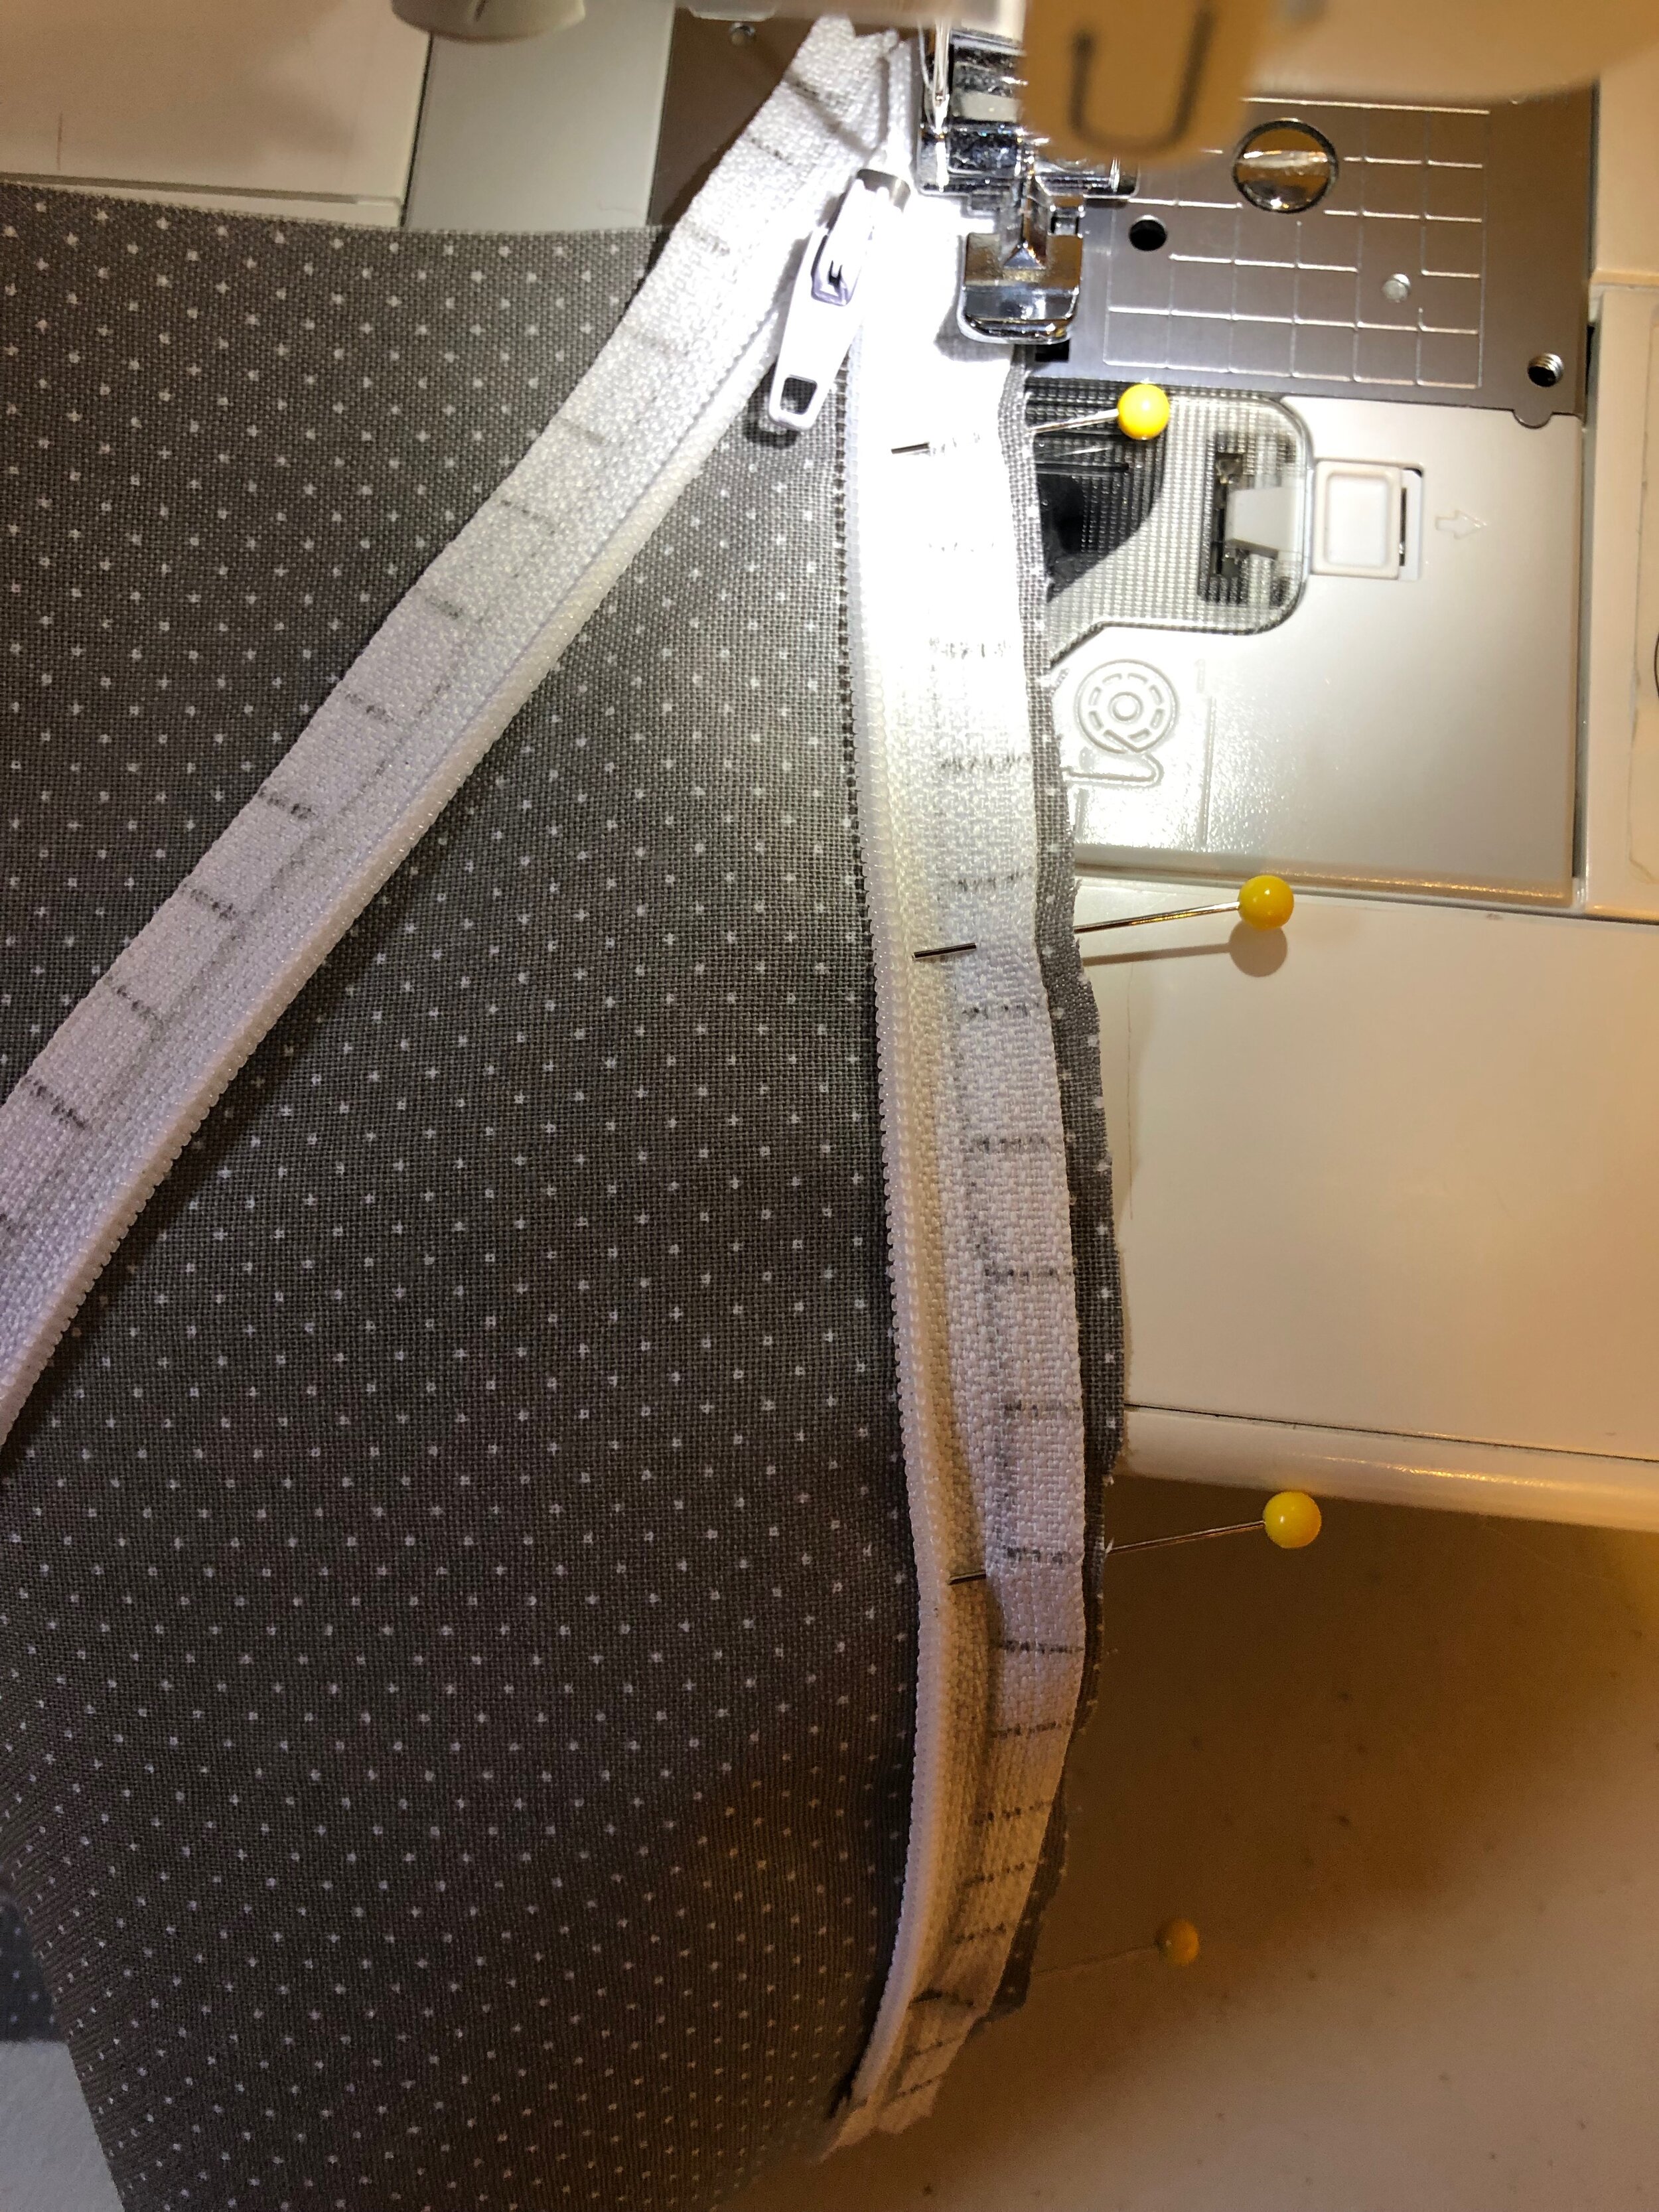
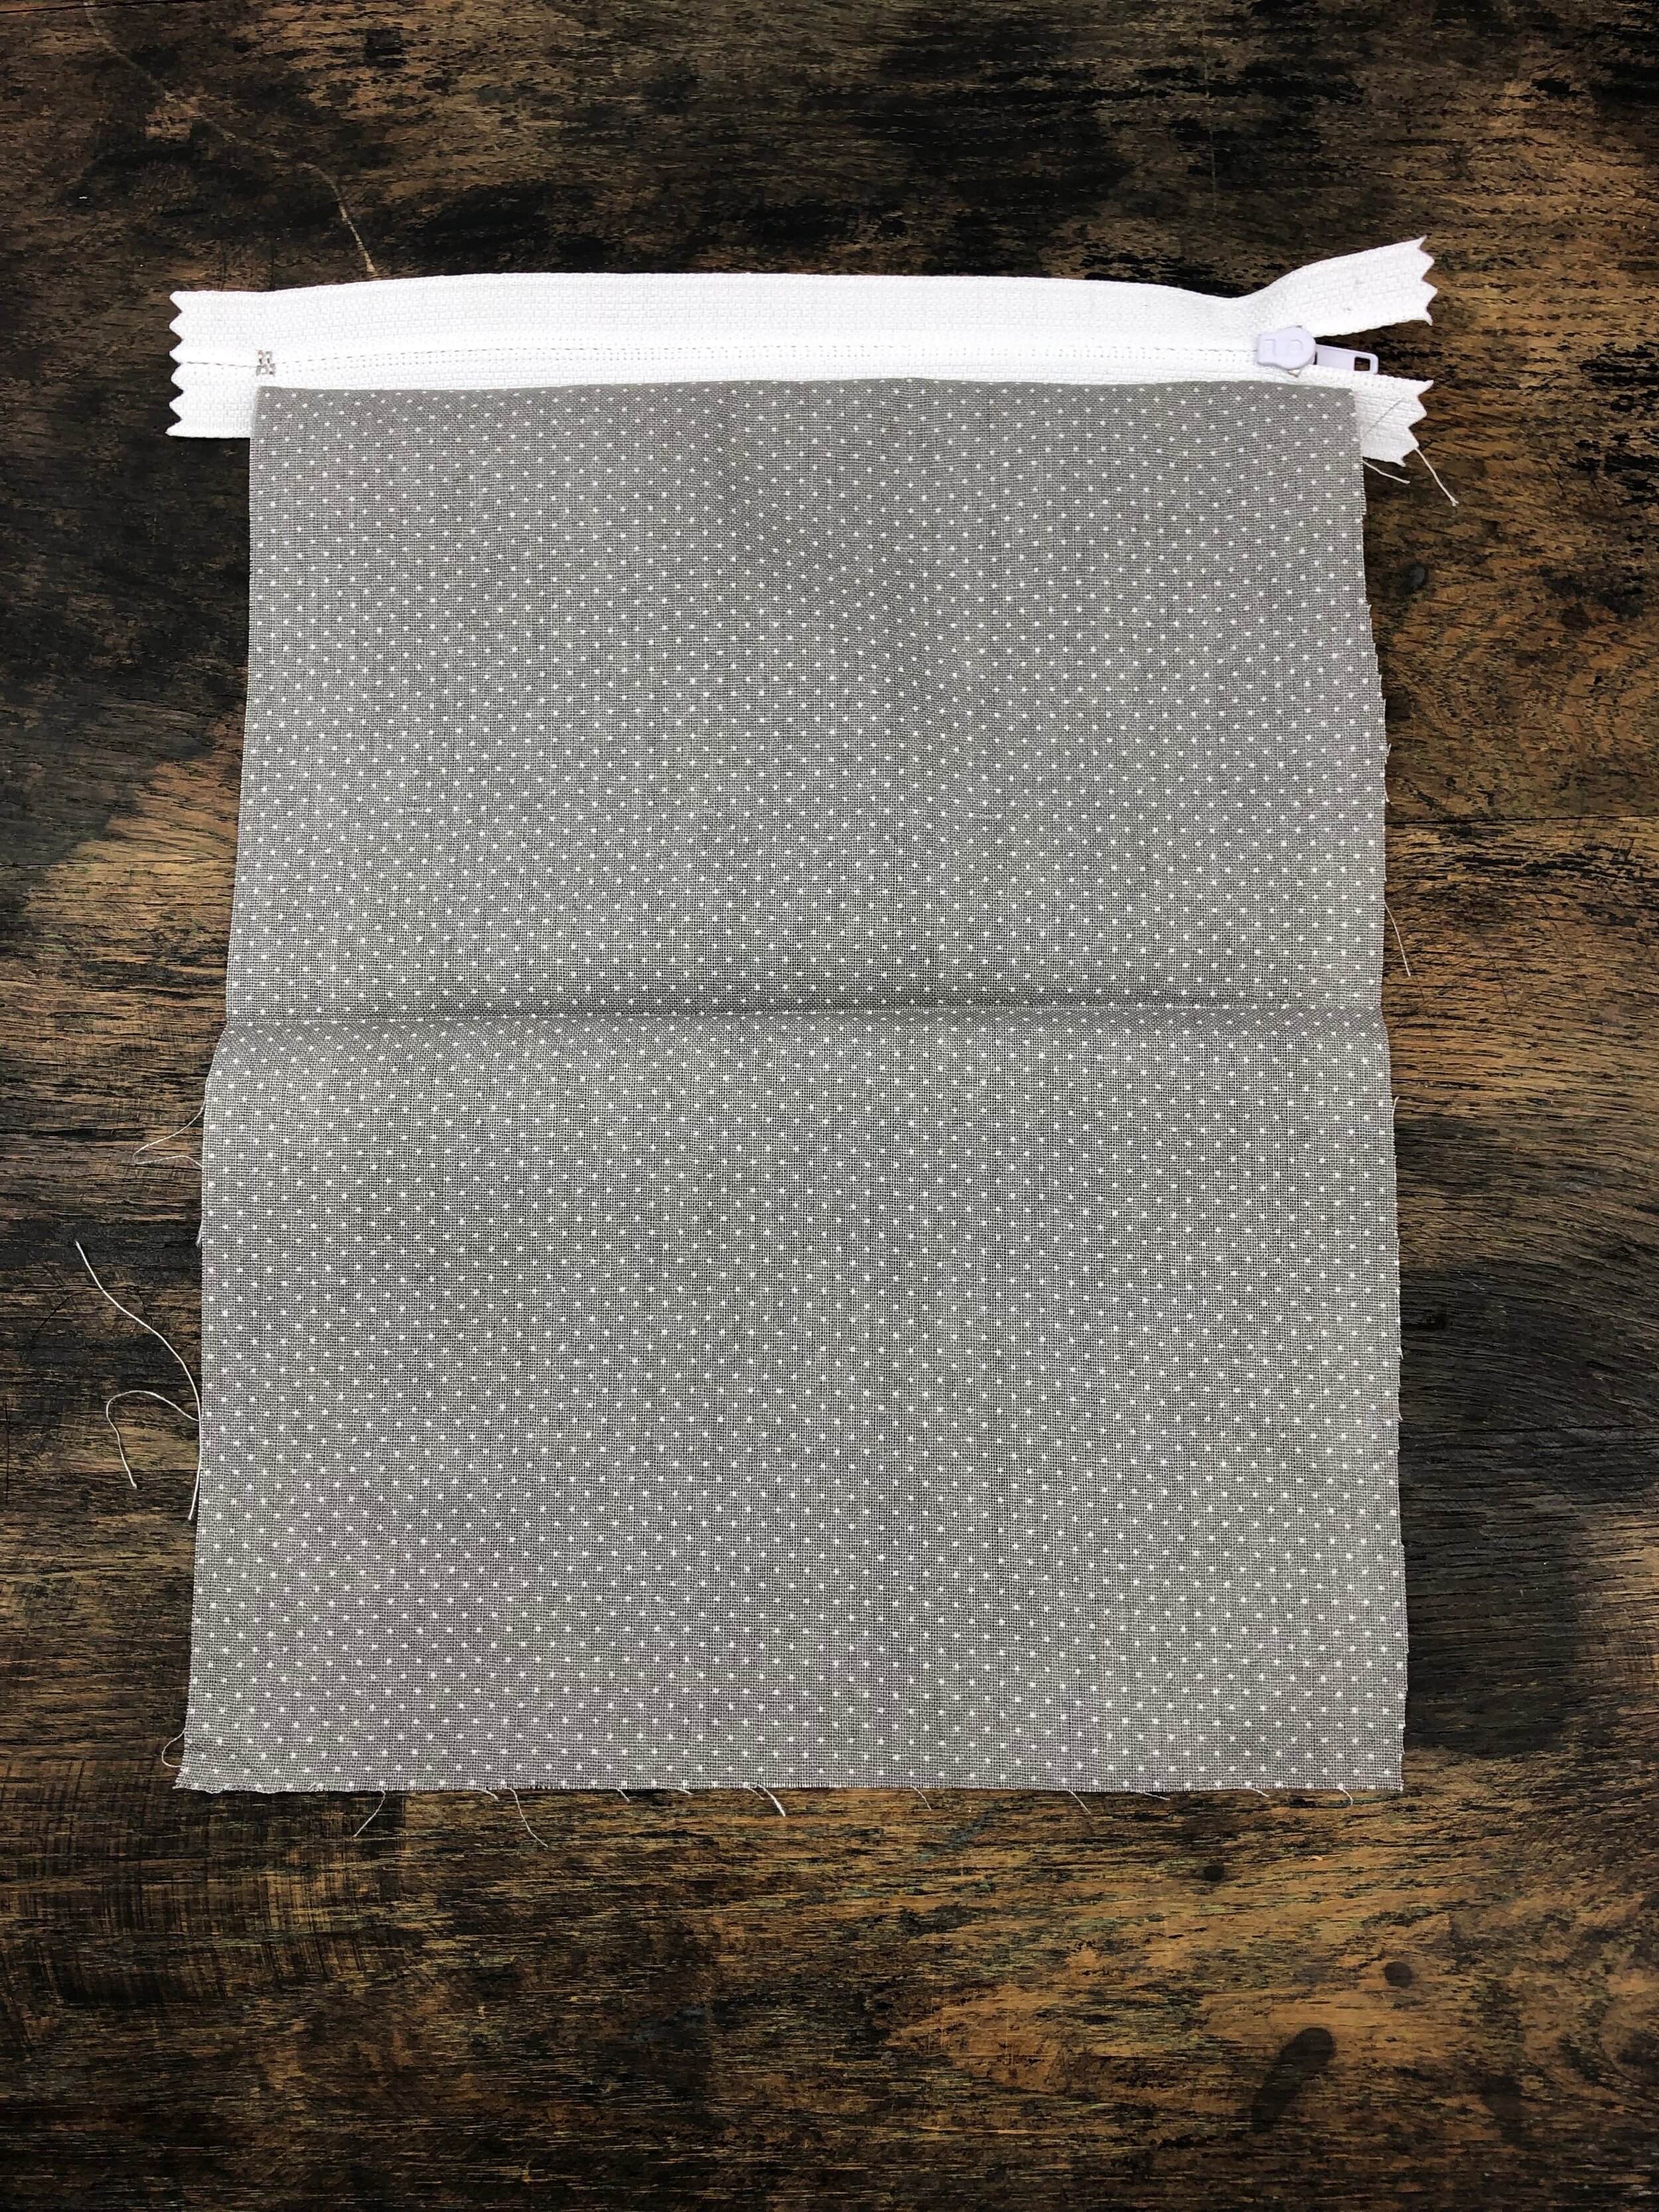
With the zipper facing up, sew the fabric to the zipper, lining your zipper foot to the teeth (or if sewing by hand, sew down the middle of the zipper lip). Take the pins out as you go.
Close the zipper. Your fabric and zipper should be face up.
Without flipping the fabric over, ONLY flip the zipper face down again.
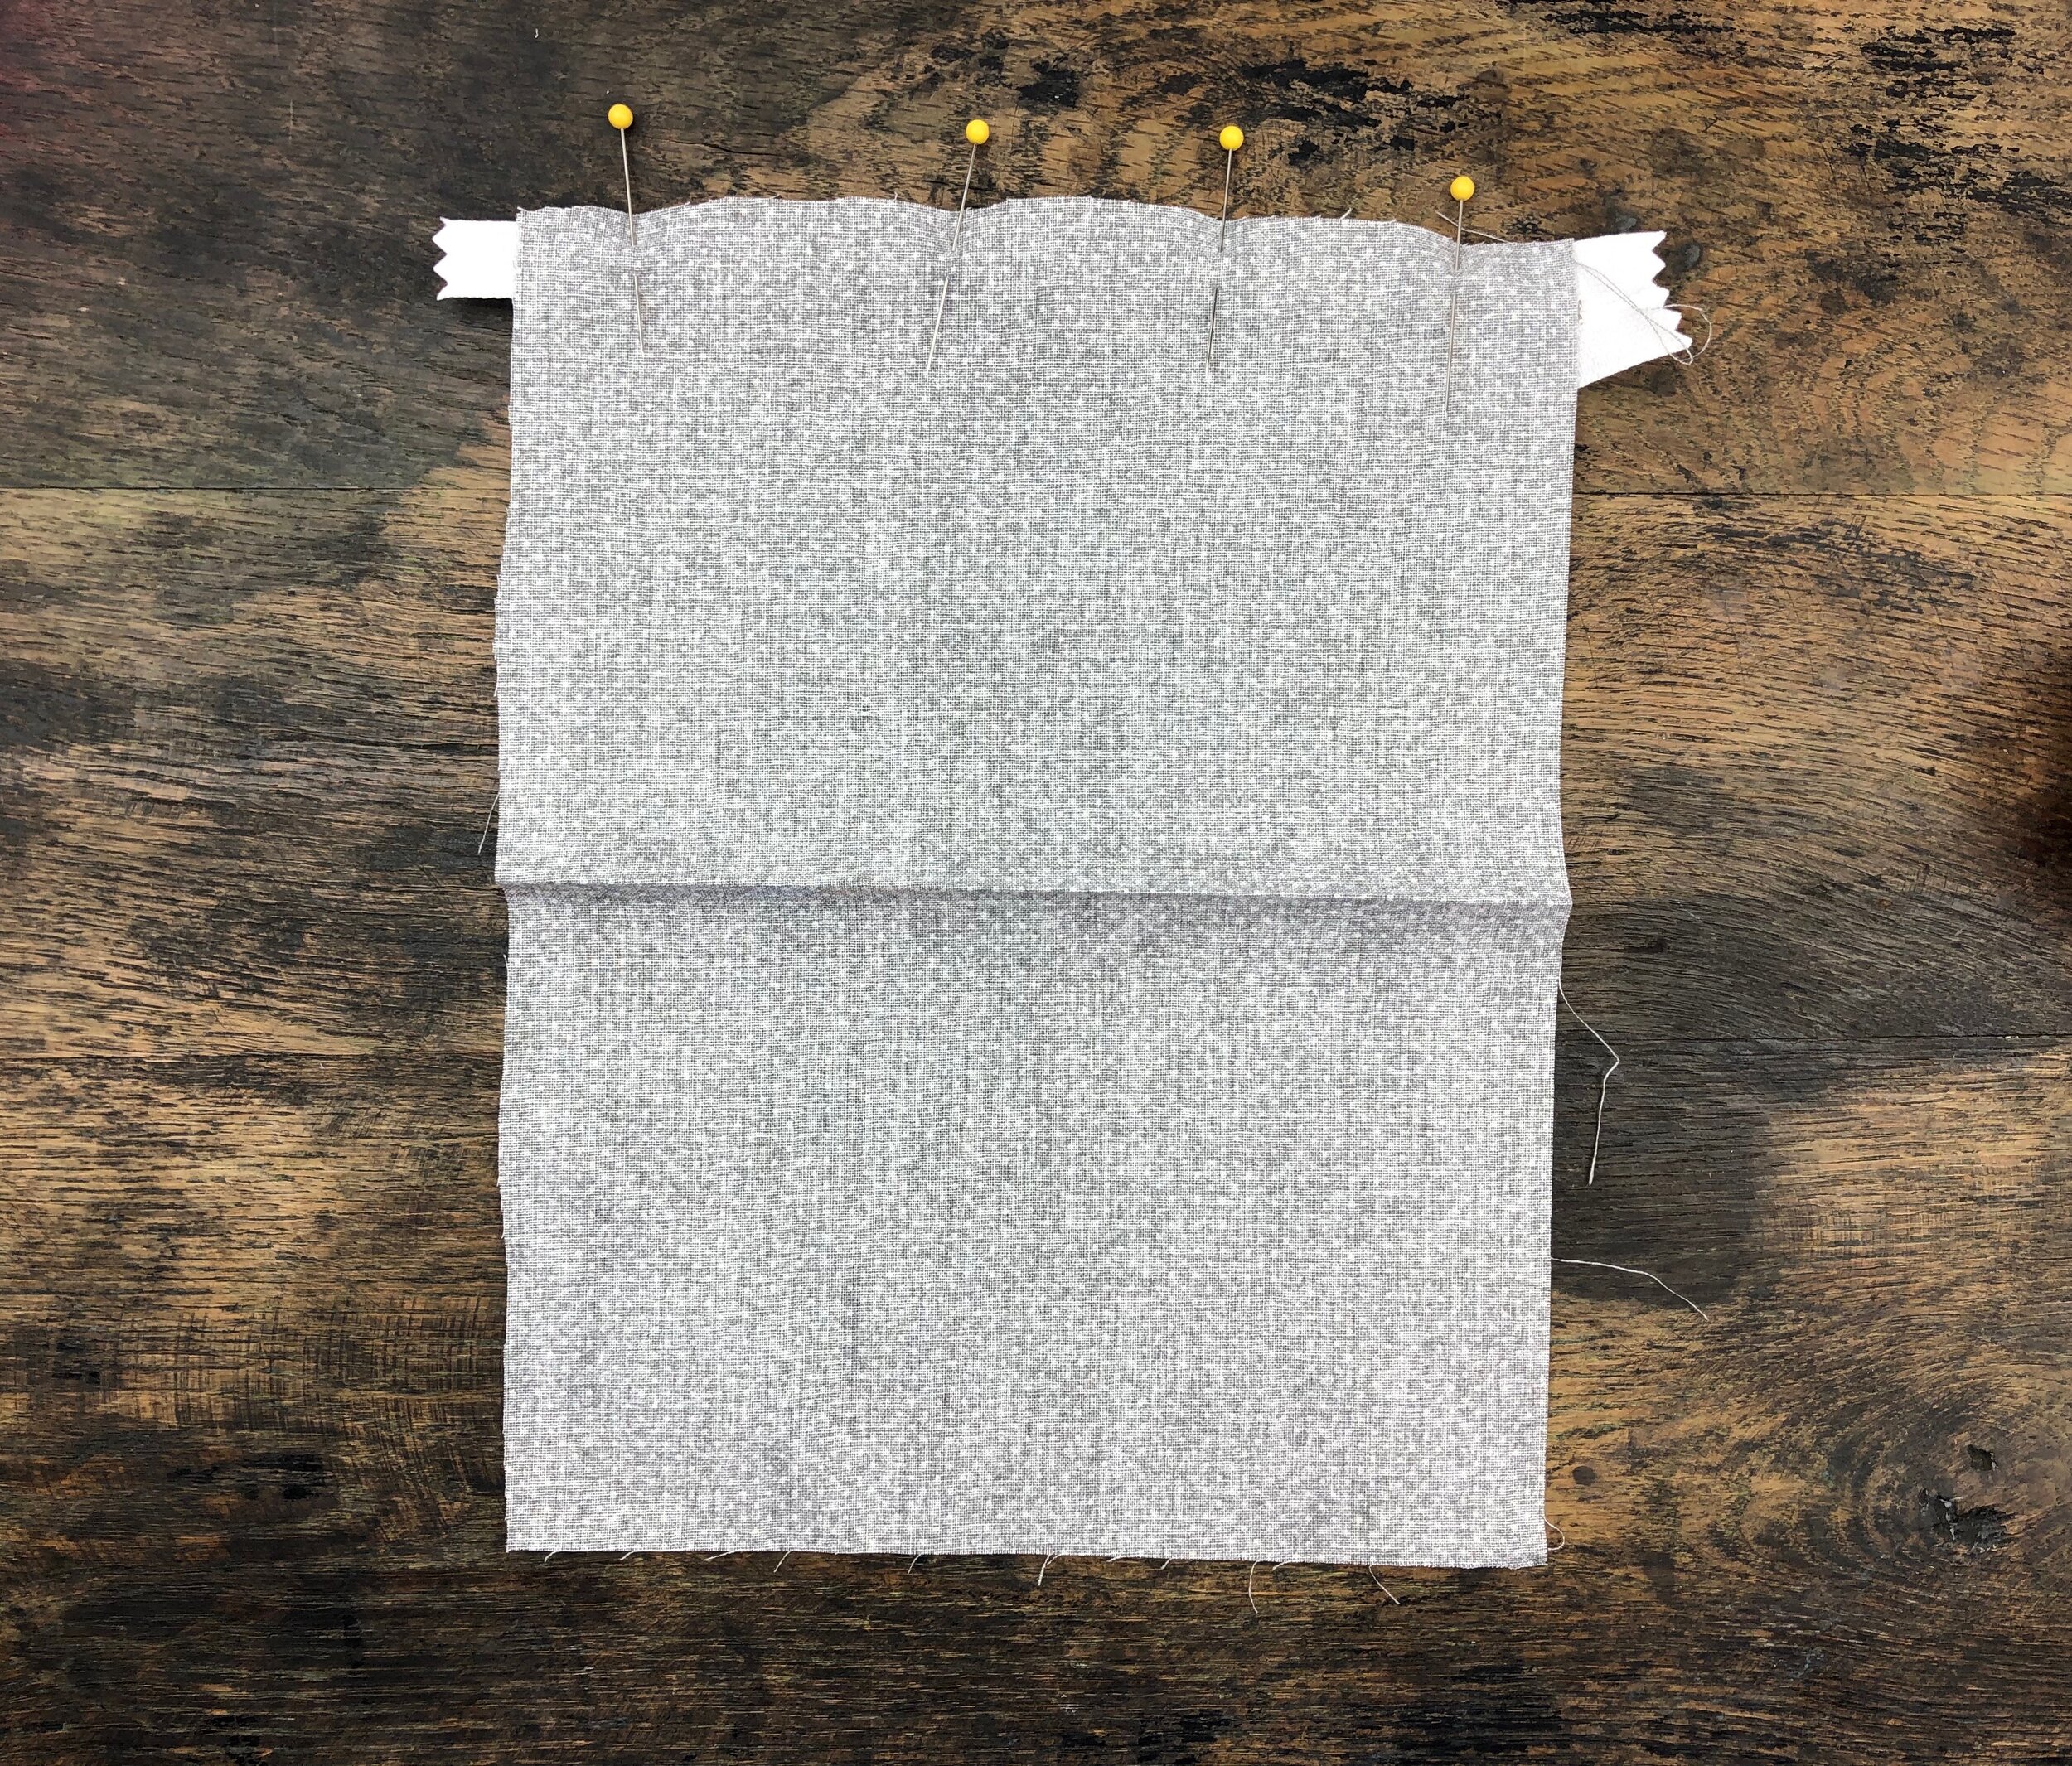
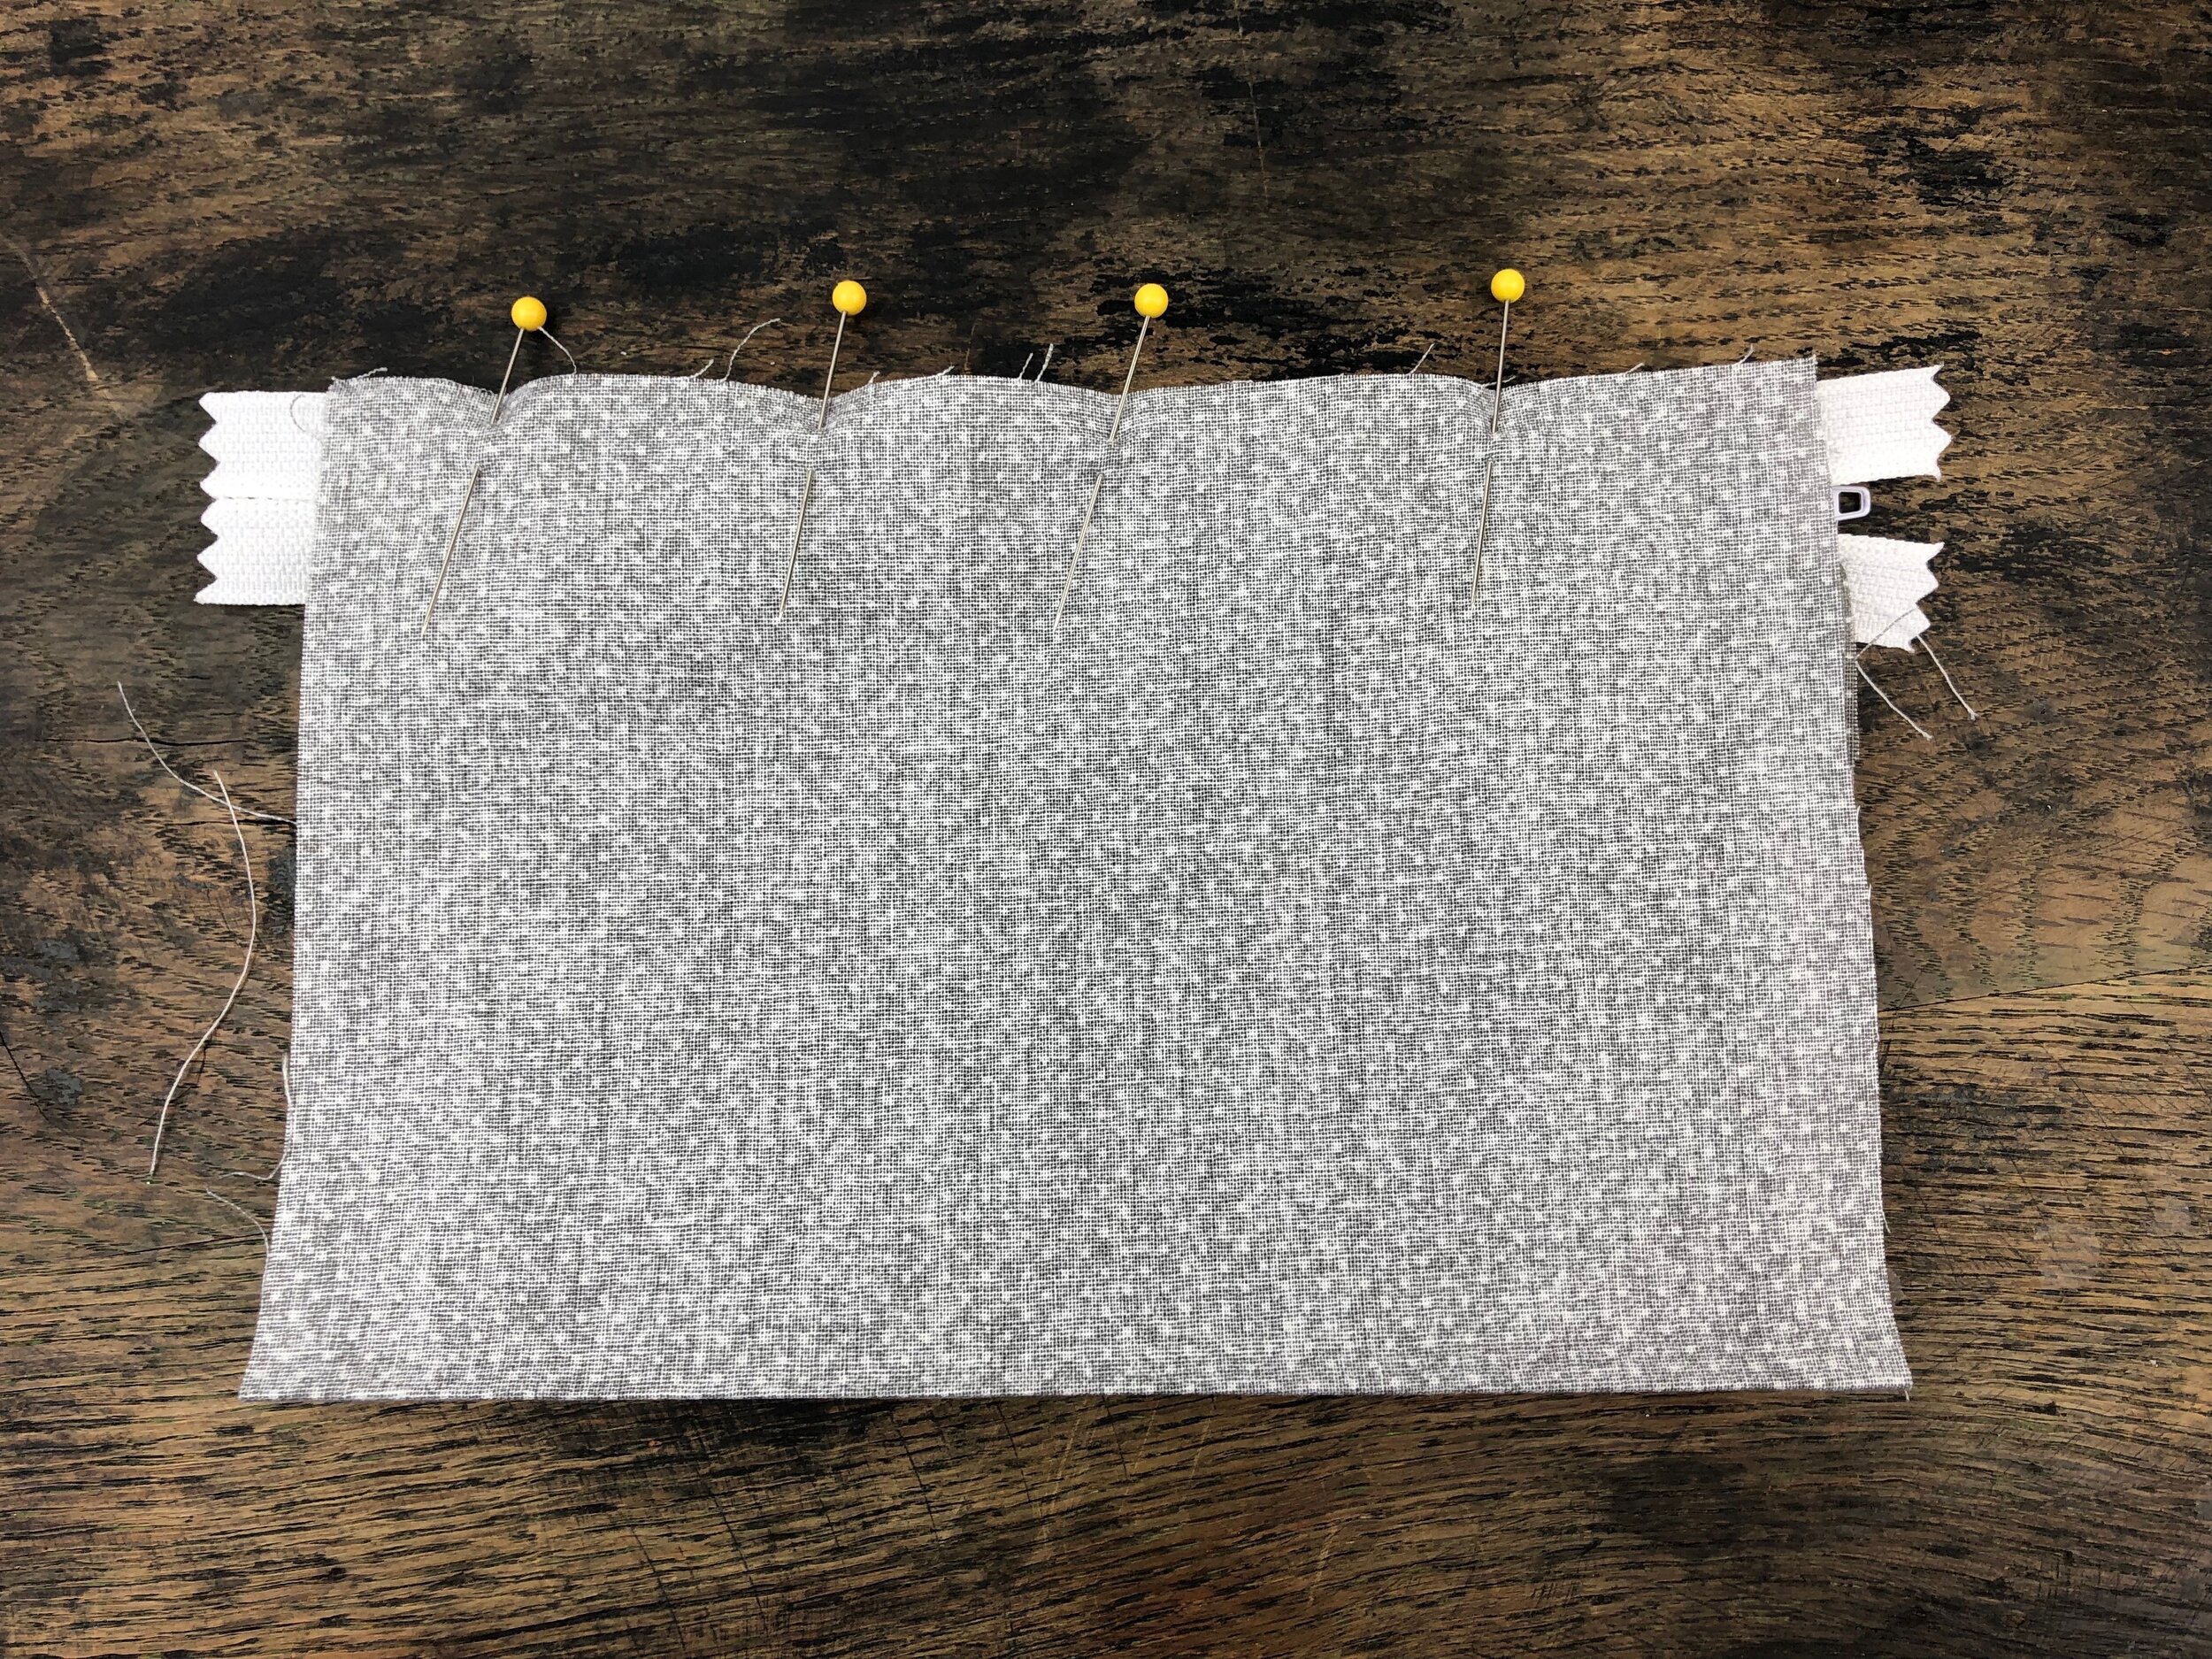
Take the bottom of your fabric and fold the right sides together by bringing the fabric to the zipper lip. Keep the zipper closed. Pin the fabric to the zipper lip.
Sew the fabric to the zipper lip as you did the other side.
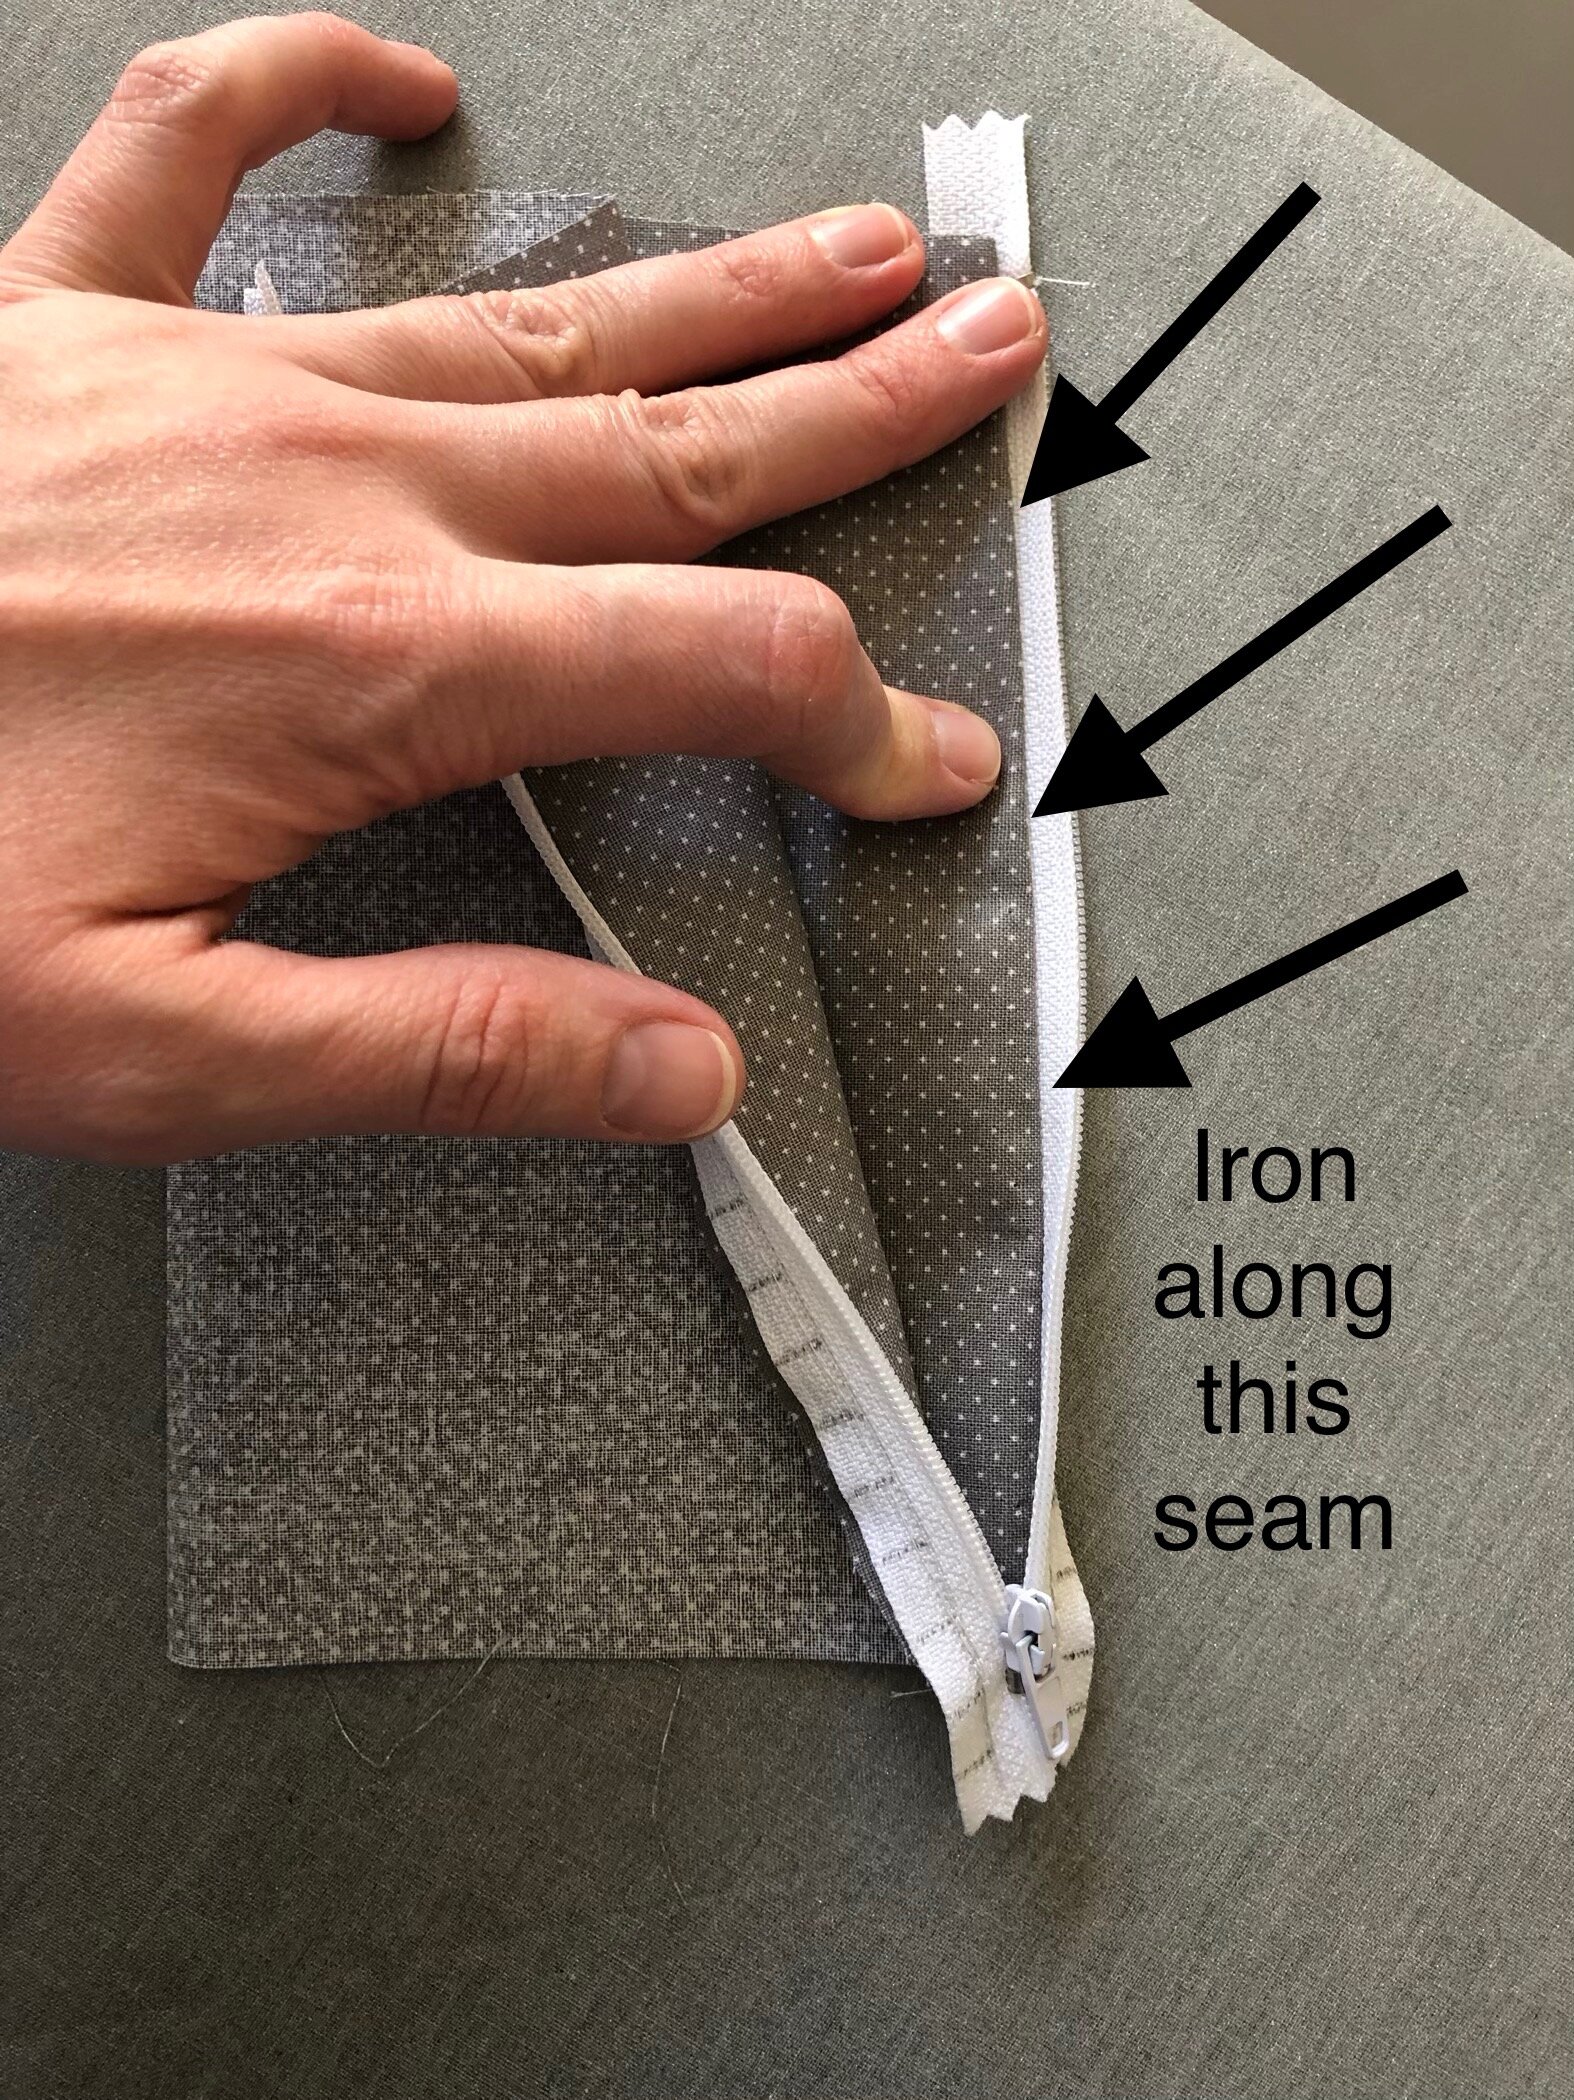
Now you will sew the side seams shut using 1/4” (0.6 cm) seam allowance. Be careful not to sew the zipper shut!


Make your embroidery stitches
For a video tutorial on this step, see: https://youtu.be/w8qgpU0YNtM.
Take a length of embroidery thread about 24” (61 cm) long. Knot the end, leaving very little tail. Thread the embroidery thread into a sharp ribbon needle (looks like a regular yarn needle but is very sharp). Starting at the butt of the zipper, bring your thread from the bottom up.
Now take your thread from top to bottom in the very next tick mark you made yourself. You will then bring your needle up in the 3rd tick mark you made yourself and work backwards 1 stitch, placing your needle in the same hole that your last st is in. NOTE: Be sure you are not making your stitches through the inside of the bag!
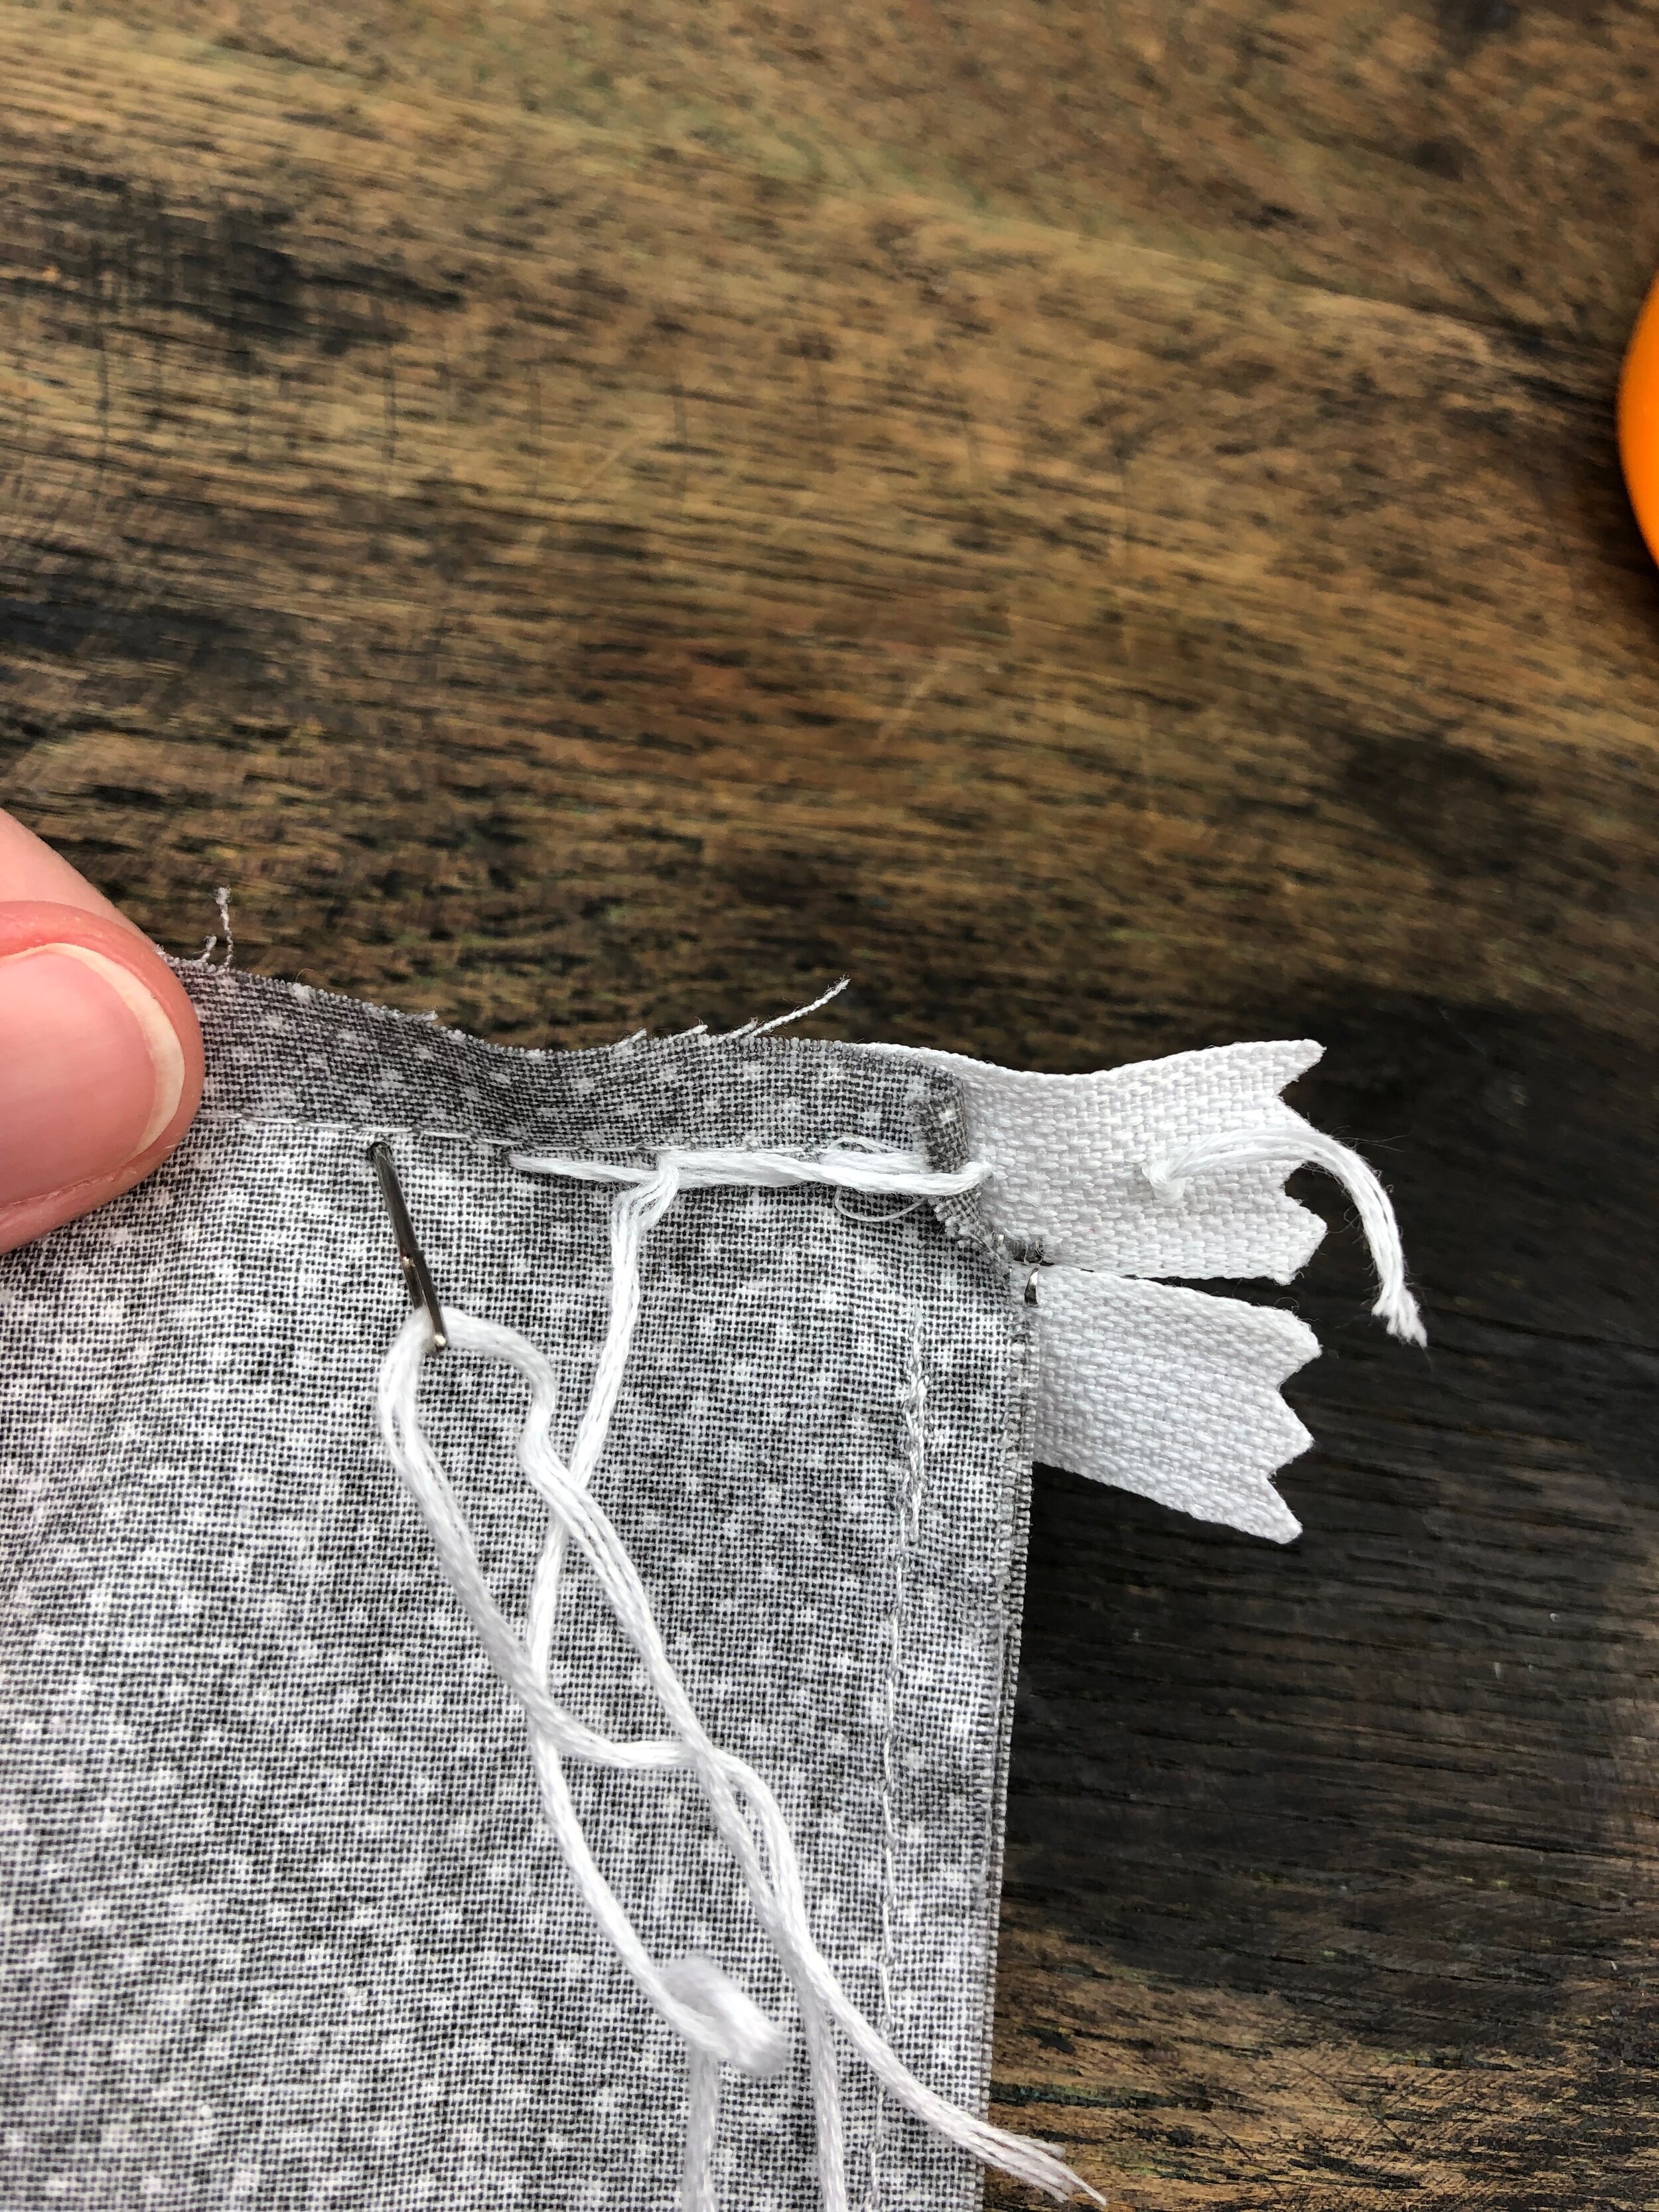

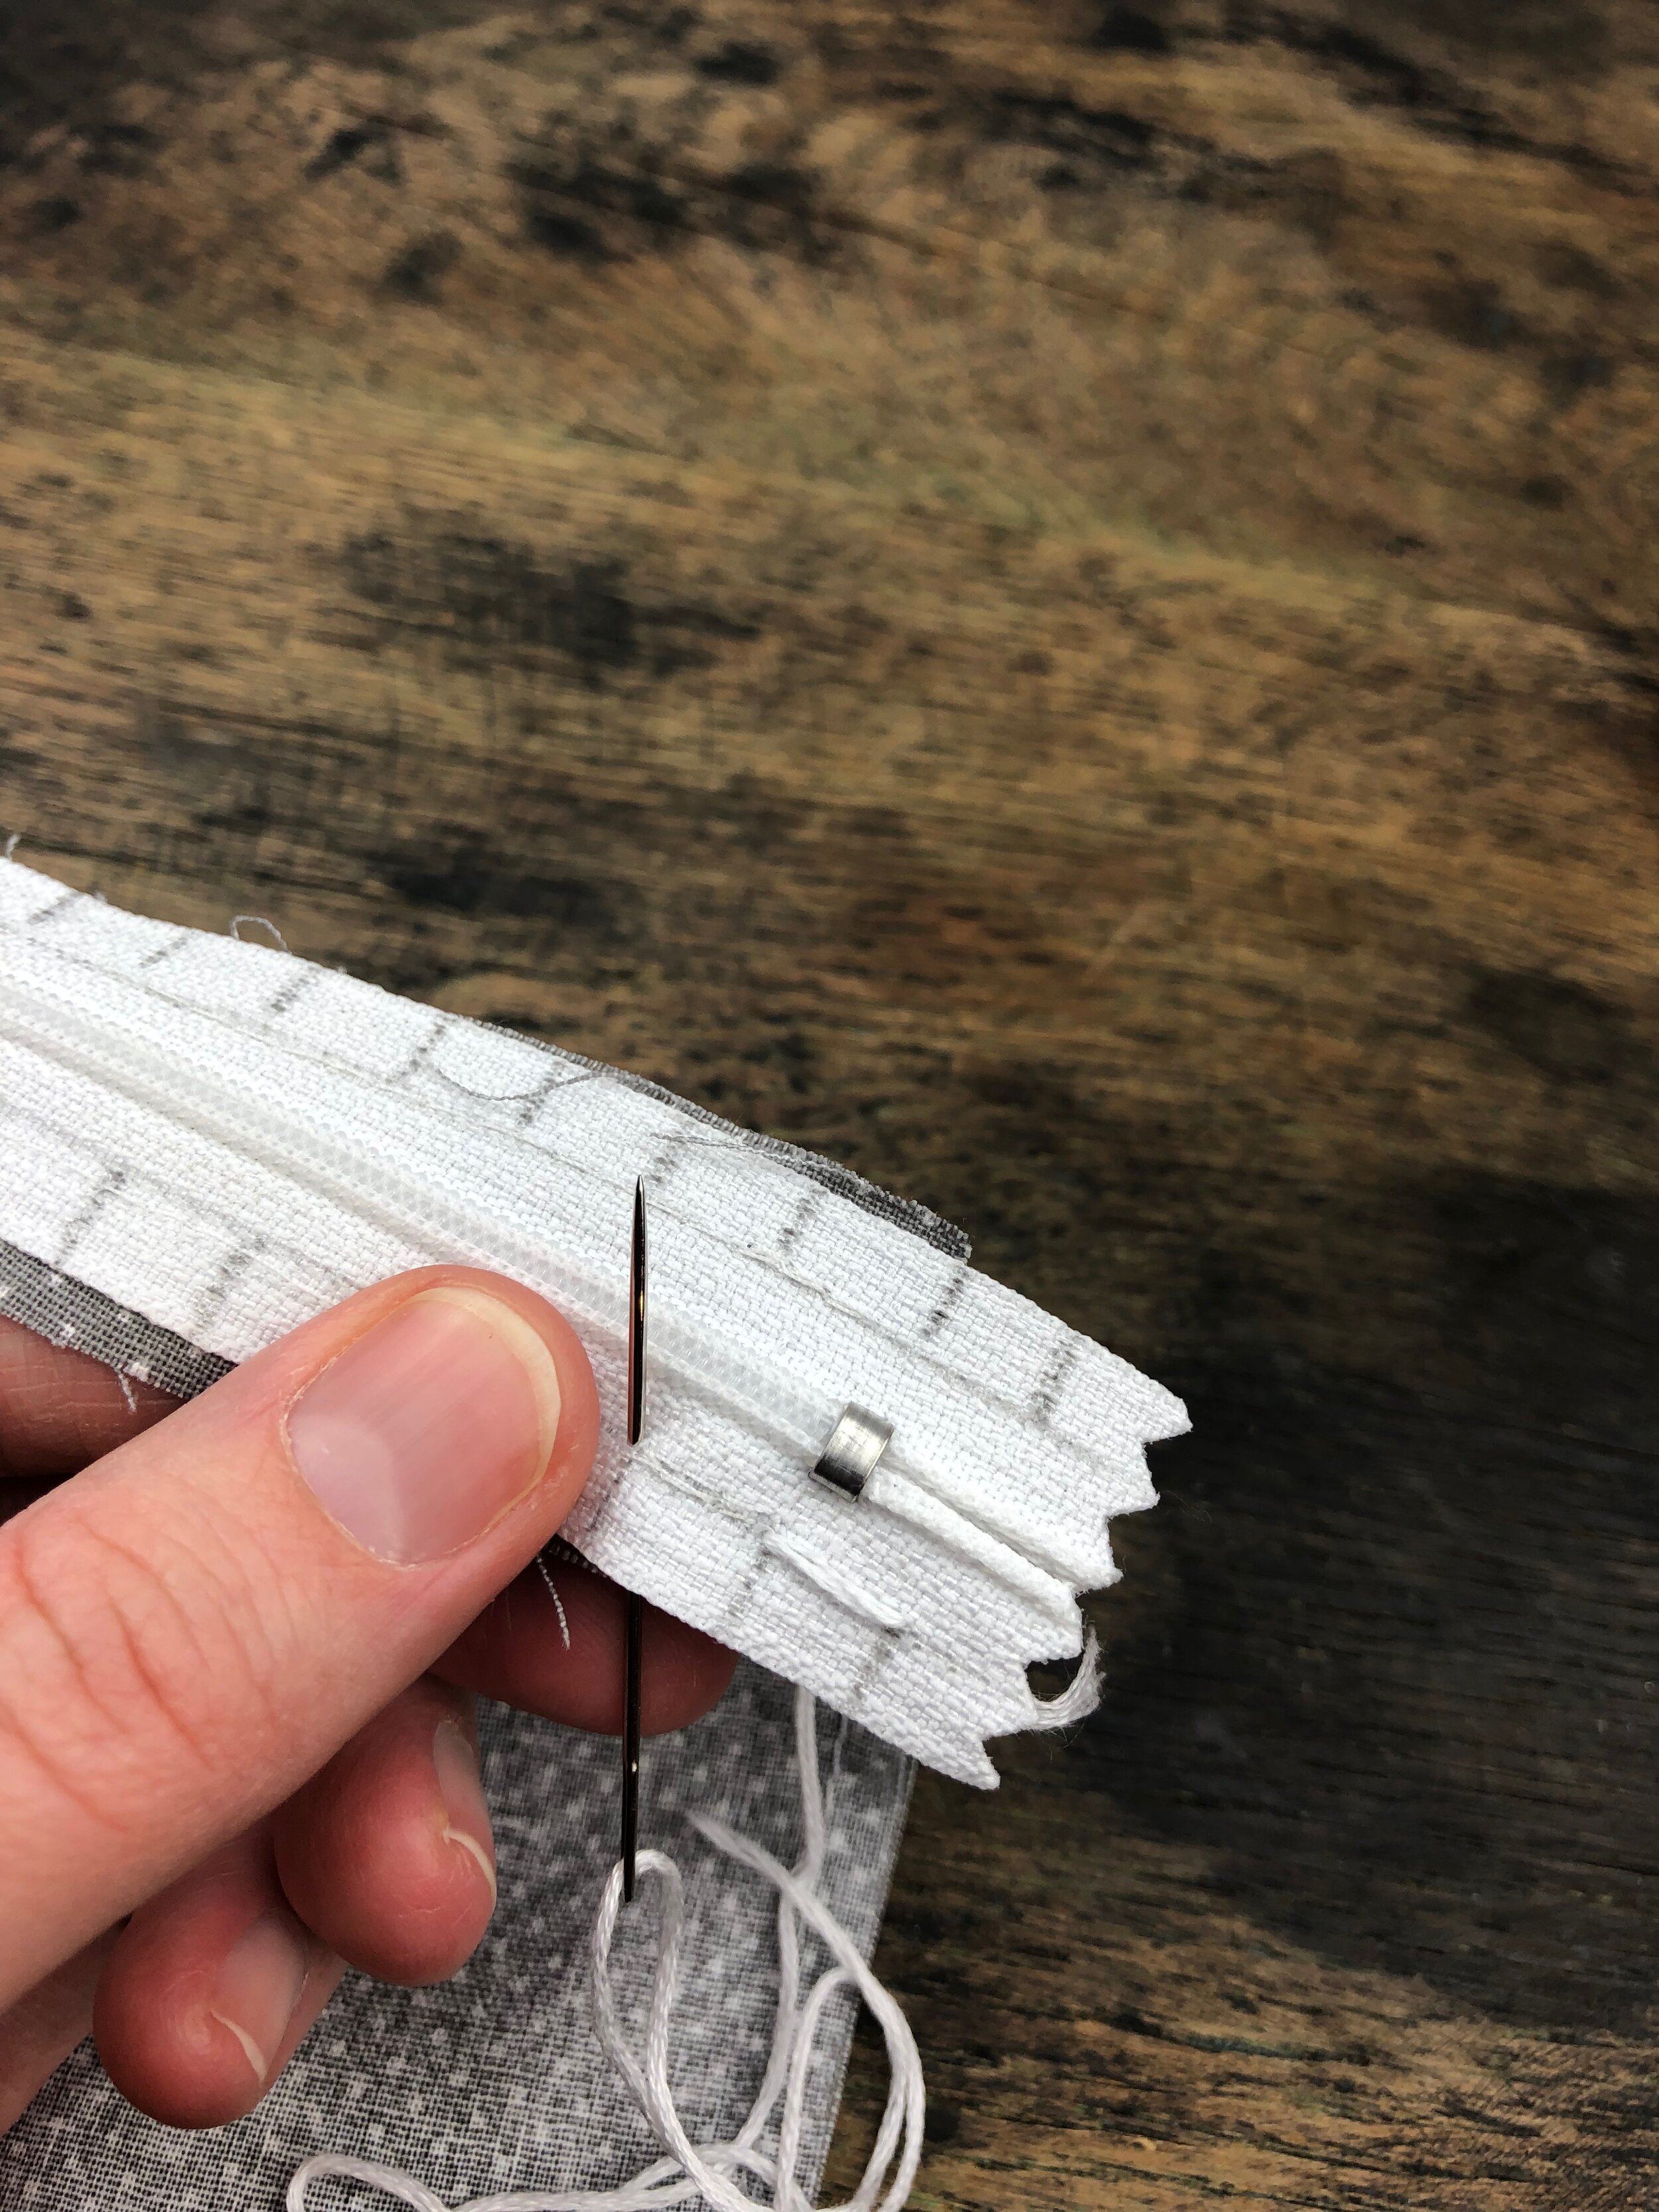
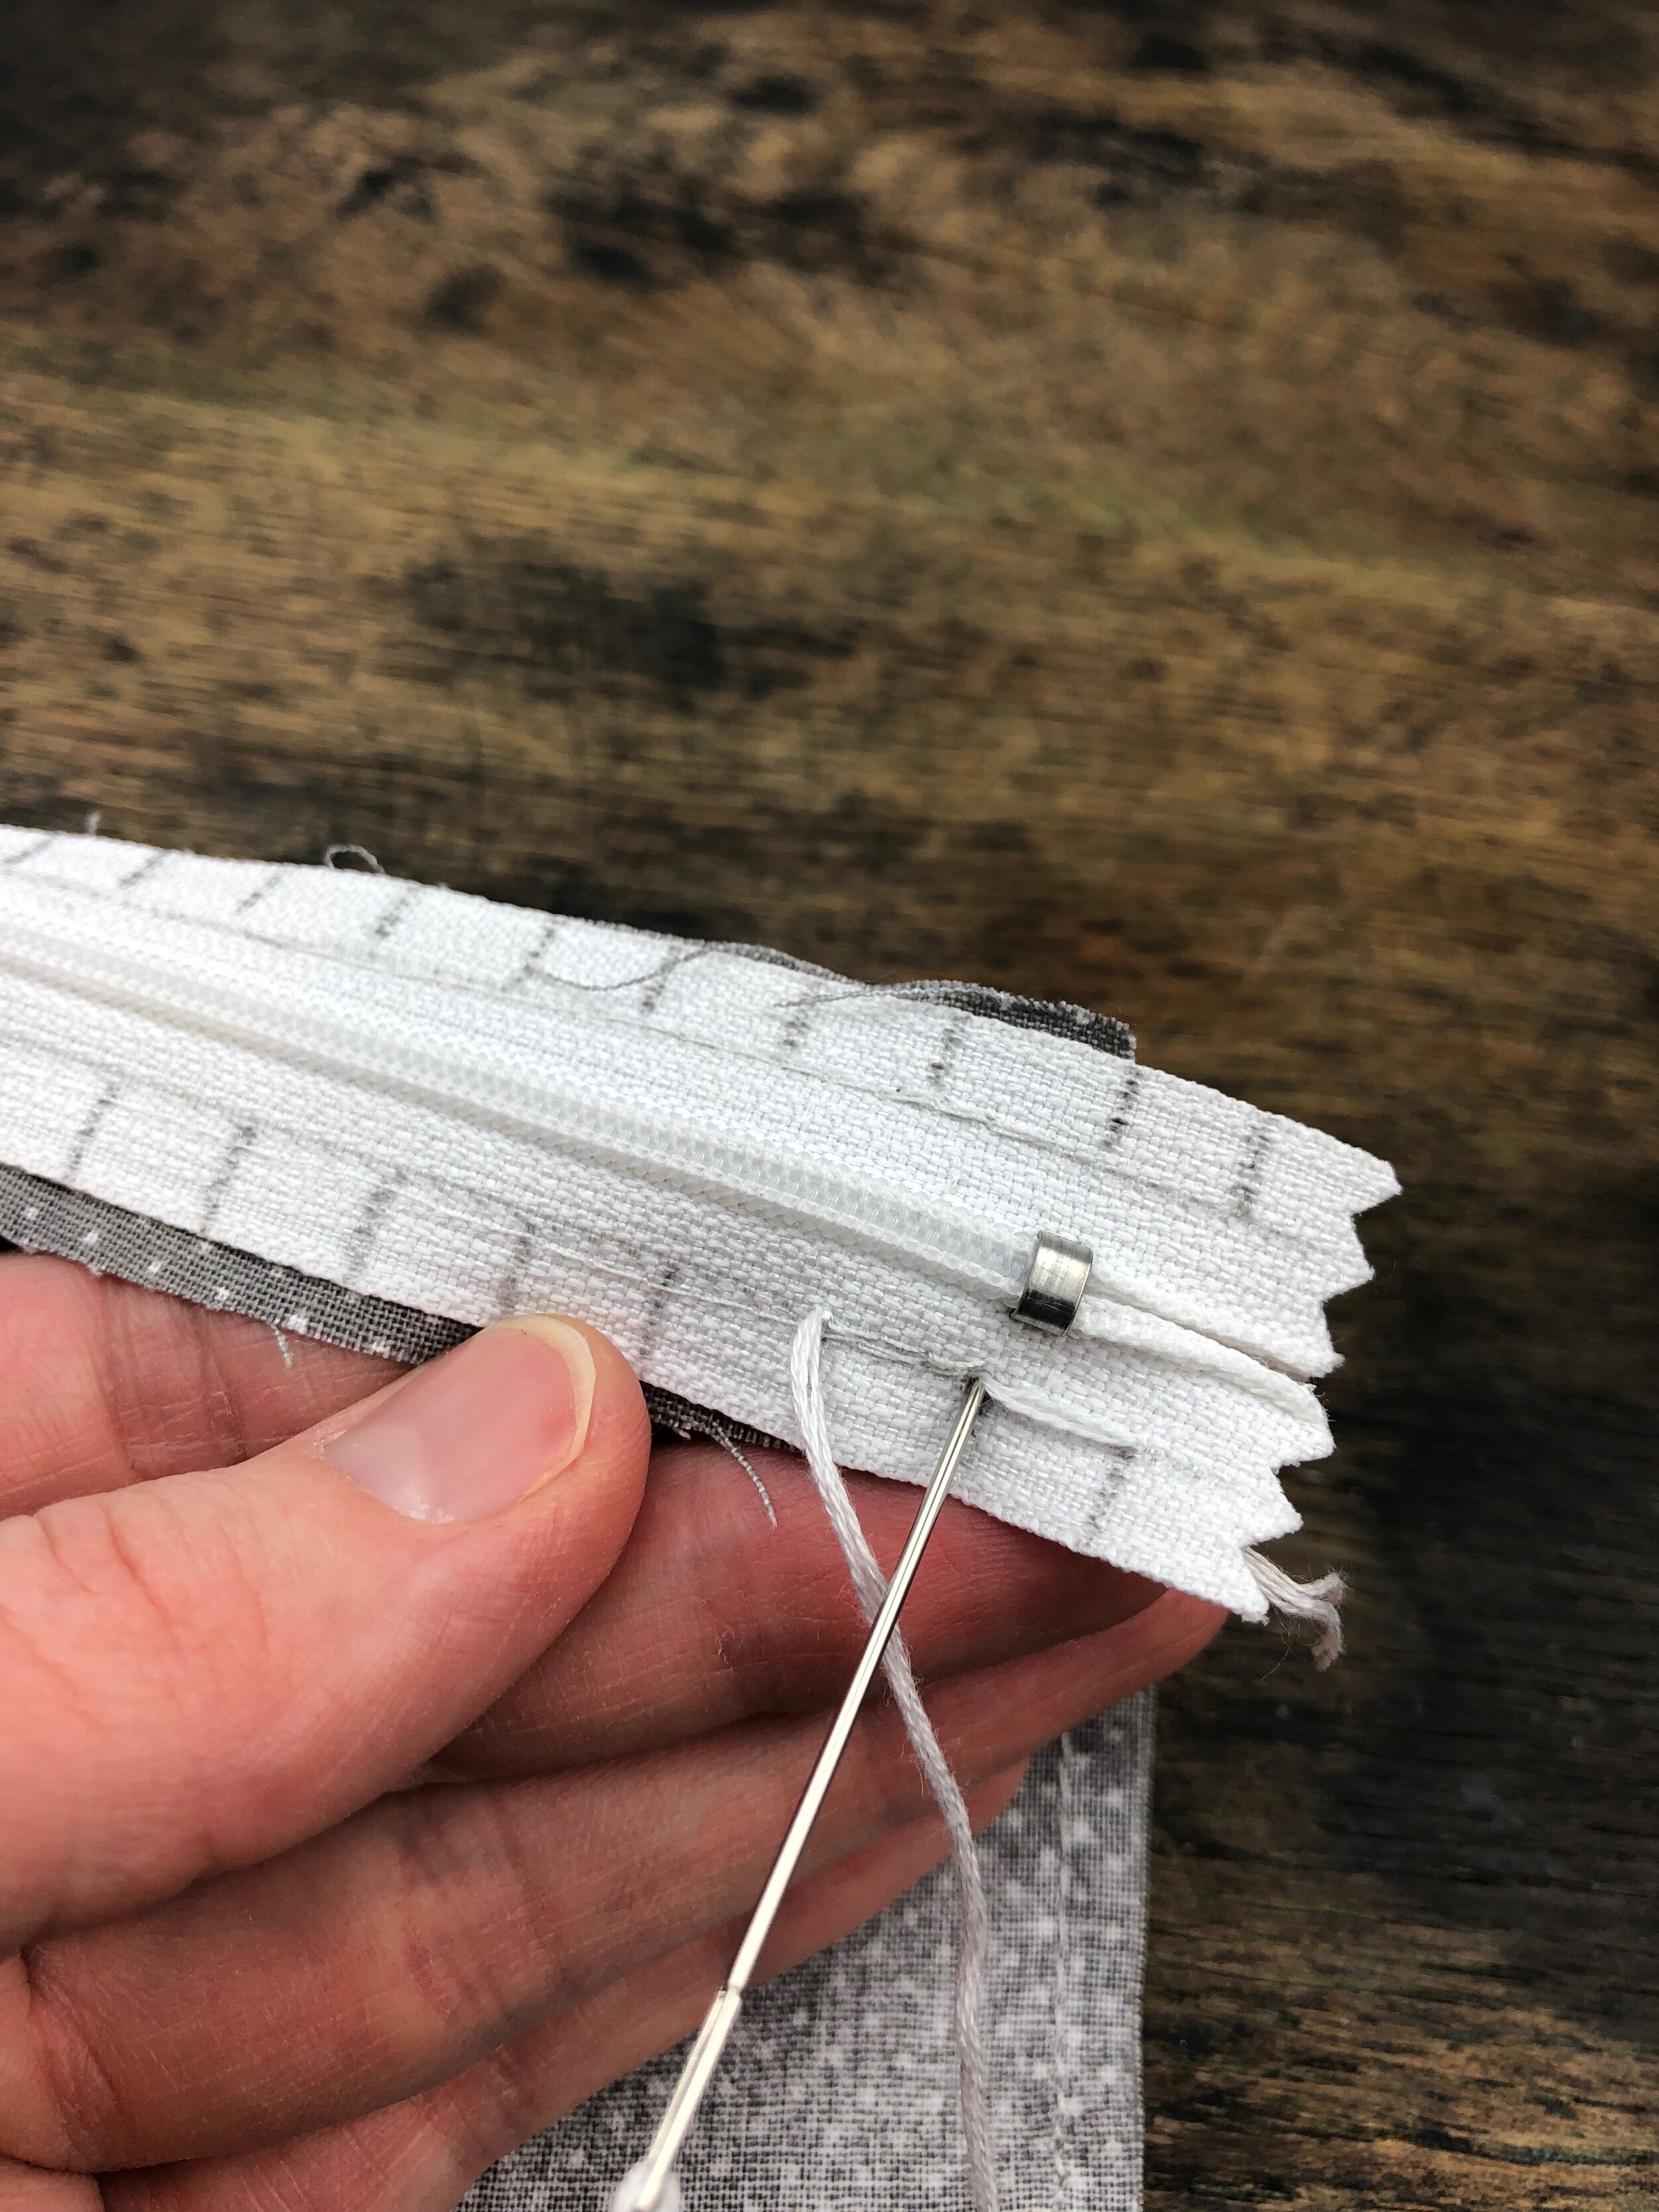
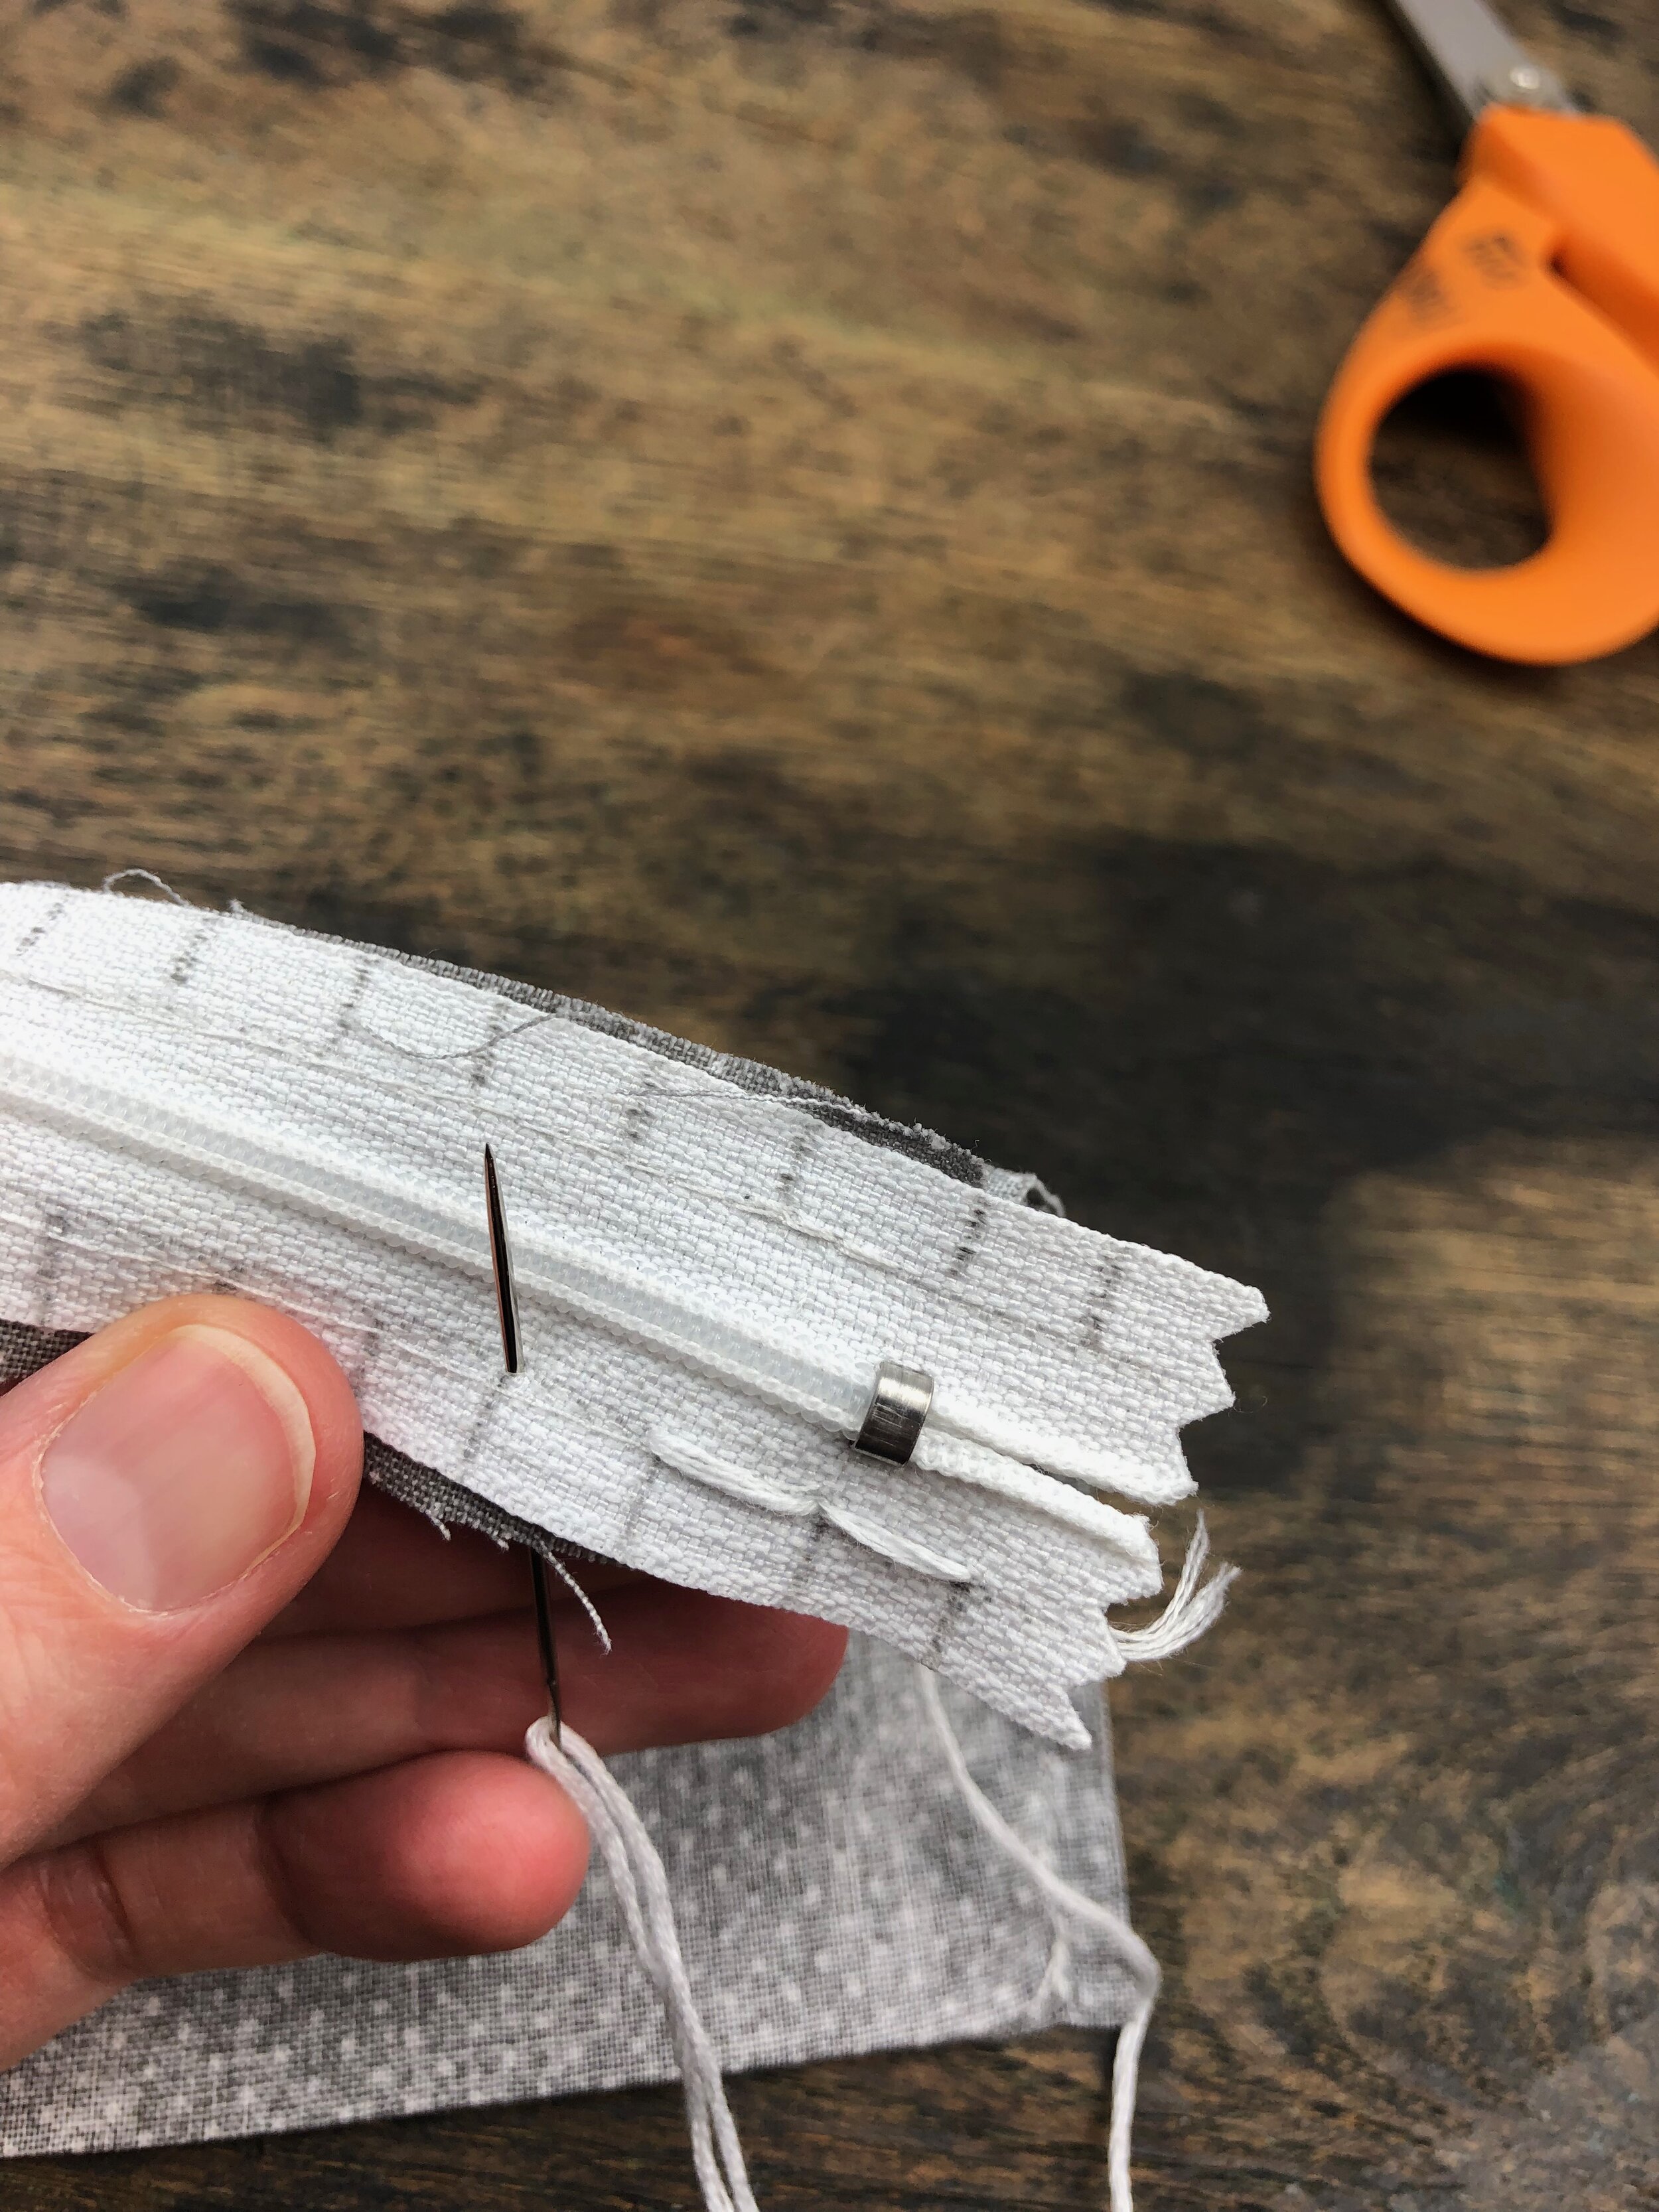
End on the underside of the zipper lip. Knot several times to secure. Rep to other side of zipper lip.
Join your liner to your bag
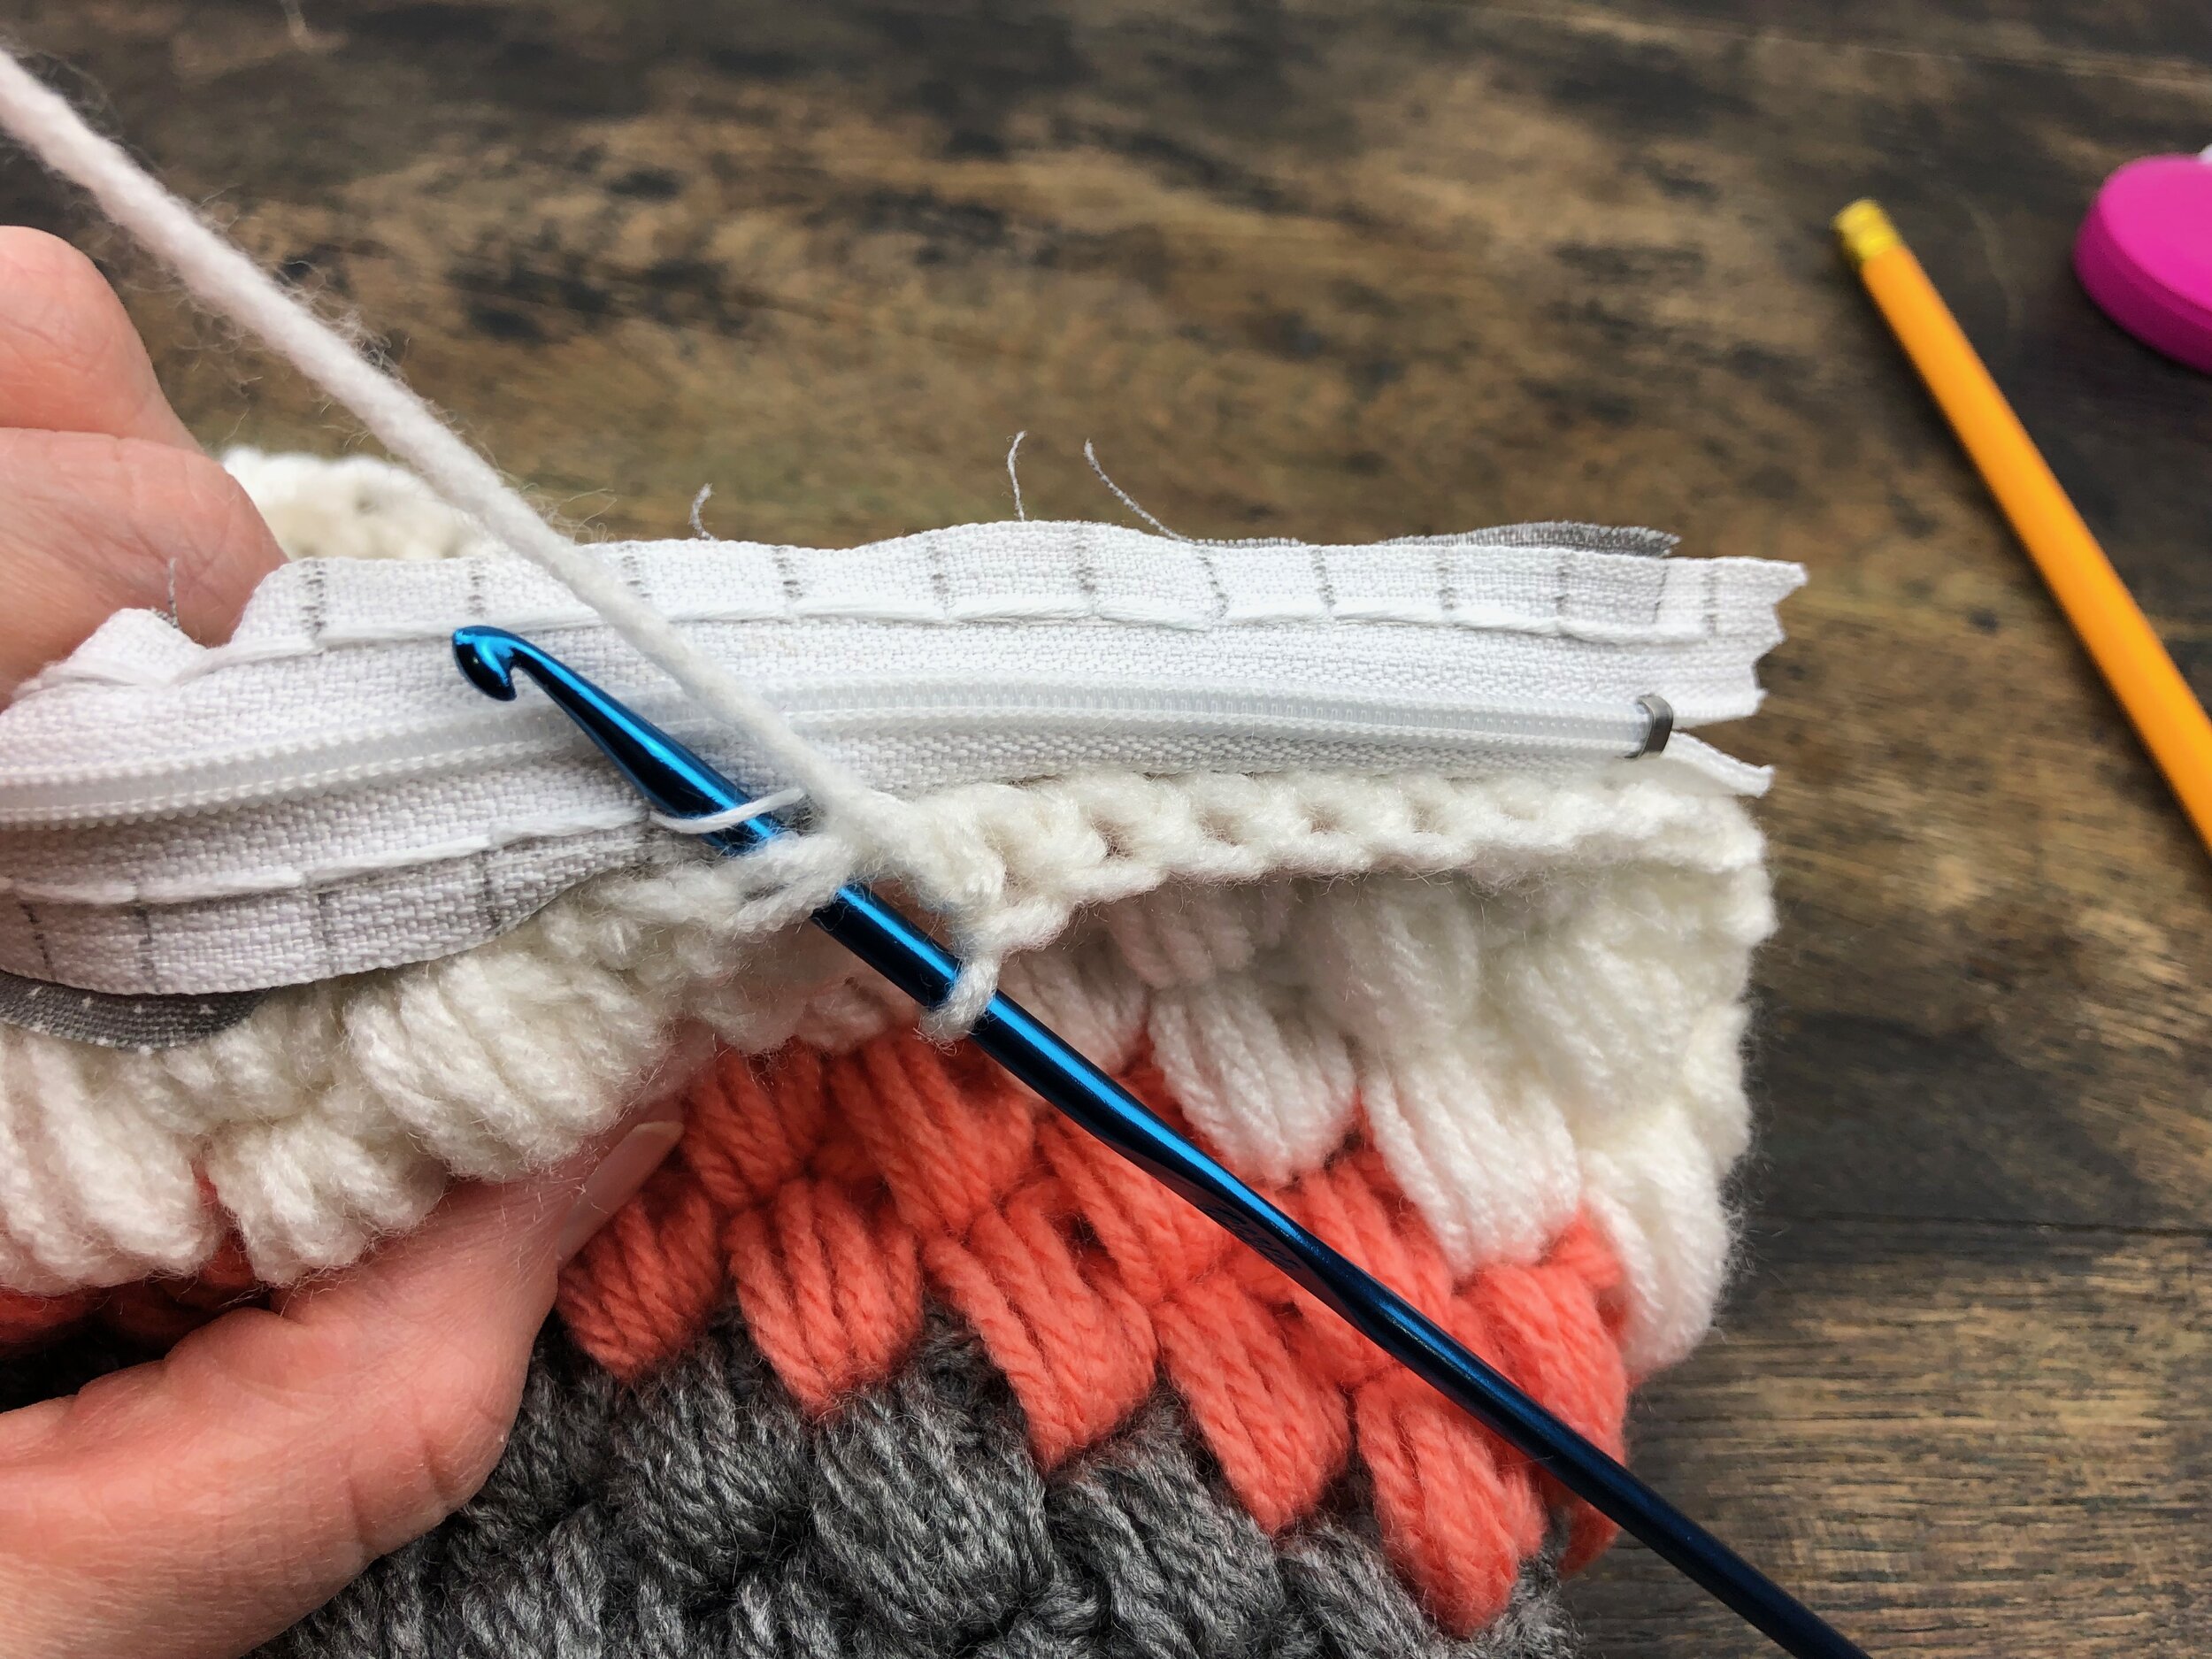
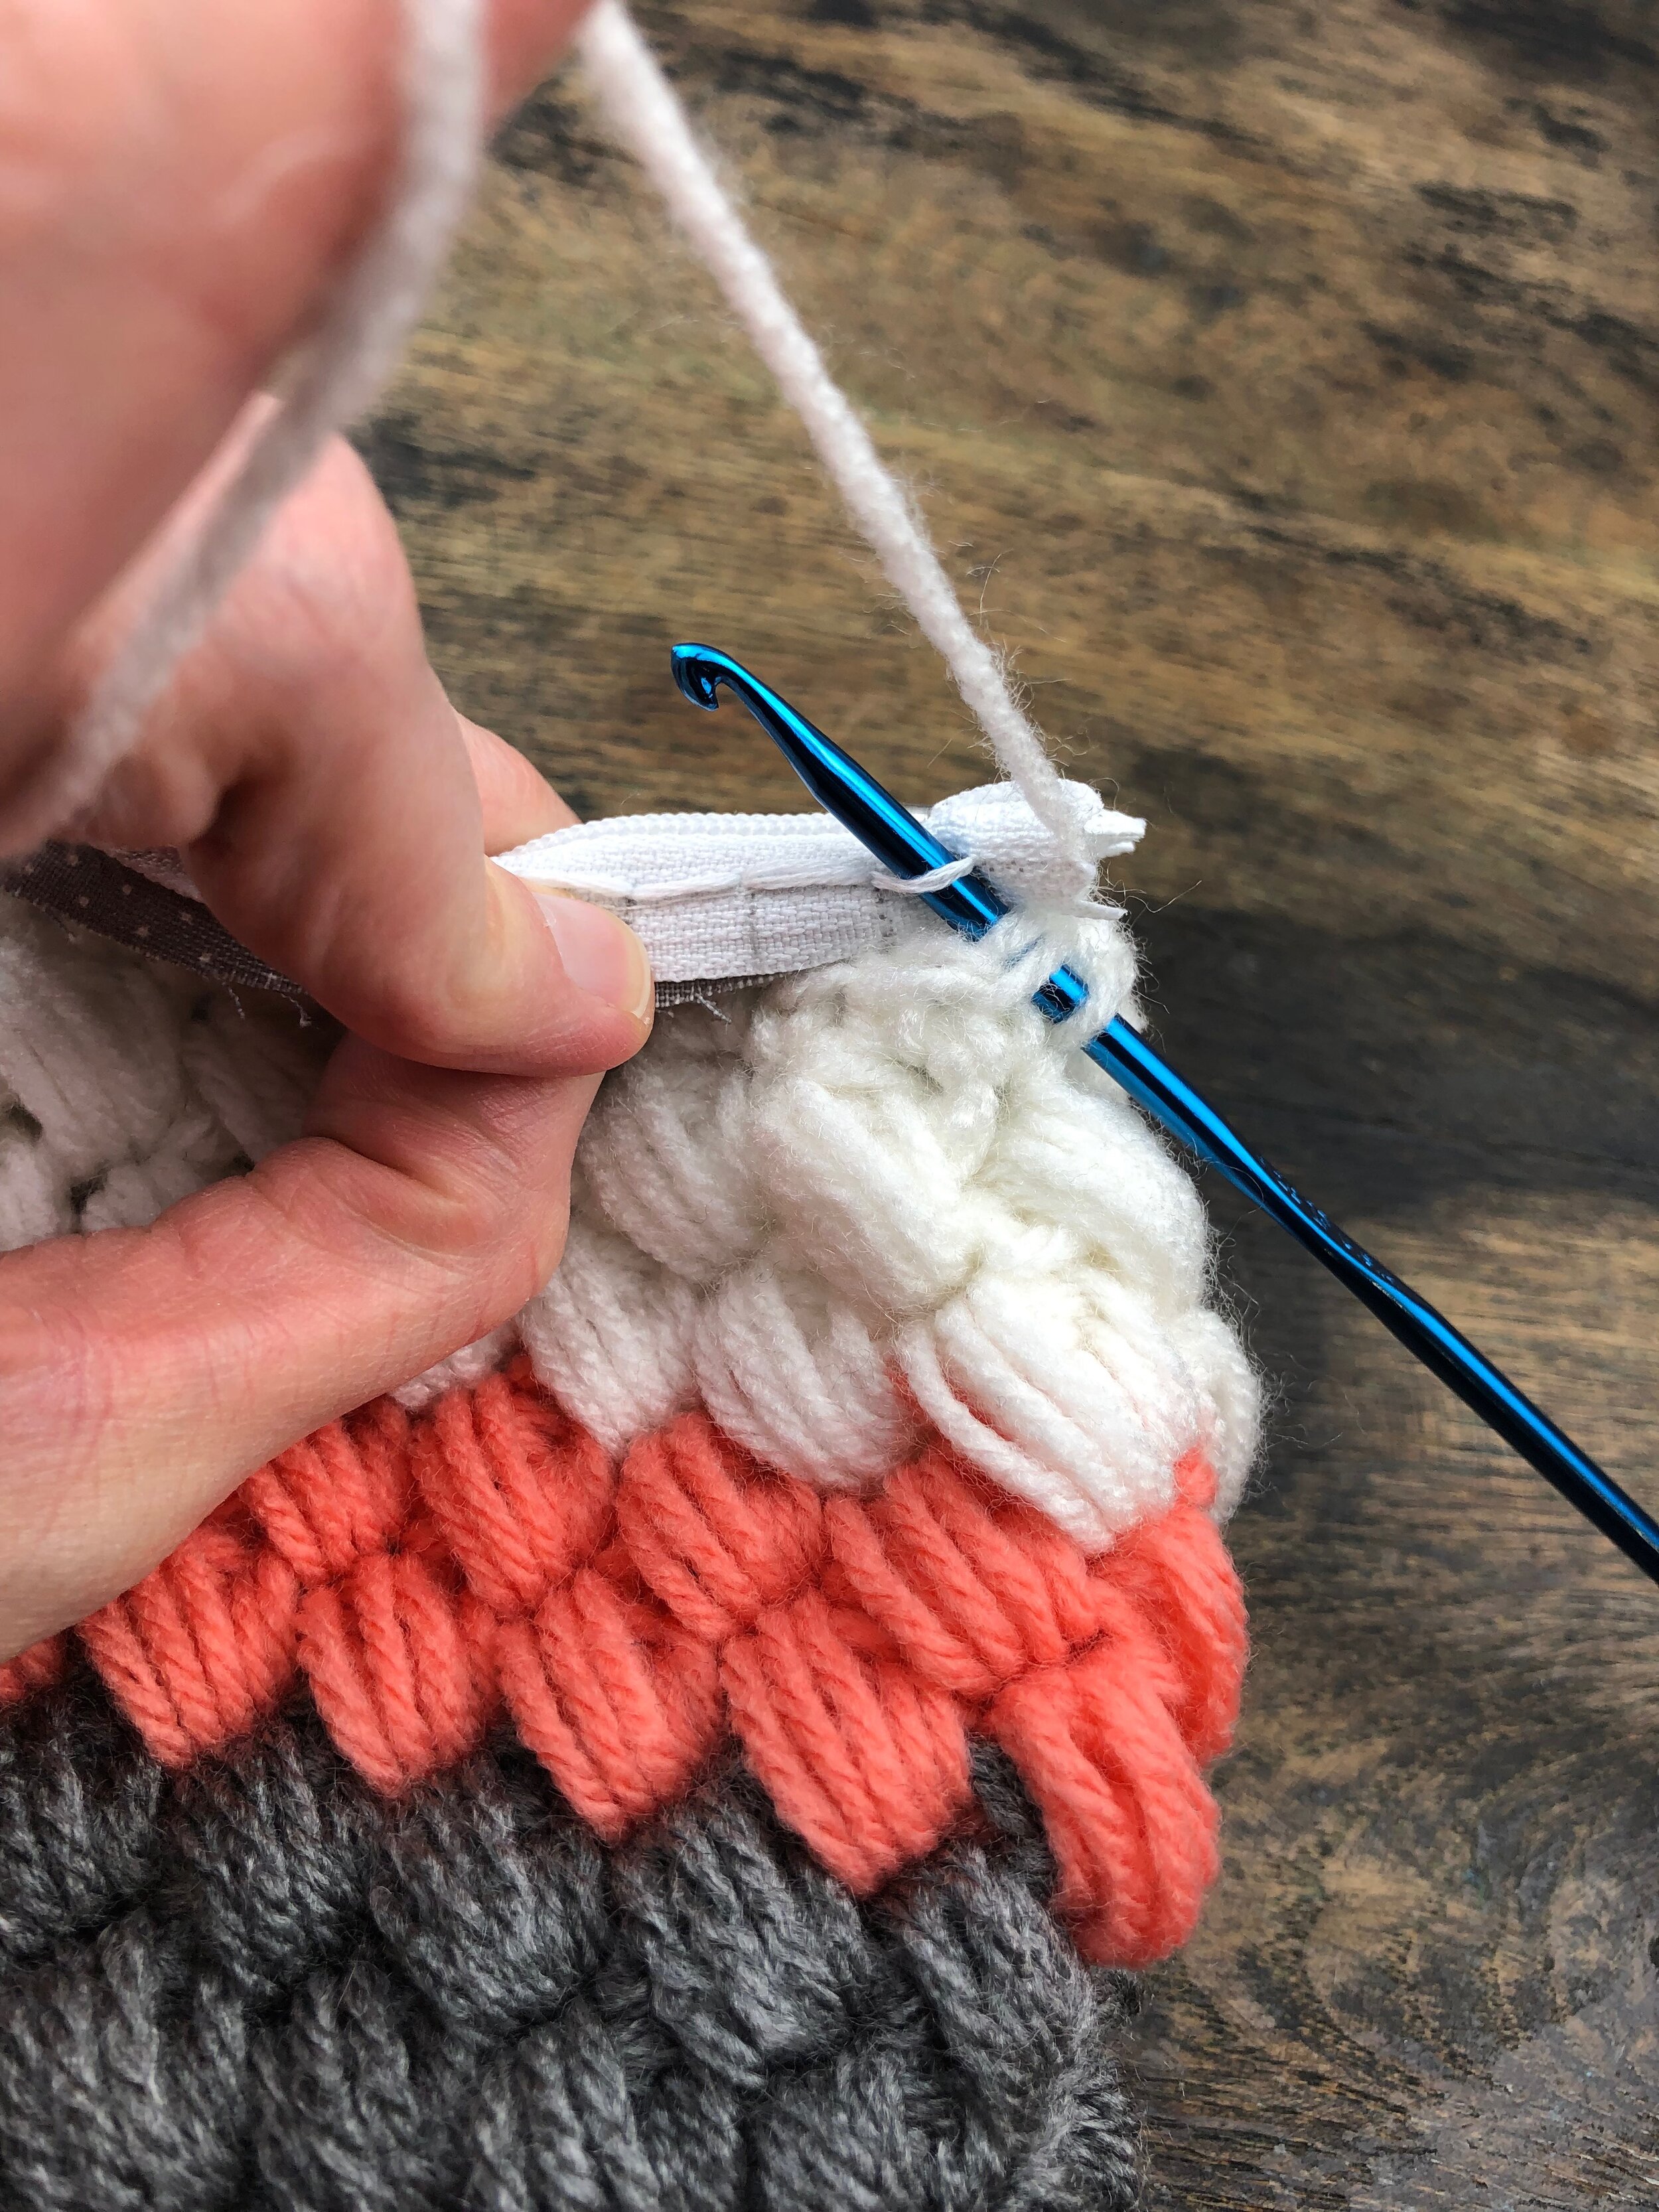
Slide your liner into your bag and line up to the corners. Using your size F 3.75 mm hook, ch 1, sc in same st. Place your hook in the next st AND in the first embroidery stitch, in that order (see image below). YO and draw up a loop. YO, draw through both loops on hook (you are basically making a normal sc through both the brim and embroidery st here). Sc through both brim and embroidery sts in the next 3 sts. * Sc through the next st in the brim only. Sc through both brim and embroidery sts in the next 4 sts; rep from * around. Use invisible join into first st of round and FO. Weave in tails. [50 sc]
This is easier to understand when visualizing this process. Be sure to check out my YouTube video and watch my process beginning at minute 16:20 https://youtu.be/7R1DctkI7eU.
Make a tassel
This process is easier to visualize than verbally explain. Please see my YouTube video: https://youtu.be/bjXB-WeK_Qw.
Your Puff Stitch Bag is complete! I would love to see your finished work! If you want to tag me on IG, I’m @dayscrochetnc or you can use #thepuffstitchbag, or #puffstitchbag. I can’t wait to see your projects! If you haven’t already, please come join my Facebook crocheting group called Crochet for Days at the link below. Members get special discounts, are part of my giveaways, get notified of pattern sales a full 24 hrs in advance, and more!
https://www.facebook.com/groups/647129172748788/?ref=nf_target&fref=nf
Please note that you do not have my permission to sell, share, copy, or duplicate this pattern or my photos in any way. Please do not use this pattern for a video, blog, or class tutorial. Thank you so much for following these simple rules! Please message me on Facebook or send me an email at dayscrochetnc@gmail.com with any questions.