
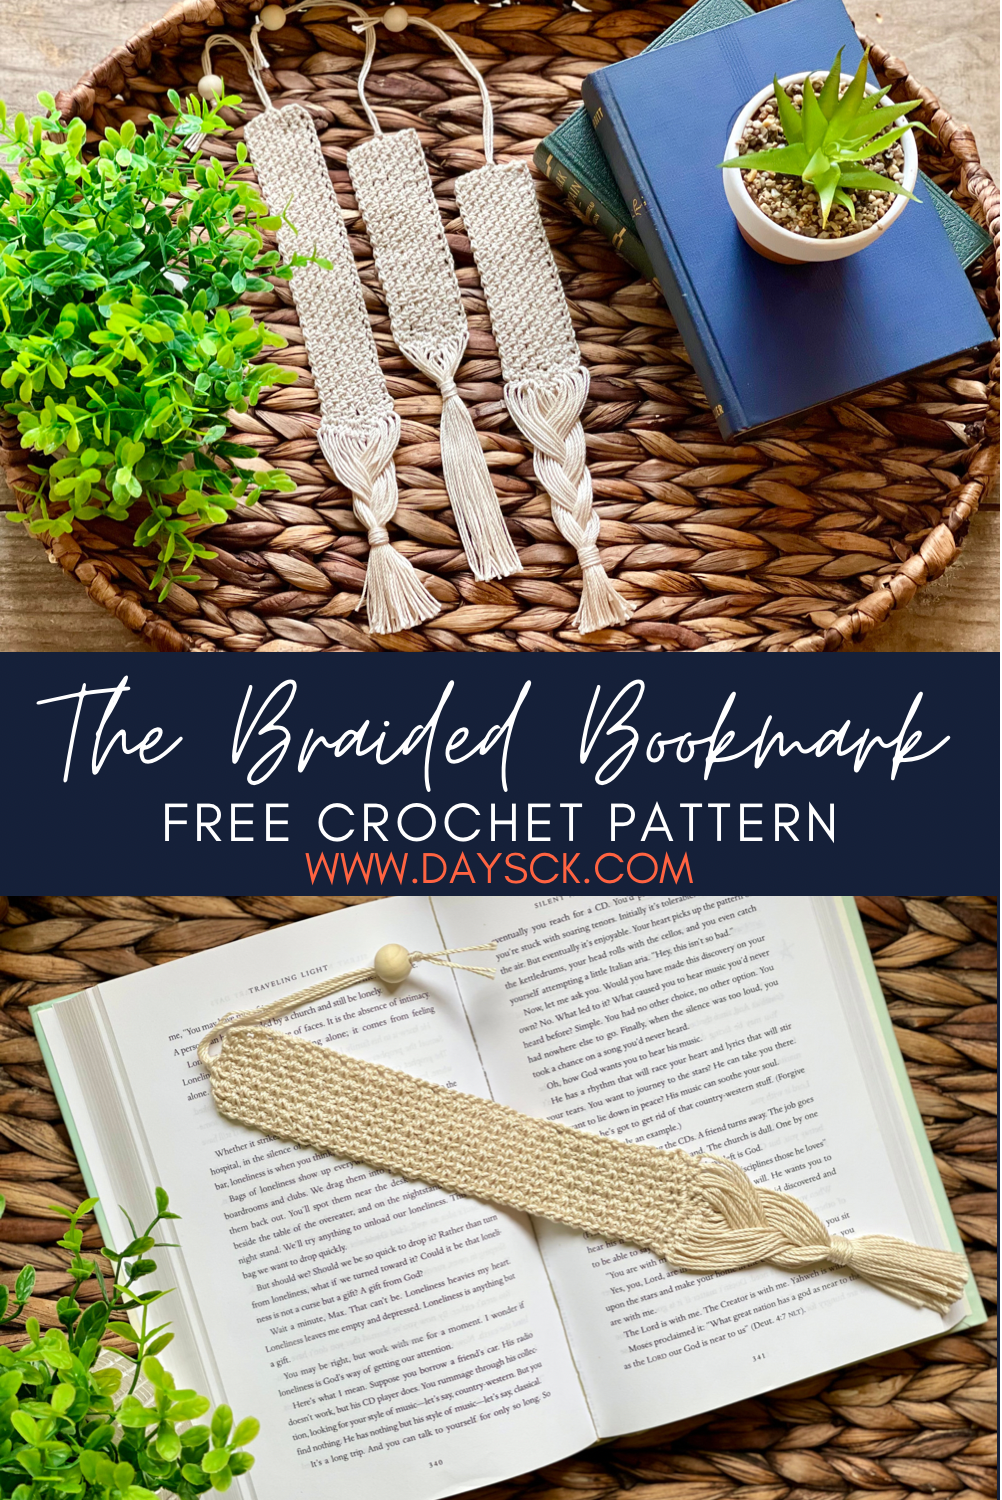
Easy Crochet Bookmark ~ Faux Macrame!
Confession: I have a major addiction to reading books.
It started when I was 9 years old when I read Anne of Green Gables in one night. I have been hooked ever since!
There’s nothing better on a rainy day than to sit down with a cup of hot tea and a book and curl up in my pj’s in my favorite chair. Give me a novel set in Regency Era England and I am entertained for hours! (Speaking of which, my FAVORITE book of all time is called Edenbrooke by Julianne Donaldson. You absolutely should read it! You can get a copy here.)
My main problem since beginning my crochet business has been finding time to read. It’s like once I start reading, I can’t stop. I literally DEVOUR books, reading for days. Anyone else have this problem?
So I have tried to find ways to combine my love for reading with my love for crocheting. Hence my Braided Bookmark! I was actually inspired by a Pinterest image for a macramé bookmark for this design.
I discovered the problem with trying to mimic macramé in my bookmark was the bookmark was too thick to actually be functional. I made a TON of different versions before I finally got what I felt to be a good enough design to share.
This was my first attempt. It matched perfectly, but was flawed in functionality.
I first tried it with worsted weight cotton and immediately discovered that it would damage the book’s binding if one were to actually use it. It matched the look of macramé perfectly, and I was SO SAD! But I am not one to sacrifice functionality for looks, so I went back to work.

As you can see, it is MUCH too thick.
My next attempt was with size 3 DK weight cotton yarn. It was * slightly * better, but really still too thick. The book closed better, but I could see that the book was still going to get damaged if used in real life. I took a poll on my personal Facebook page and the results were unanimous: I needed to try thinner yarn.

This one was made using the size 3 DK weight yarn. As you can see, better, but not best.
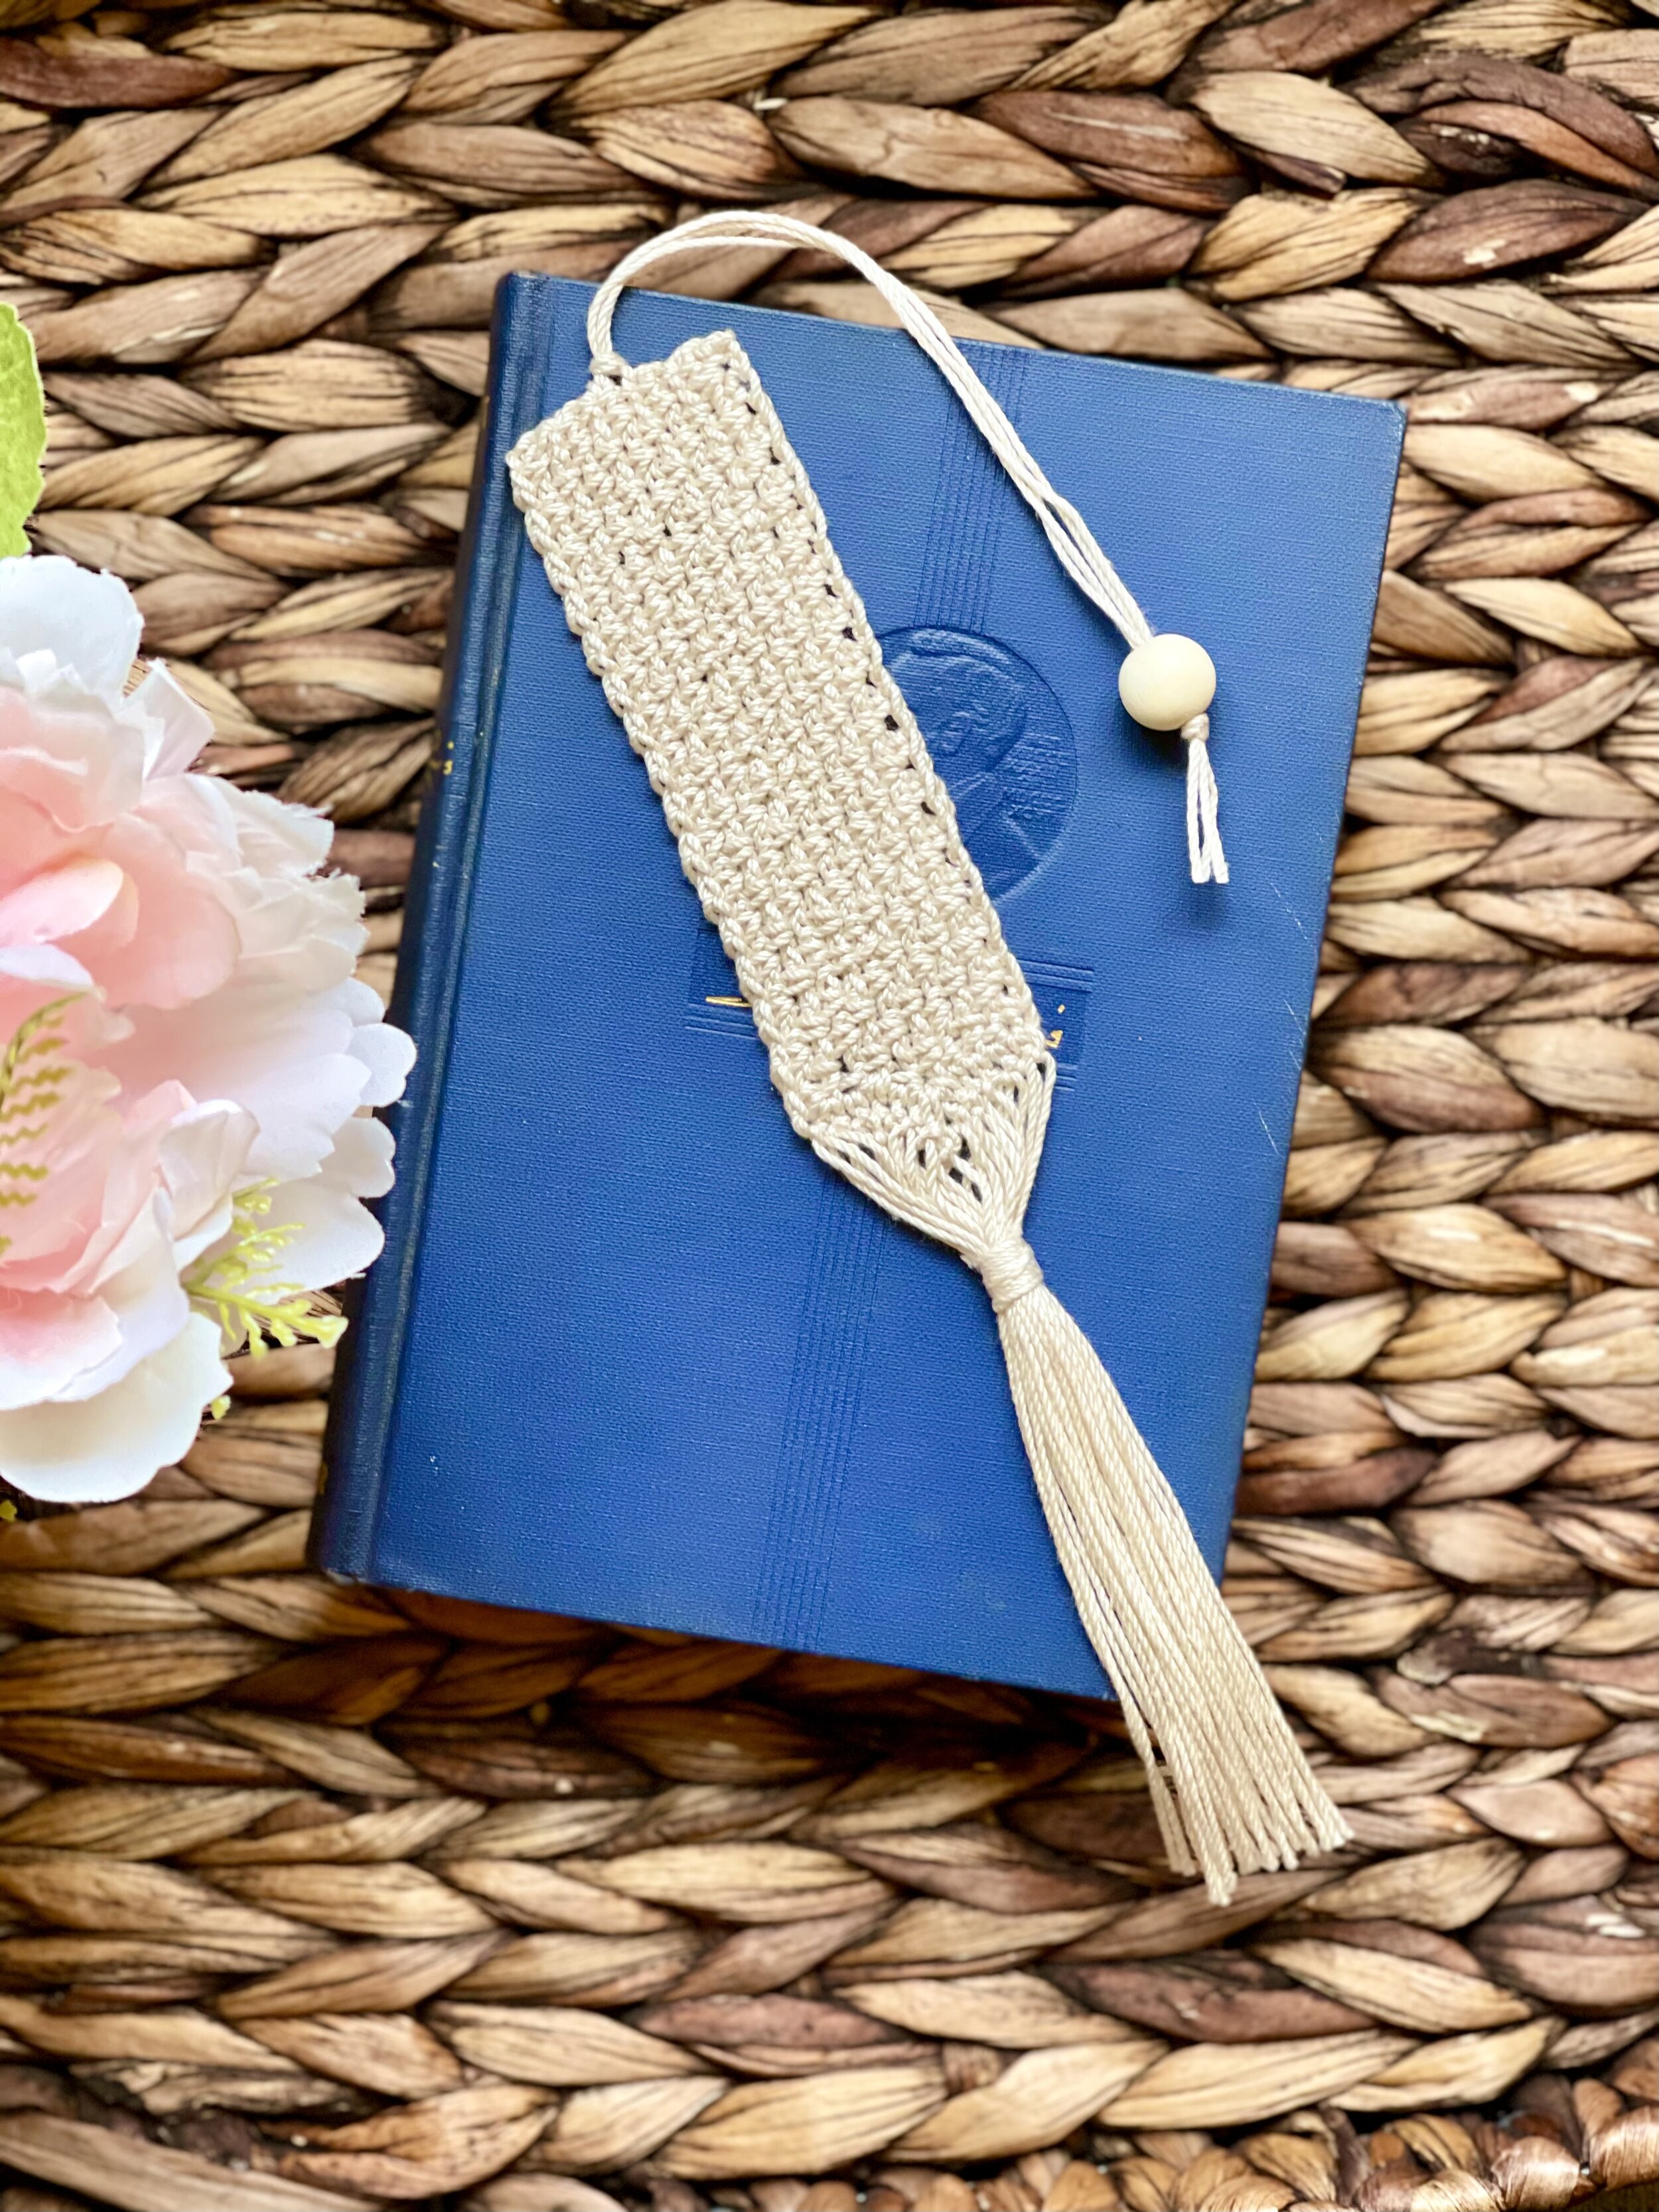
My final attempts were with cotton thread, size 3 (one of the thickest weights of the thread line). It was finally perfect! I took another poll and everyone said it was the Goldilocks of my bookmarks.
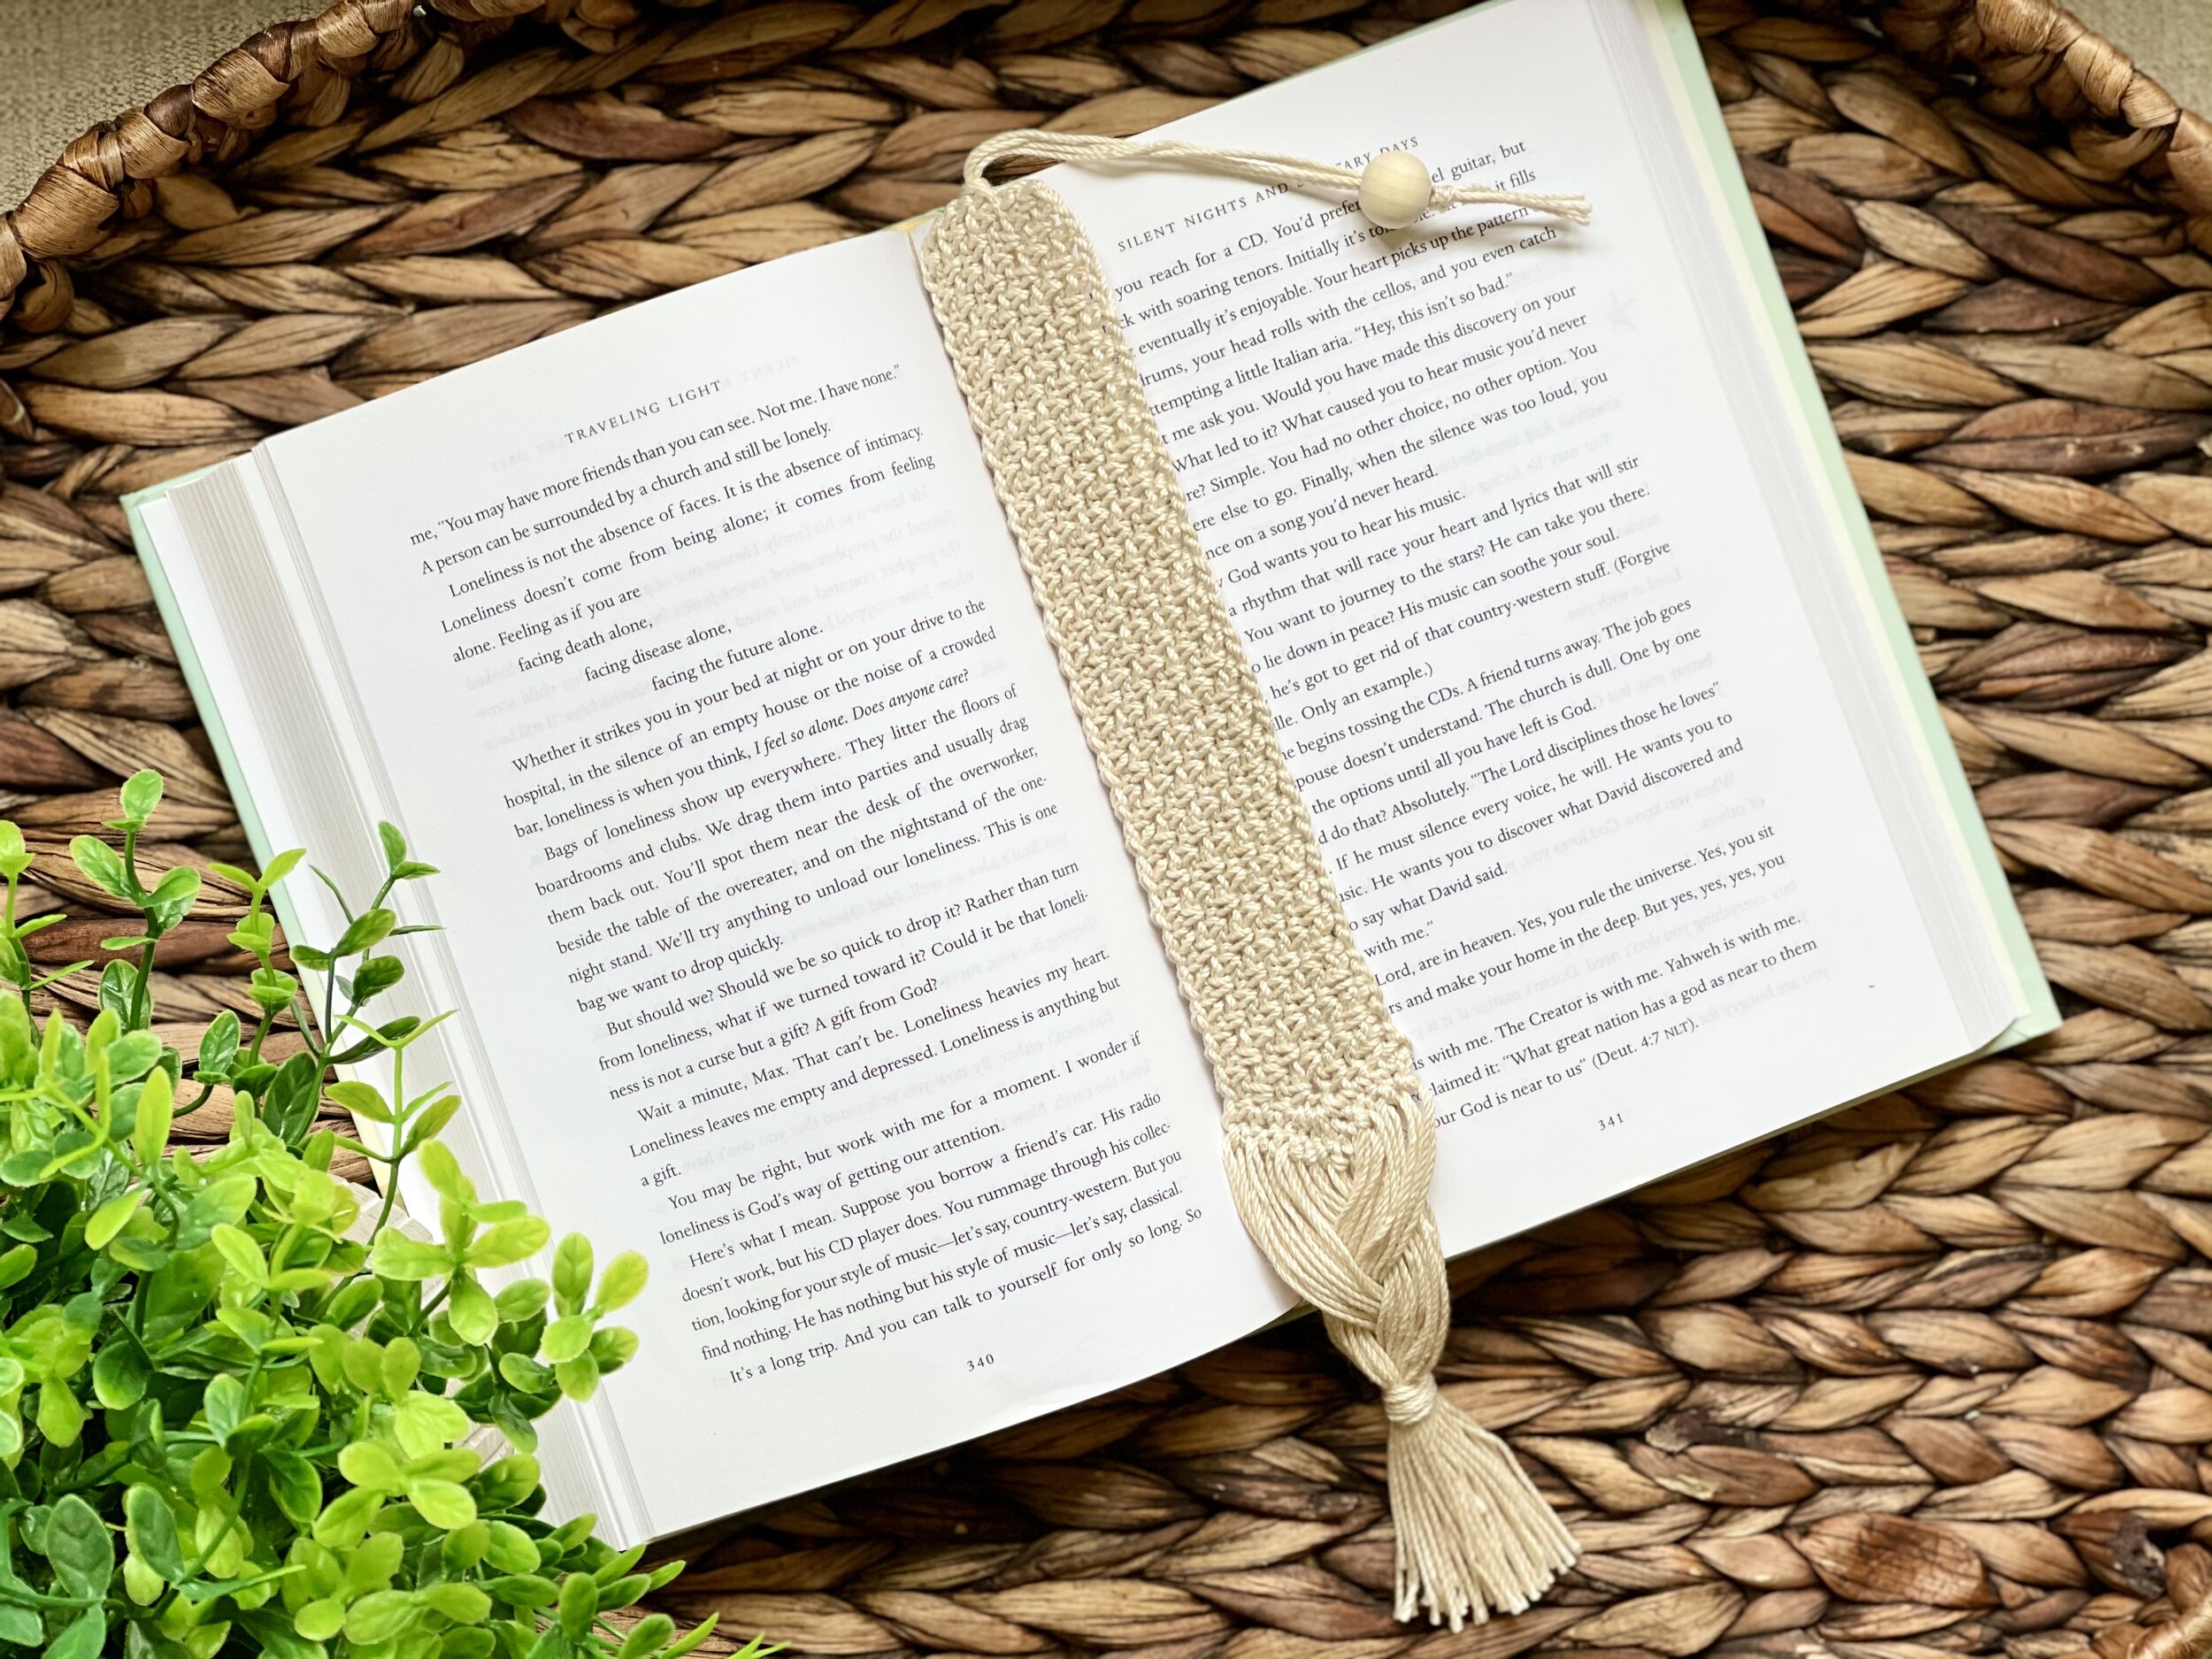
This is the one most people loved. The body of the bookmark was flat and the braided detail hung mostly outside of the book.
Success! My book-loving friends said this was acceptable for use.
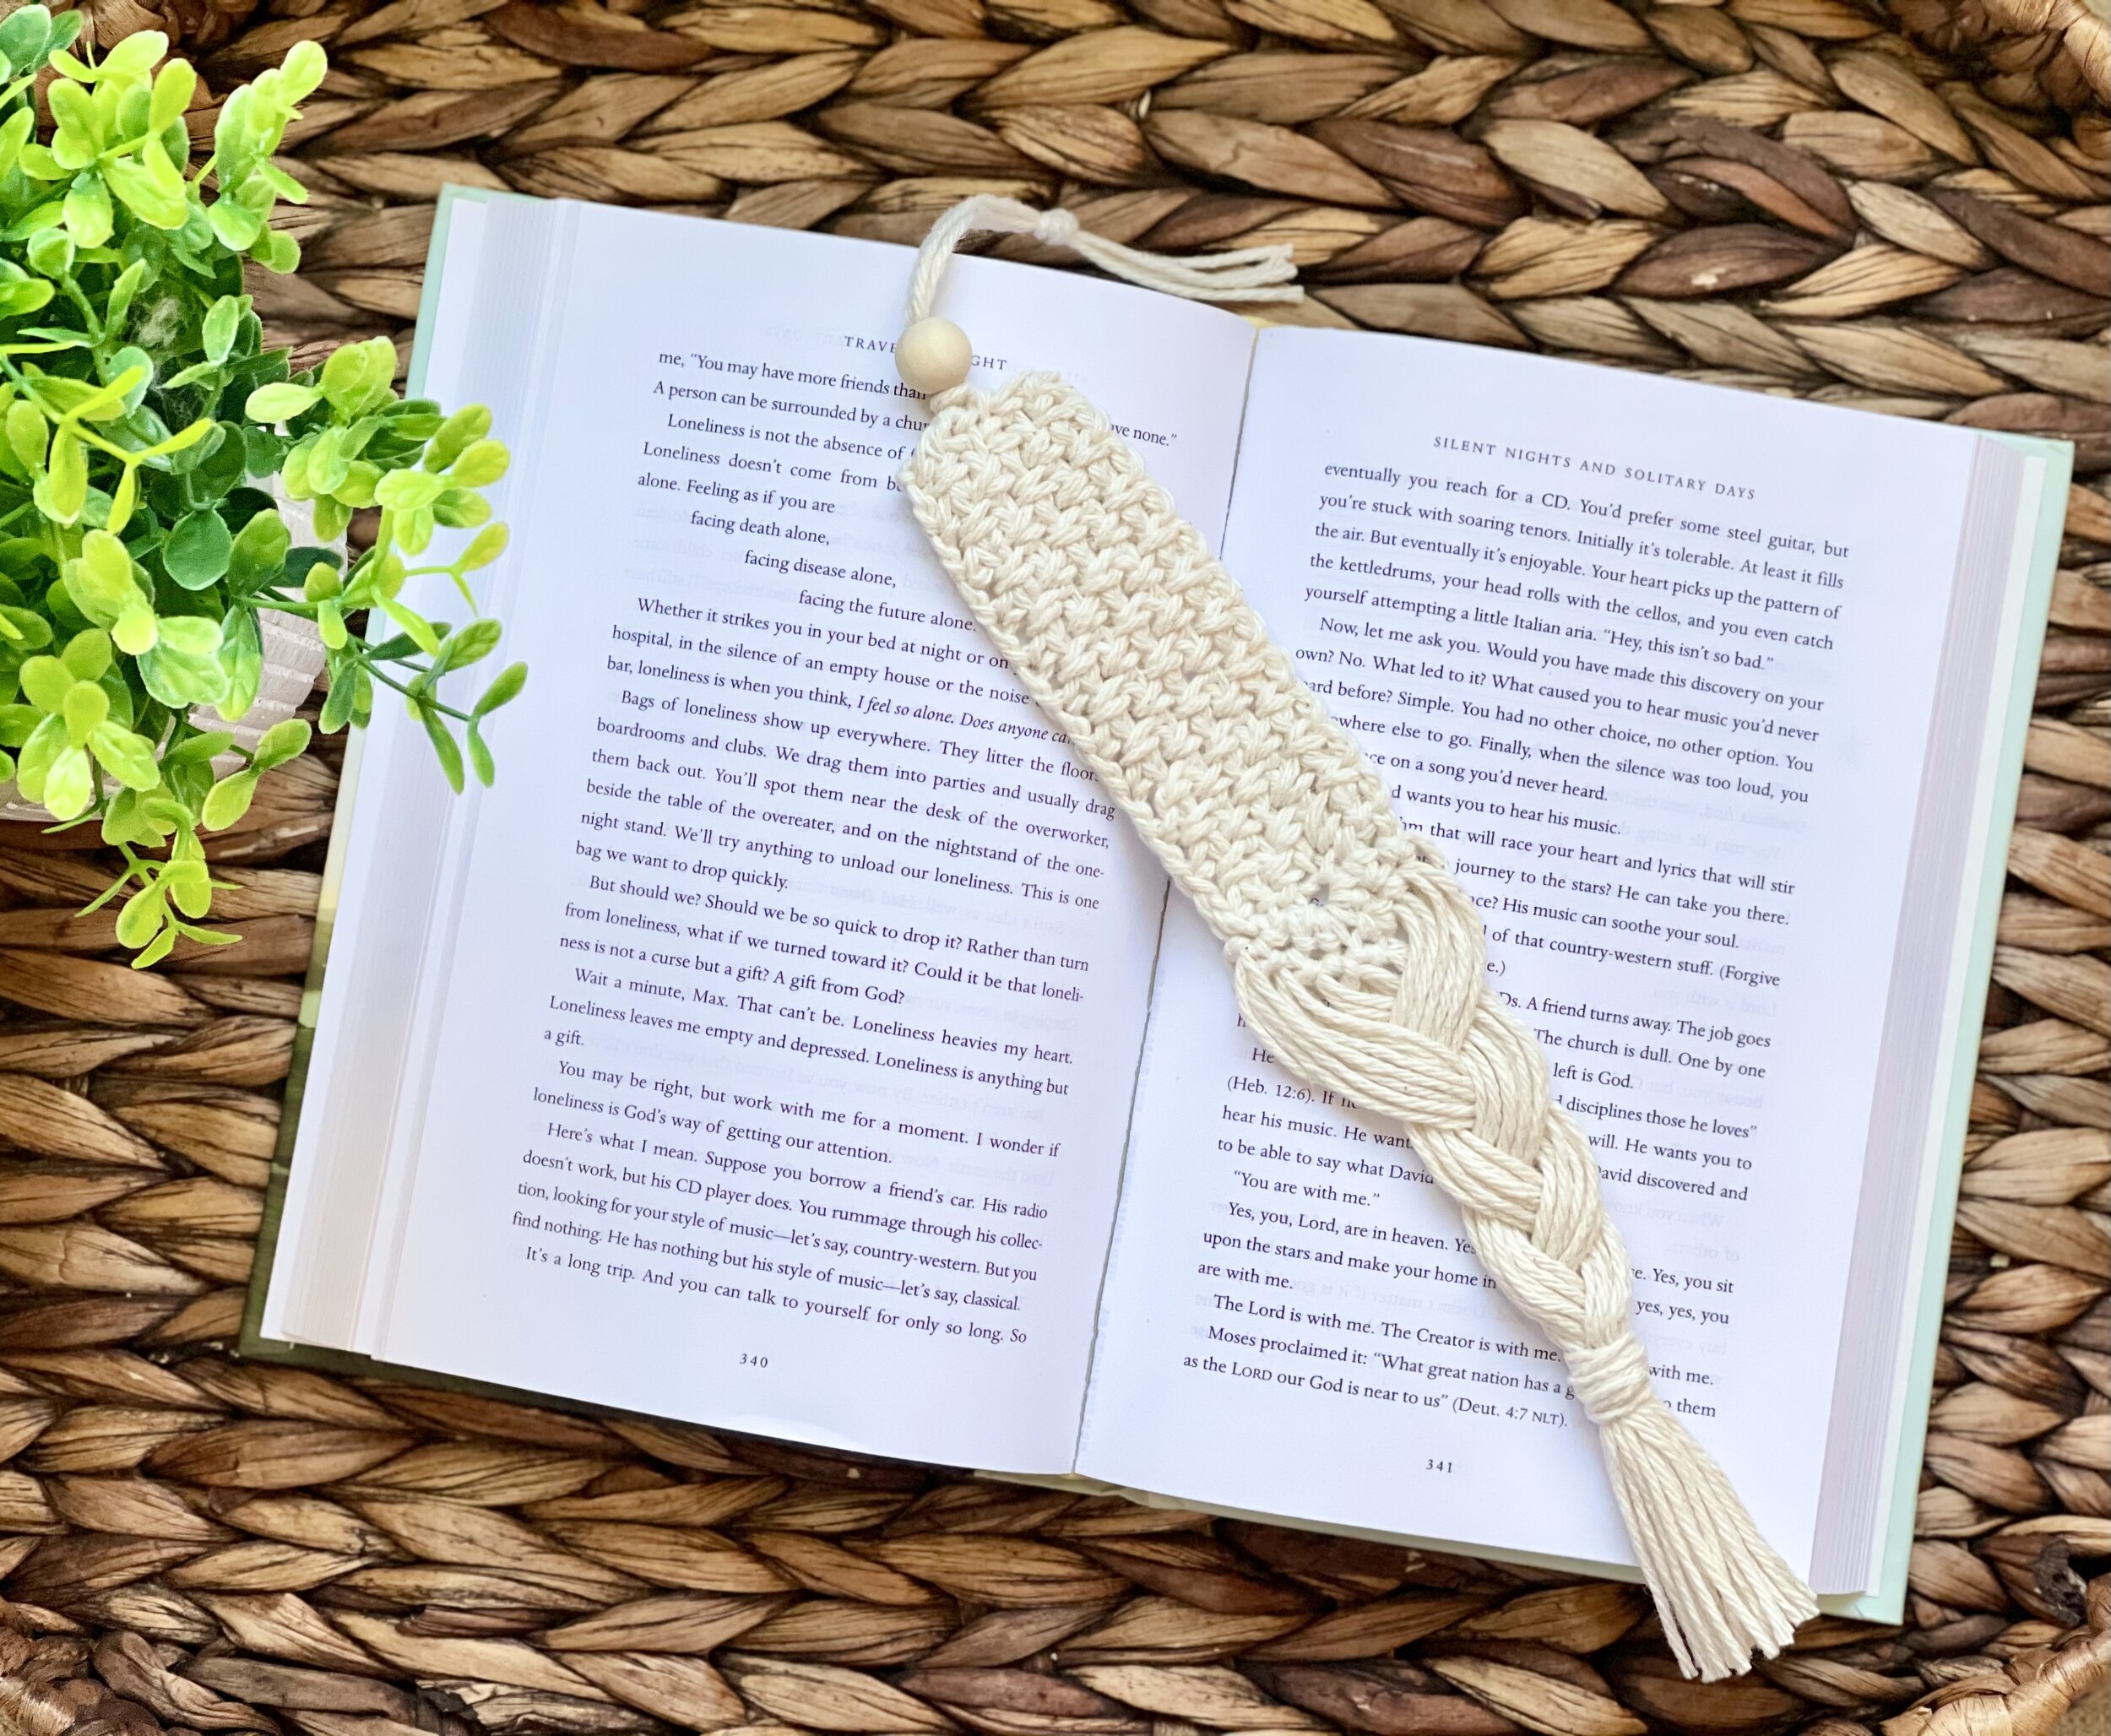
In my attempts to make the perfect bookmark, I tried 3 different styles. I honestly loved all 3 so much that I wrote the pattern so that you could choose which one you wanted to make with simple modifications. I was a bit partial to a shorter bookmark body with a longer braid. I just felt like it looked more balanced.

I really love the bookmark body a bit shorter with a longer braid. I still think it’s functional, but you may not like the way it closes as well.

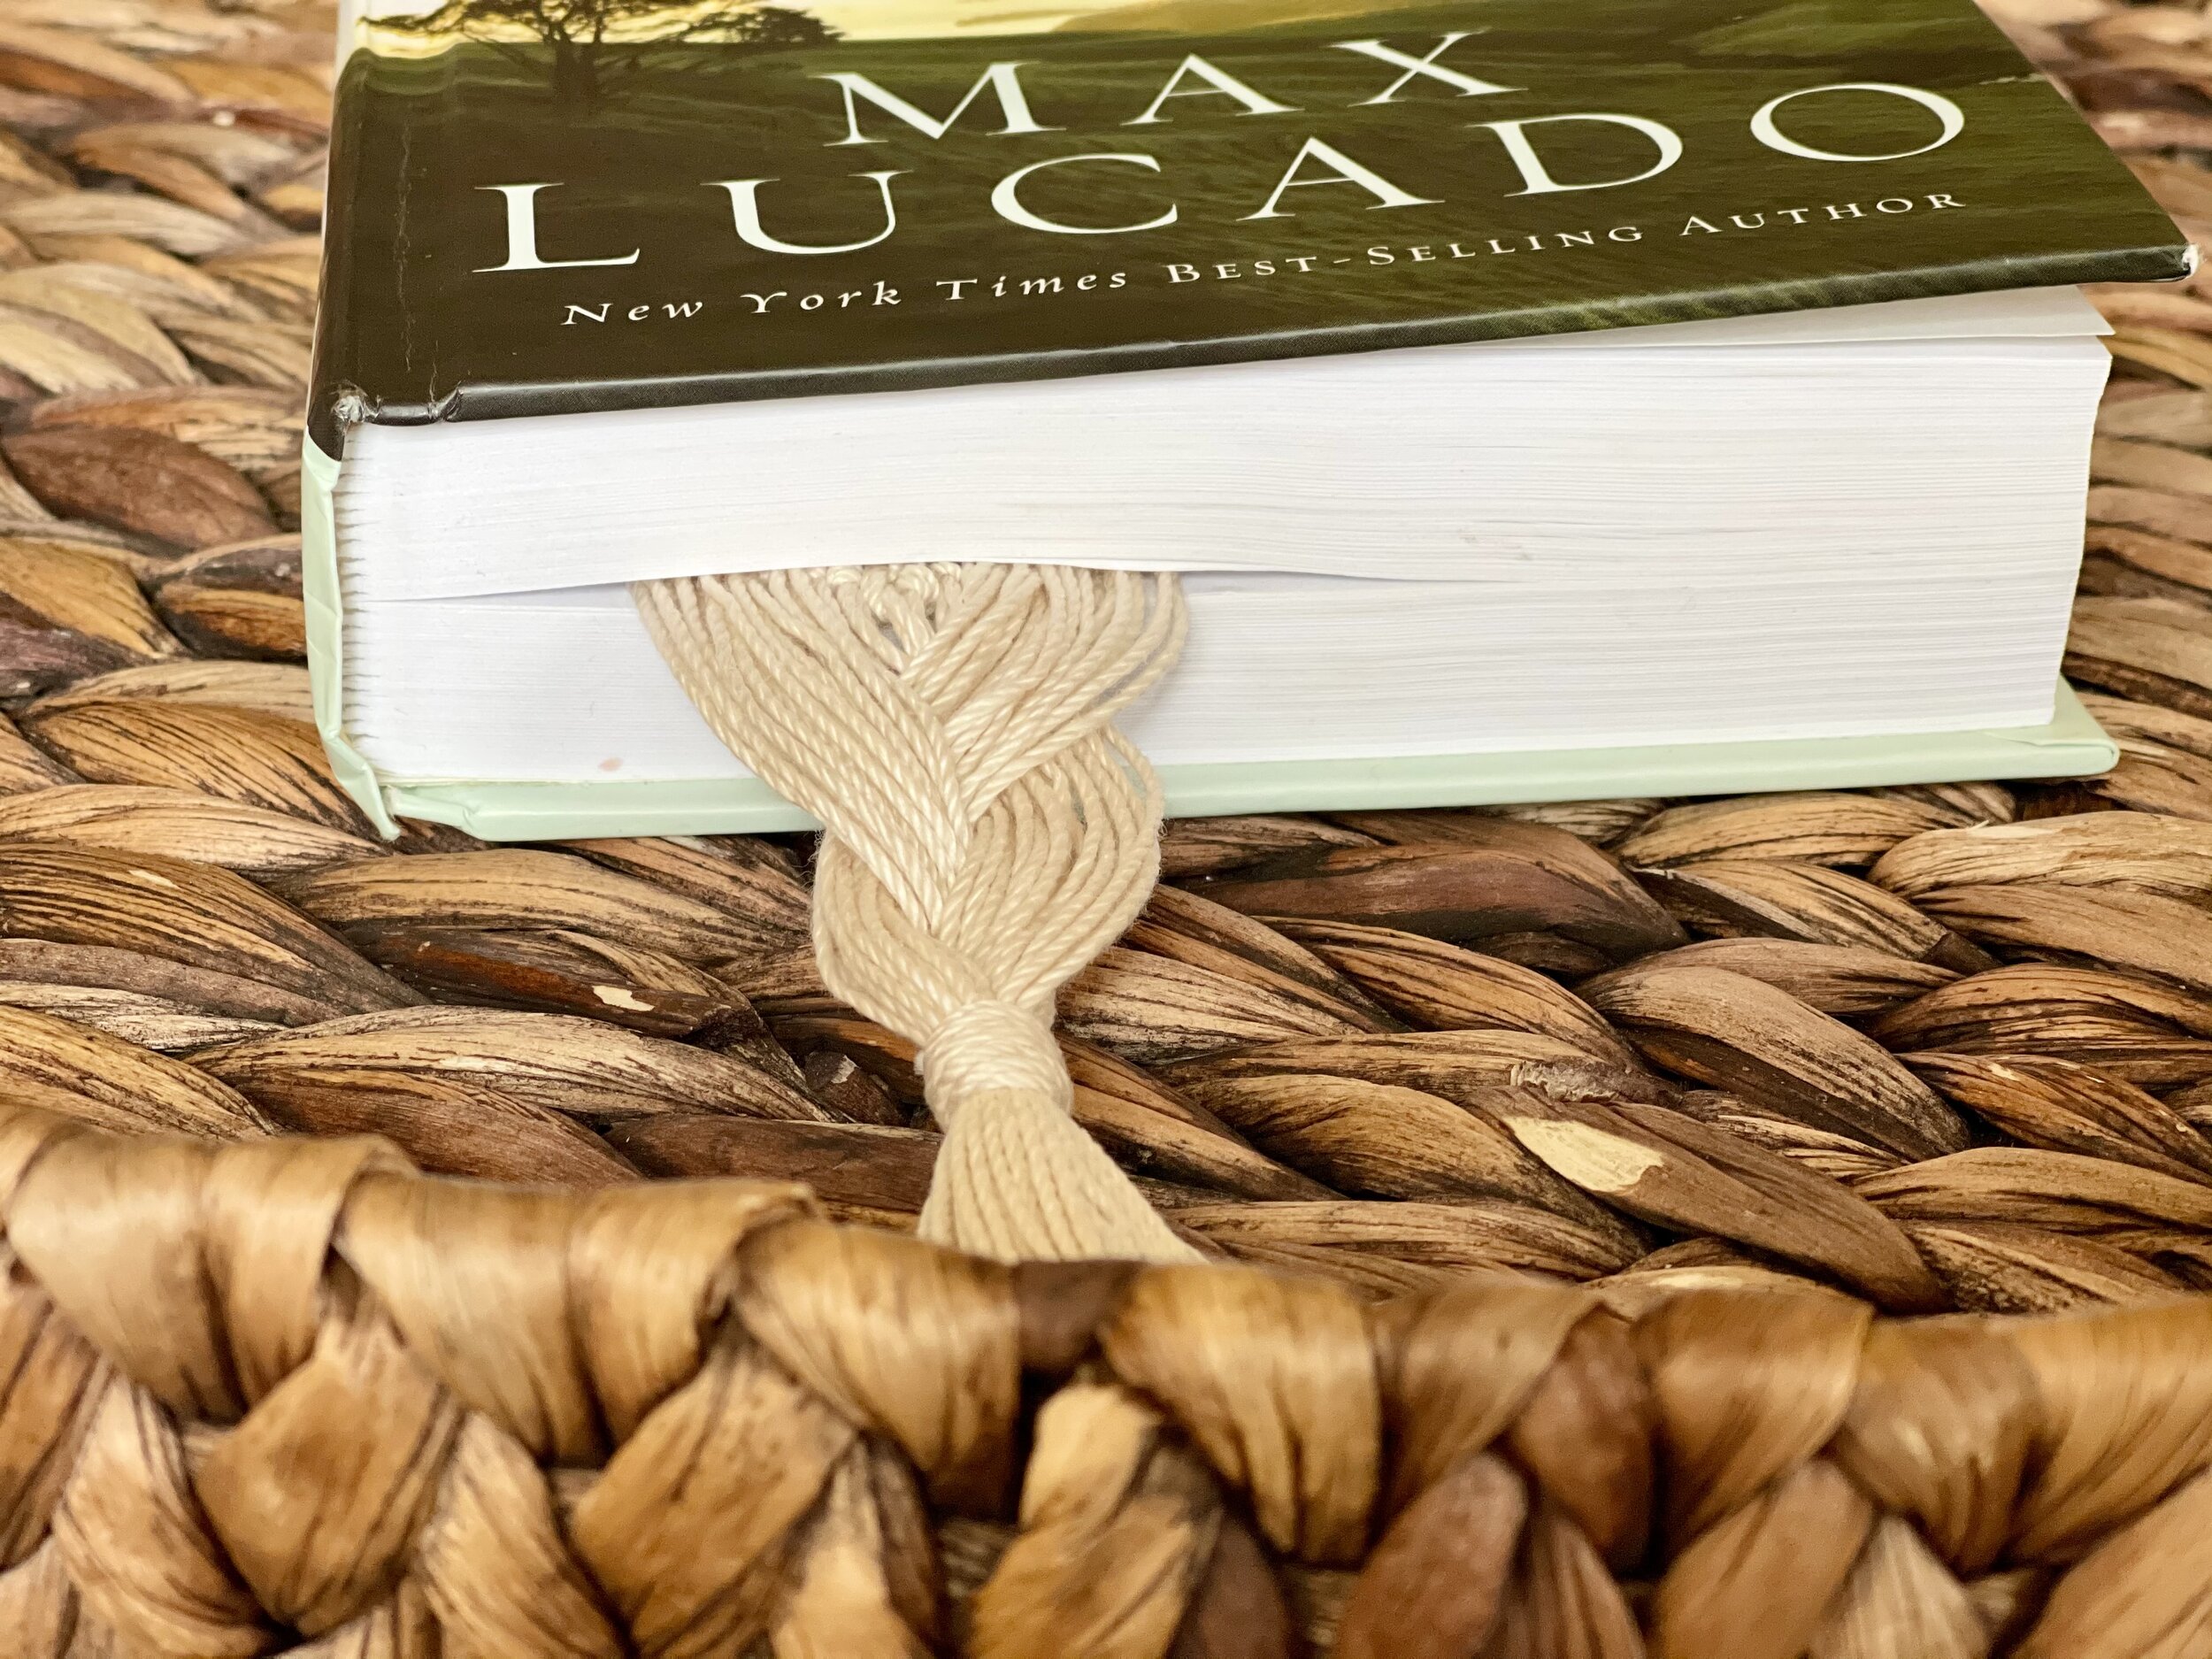
This is how the longer braid looks closed in the book. I do not think it will damage the binding of my books, but you may feel differently.
The body of the bookmarks is all the same stitch pattern, with a difference in size and stitch counts. The embellishments are as easy as making shorter vs longer fringe. And would it be my design if there weren’t beads, tassels, or fringe? LOL!

This was another attempt to make the bottom thin enough to close the book. I actually really love the simplicity of this design.

If you wanted to make the book close even better, I recommend making a thinner knot on the tassel tails or make the body of the bookmark long enough so that the tassel is mostly outside of the book itself.
Some of my testers really got creative with this design and I can’t wait to show you some of their modifications! One of my testers made these for her book-loving daughter who also loves unicorns. Isn’t it the cutest? I really love how she used brightly colored embroidery thread for the fringe and blingy beads! She also made this beautiful hot pink one. I just LOVE it!

Photo credit: Monica Holguin
Another tester of mine found some GORGEOUS thread in her stash that made some really beautiful bookmarks! The tangerine one is my favorite!

Photo credit: Joni Joyner
I also decided to add some letter beads to my bookmarks like I did my Braided Keychains (in case you missed that free pattern, you can find it here). I thought if you were gifting the bookmark, you could add the recipient’s initials or even their full name. I also like the idea of gifting it for Mother’s Day. (That’s just around the corner!) It would also be a lovely gift for a special teacher.

These metallic letter beads are perfect for these bookmarks. You can find them here.
I also wanted to show you how I packaged mine for a customer. I am including the printable bookmark template for you if you would like to use them as well. I added my logo to mine in Canva and I cut the areas out with an X-acto knife and a ruler. You can find the printable templates in different colors. For coral, click here. For black, click here. For hot pink, click here. For purple, click here.

Pictured is my template in the color coral.
Enough of my rambling! Let’s make it!
Supplies Needed:
-Approx. 30-40 yds of 100% mercerized cotton crochet thread size 3 (My favorite is Curio from WeCrochet. They have the most gorgeous color selections and the quality is the best I have ever seen)
-2.5 mm hook or size needed to obtain gauge
-Metallic letter beads (optional)
-piece of cardboard, 5” (7”) wide
-Scissors, tape measure, clipboard or blocking mat (optional)
-Stay-flo liquid starch (Optional. For stiffening your bookmark). You could also use Aileen’s Fabric Stiffener if you did not want a huge jug of starch.
Terminology and Abbreviations Used:
Pattern is written in US terminology.
Chain(s) - ch(s)
Fasten Off – FO
Repeat - rep
Single Crochet - sc
Skip - sk
Slip Stitch - sl st
Space(s) - sp(s)
Stitch(es) - st(s)
Gauge:
30 sts and 28 rows of Linen st pattern = 4”
Finished Measurements:
Body of bookmarks are 1.5” wide and 4.75” (7”) long. Fringe is 4”-5” in length, depending on the style you make.
Pattern Notes:
The body of the bookmark is made the same way regardless of which style you choose to make. The main difference will be your foundation ch/st counts per row. The shorter style will be listed first with the longer style listed in parentheses.
If you choose to improvise the pattern, you will want to make your foundation ch in multiples of 2 until your desired bookmark body length is reached. Then you will need to have an odd number of rows regardless of how many rows you make so that you know where to add the “point” when you are making the last row at the bottom of the bookmark. For example, I have 9 rows in my bookmarks so that the “middle st” is row 5, with 4 rows on each side.
Instructions:
Row 1: Ch 32 (50). Sc in the 2nd ch from your hook, * ch 1, sk next st, sc in next st; rep from * across. [16 sc and ch-1 sps, (25 sc and ch-1 sps)]
Row 2: Loosely ch 1 (you will be working your last st into it in the next row), turn, sk first st, sc in next ch sp, * ch 1, sk next st, sc in next ch sp; rep from * to end, making sure your last st is in the turning ch from the row before and NOT in the last sc below. Be sure to count your sts, as it is easy to decrease in this st pattern. [16 sc and ch-1 sps, (25 sc and ch-1 sps)]
Rows 3-9: Rep row 2.
Add point detail
Ch 1 and turn so that you are working along the bottom of the rows. Sc in first 4 rows, {2sc, ch1 2sc} in 5th row, sc in last 4 rows. Make an invisible join with last row and FO, weaving in your tails. [12 sc, 1 ch-1 sp]
Block your piece
This part is optional, but I do highly recommend it. I noticed that the bookmark body curls up on the corners when you do not follow this step. My method allows the bookmark to hold its shape but not be rock hard. I have a full video tutorial on my process for this and you can find it here:
1) Mix 1 part water to 3 parts Stay-flo solution in a shallow bowl or measuring glass.
2) Completely submerge your bookmark body in the solution until it is thoroughly soaked and gently ring it out.
3) Lay your piece flat on your blocking mat and shape it, pinning it in place.
4) Allow to dry completely before moving on. NOTE: I utilize a hair dryer on medium heat to speed up the drying process.
Make your fringe
Fringe instructions will vary based on style, so I will break it up for you so there is no confusion. I have found the use of a clipboard to help when braiding the fringe. You could also pin the body to a blocking mat. NOTE: I use the Gathering Knot in my YouTube video. It is a game changer! You can find it here.
Tassel Bottom
Tassel Bottom
For this style, use the 7” cardboard and wrap it 13 times. Tie a strand per st of the point detail, making sure you don’t omit the ch-1 sp. (You do not want to knot the strands, only tie once.) Gently comb the fringe to straighten the strands. Cut a length of yarn double strands held together approx. 12” long and use a Gathering Knot to wrap around the tails. Cut ends evenly.

Long Braided Bottom
Long Braided Bottom
For this style, use the 7” cardboard and wrap it 26 times. Tie 2 strands per st of the point detail, making sure you don’t omit the ch-1 sp. (You do not want to knot the strands, only tie once.) Gently comb the fringe to straighten the strands. Separate the bottom into 3 even pieces and gently braid 3 times. Cut a length of yarn double strands held together approx. 12” long and use a Gathering Knot to wrap around the tails. Cut ends evenly.

Short Braided Bottom
Short Braided Bottom
For this style, use the 5” cardboard and wrap it 26 times. Tie 2 strands per st of the point detail, making sure you don’t omit the ch-1 sp. (You do not want to knot the strands, only tie once.) Gently comb the fringe to straighten the strands. Separate the bottom into 3 even pieces and gently braid 2 times. Cut a length of yarn double strands held together approx. 12” long and use a Gathering Knot to wrap around the tails. Cut ends evenly.
Add the beaded detail
Cut 2 pieces of yarn approx. 12” in length. Using the larks knot, attach double strands to the top of the bookmark in the middle row. Thread ends onto a yarn needle and add your 14 mm bead. Knot strands upon themselves about 1” from the end so the bead doesn’t fall off. Trim ends evenly.
Your Braided Bookmark is complete! I would love to see your finished work! If you want to tag me on IG, I’m @dayscrochetnc. You could also follow the hashtag #braidedbookmark to see what others are making. I can’t wait to see your projects! If you would like to see other versions that I will be making after this publication, be sure to check me out on IG!
Please note that you do not have my permission to sell, share, copy, or duplicate this pattern or my photos in any way. Please do not use this pattern for a video, blog, or class tutorial. Thank you so much for following these simple rules! Please message me on Facebook or send me an email at dayscrochetnc@gmail.com with any questions.

Come join my Facebook group, Crochet for Days! We have a lot of fun and I often offer discounts and coupon codes to my members that I don’t offer anywhere else! Request to join and answer the questions by following this link.
Which style is your favorite? Let me know in the comments!
Happy hooking!
~Dana