
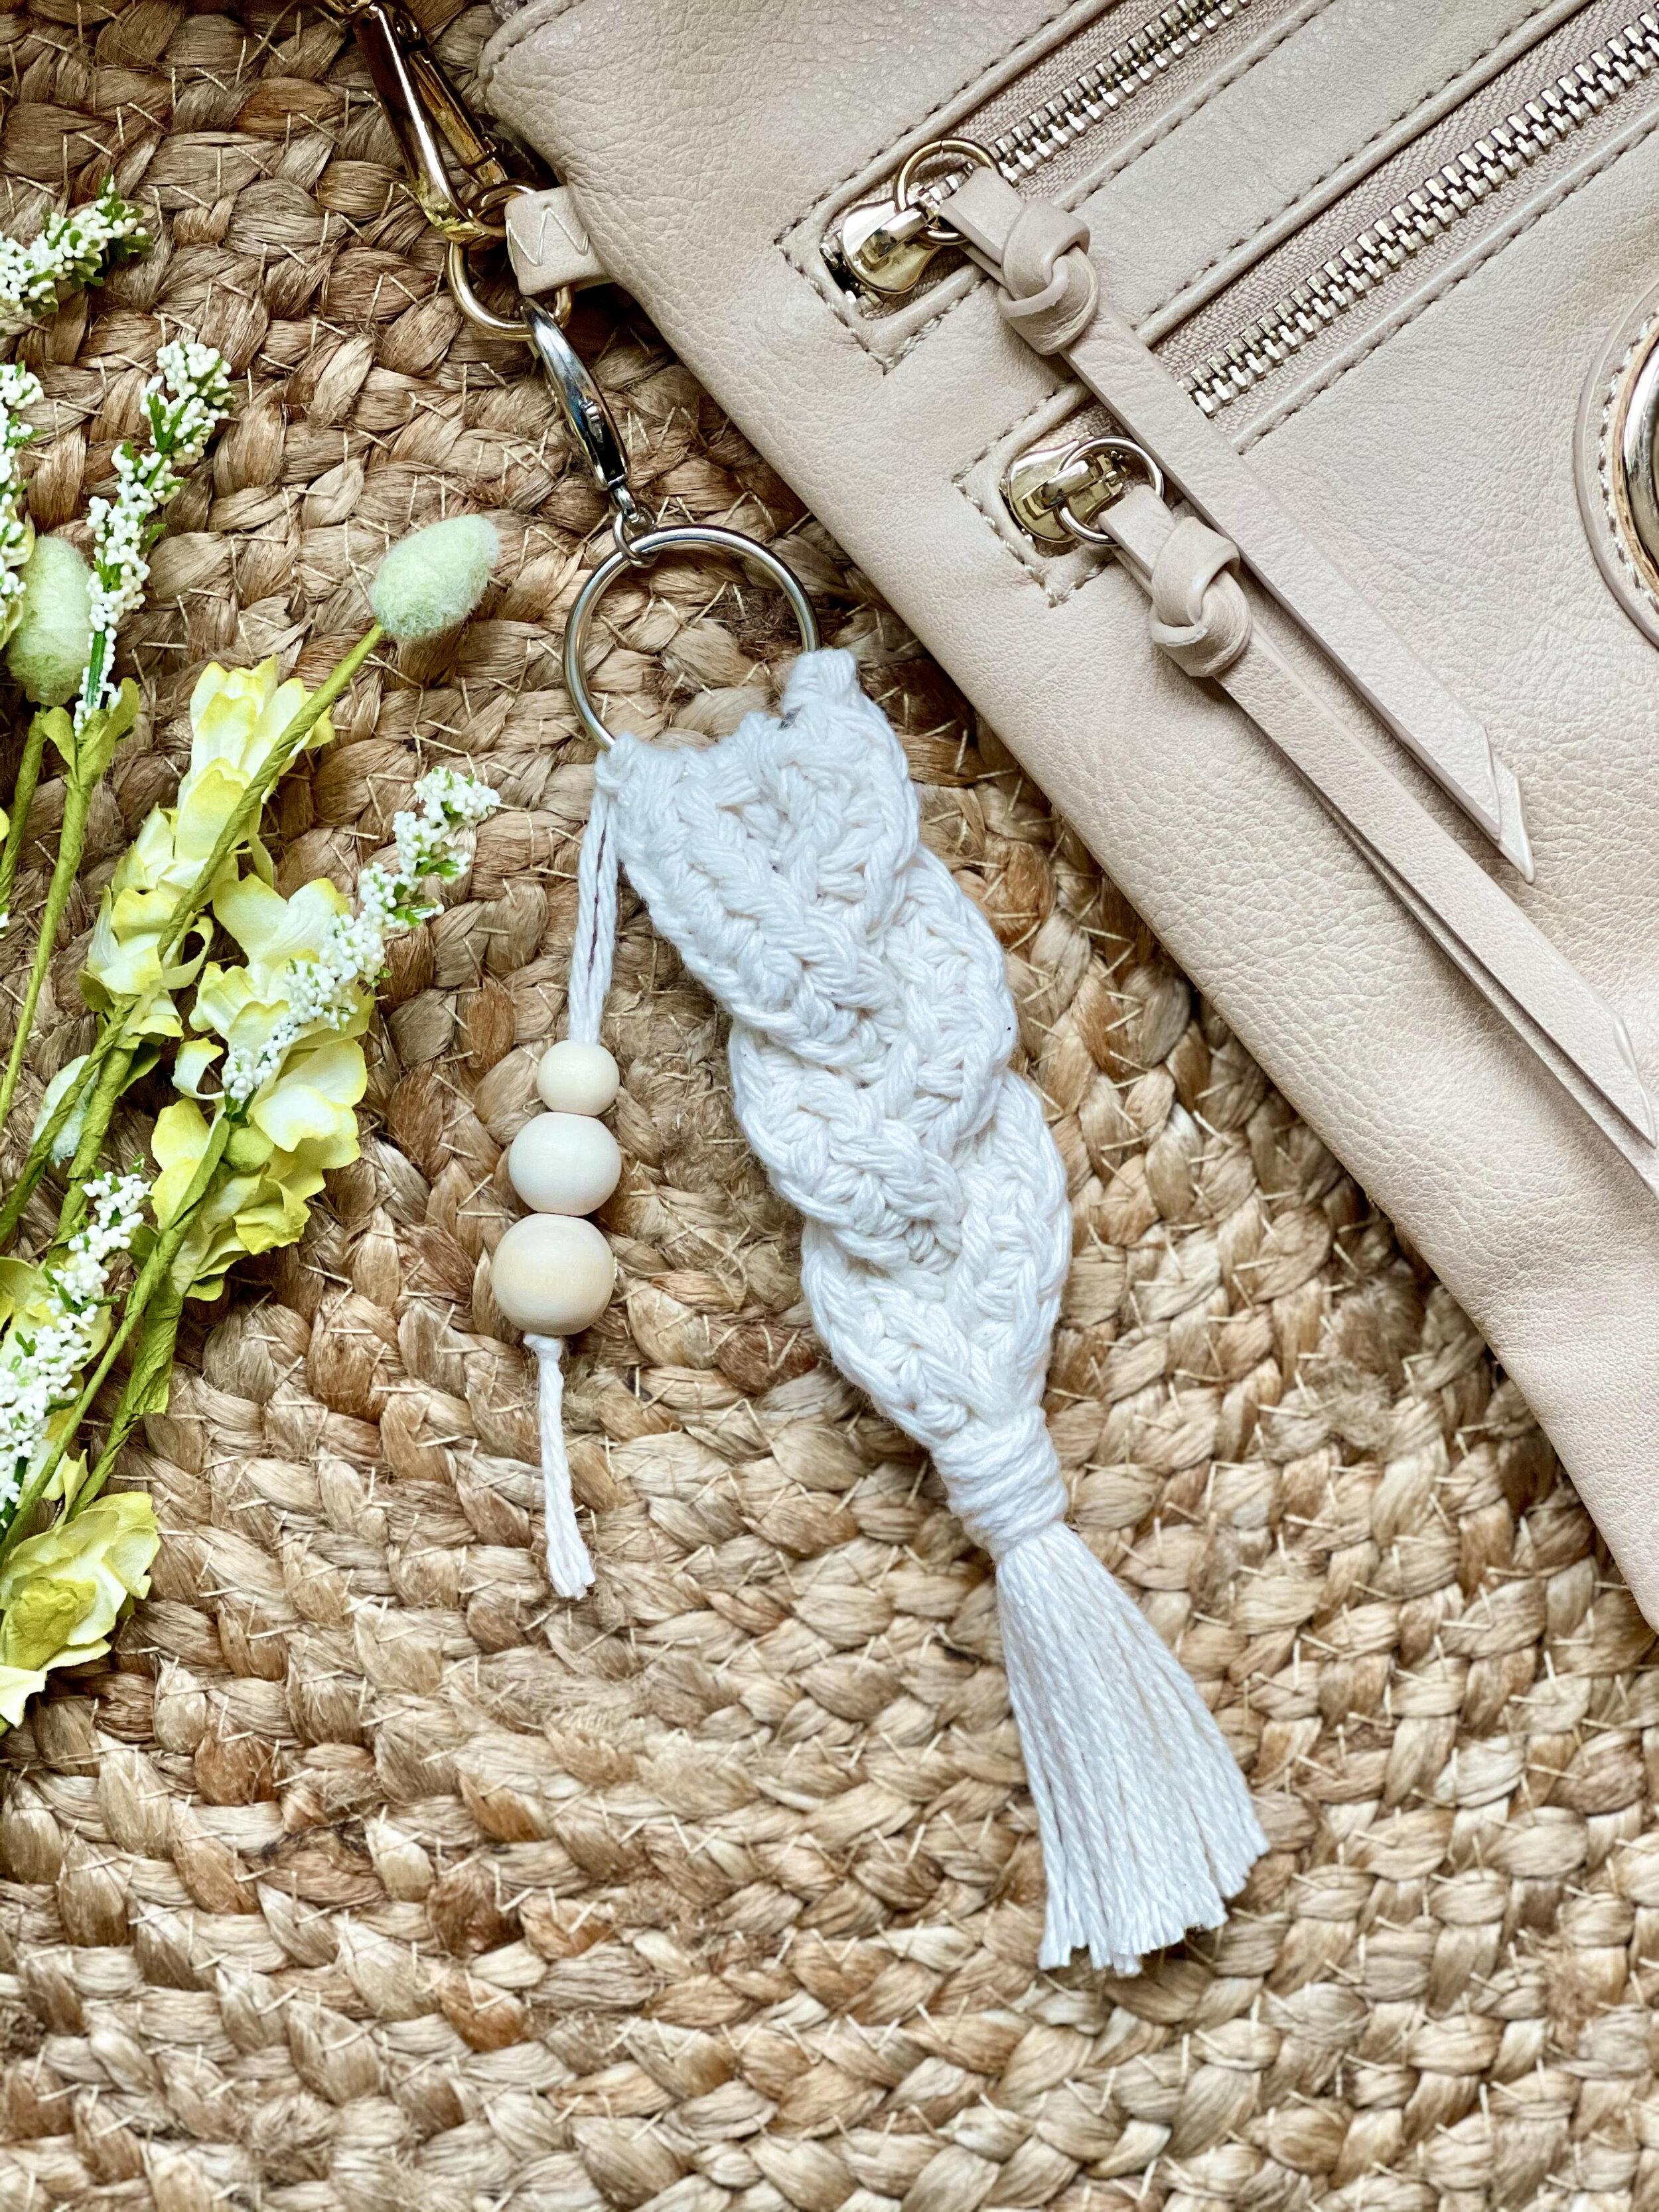
Easy Crochet Keychain~Faux Macrame!
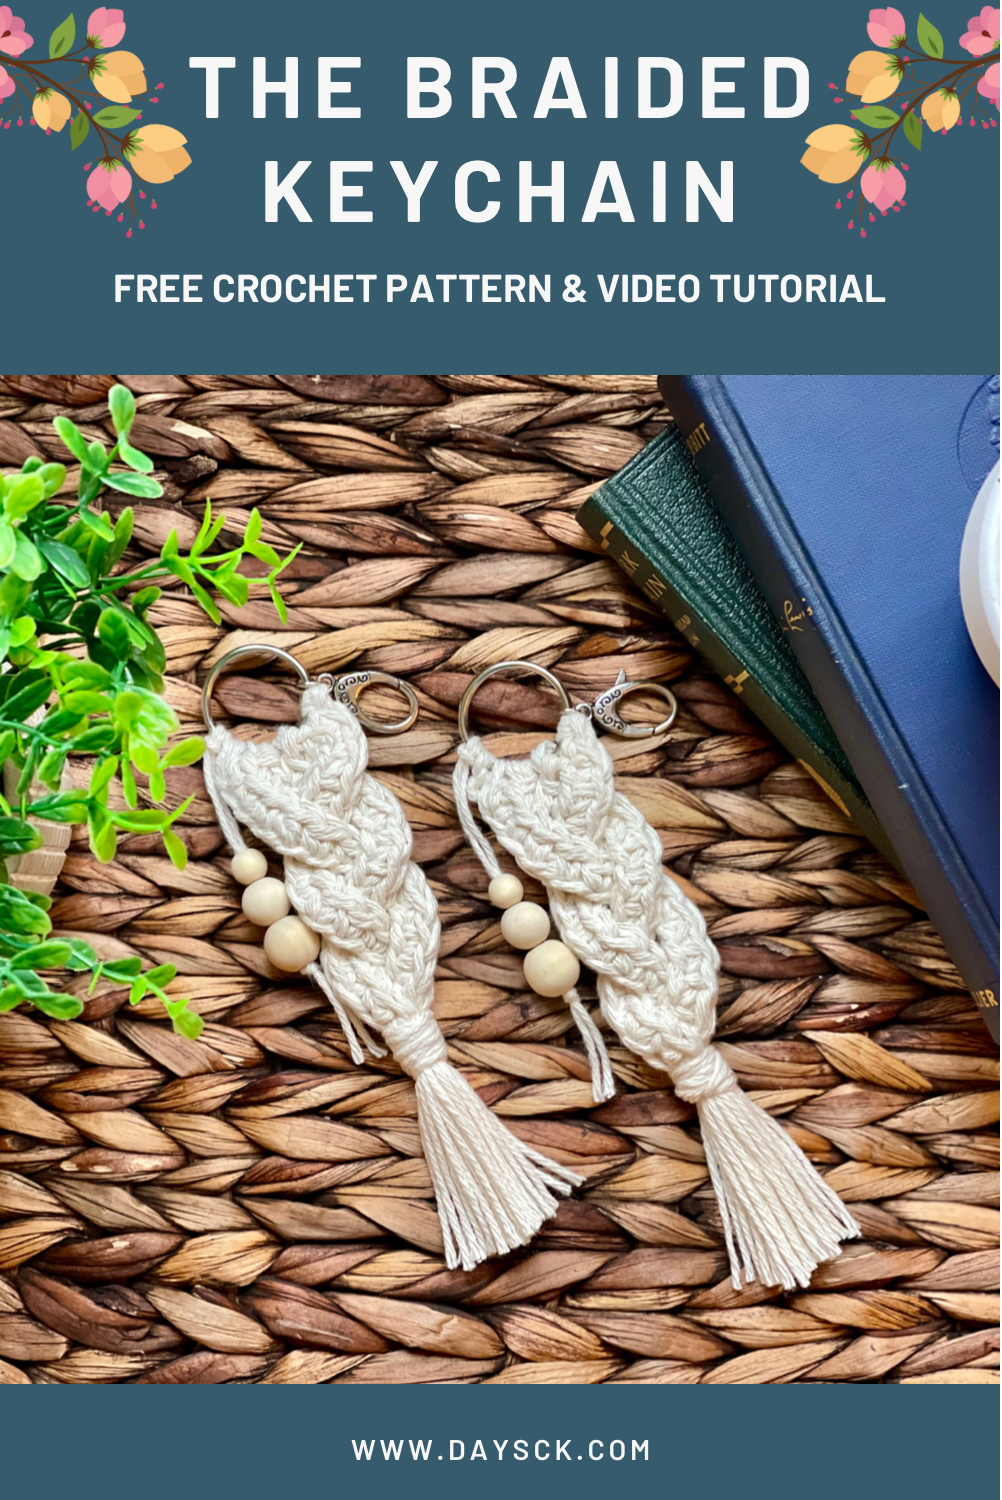
I decided to try and use the braided concept I used for my Macrochet Mini Planters to make an adorable little keychain, and I think they came out really cute!
They look like macramé knots but they are simple single crochet stitches.
They take very little by way of supplies and are SUPER fast to make. They would make a great little vendor market item for people who like to support your small business but may not want to spend more than $5-$10.
They would also make a great add-on item as a way to say ‘thank you’ to a good customer who shops frequently with you, or to throw in the bag when someone spends a large amount at your booth.
They would be really cute to give to a teacher for a gift, or to a trendy teen that just got their driver’s license or a car.
They would also be a fun birthday gift or really just ANY gift!
I added some beads to the side to add a little pizzazz, but you could add something else if you like. You could even add some beads with letters on the side for the recipient’s initials. How cute would that be?!
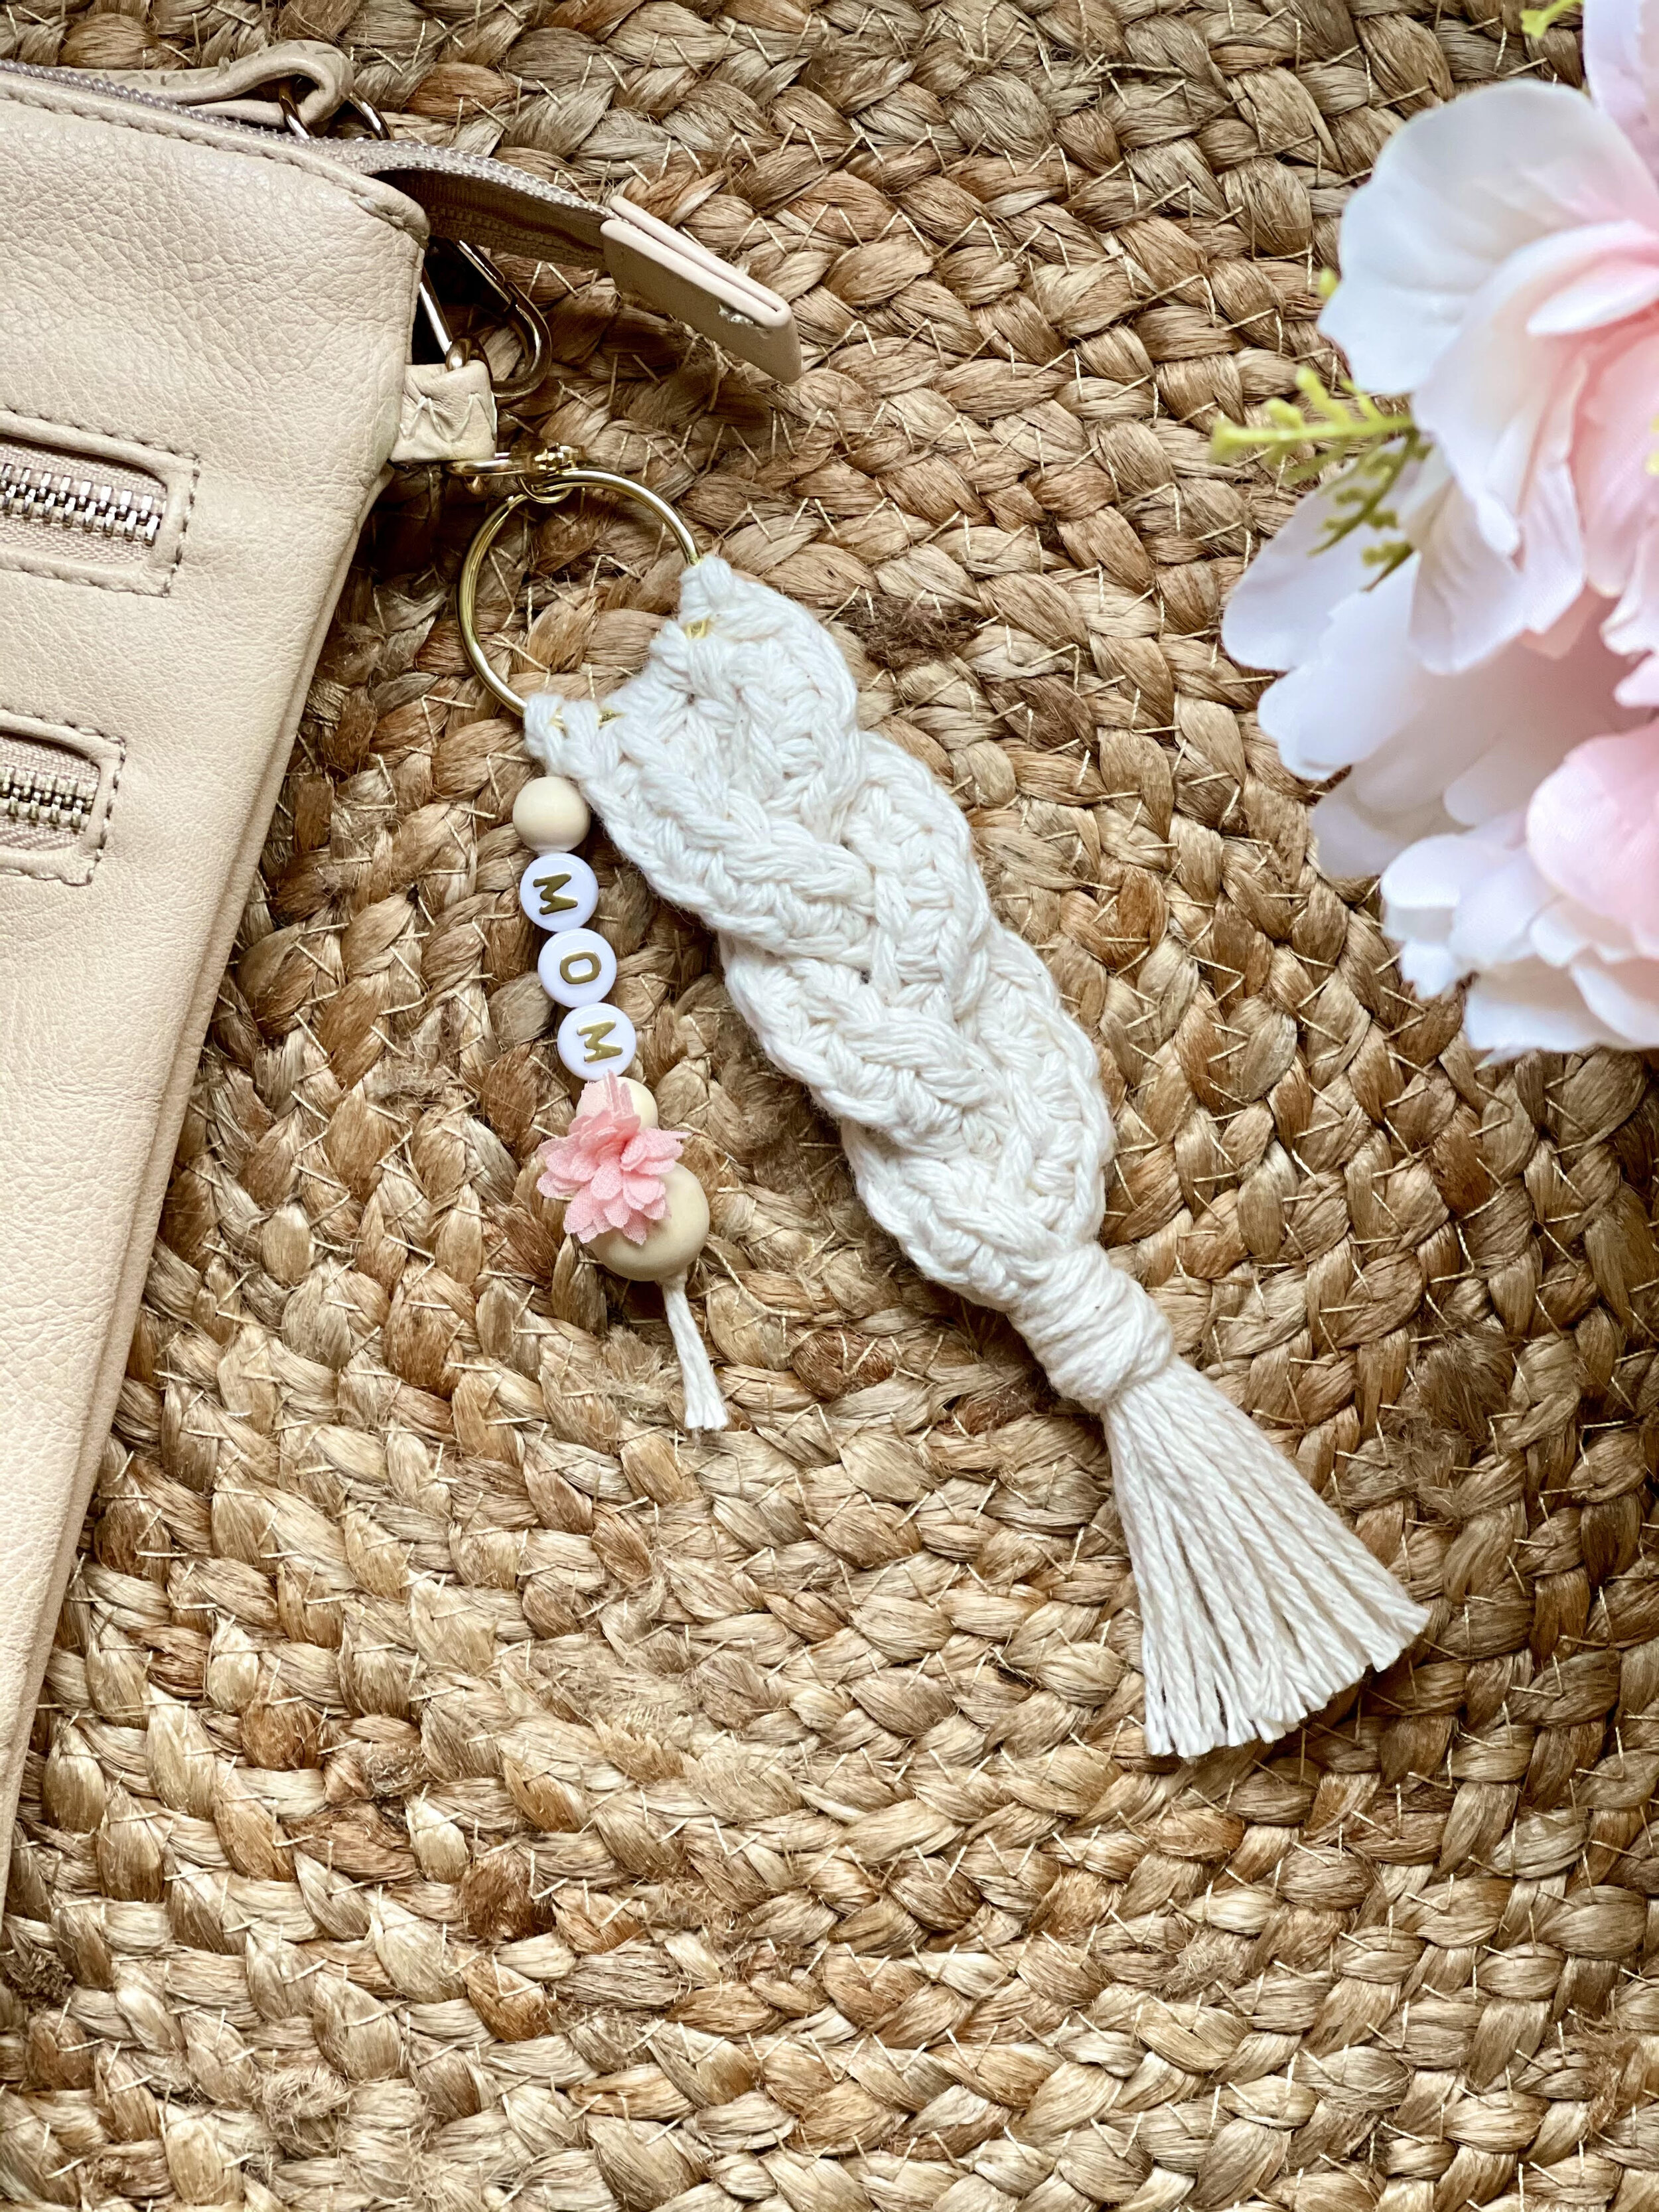
This would be adorable for a handmade Mother’s Day gift! I got the letter bead assortment and the flower charm from Walmart in the craft section. (I link the letter beads below but I could not find the bead assortment to link for you.)

I will warn you that adding beads to these keychains may make a new craft addiction for you LOL! It is so much fun mixing and matching beads. A tip for those of you who may want to add beads with smaller holes is to sub Monofilament Illusion Cord (basically a non-stretchy clear beading cord) for the side embellishment instead of using yarn. You can find the illusion cord here:

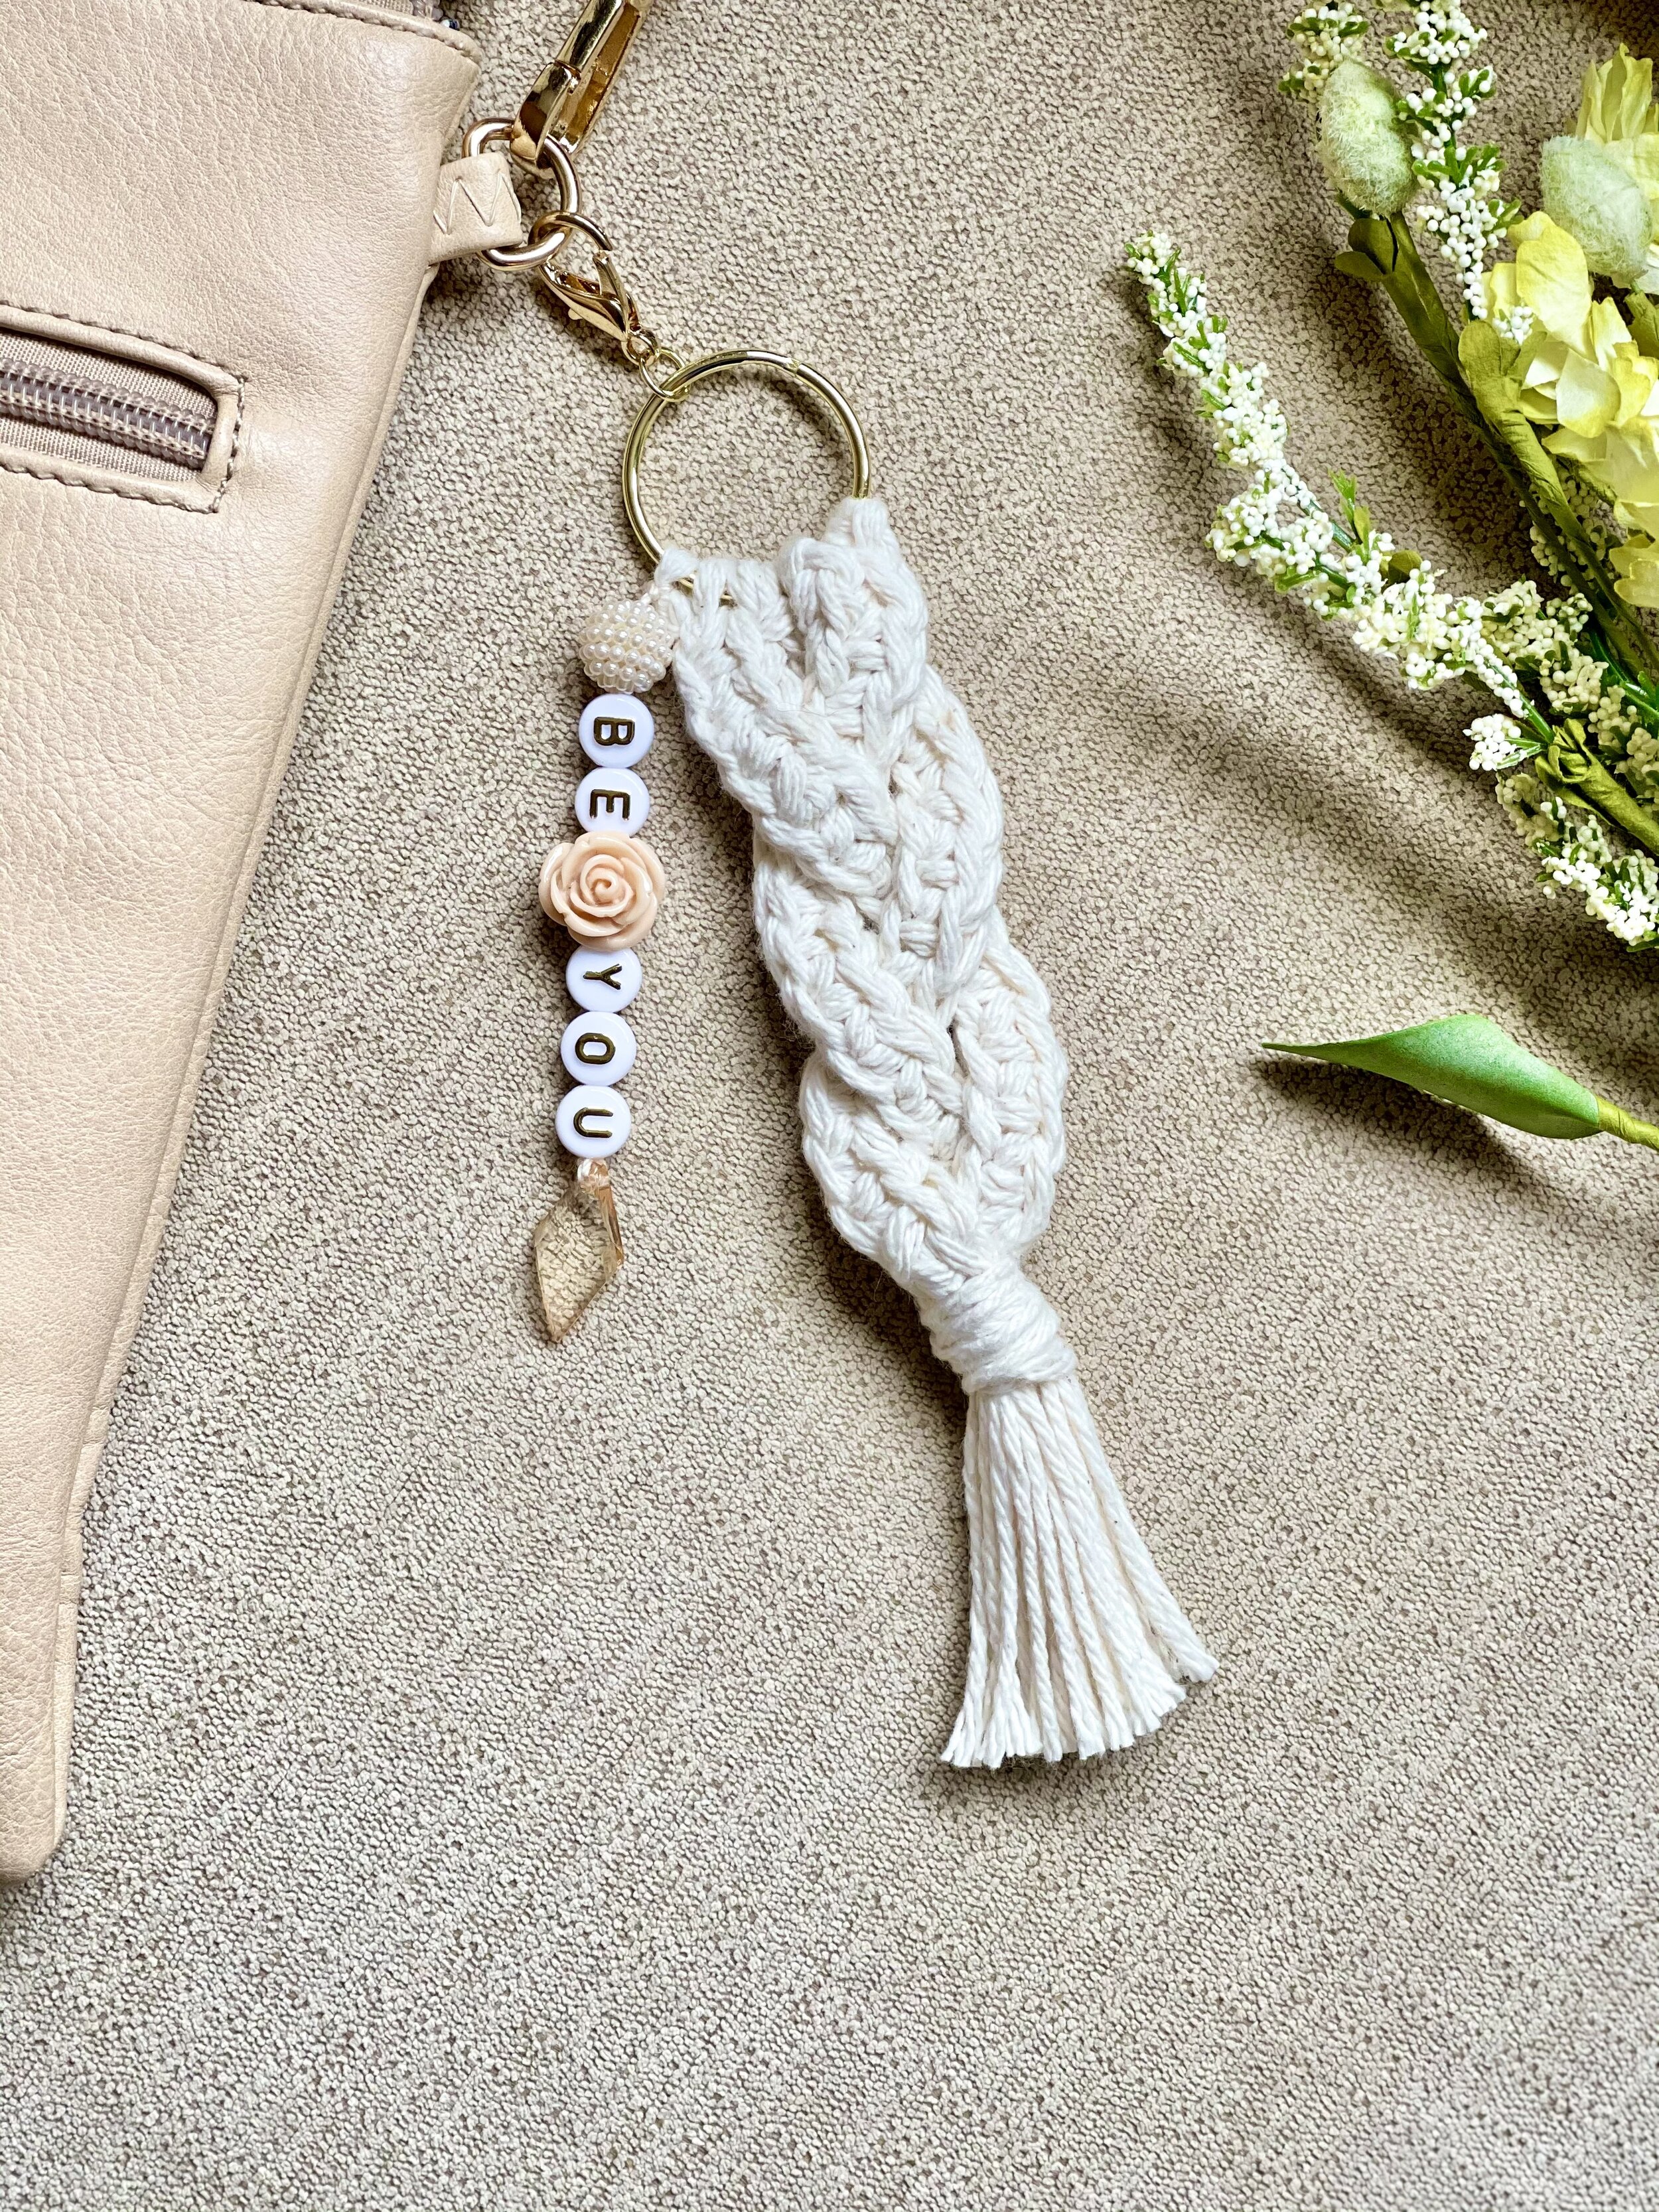
If you plan to sell these, another option would be generic sayings spelled out on the embellishment, like:
Hustle
Rise Up
Love
Faith
Hope
Choose Joy
Dream
Believe
Blessed
Be You
Love You
MRS
Boss Babe
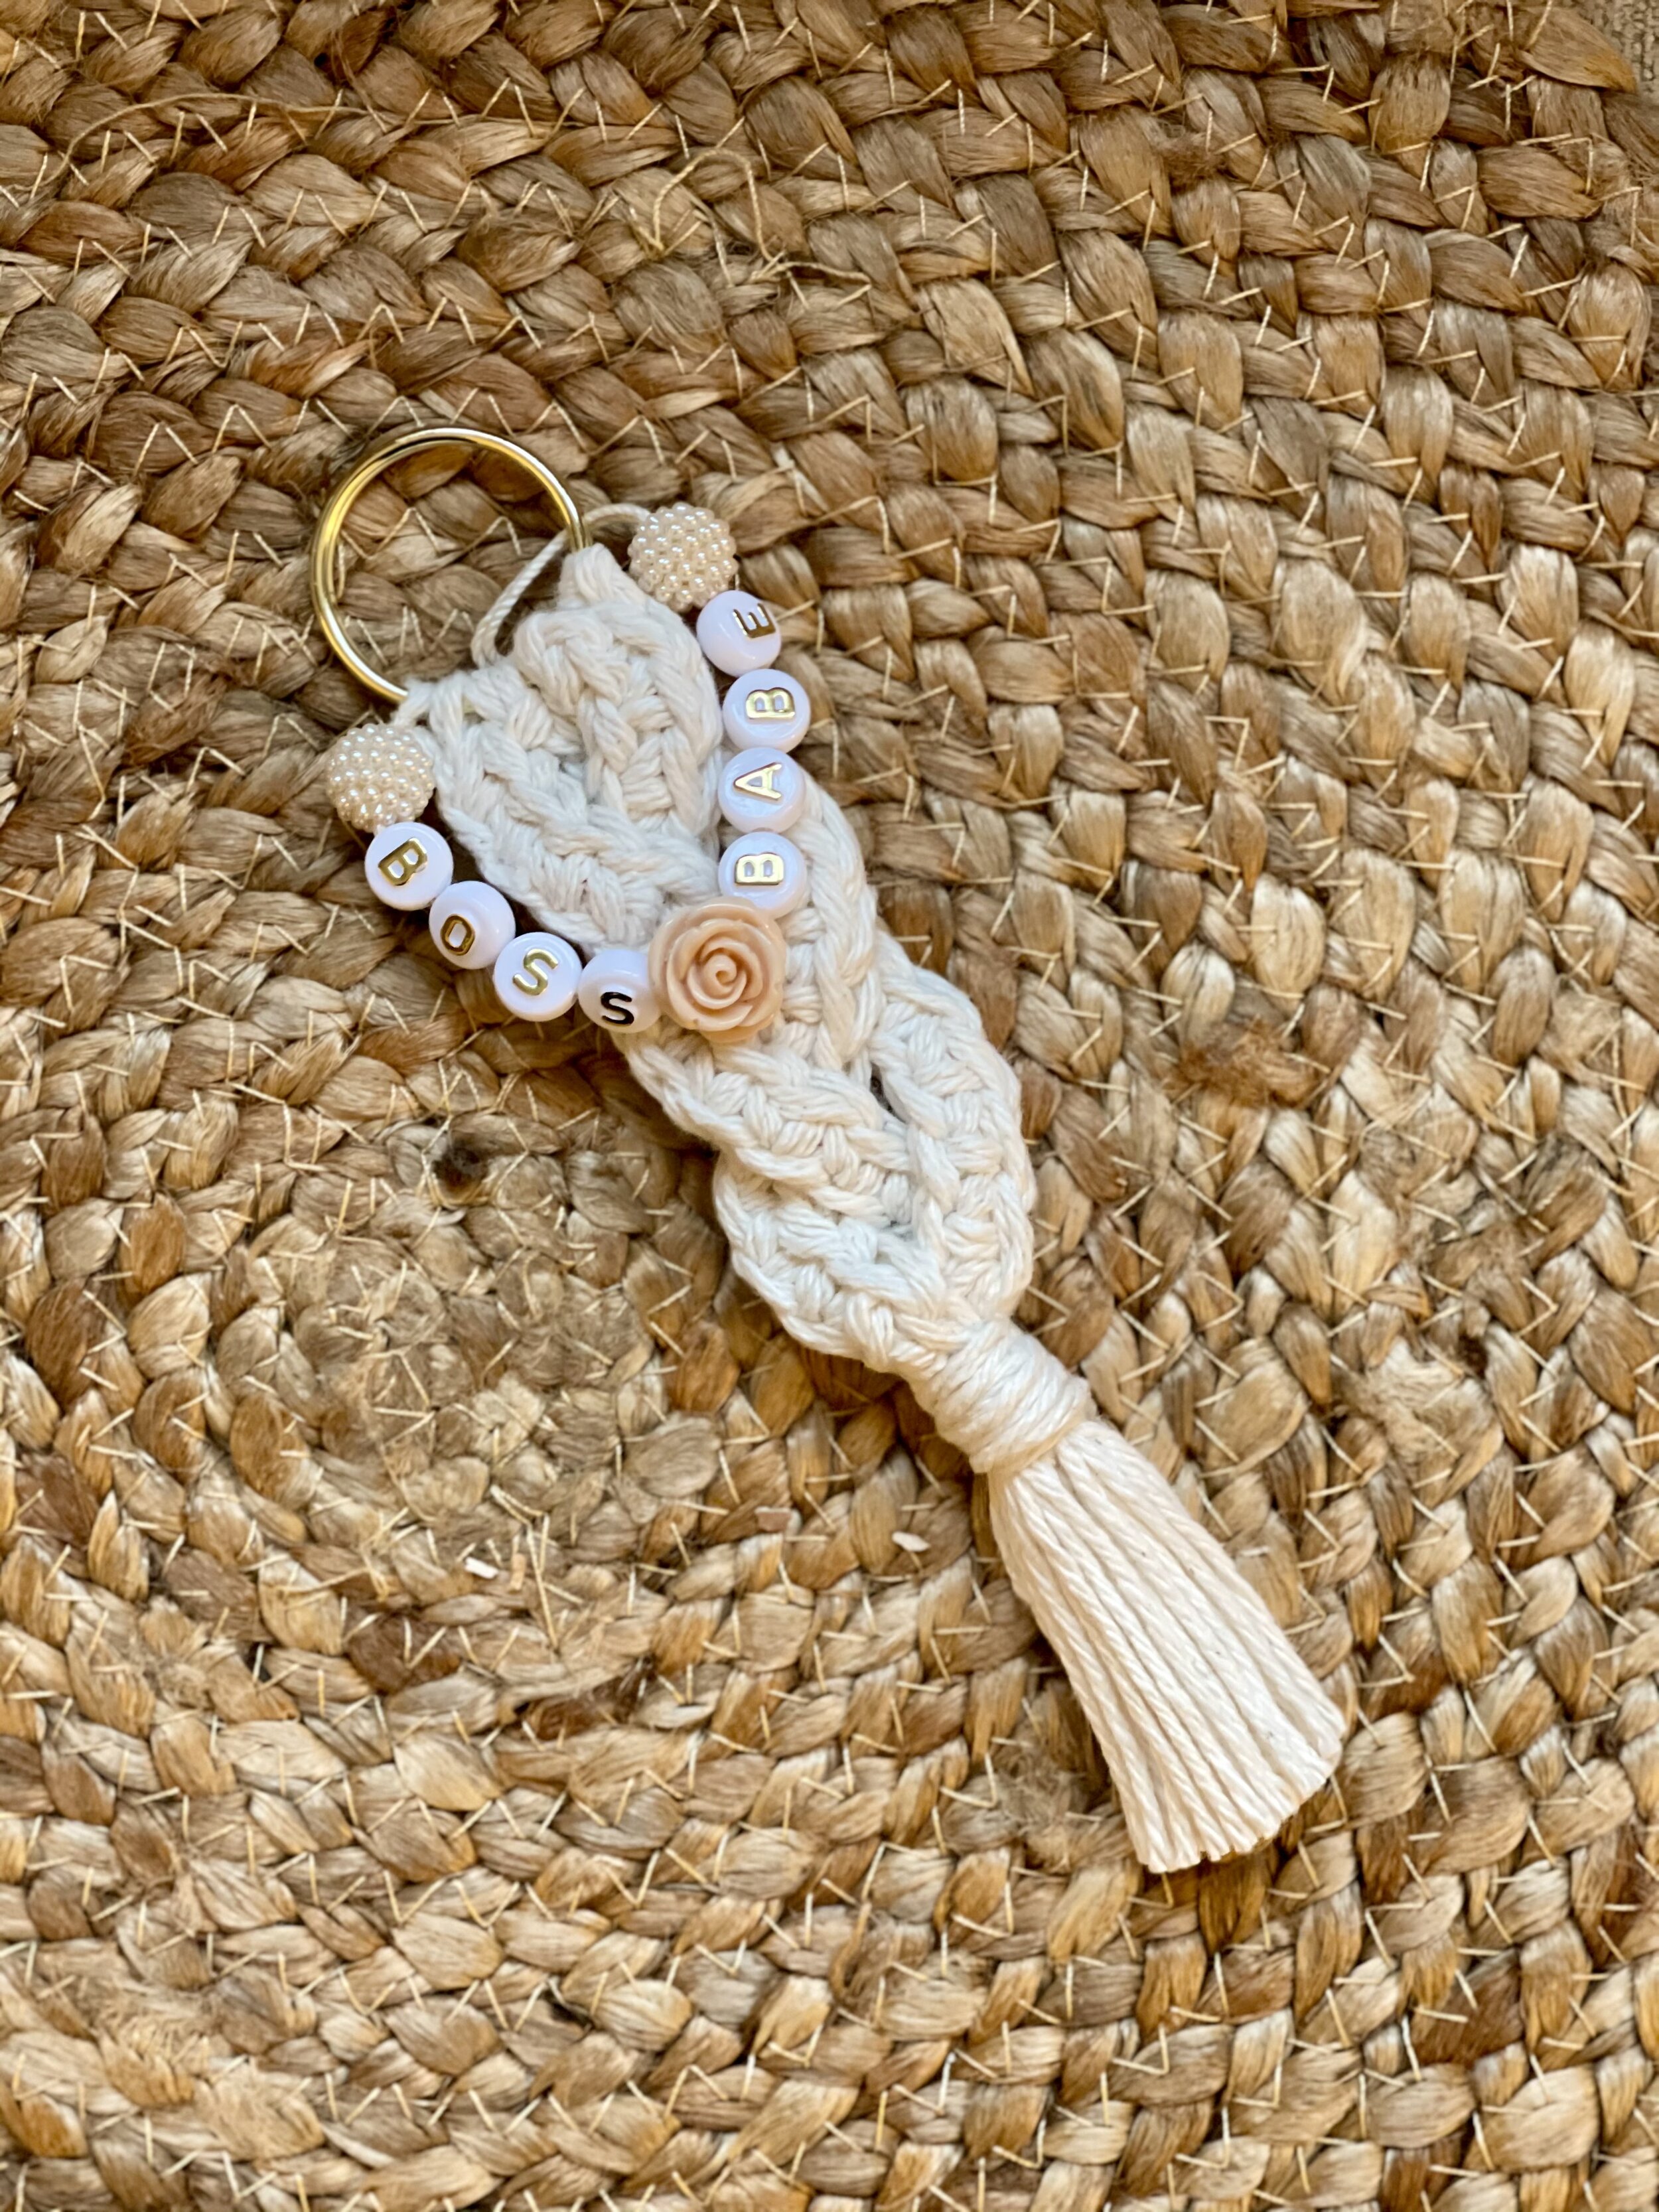
This one was a bit long, so I draped it across the top like a swag. I couldn’t decide if I liked it or not, so I didn’t finish it, but I included this photo to give you ideas of what you could do if the saying is a bit longer.
You could possibly even use this same braided concept to make a pacifier clip or to attach to your pull chain for your ceiling fan. I can’t wait to see what you come up with!
Let’s make it!
Supplies Needed:
- Approx. 20-30 yards of size 4 worsted weight cotton yarn, double strands held together (so technically 40-60 yards). (I love to use Dishie yarn from Knitpicks because of all the beautiful color selections, but I have also used the Peaches & Cream from Walmart)
- 1 keychain ring approx. 1.25” in diameter
- 1 30 mm lobster clasp with connector ring (you may also need some round nose and flat nosed pliers for this project if you can’t find these items already put together), or you can buy the keychain combos already put together here
- 3 wooden beads of varying size (Optional. I used 10 mm, 14 mm, and 16 mm)
-Metallic white and gold beads with letters (Optional. For side embellishment)
-Monofilament Illusion Cord (Optional. For use with beads with smaller holes)
- Size J 6.0 mm hook
- Piece of cardboard 4” wide
- Scissors, yarn needle, measuring tape
- Clipboard for stabilizing your project while you braid the strands (optional
Terms Used and Abbreviations:
Pattern is written in US terminology.
Chain - ch
Fasten Off - FO
Repeat- rep
Right Side - RS
Single Crochet - sc
Slip Stitch - sl st
Stitch(es) - st(s)
Gauge:
Not necessary for this project.
Finished Measurements:
Entire keychain from top of braid to tip of tassel is approx. 6” long and is approx. 1.5” wide (not including keychain ring).
Instructions:
Using double strands and leaving a length of tail of approximately 6” for weaving in later (see note below), sl st into the keychain ring. Ch 1 to further secure (it will not count as a stitch). NOTE: You could also use your beginning tails for the beaded embellishment at the end of the project instead of adding the strand as I instruct you to later. Simply do not weave these beginning tails in.
Row 1: Ch 13, working into the “back humps” of the ch sts, sc in 2nd ch from hook and in each st to end. Join with a sl st into the ring once more. Ch 1 to further secure (will not count as a st). [12 sc]
Rows 2-3: Rep row 1. FO and weave in tails.
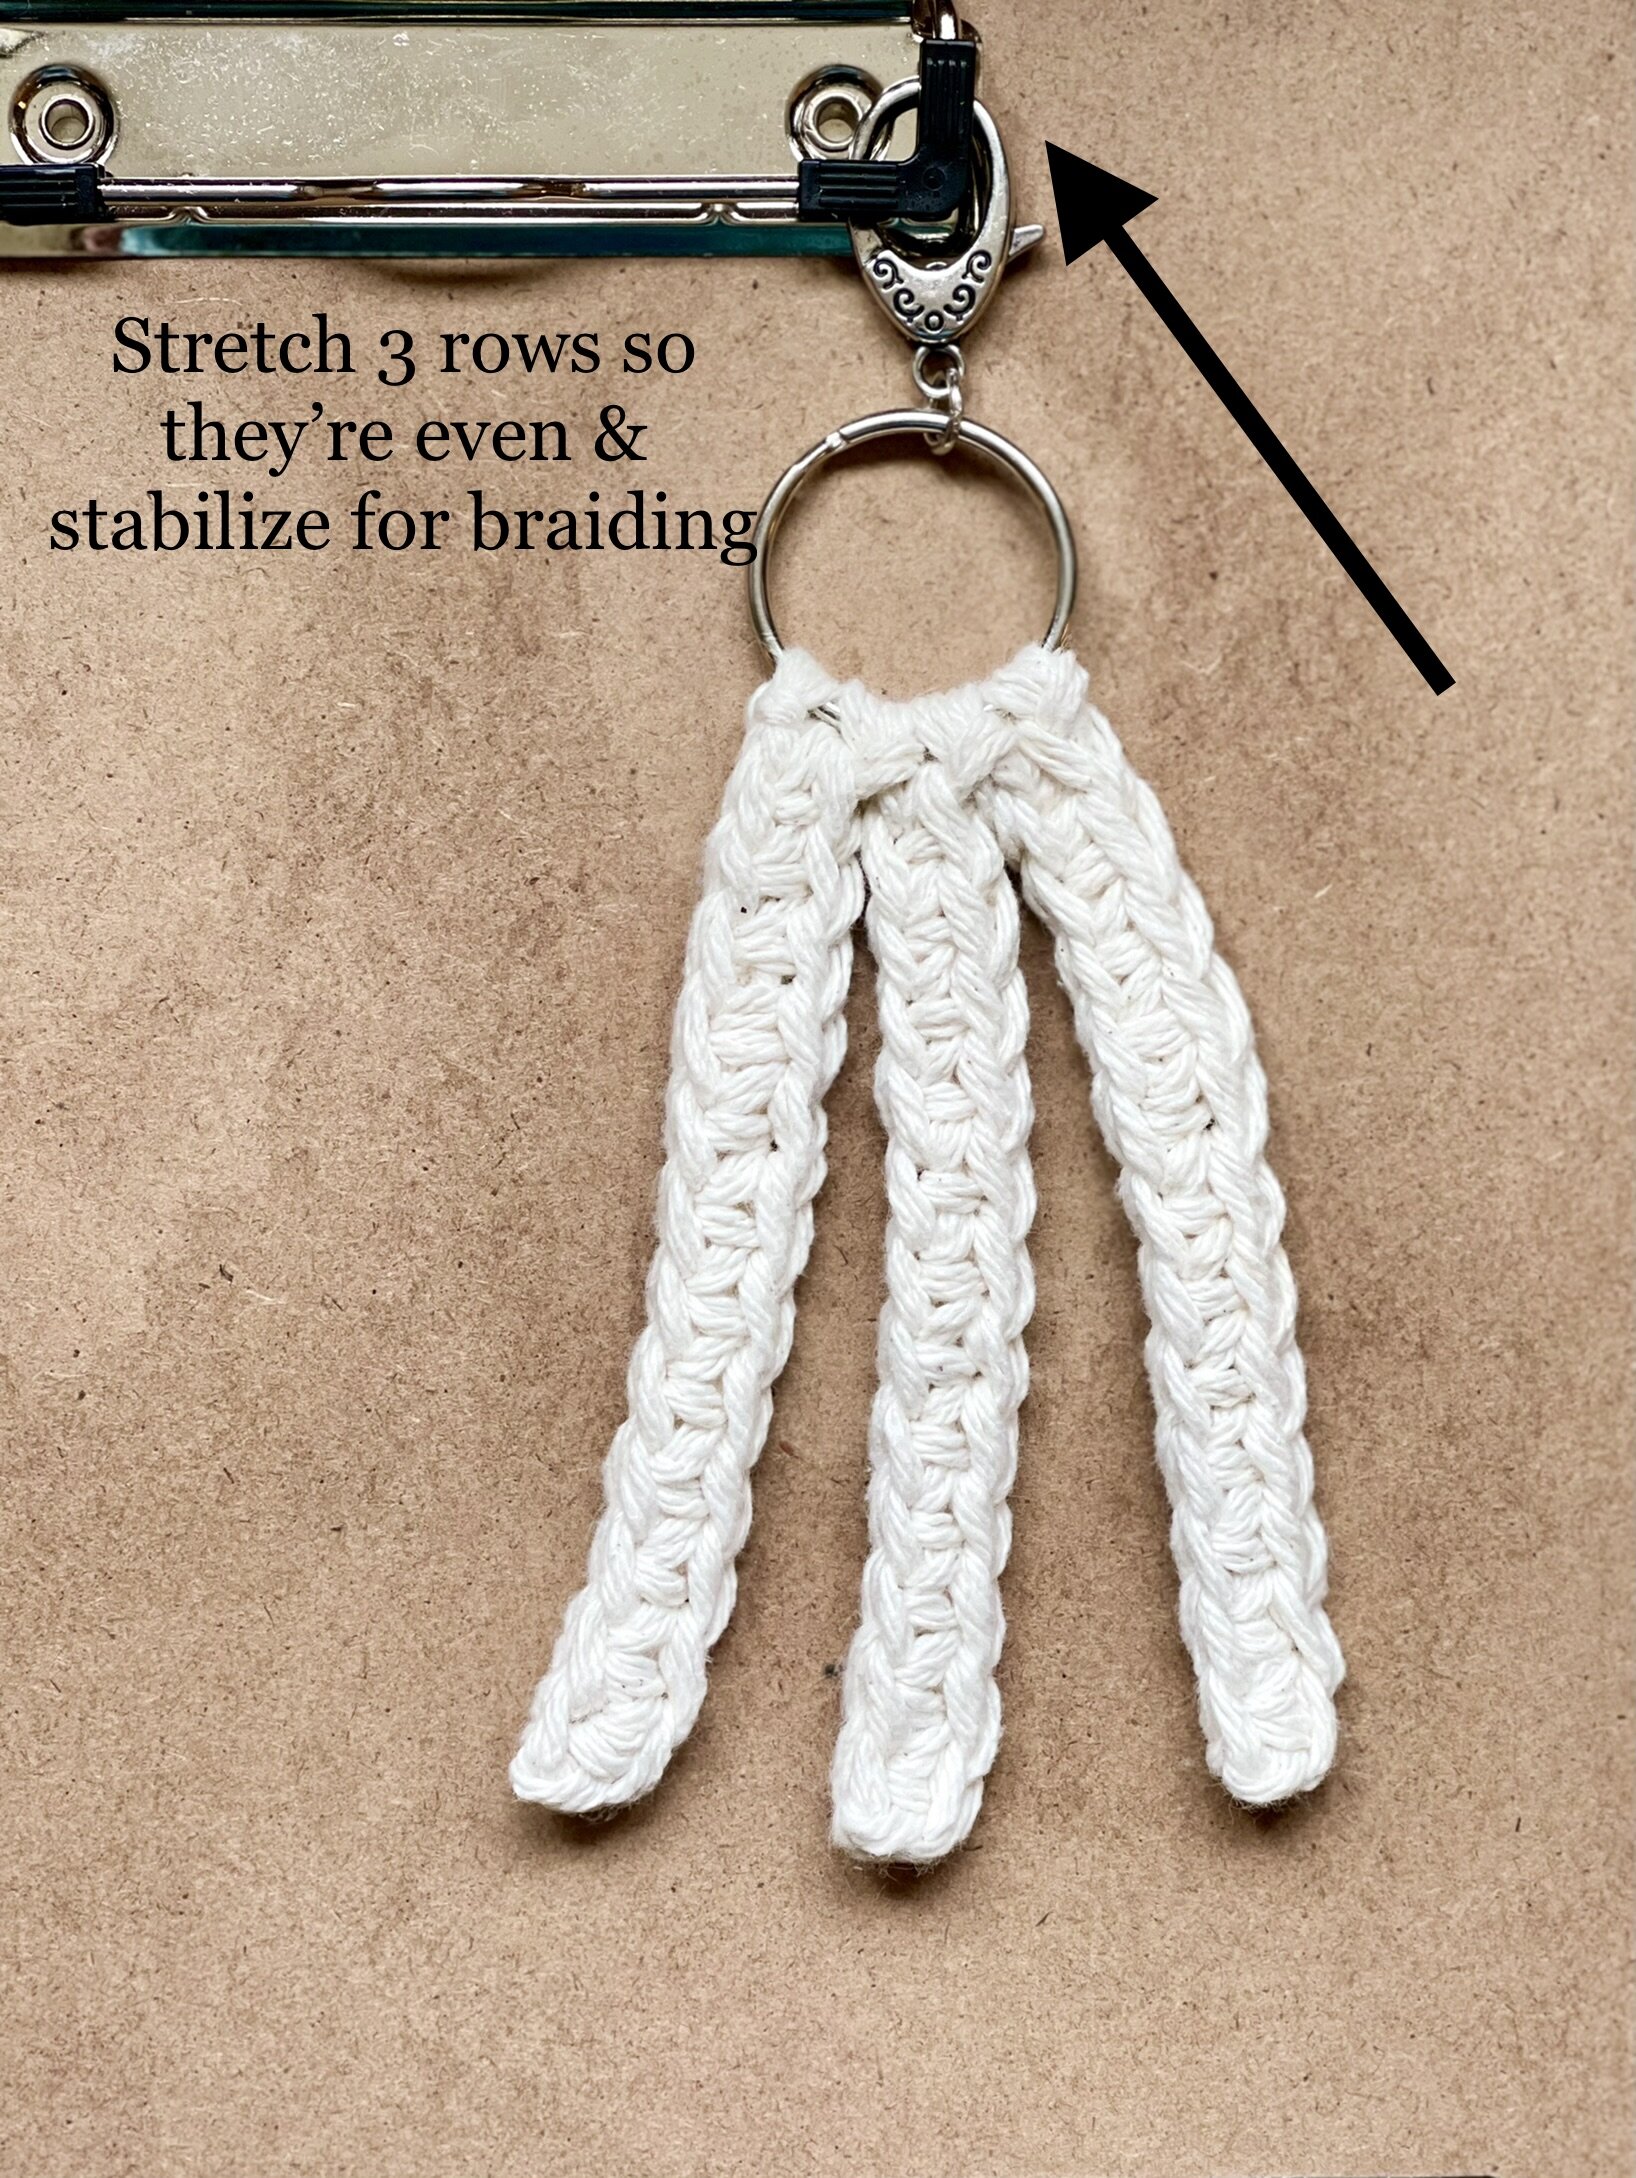
I have found the next part of this project to be easier when using a clipboard to hold your project in place. You could also pin the top part to a blocking mat. You just need some way of immobilizing the piece so you can braid the strands together.
Here’s a YouTube video tutorial for help in visualizing the next portions of the pattern:
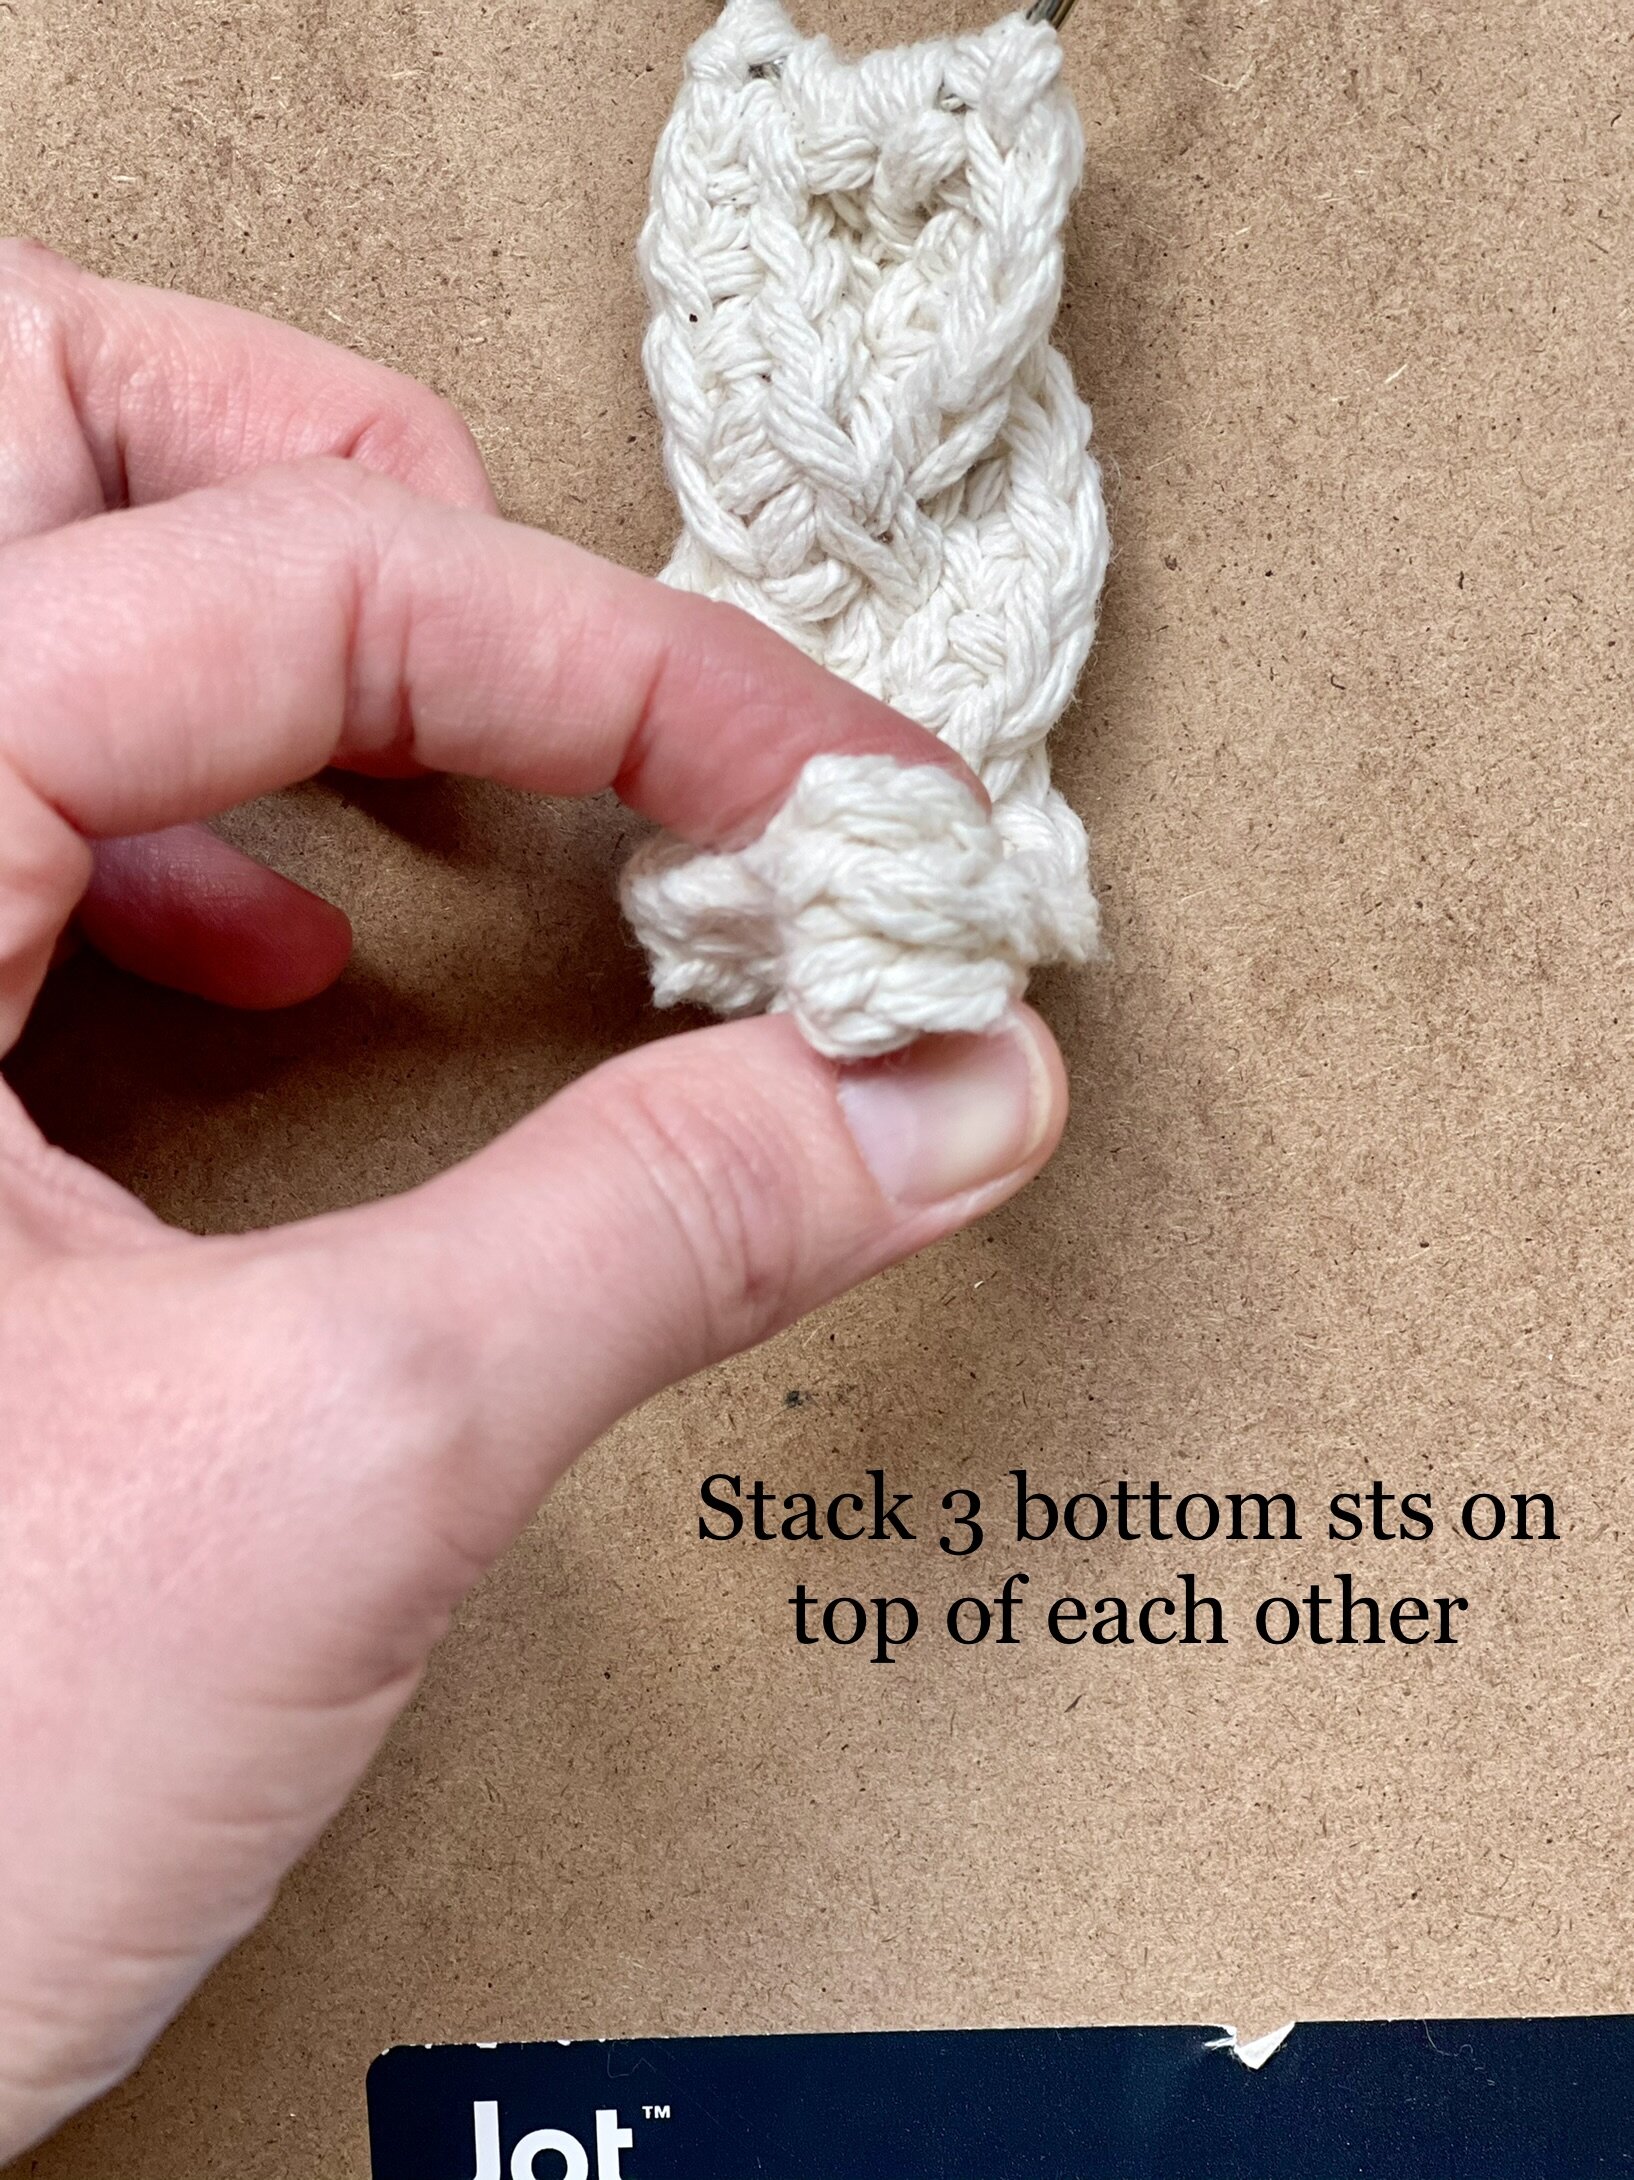
Stretch the 3 strands so that they are all even and lying mostly flat. Braid the ends together 3 times, lining up the last sts of every row so that they are stacked upon each other.
Using double strands held together, cut a length of yarn approx. 12” and thread onto your yarn needle. Go through all 3 bottom sts and tie the bottom in a knot to secure. Leave the tails for use later and set aside.


Create your tassel
1) Using your fingers or a piece of cardboard approx. 4” wide, wrap double strands approx. 7 times and cut bottoms to create tassel tails.
2) Lay tassel tails inside the strands leftover from the bottom of your braid. Tie strands around tassel tails to secure. Cut tassel tails evenly.

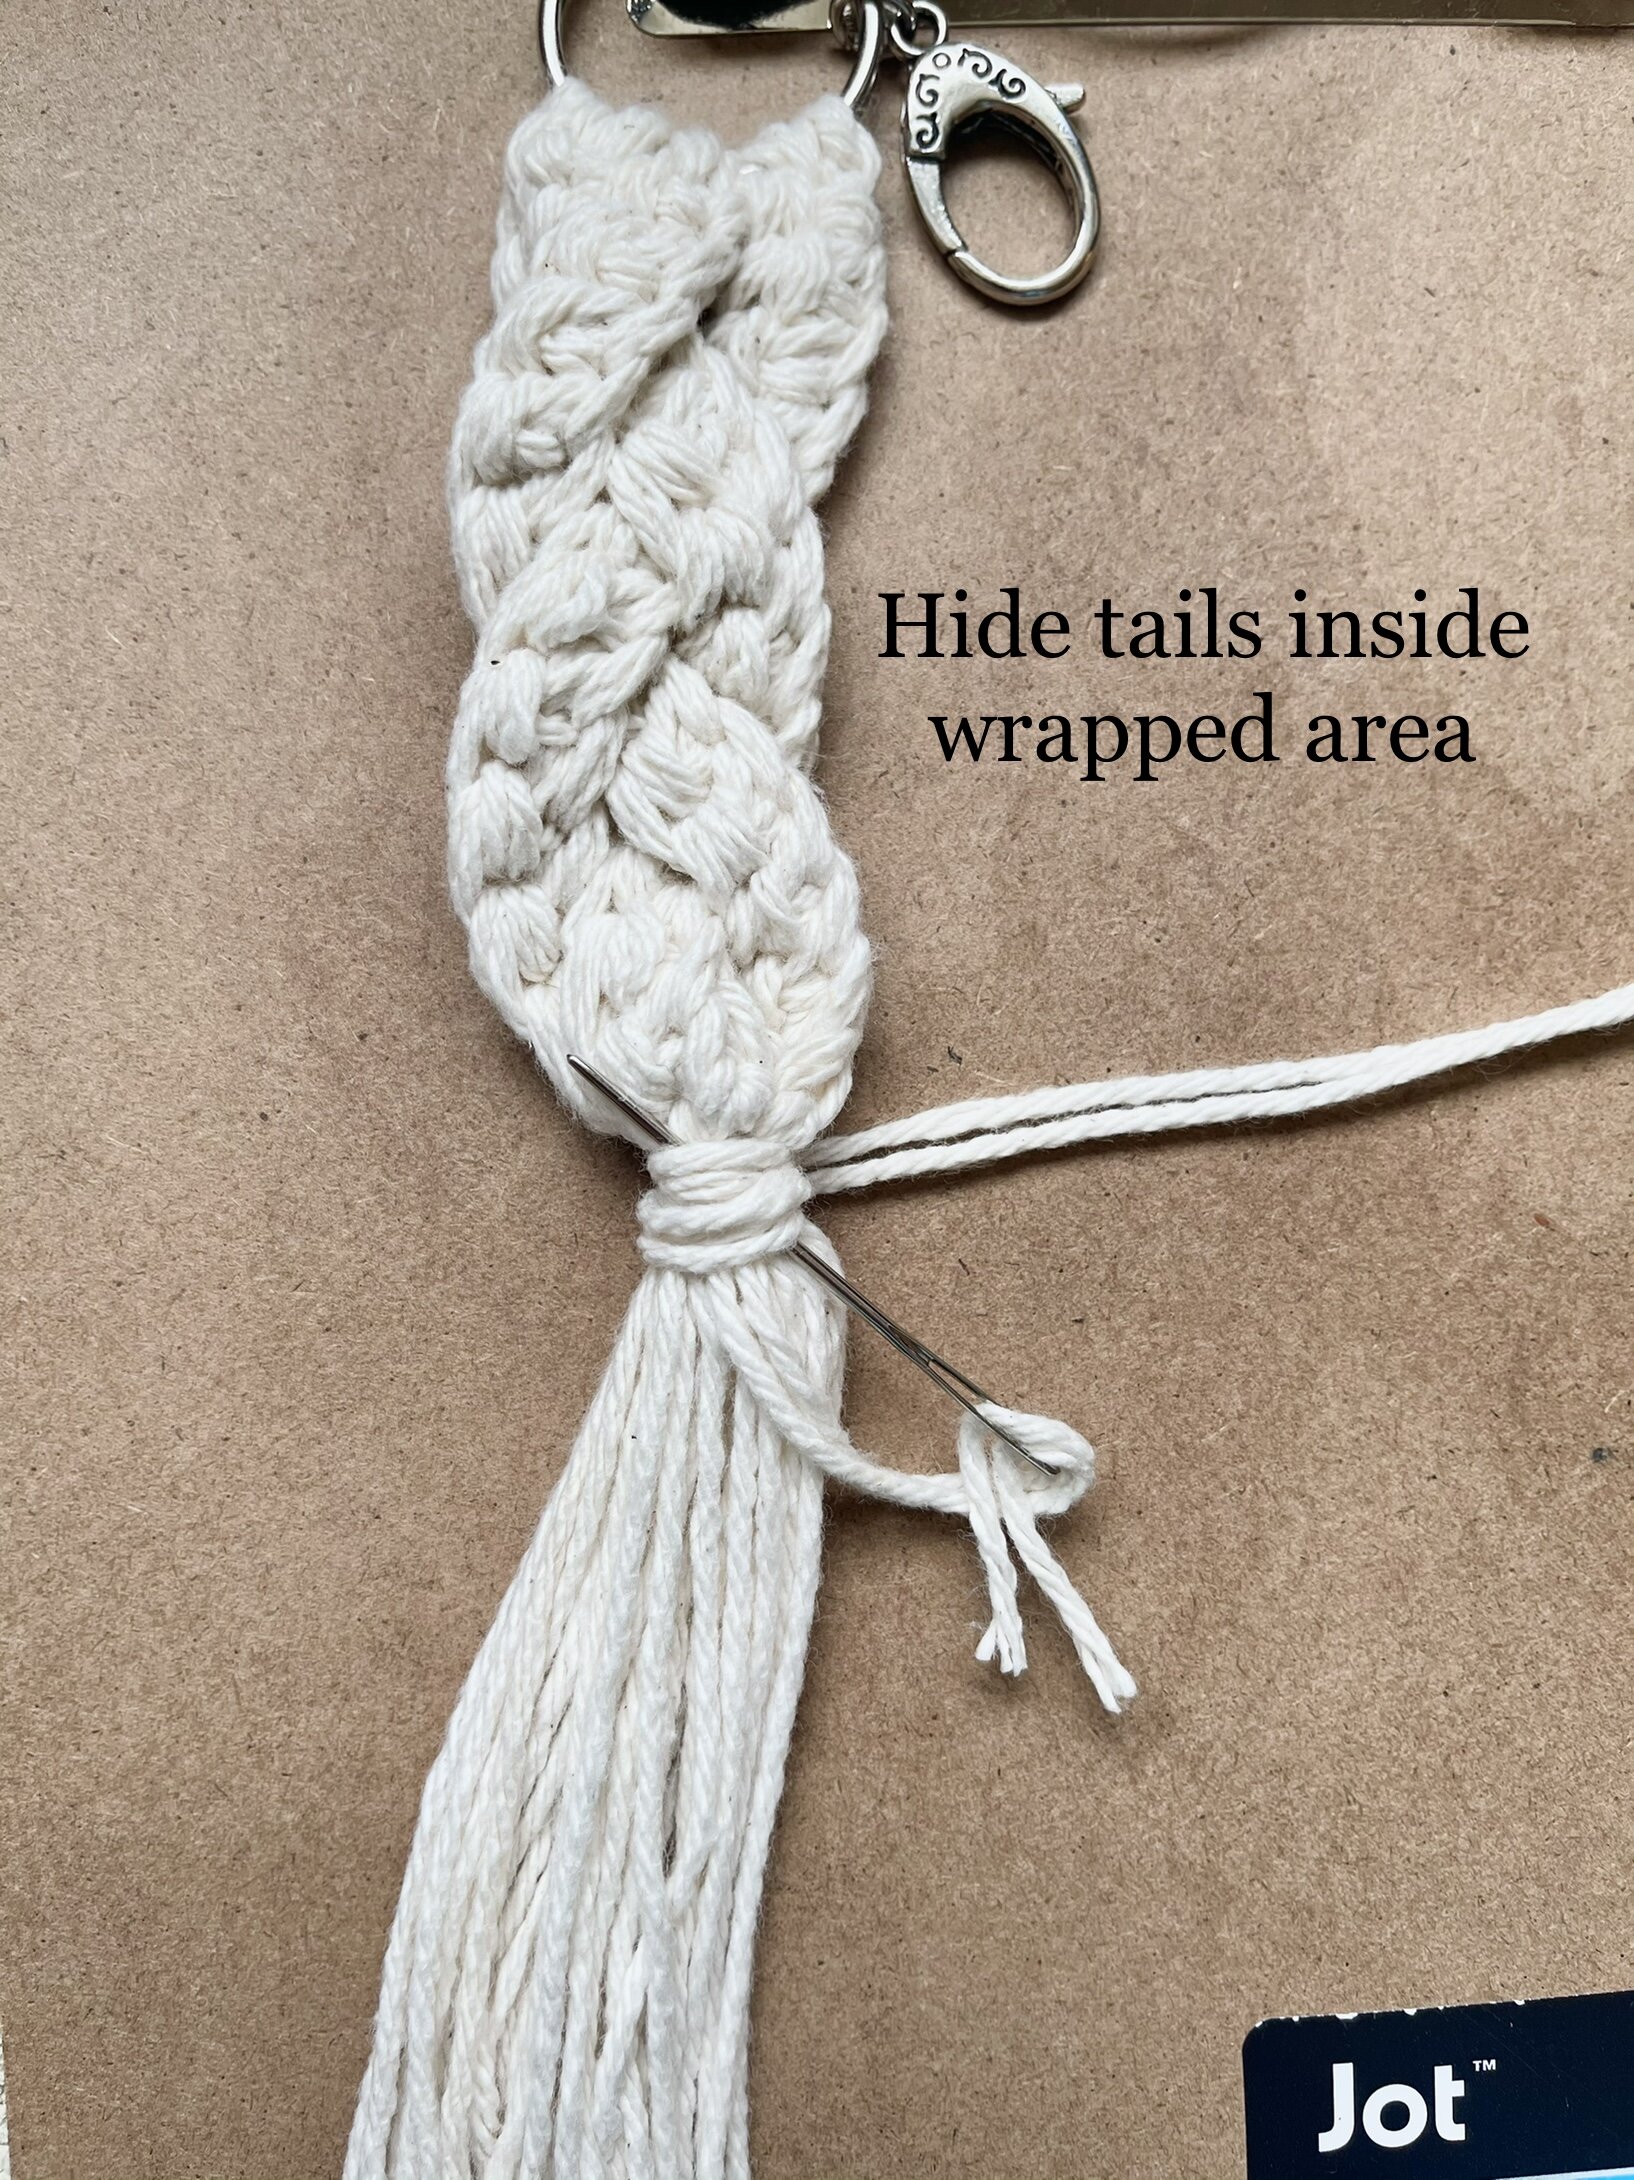
3) Using double strands held together, cut another length of yarn approx. 12” and thread onto your yarn needle. Wrap the strands around the knotted area between the bottom of the braid and the top of the tassel.

Take the ends back through the wrapped area with your yarn needle to hide and cut excess.
Add your beaded embellishment
Cut a single strand of yarn approx. 9” in length. Using the larks knot, attach the strand to the keychain ring to the desired side.
NOTE: You could also utilize the beginning tails from the very beginning of your project for this portion.

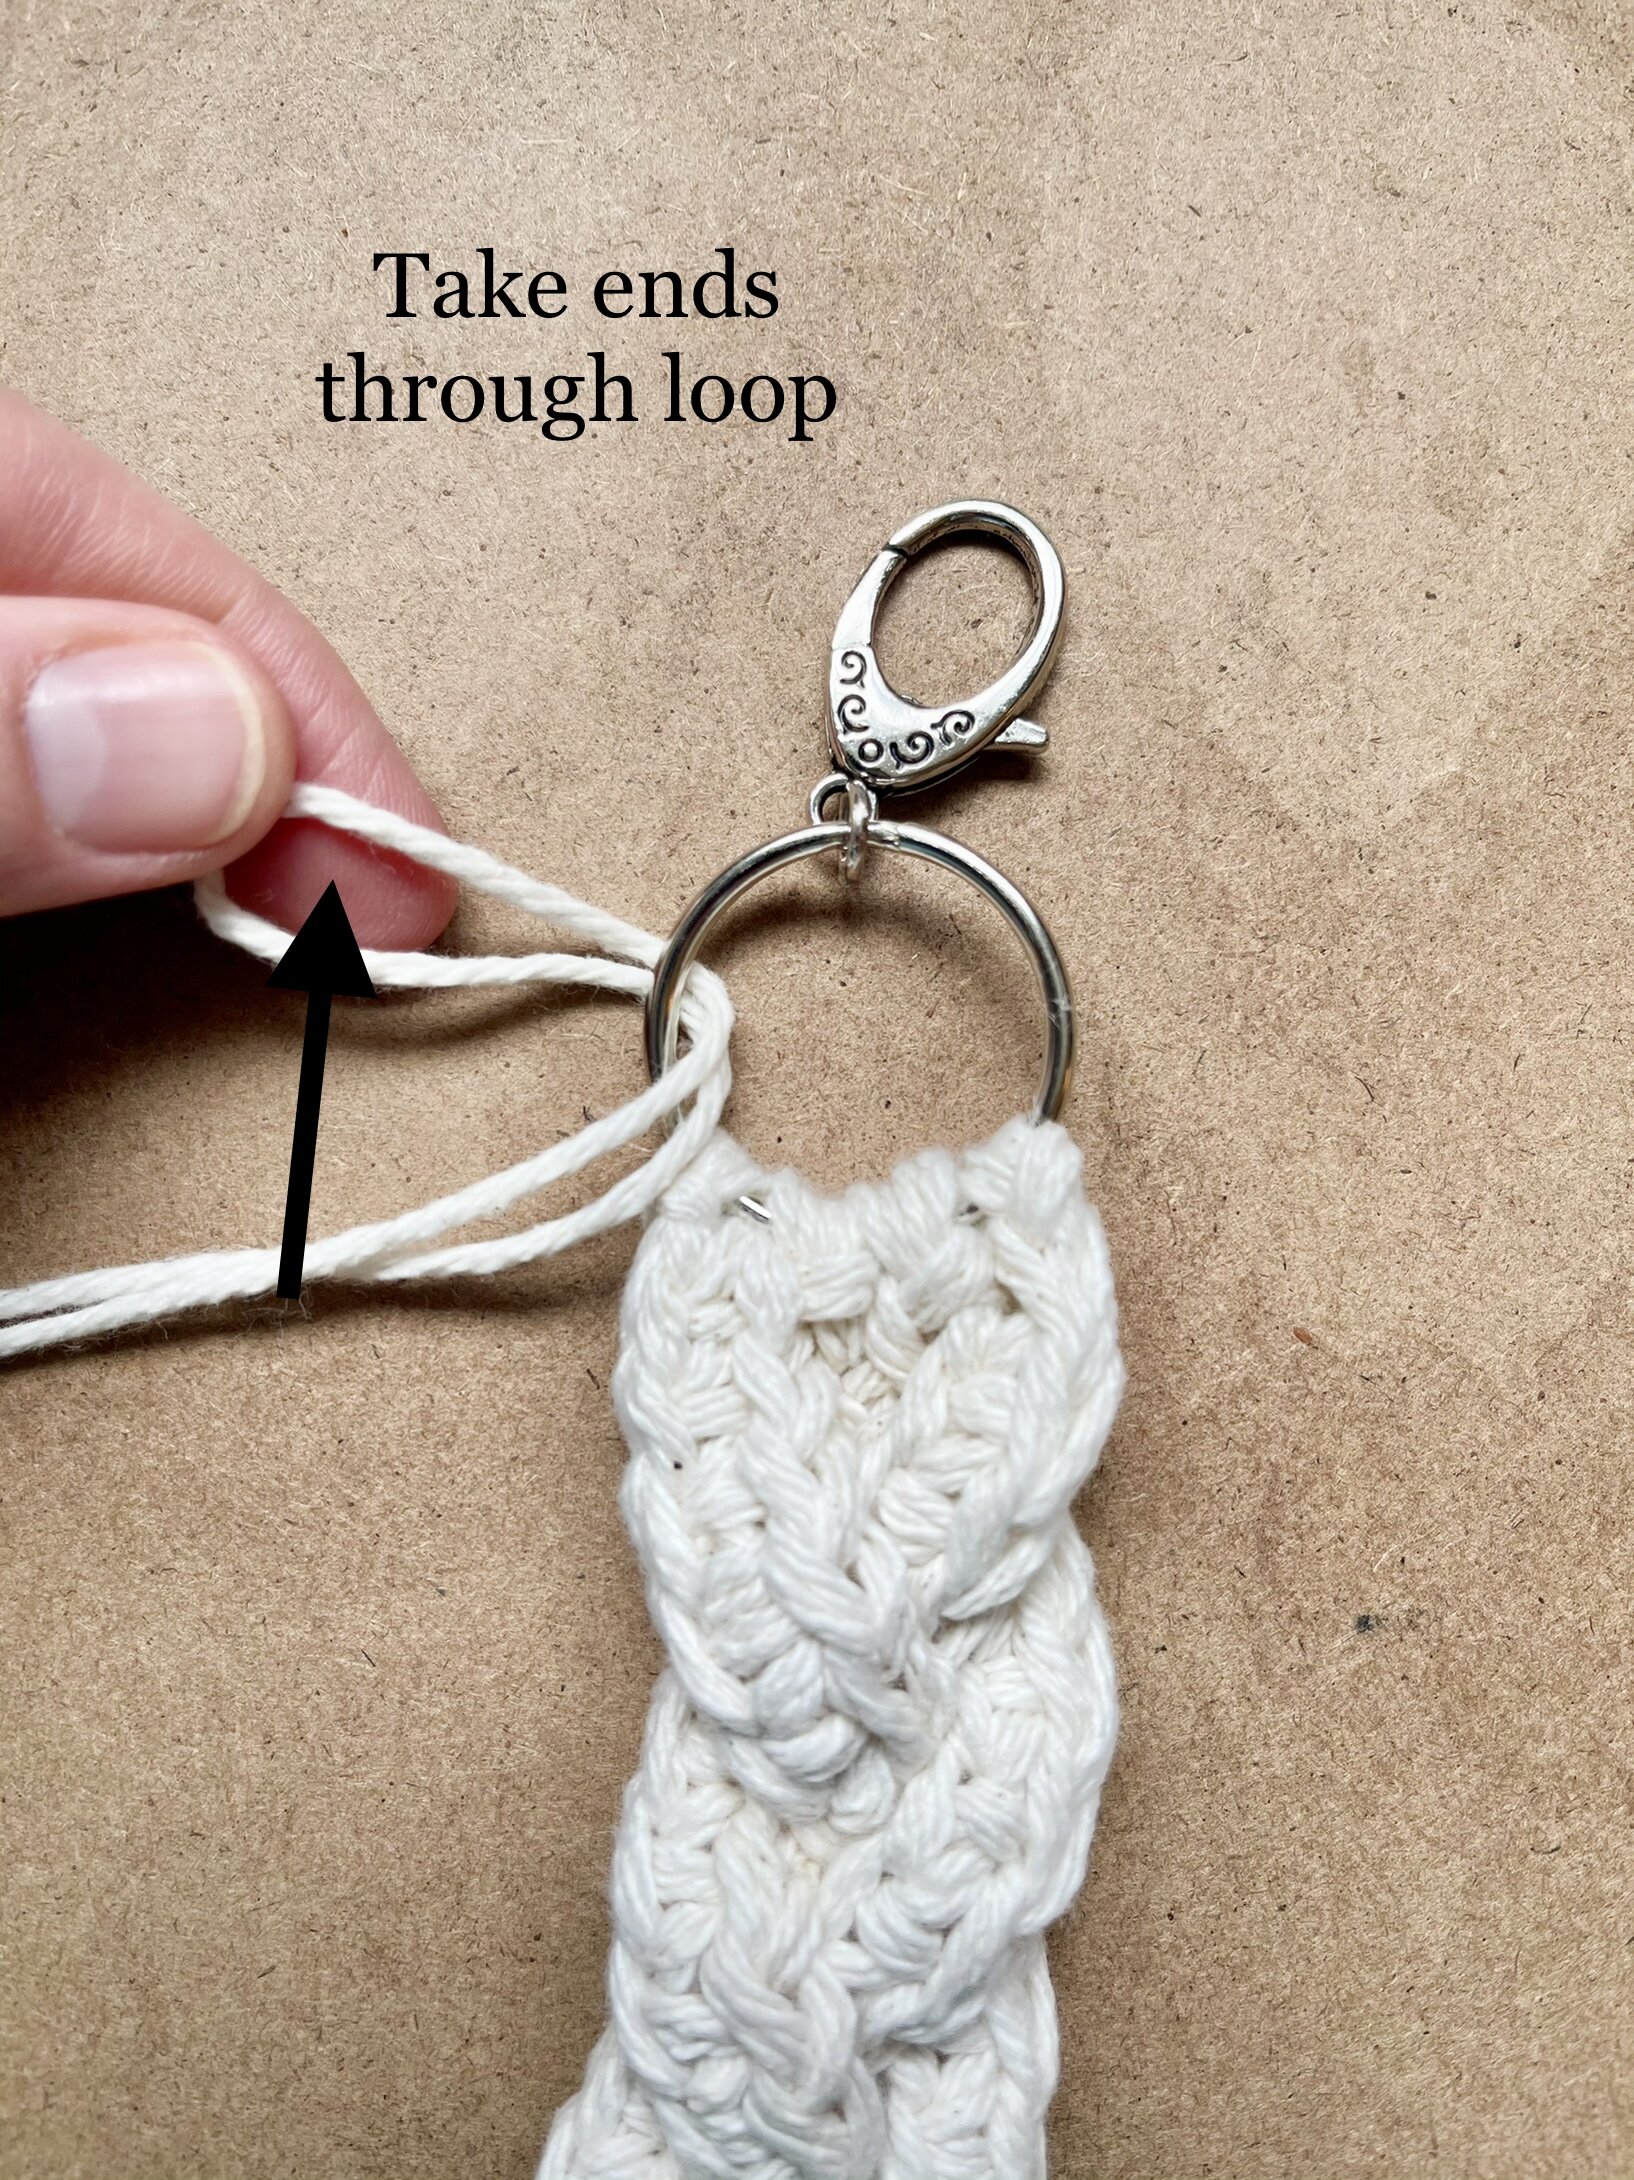
The Larks Knot is the usual way of attaching fringe to a blanket.
Thread both tails through your yarn needle and add the beads, starting with the smallest and working your way to the largest.
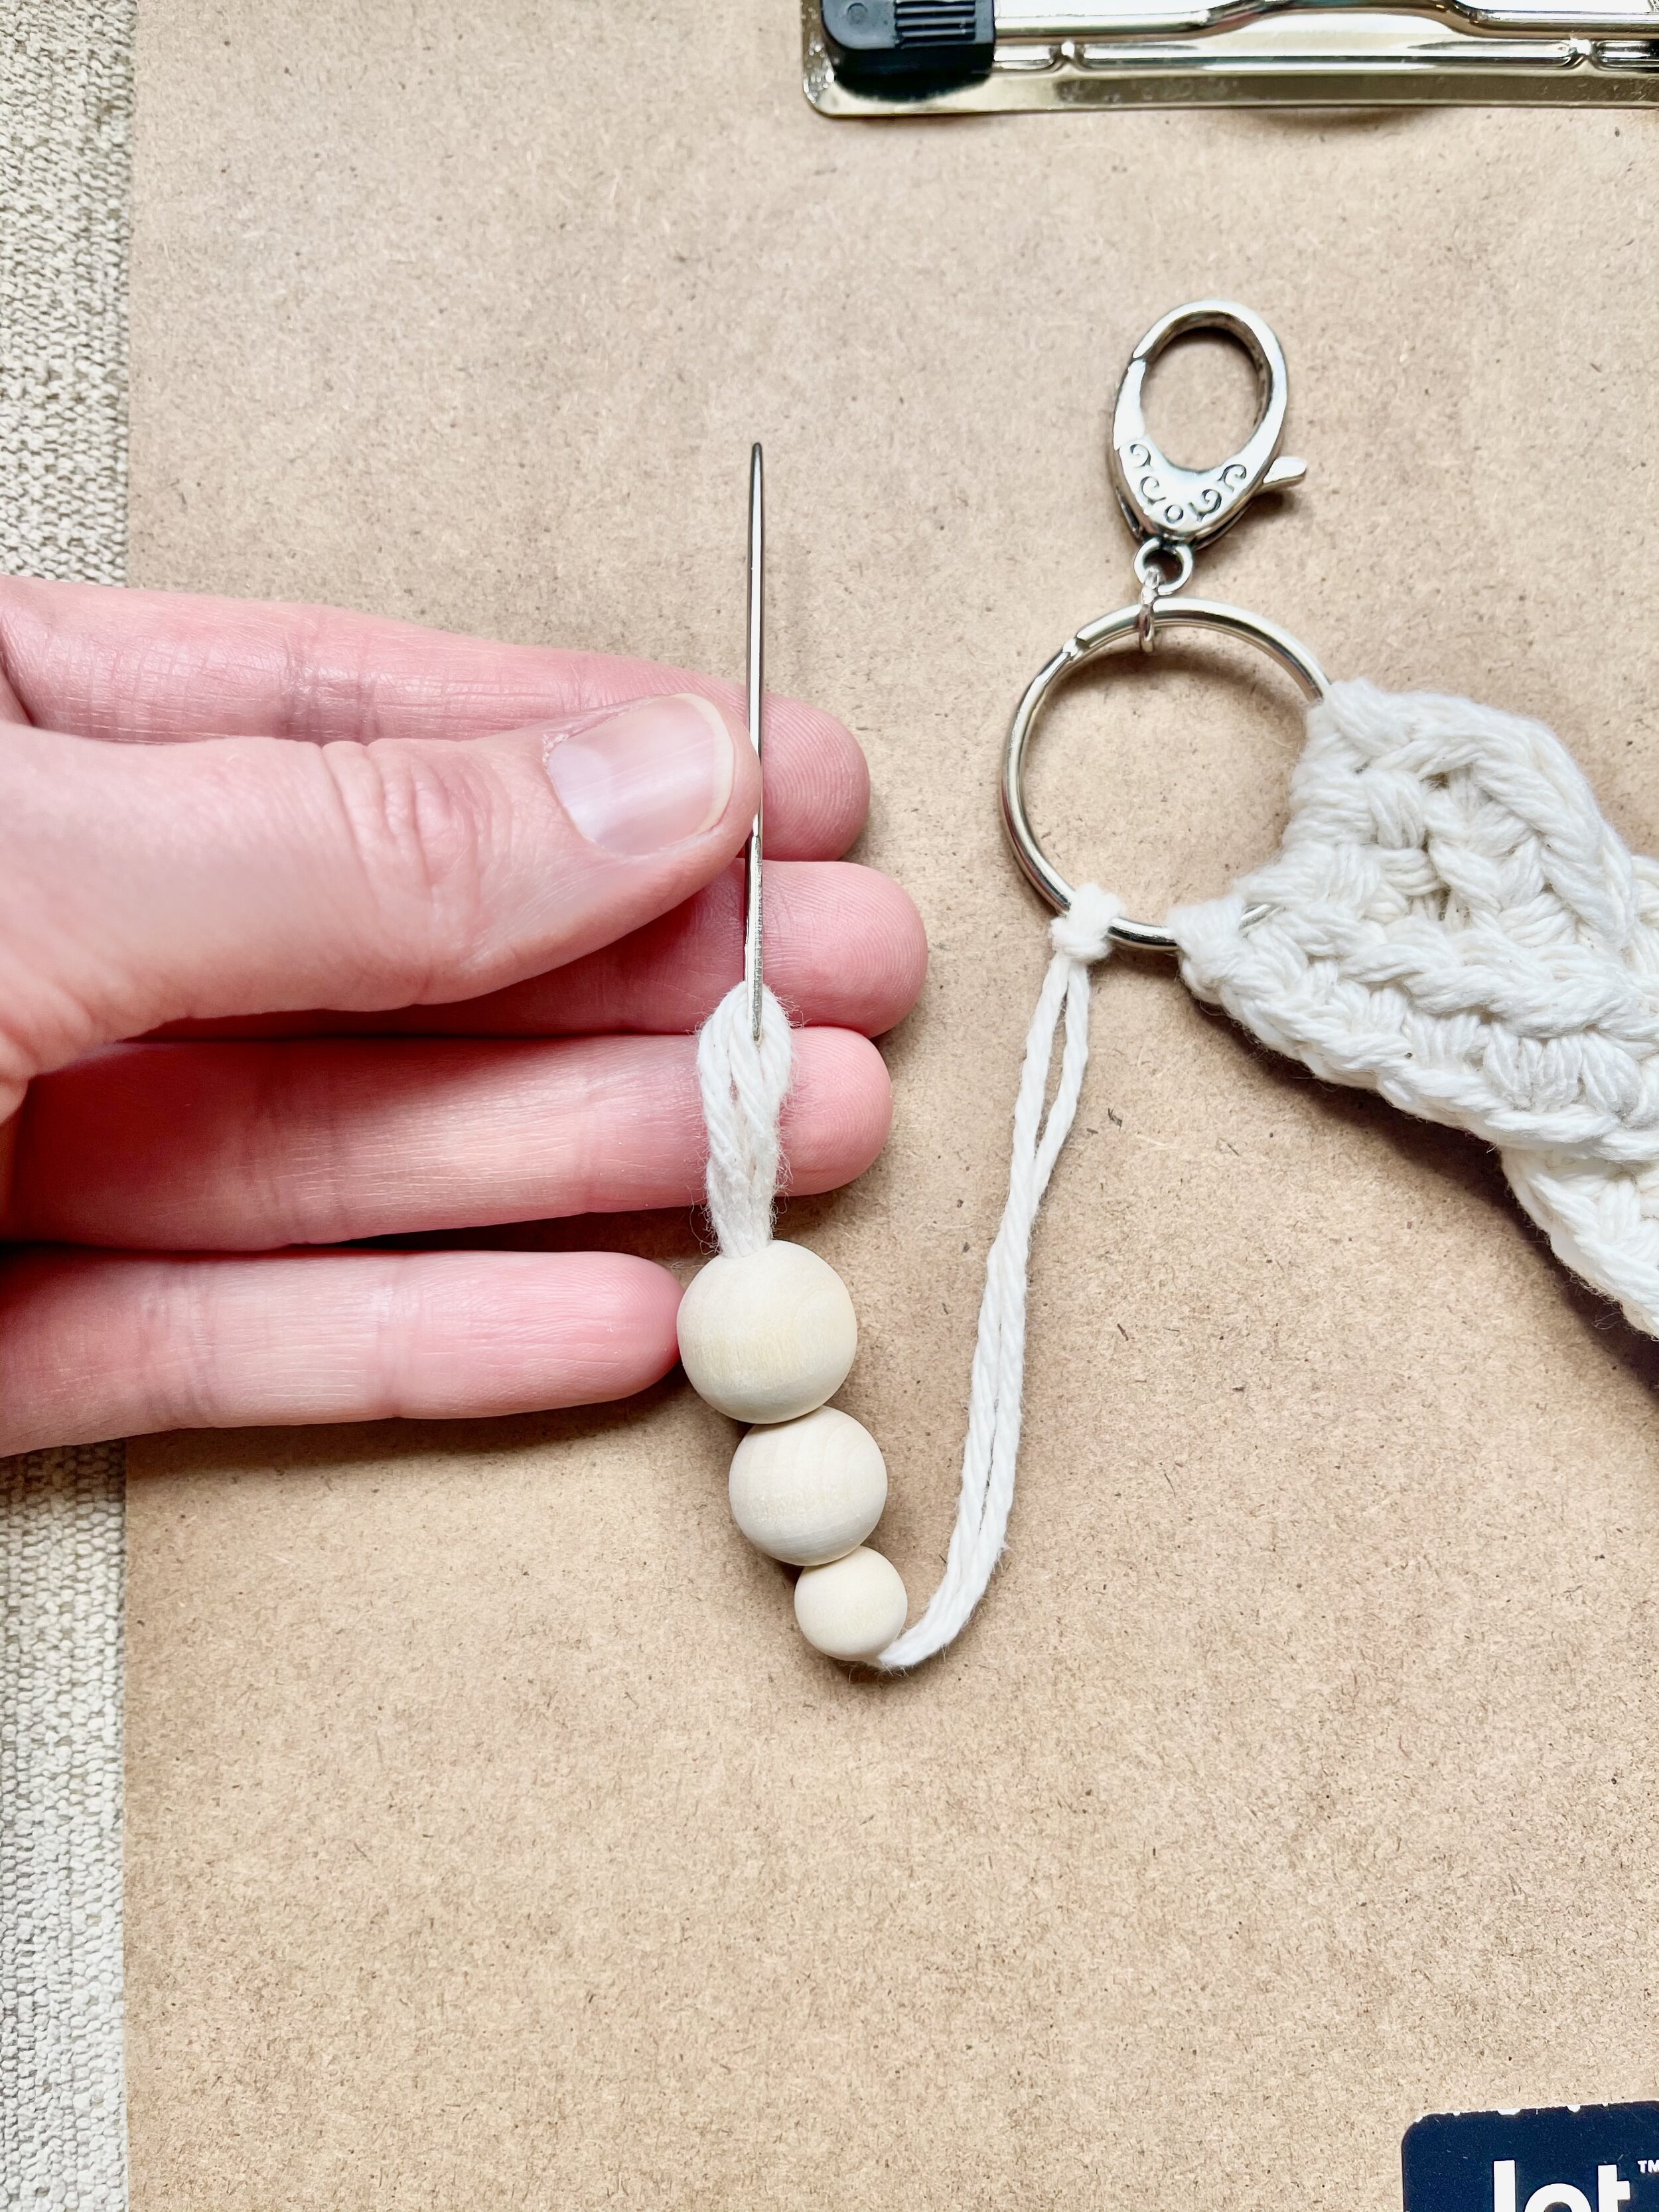
Knot the tails upon themselves about 2/3rds of the length of the braid so the beads don’t fall off. Cut tails evenly.

Your Braided Keychain is complete! I would love to see your finished work! If you want to tag me on IG, I’m @dayscrochetnc. You could also follow the hashtag #braidedkeychain to see what others are making. I can’t wait to see your projects! If you would like to see other versions that I will be making after this publication, be sure to check me out on IG!
Please note that you do not have my permission to sell, share, copy, or duplicate this pattern or my photos in any way. Please do not use this pattern for a video, blog, or class tutorial. Thank you so much for following these simple rules! Please message me on Facebook or send me an email at dayscrochetnc@gmail.com with any questions.
What will you do with your Braided Keychain? Did you enjoy making it? Let me know in the comments!
Happy hooking!
~Dana