
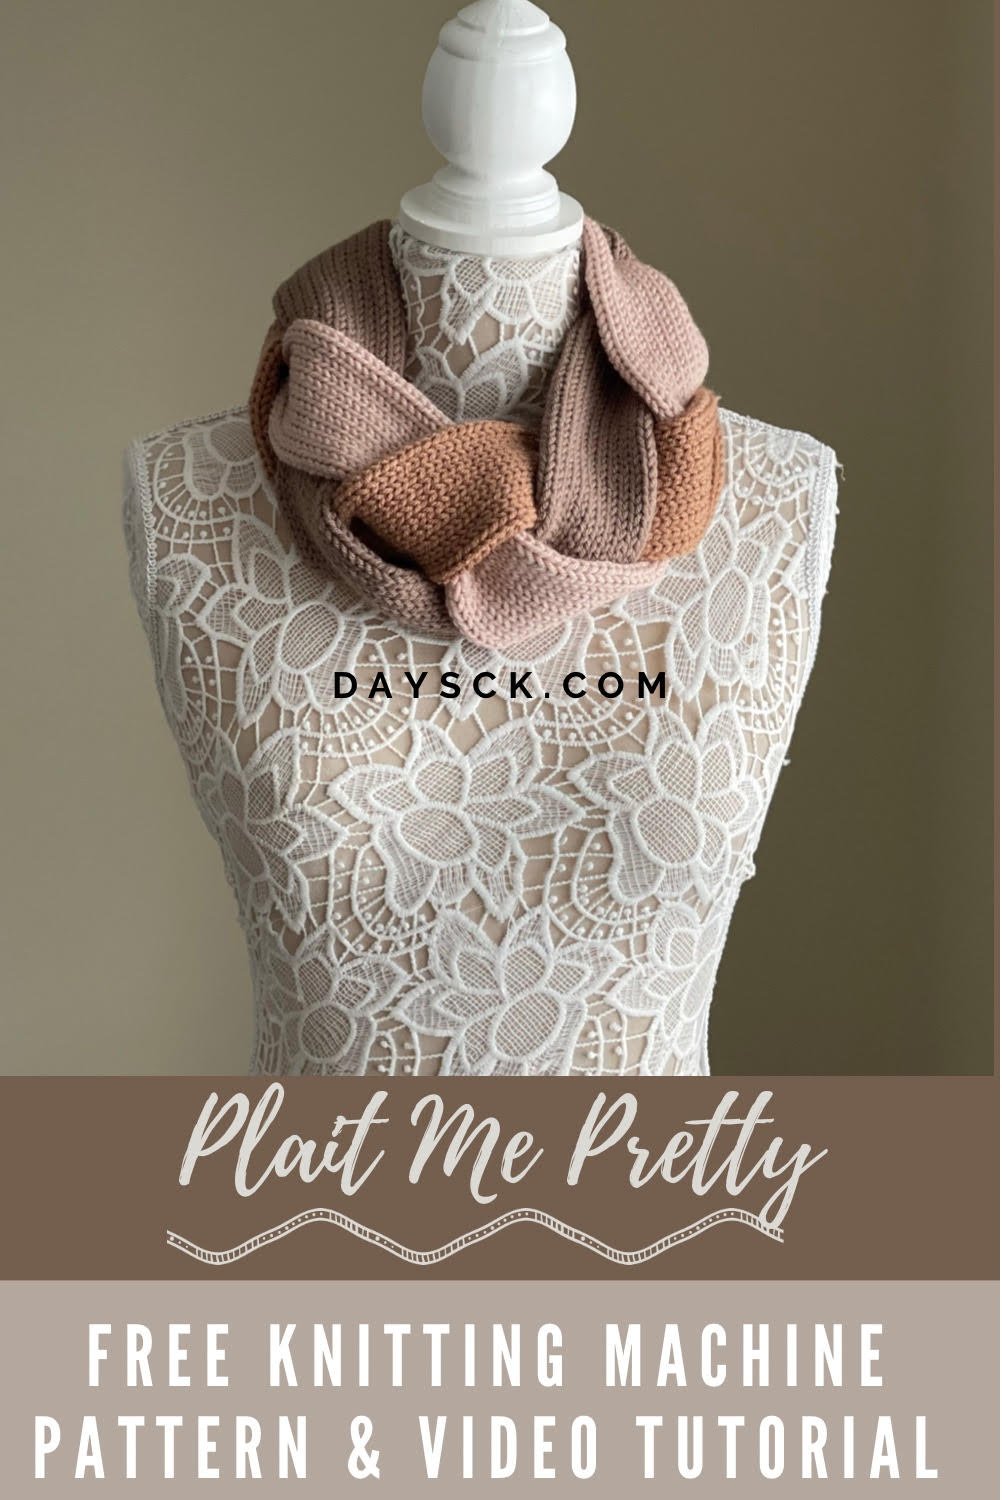
Plait Me Pretty Set
PIN it here!
I just got my Addi 22 pin in the mail the other day and this was the first project off my machine. I am absolutely in love with how this set turned out!
This post may contain affiliate links that help me to continue to post free content. To skip the ads and have a printable pdf of this pattern, you can find it for relatively little cost in both my Etsy and Ravelry shops.
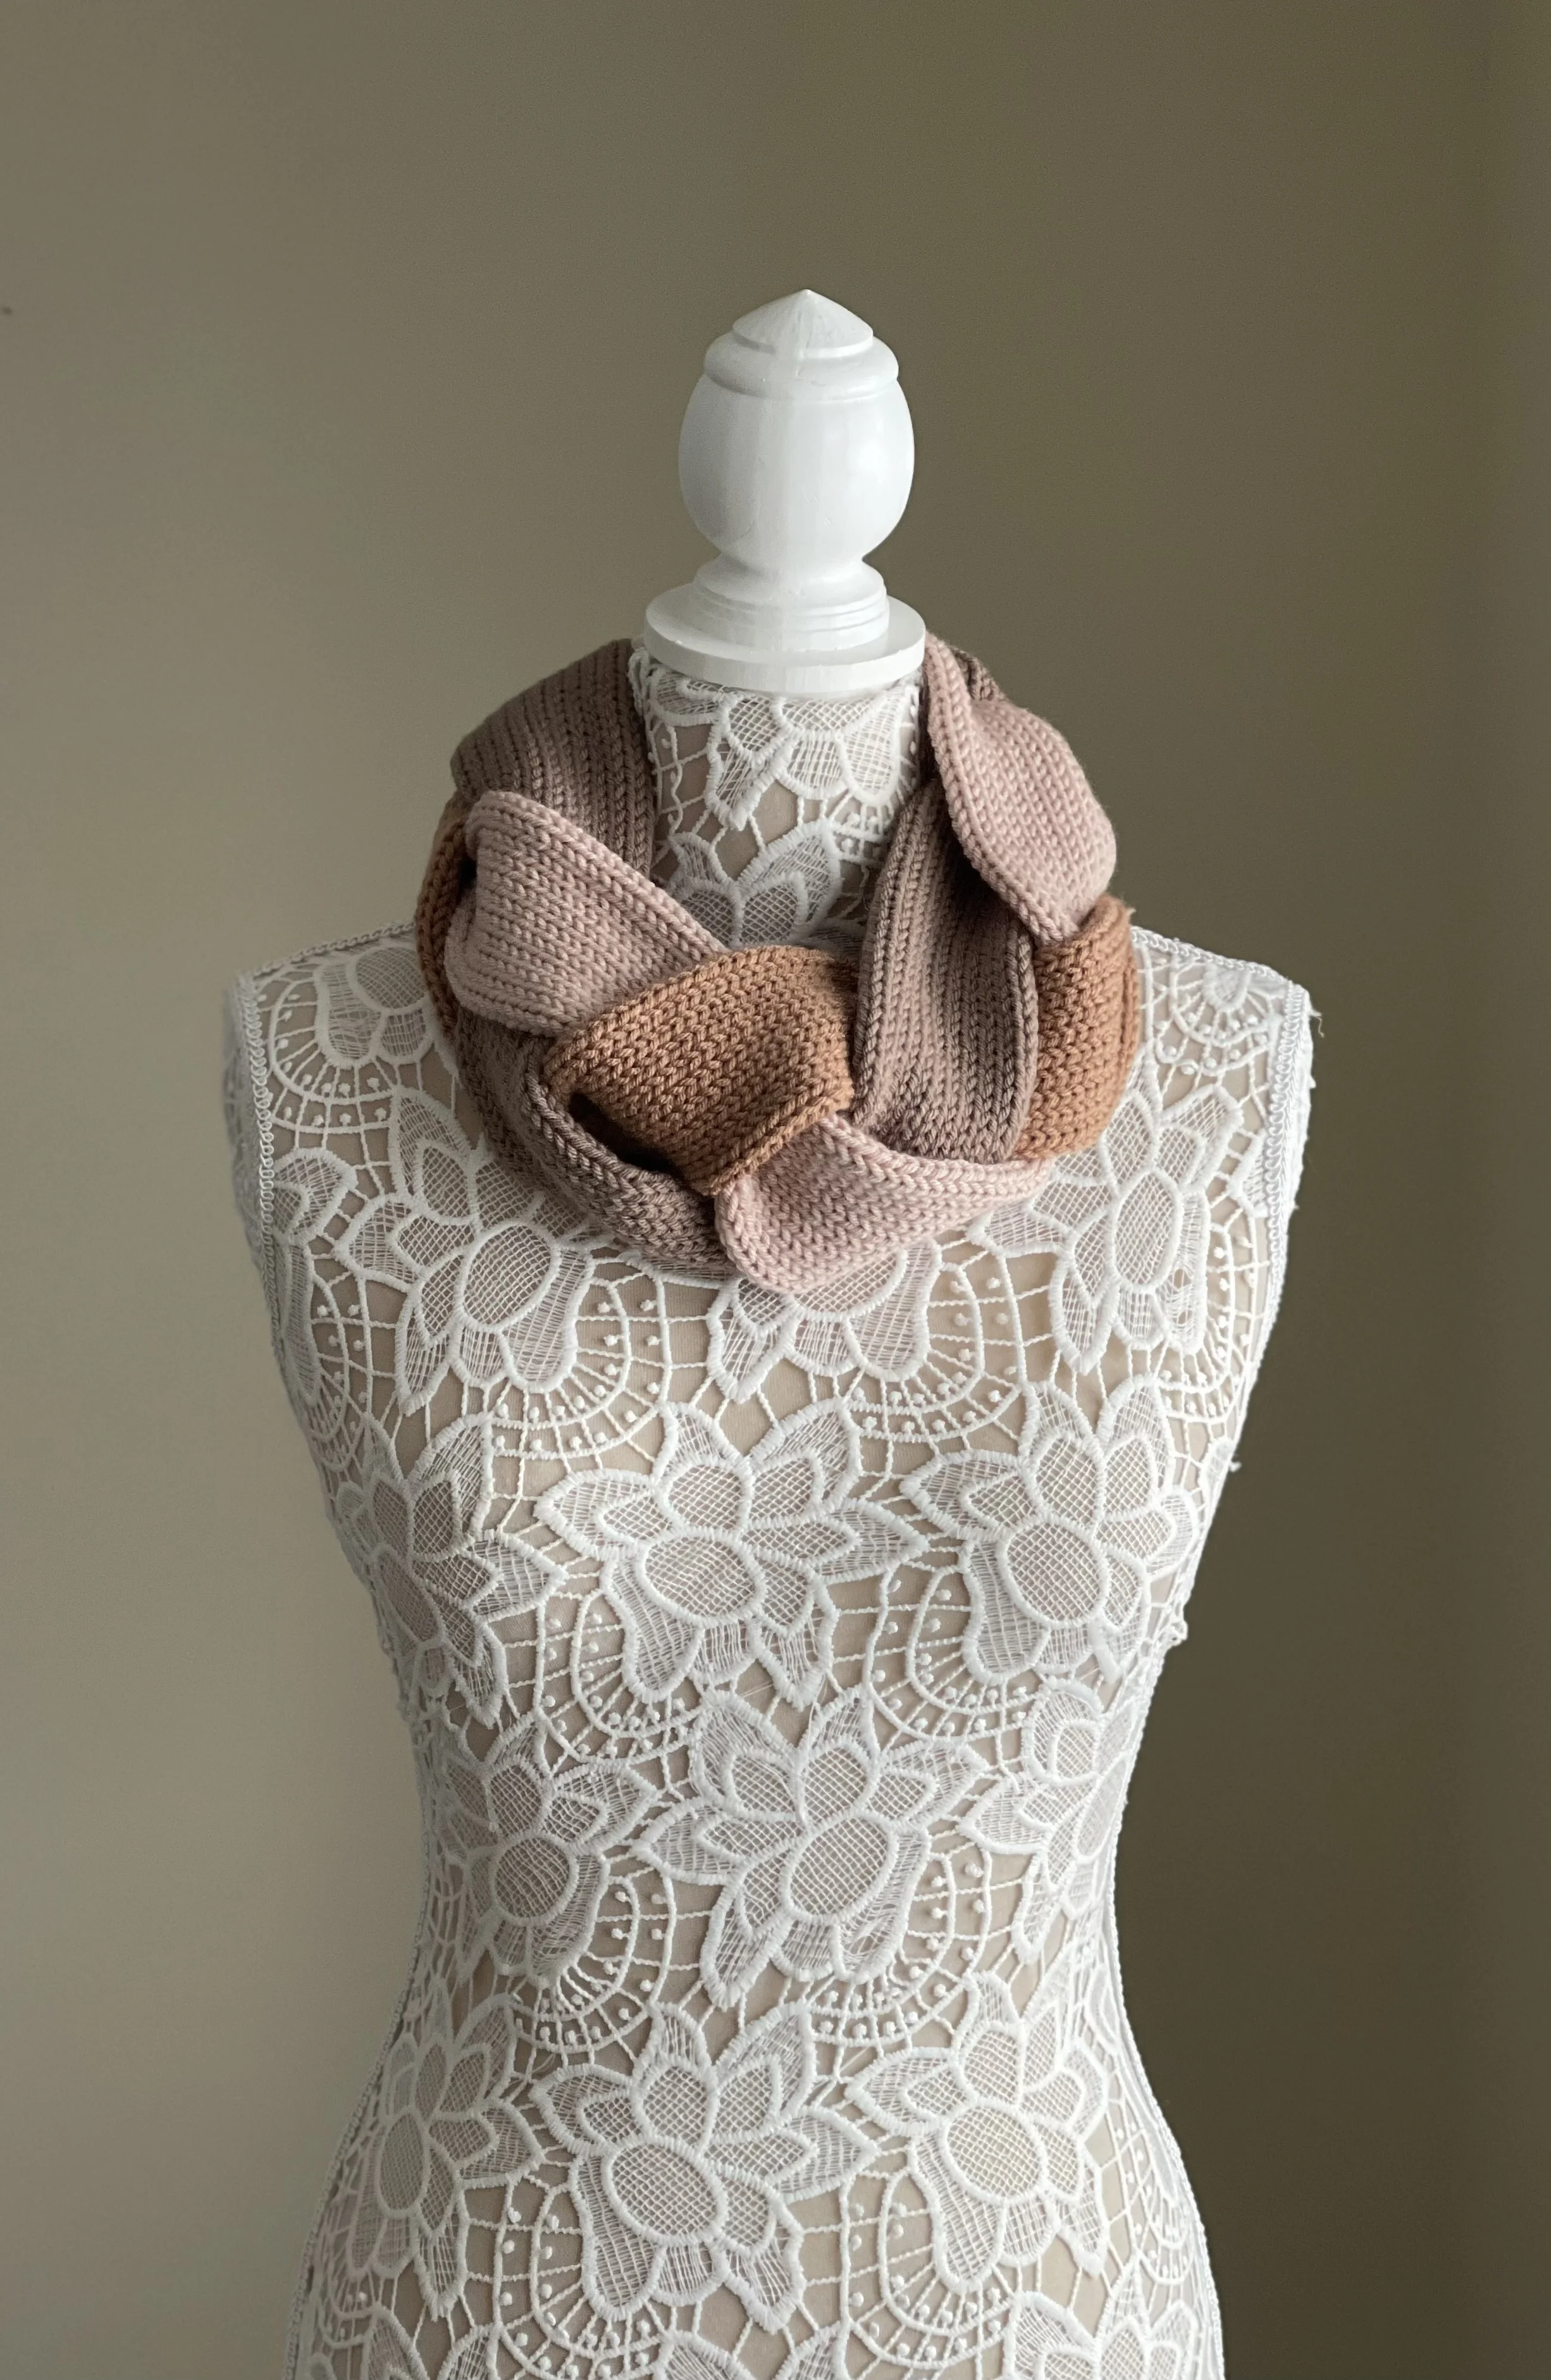
I originally set out to make some ear warmers like some I had seen on Pinterest, but I had an epic fail by making the tubes WAY too long. I decided to salvage the project by turning it into a neck warmer and Oh. My. Gosh. It turned out so much better than I could have hoped for!
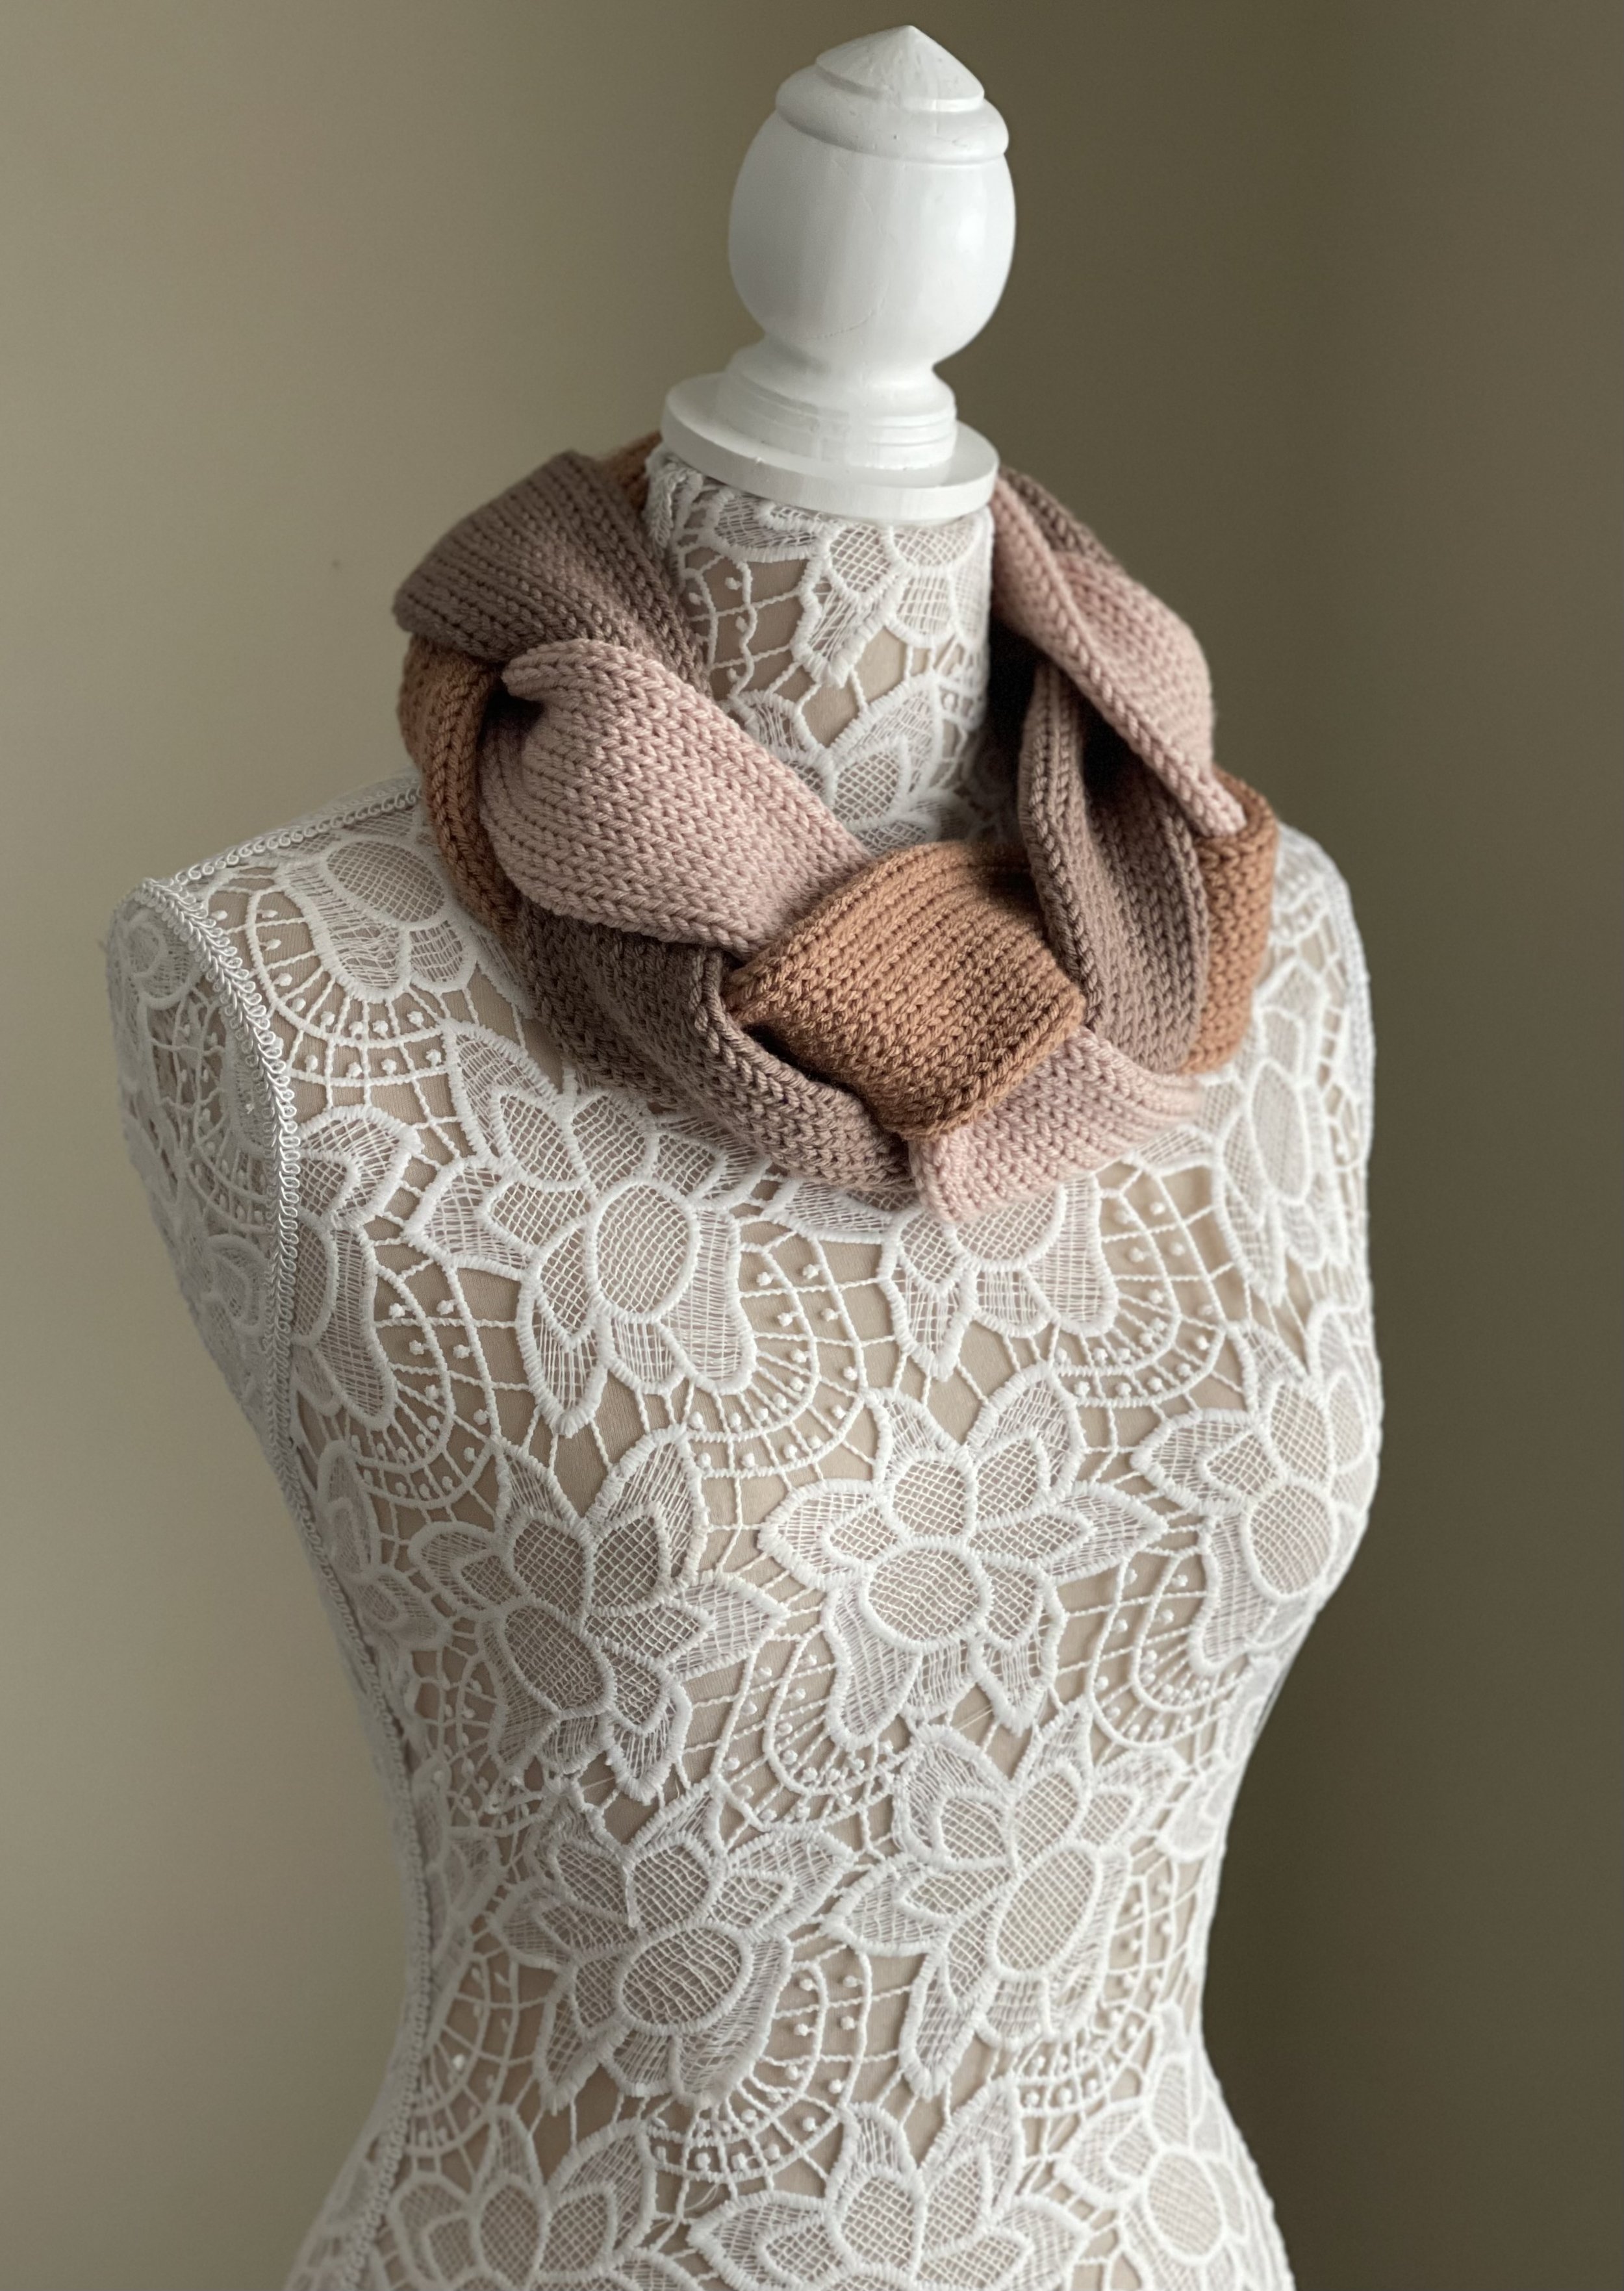
Pictured is Yarn Bee Soft and Sleek in the colors Clay, Brownie, and Blush.
Once I saw how gorgeous the neck warmer turned out, I just knew I had to try and get the ear warmers right. I am so glad I didn’t give up because the ear warmers turned out just as cute!

Pictured is Yarn Bee Soft and Sleek in the colors Clay, Brownie, and Blush. The color discrepancy is because this photo was taken in bulb lighting, whereas the neck warmer was taken in natural lighting.
I know braiding has been around since the beginning of time, but I did decide to write up a tutorial and make a YouTube video because I feel like the way I joined the tubes looks pretty seamless and I wanted to be able to share my method for getting it just right. I have no doubt these sets will be a huge hit at my vendor market this Fall! They are so stinking cute and unique.
Let’s Make It!!
Supplies Needed:
-22 pin circular knitting machine (I am using an Addi 22 machine)
-75-85 yards of worsted weight yarn in each color for the ear warmers
-110-120 yards of worsted weight yarn in each color for the neck warmer
-size G 4.25 mm hook
-Yarn needle, scissors, measuring tape
Terms Used and Abbreviations:
Pattern is written in US terminology.
Begin(ning) - beg
Chain(s) - ch(s)
Fasten Off - FO
Repeat - Rep
Single Crochet - sc
Slip Stitch - sl st
Stitch(es) - st(s)
Gauge:
8 sts and 10 rows = 2" (5 cm) using medium tension for knitted portion. Gauge for crocheted portion is not imperative.
Pattern Notes:
-All cast-on and cast-off methods used in this pattern will be the provisional (basic) cast-on and cast-off methods.
-You will need to be able to read and follow basic beginner crochet pattern instructions.
-You will need to understand basic sewing techniques and the Kitchener stitch.
-I have included a YouTube video tutorial for help with the most difficult portions of the pattern. You can find the video here:
Finished Measurements:
Both the ear warmer tubes and the neck warmer tubes were stretched and then allowed to relax before laying them flat and taking the measurements.
Ear warmer tubes should measure approx. 20.5" (52 cm) not including waste yarn and prior to braiding. Designed to fit an adult head, sized 21-23 (53-58 cm) circumference
Neck warmer tubes should measure approx. 31" (79 cm) not including waste yarn and prior to braiding.
Instructions:
Both ear warmers and neck warmer is made by creating 3 tubes of equal measurements and assembled in a certain fashion. The row counts for the ear warmers will be separate from the neck warmer so as to not cause confusion; however, assembly will be identical for both pieces.
Ear Warmers
1) Cast on with waste yarn and knit 5 rows.
2) Cut yarn and change to color A. Knit 100 more rows.
3) Cut color A and add waste yarn. Knit 5 more rows.
4) Cast off. Set tube aside.
5) Rep steps 1-4 with color B and color C.
Neck Warmer
1) Cast on with waste yarn and knit 5 rows.
2) Cut yarn and change to color A. Knit 150 more rows.
3) Cut color A and add waste yarn. Knit 5 more rows.
4) Cast off. Set tube aside.
5) Rep steps 1-4 with color B and color C.
Assembly
1) Using the sl st method, close all ends of every tube and remove waste yarn. Hide all tails inside tubes.
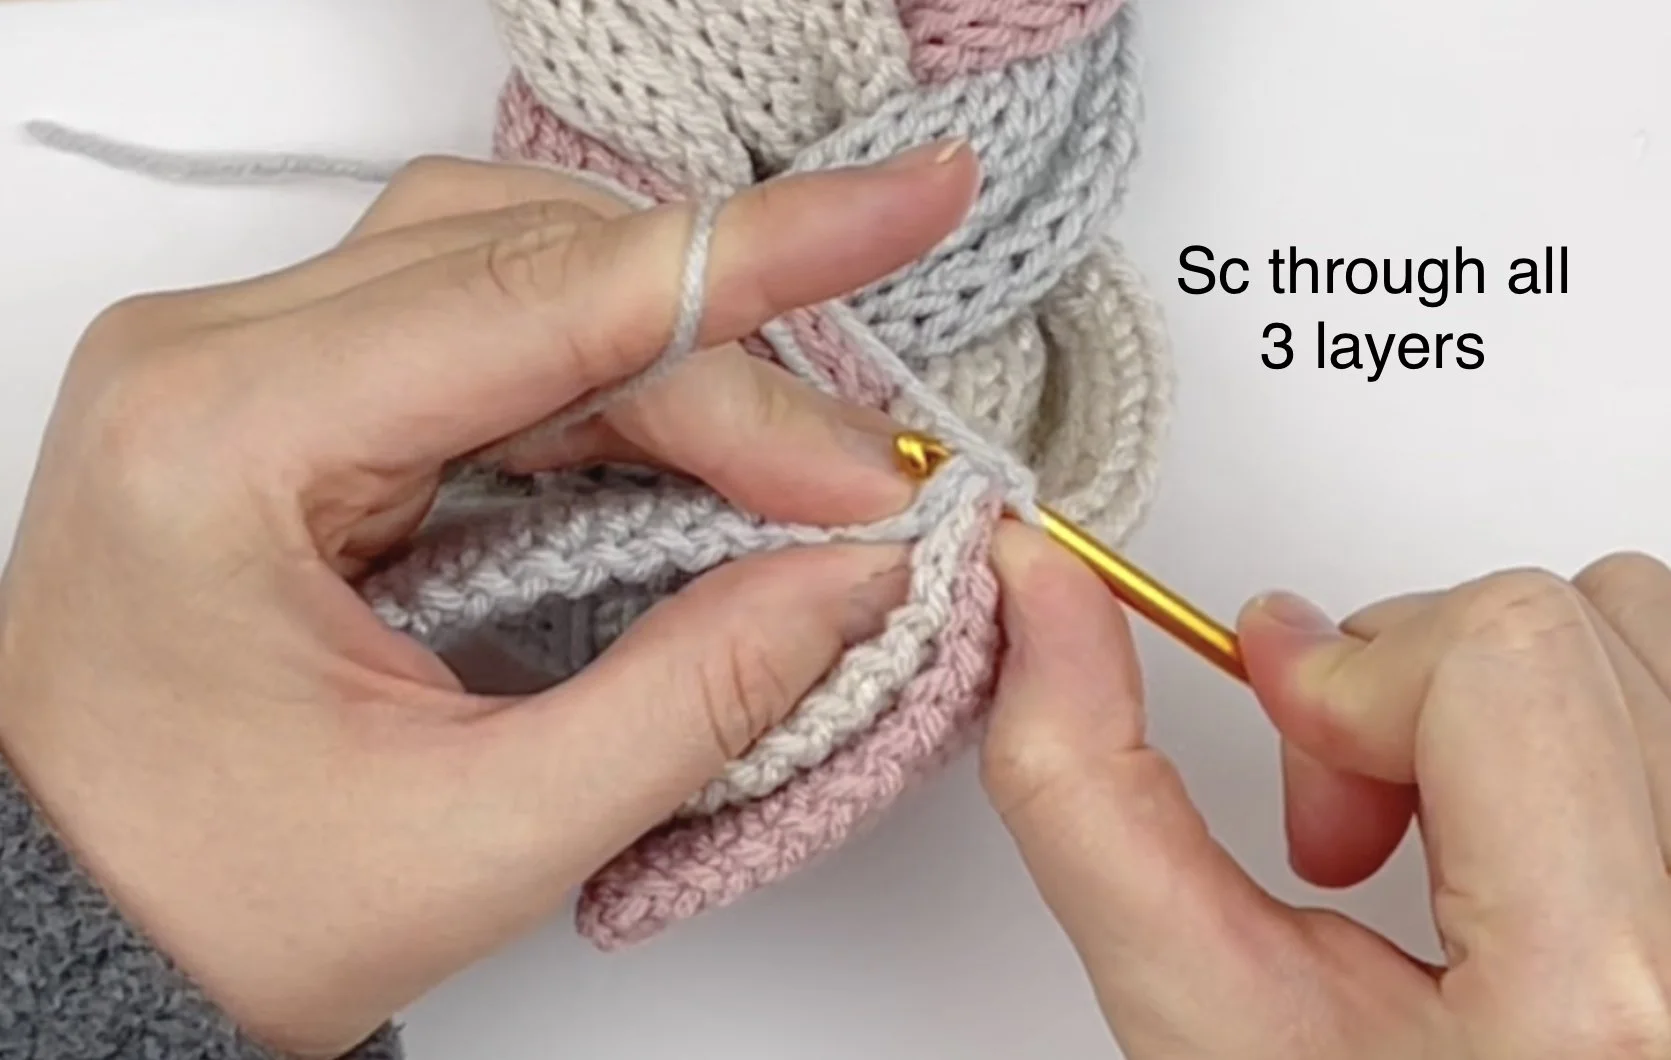
2) Line up one end all 3 tubes so the sl sts match. Insert your hook into the first st of all 3 layers. Grab matching yarn of top layer (facing you).
3) Pull up a loop, ch 1, sc in same st and in each st across. FO, leaving a long tail for sewing purposes later.

4) Hide shorter beg tail inside tube.
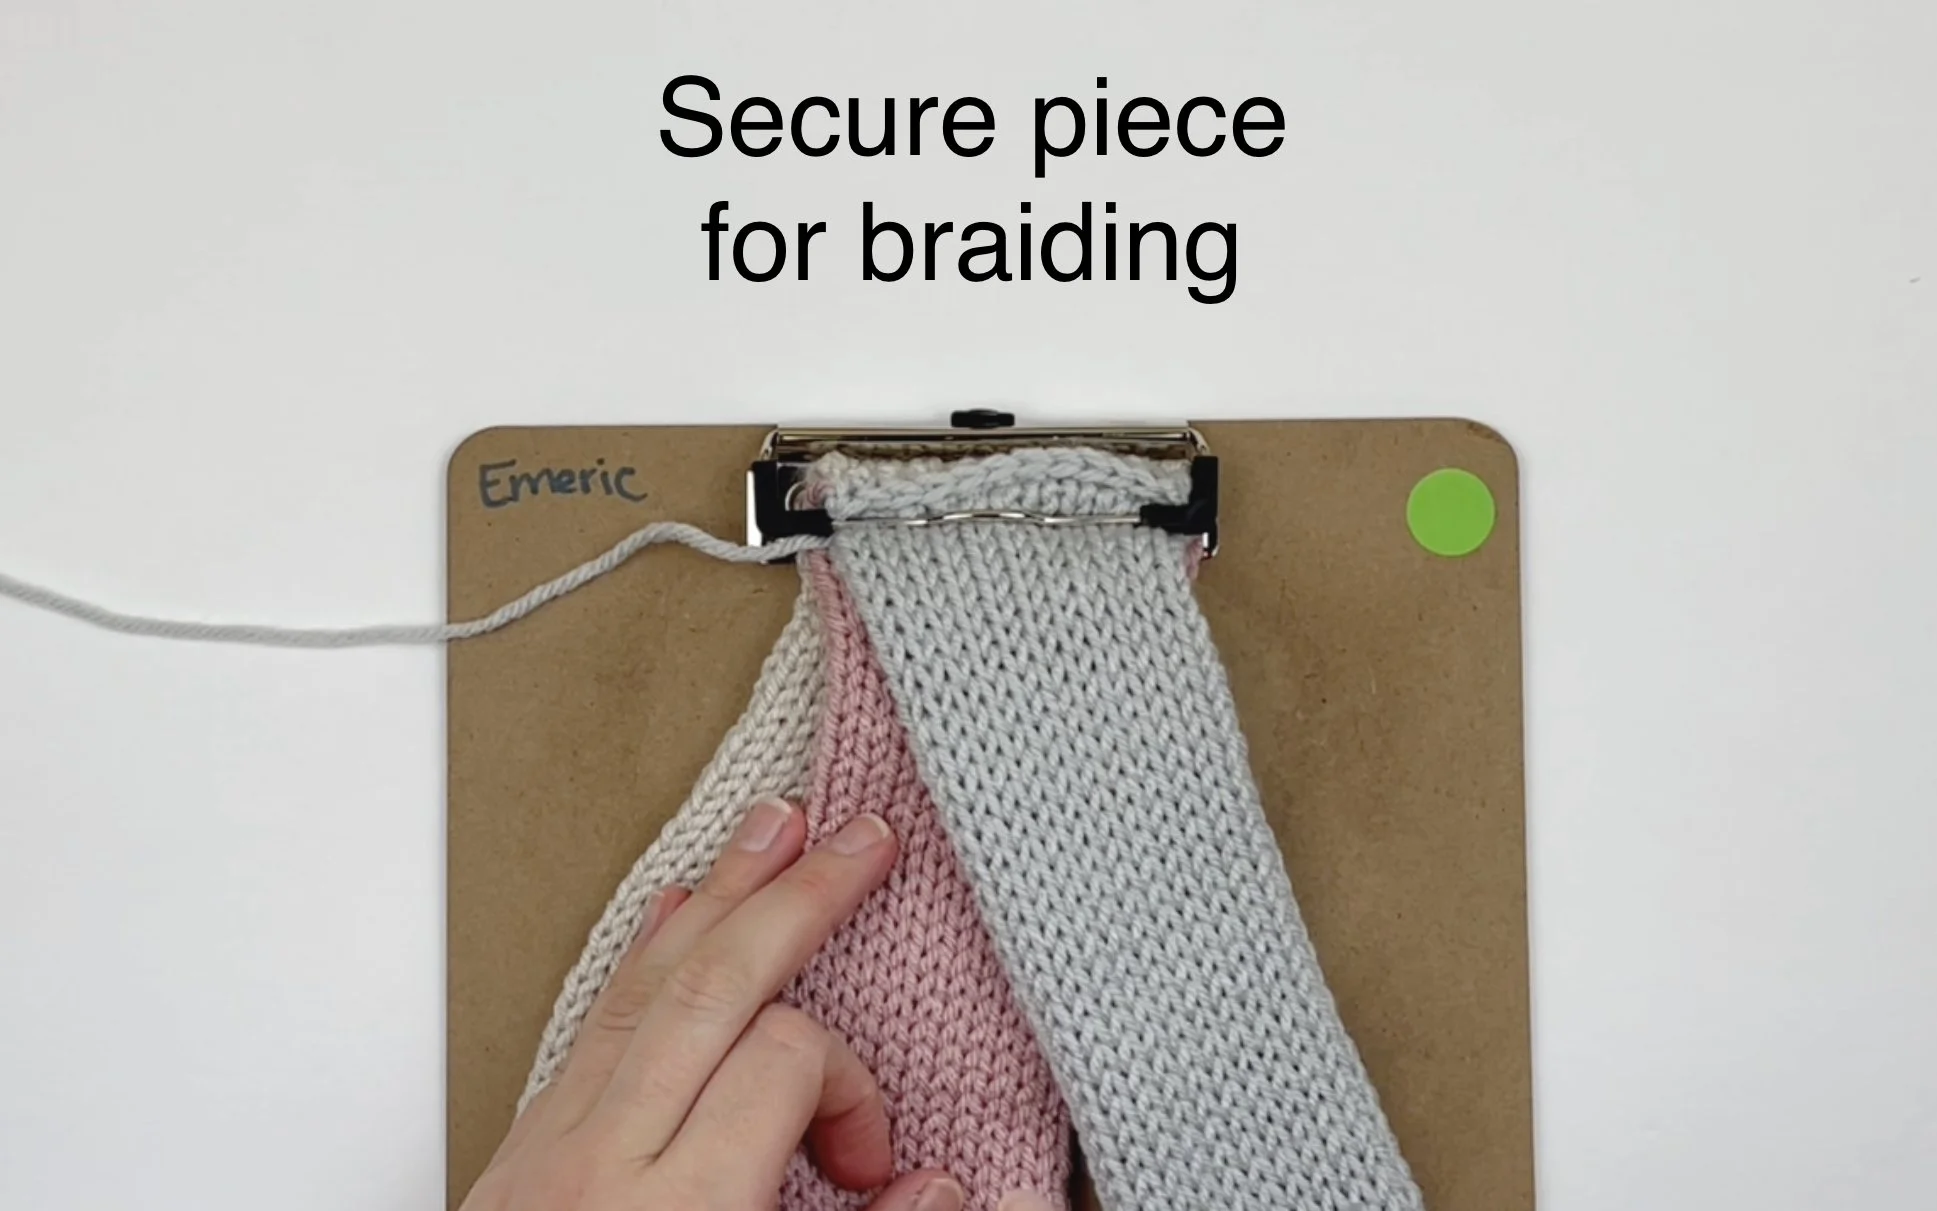
5) Secure top of your piece using a clip board or similar method and braid all 3 tubes together.
6) When at the bottom, take care to end on a different color on top than you began with.

7) Rep steps 2-4 to bottom of tubes, only use the same color as you did before to make your sc.
8) Bring both ends together and thread either long tail onto a yarn needle.
9) Using the mattress stitch, sew the ends together (see photos below). Knot off and weave in tail.

The Mattress Stitch is achieved by inserting your needle from inner to outer in each stitch across like a corset.

You can see here that the strands look very similar to the way you tie a corset.
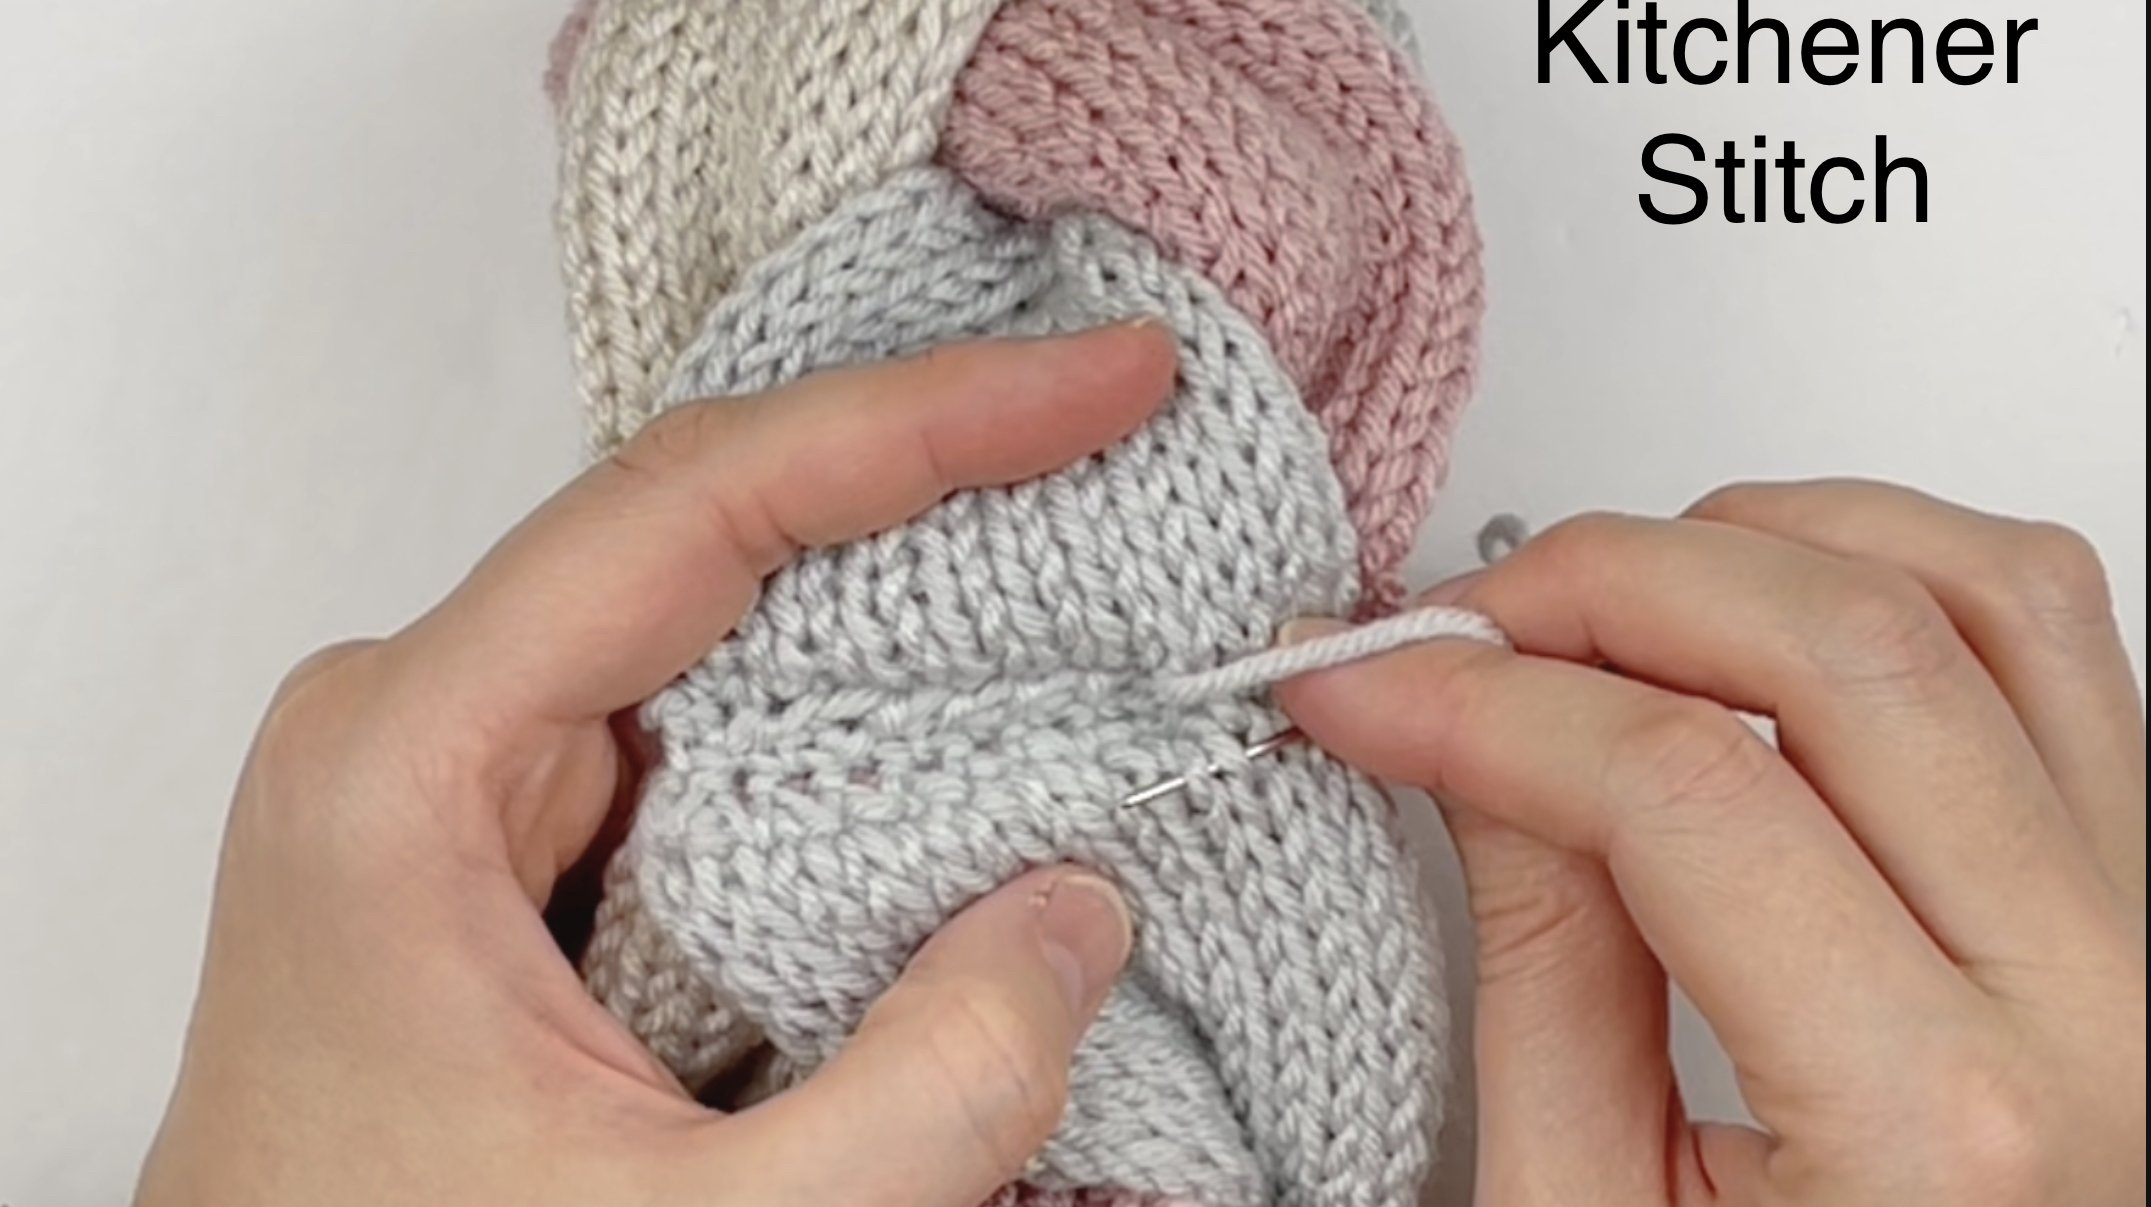
10) Thread yarn needle onto remaining tail and use the Kitchener stitch to seam both tubes together so that the outside seam is hidden (see photos below). Knot off and weave in tail.


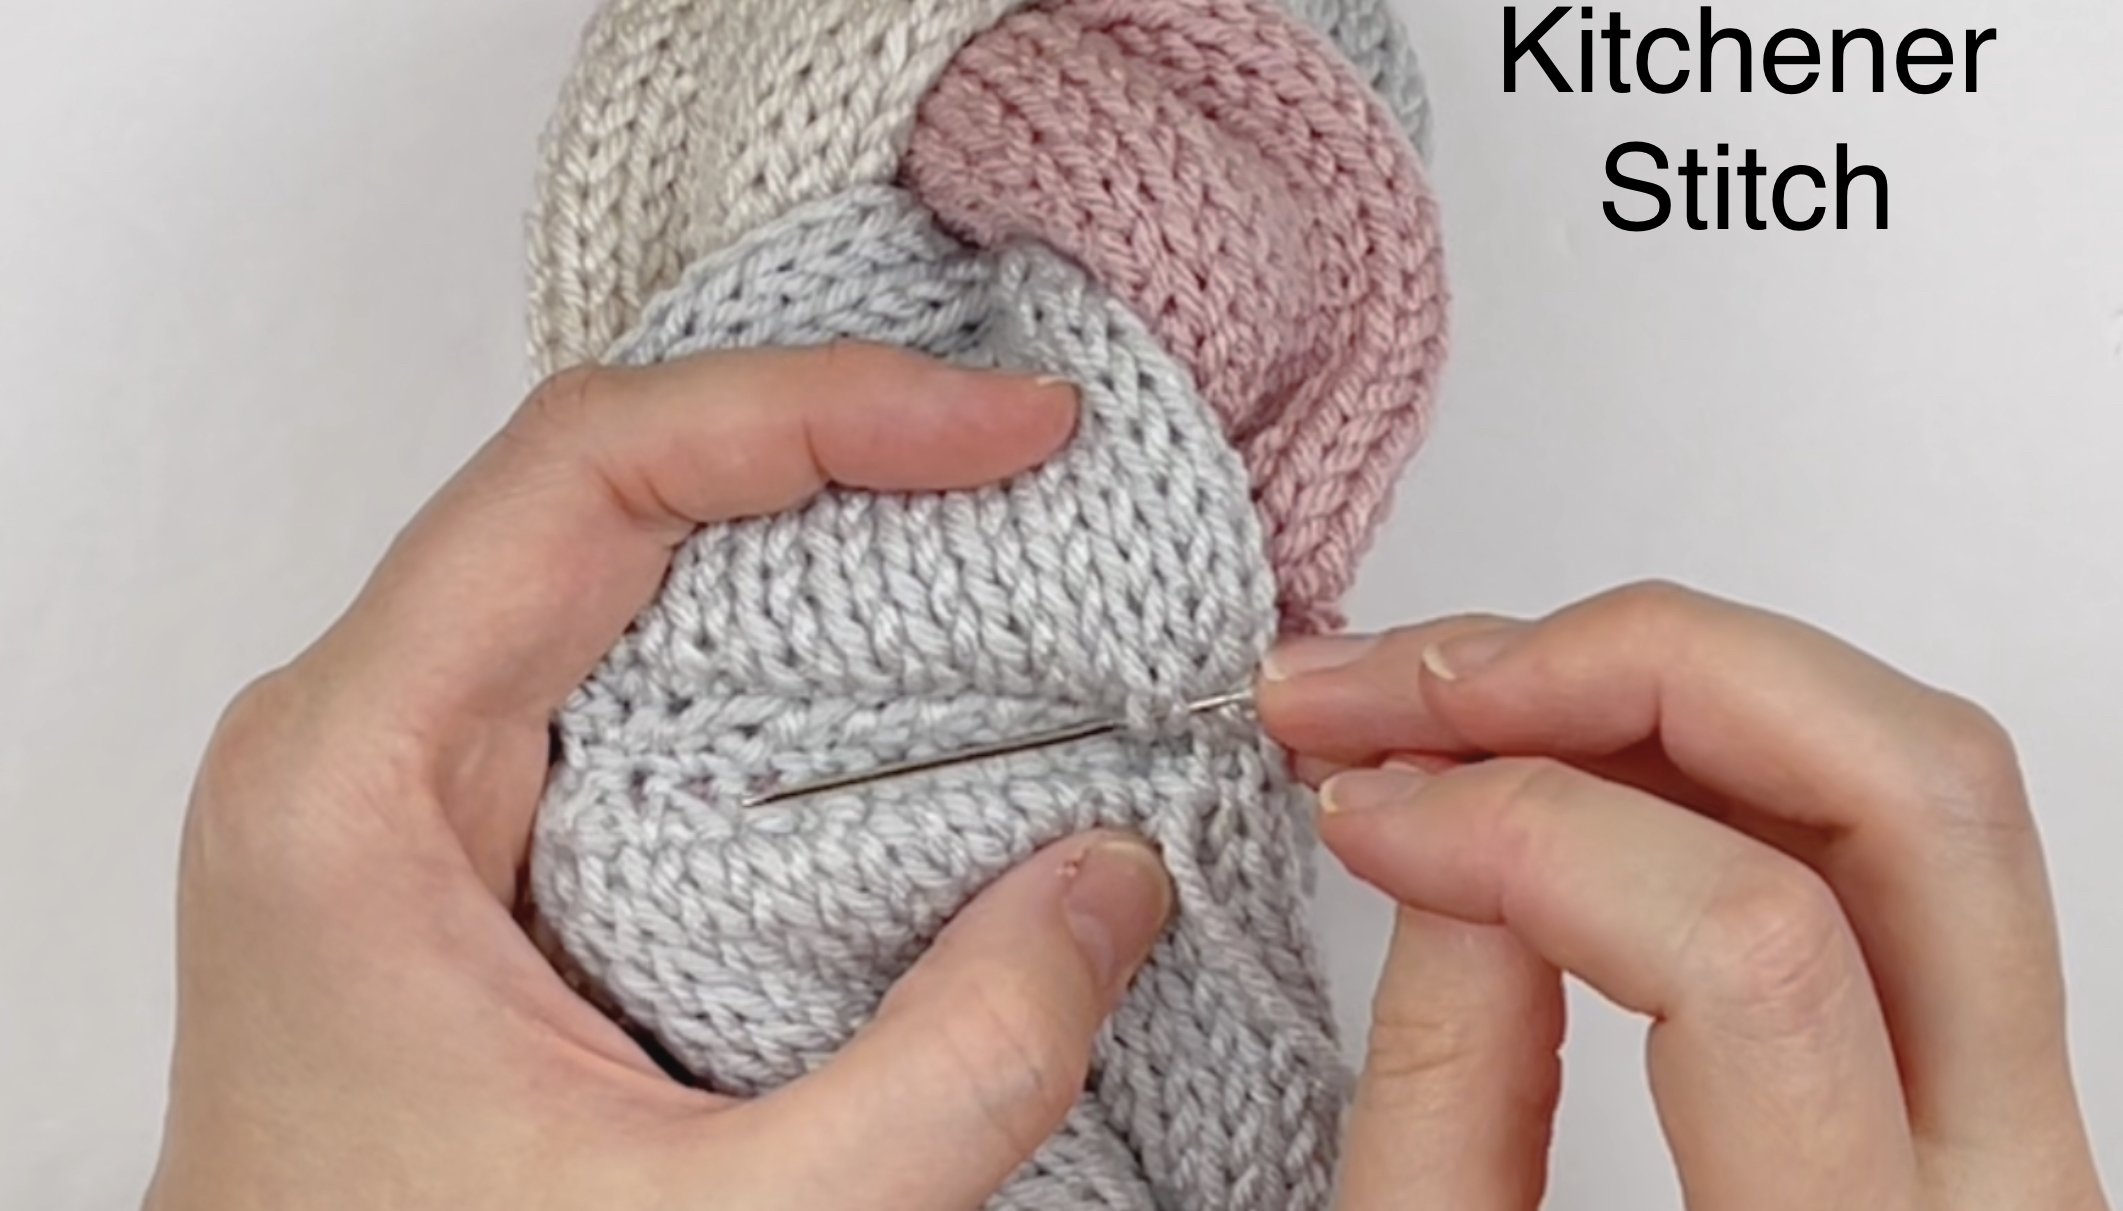
You may notice in the 4 photos above that both of the end colors are the same. I did not like how this particular project ended and definitely recommend using 2 different colors to make the seam look more natural.
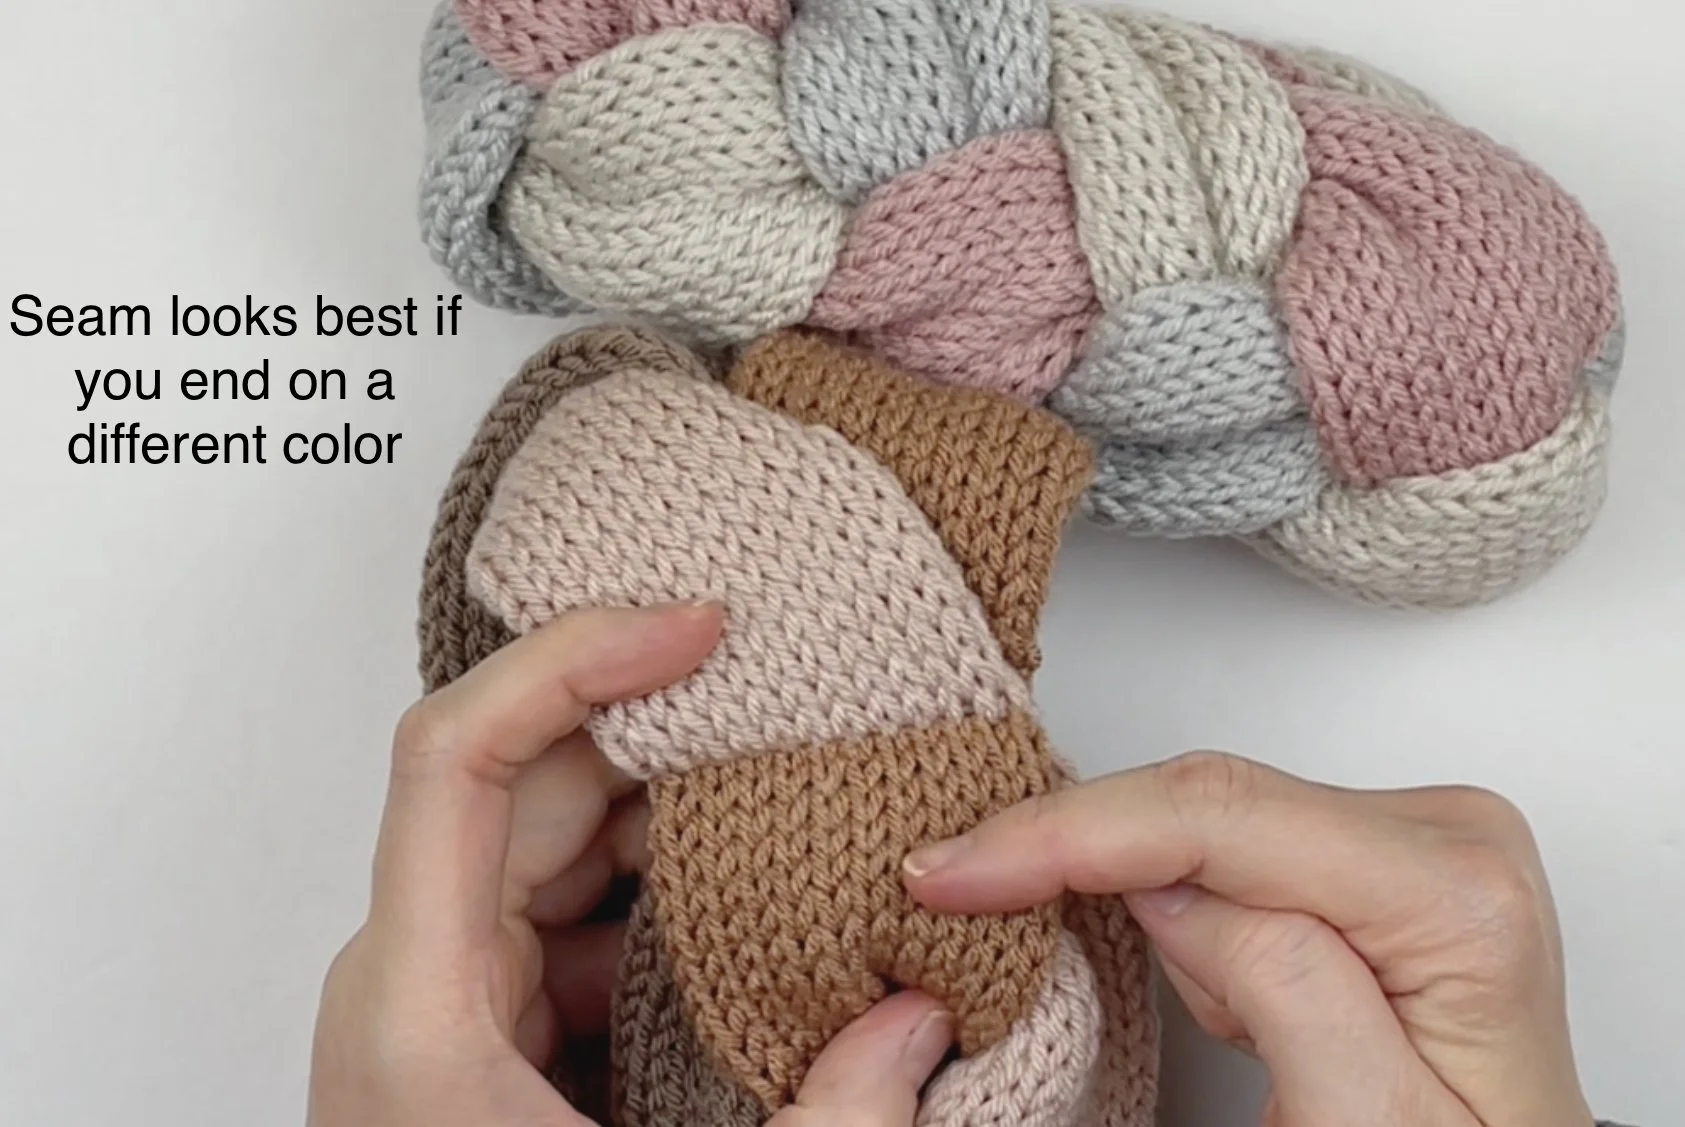
This photo demonstrates how nice and seamless the seam looks when using the Kitchener Stitch to cover the crocheted seam. You can also see how much more natural the seam looks when you begin and end with 2 different colors in your braid.
Your Plait Me Pretty set is complete! I would love to see your finished work! If you want to tag me on IG, I’m @dayscrochetnc. I can’t wait to see your projects! If you would like to see other versions that I will be making after this publication, be sure to check me out on IG and follow the hashtag #plaitmeprettyset

Please note that you do not have my permission to sell, illegally share, copy, or duplicate this pattern or my photos in any way. Please do not use this pattern for a video, blog, or class tutorial. Thank you so much for following these simple rules! Please message me on Facebook or send me an email at dayscrochetnc@gmail.com with any questions.
Come join my Facebook group, Crank & Crochet! We have a lot of fun and I often offer discounts and coupon codes to my members that I don’t offer anywhere else! Request to join and answer the questions by following this link.
Did you have fun making this project? Let me know in the comments!
Happy making!
~Dana