
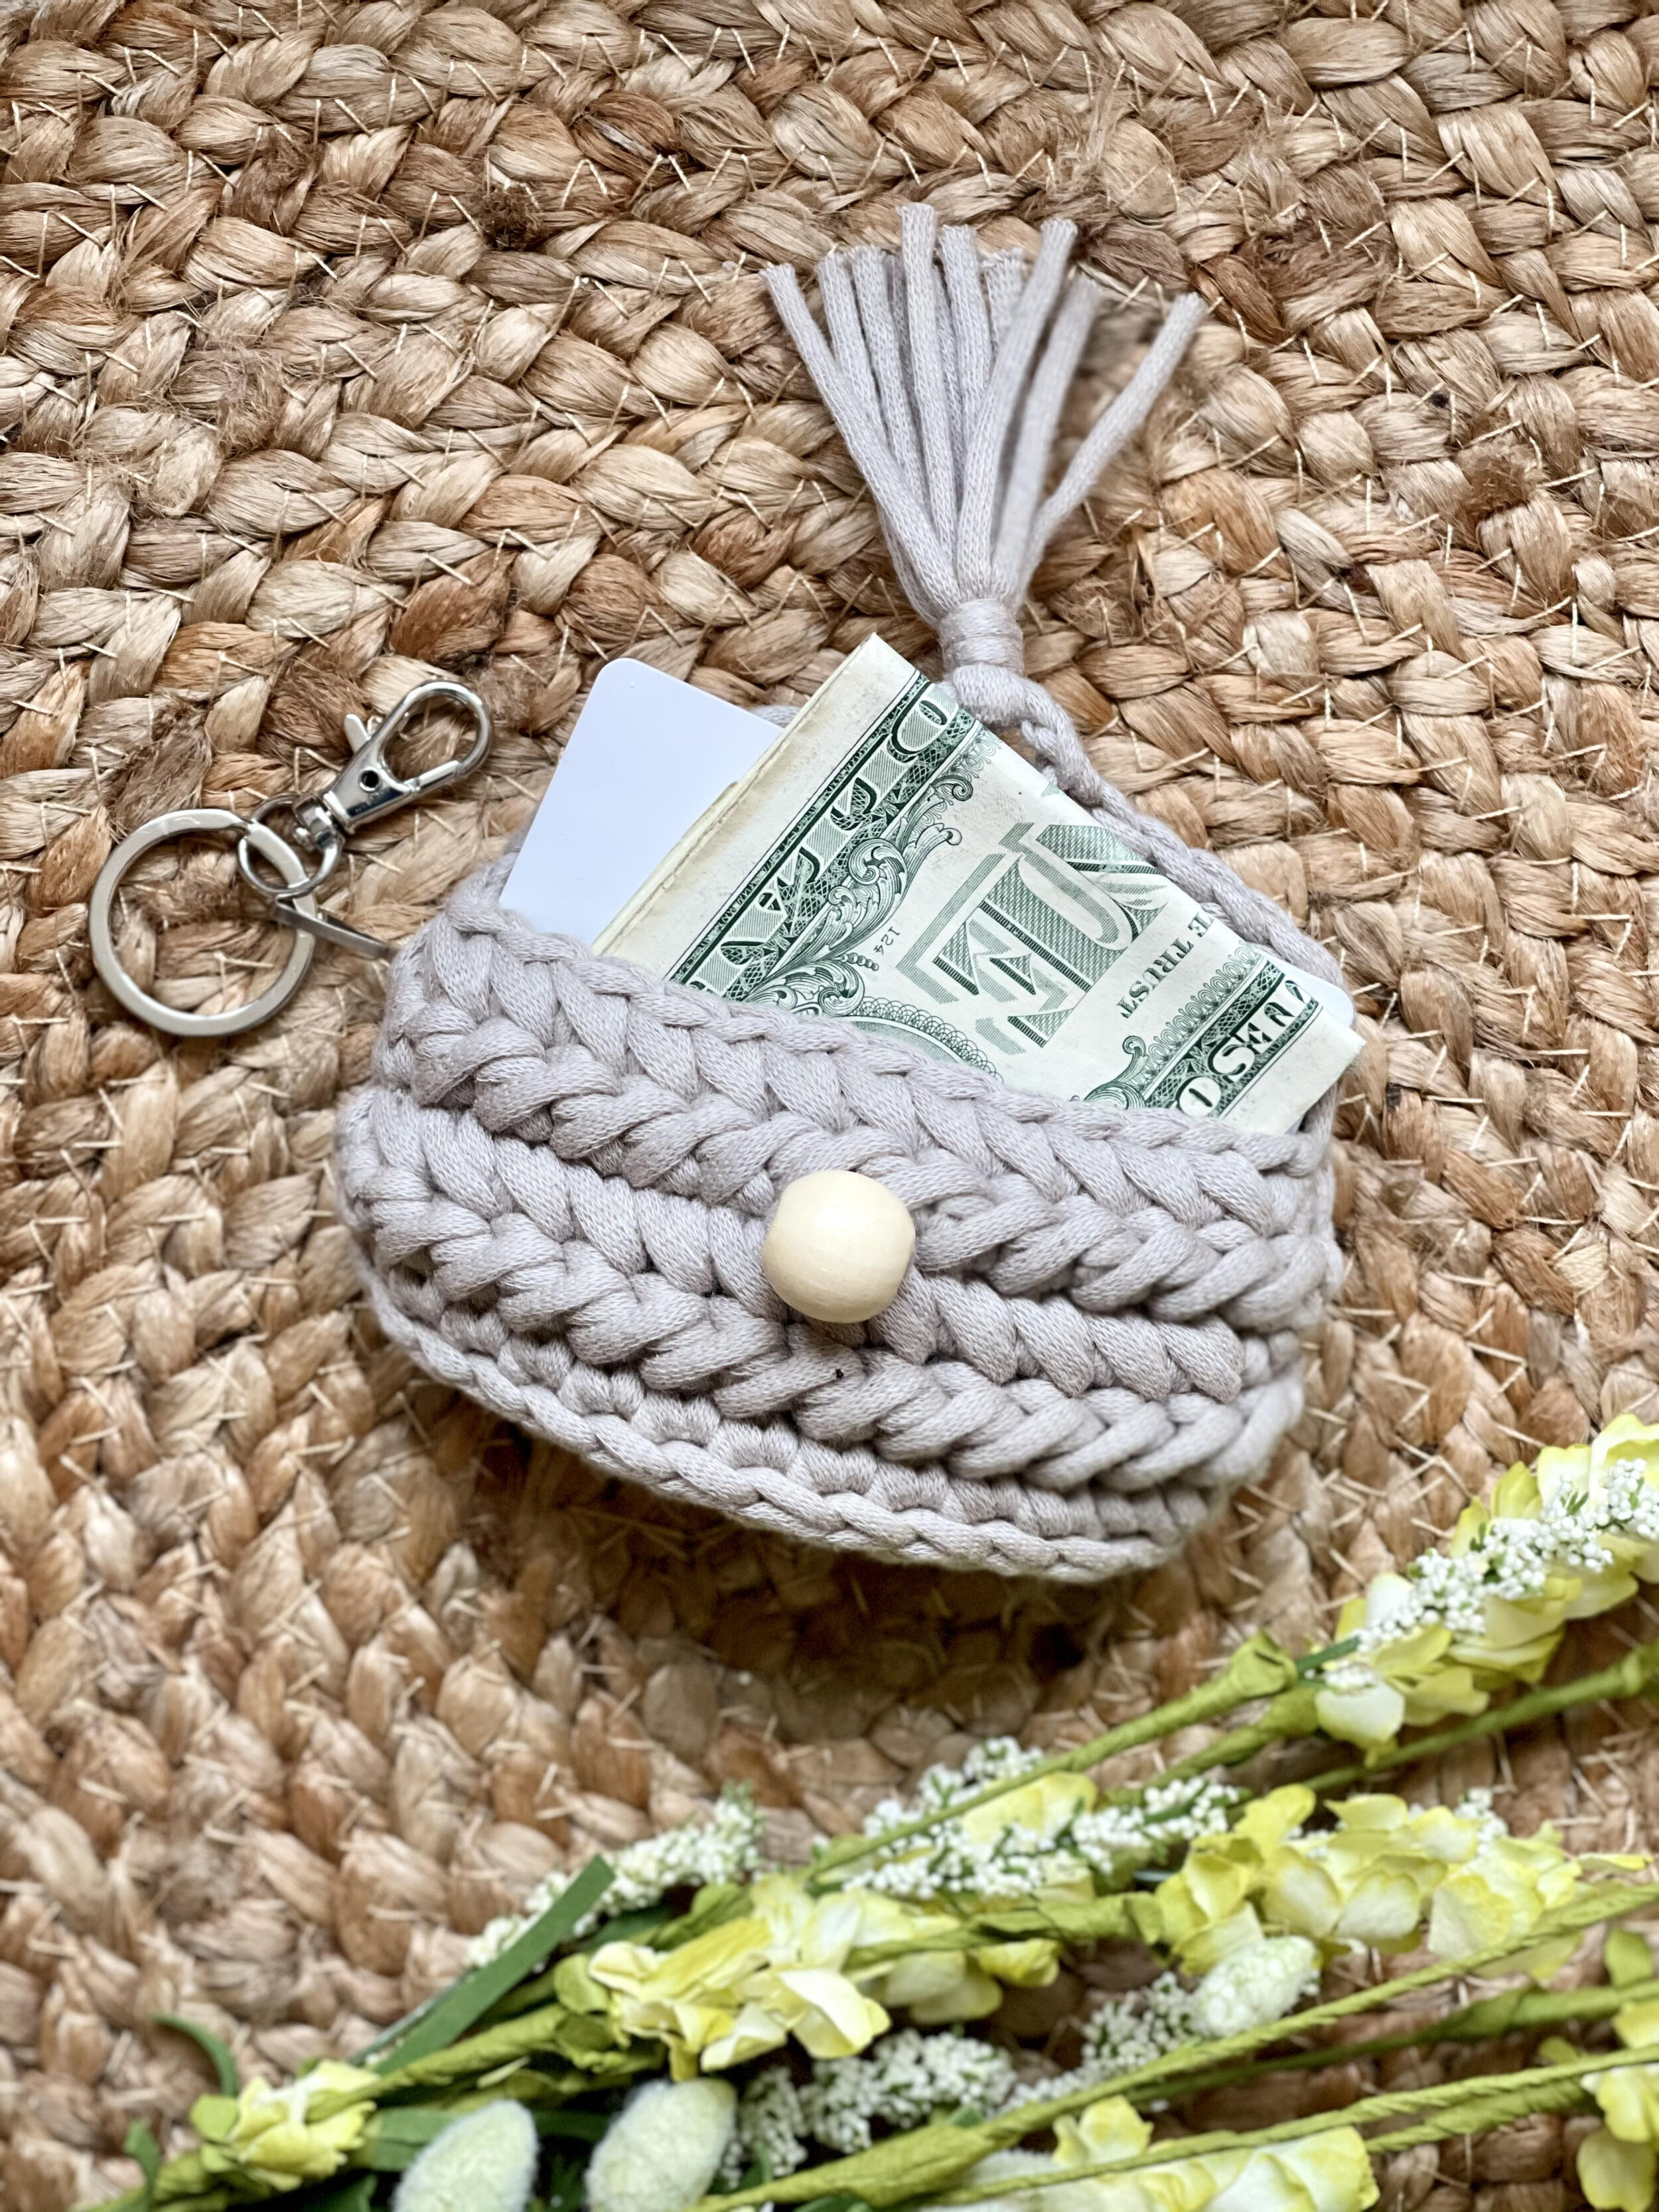
The Amaryllis Keychain Wallet
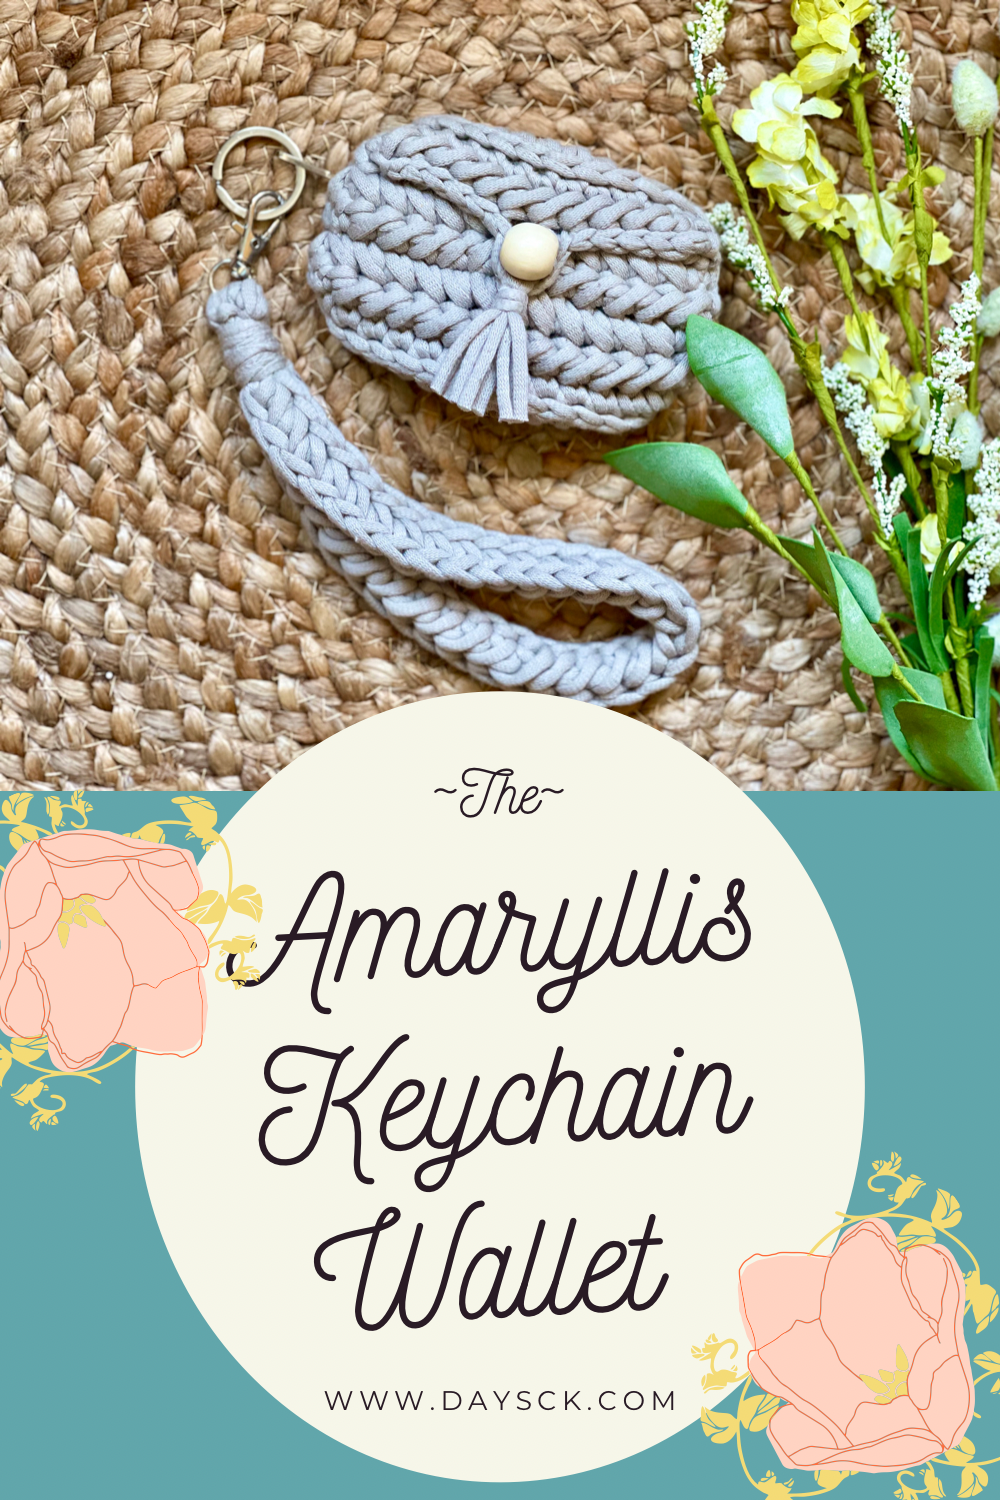
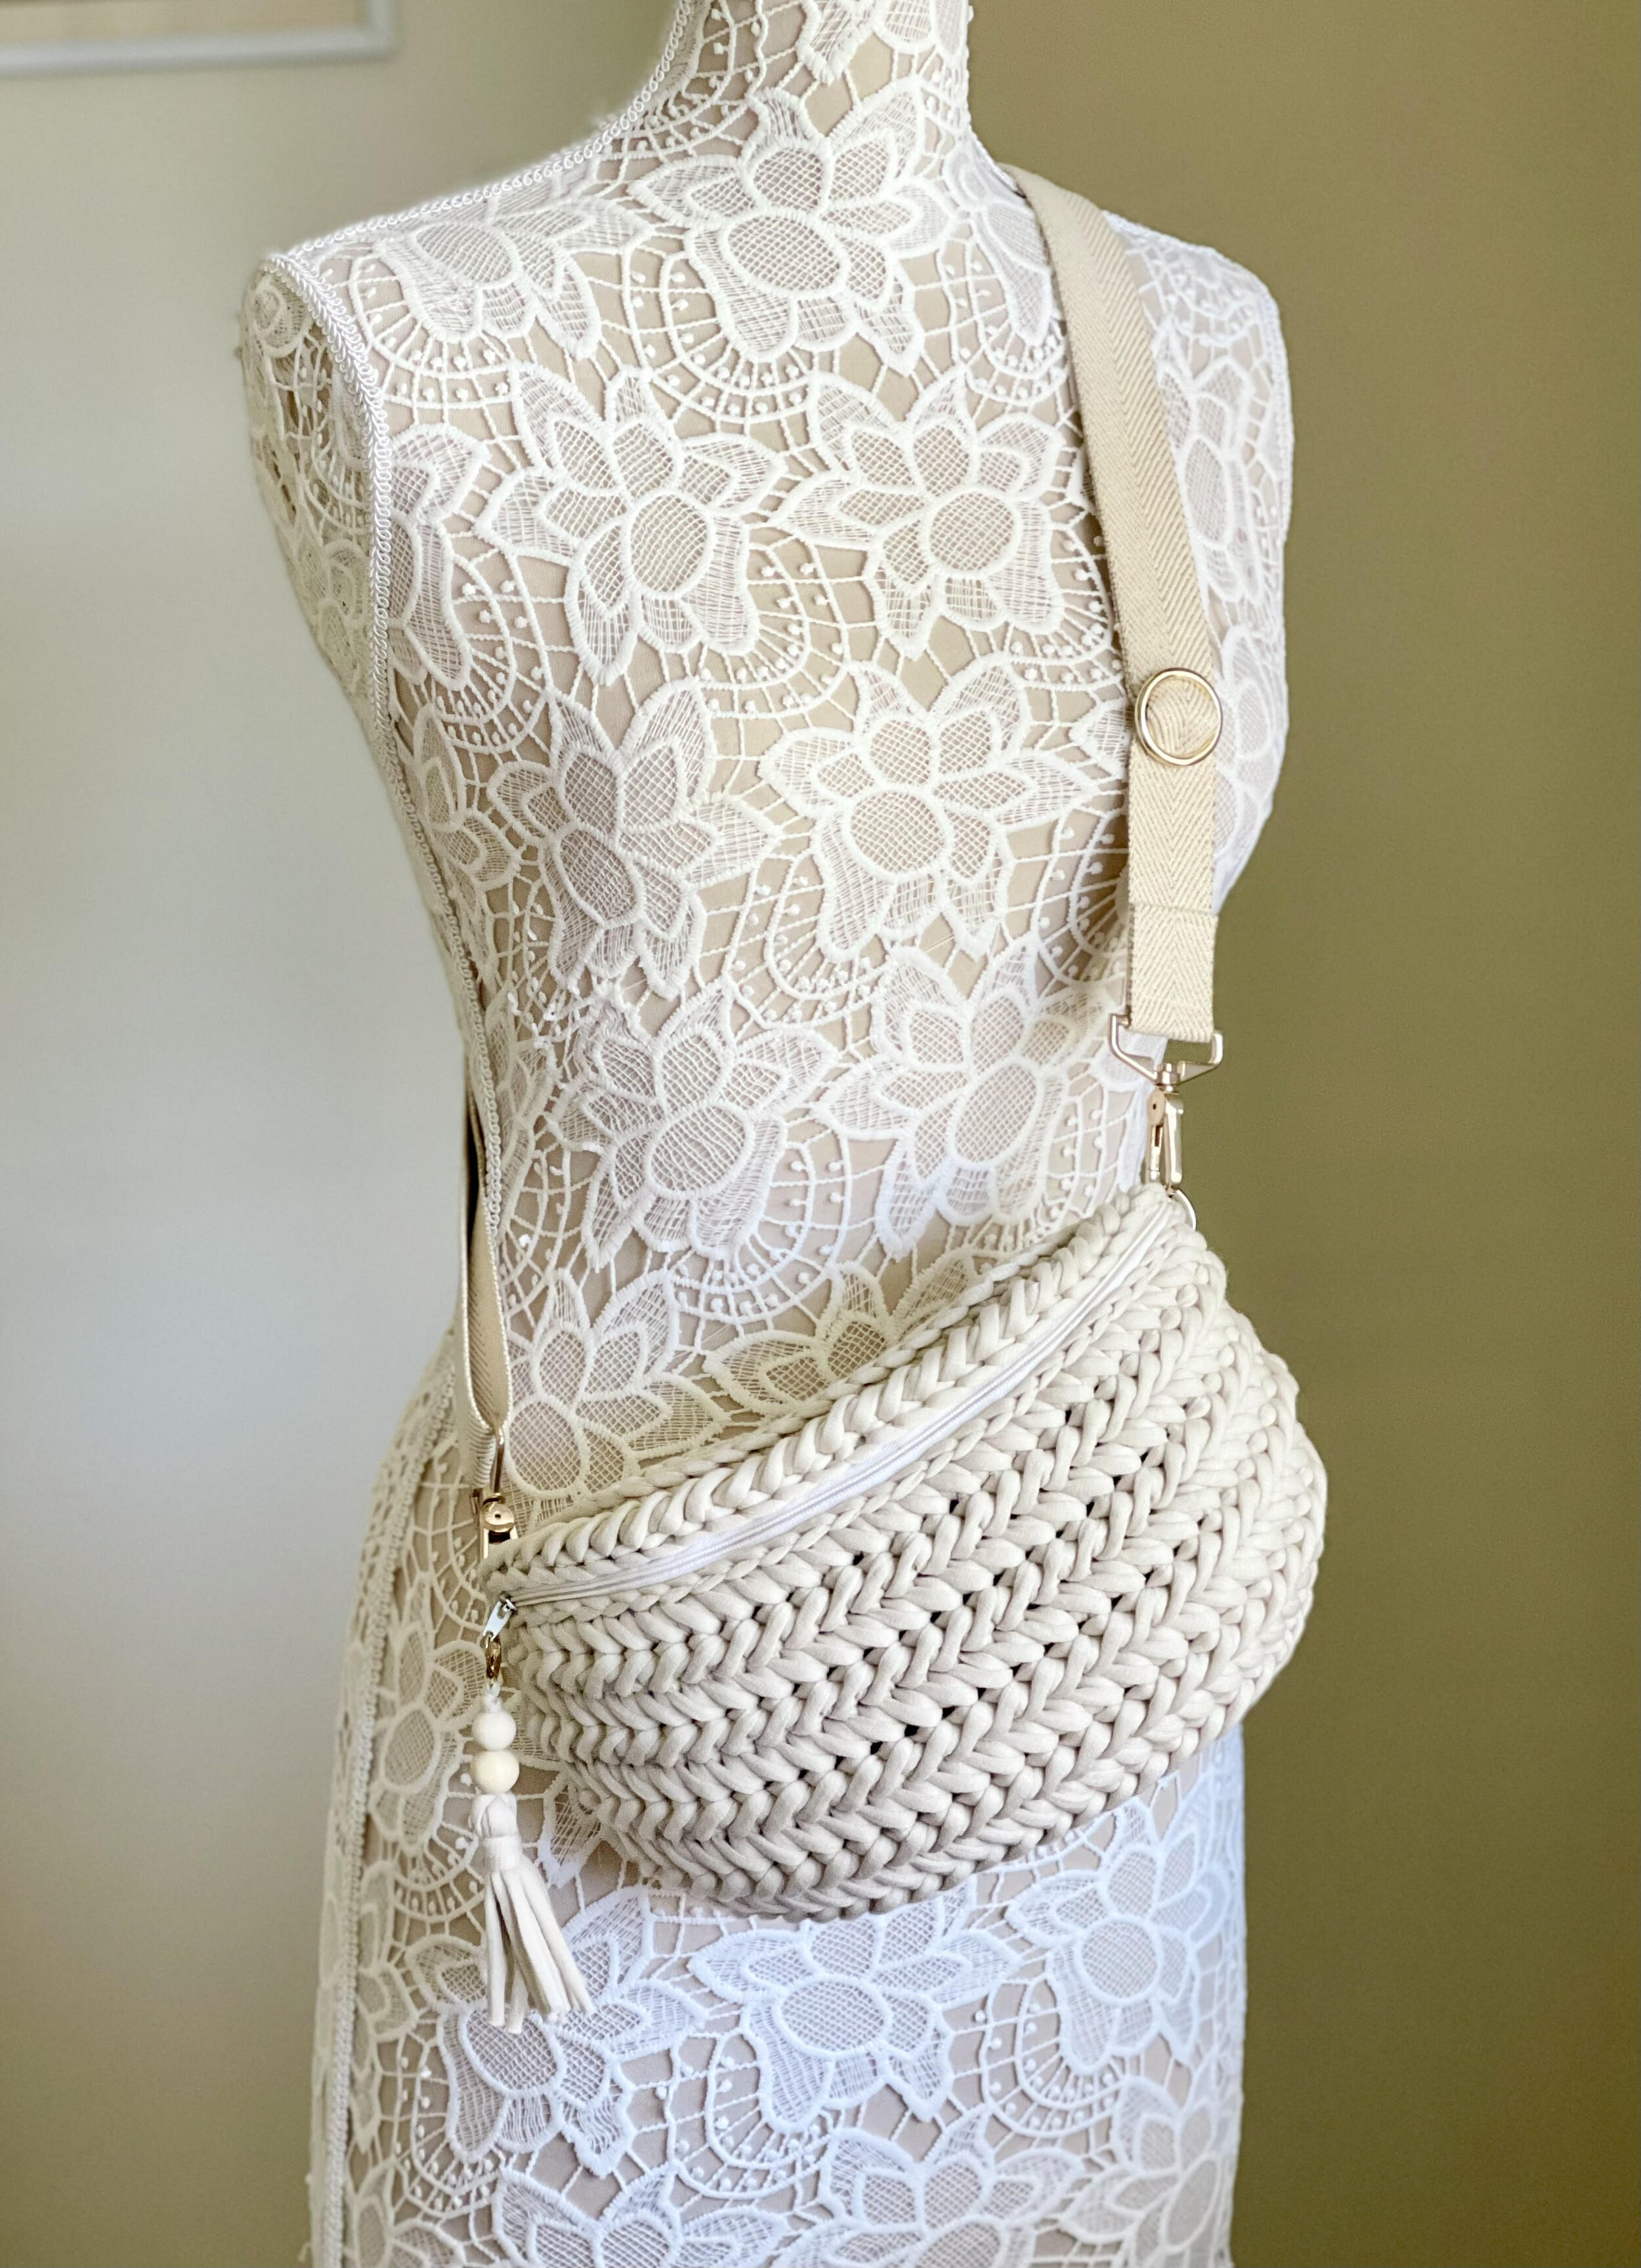
This keychain wallet is perfect for when you want to run errands and be nearly hands free. I added a matching wristlet strap that you can clip on and off for if you wanted to put your keys on your wrist and put your money and cards in the wallet portion while you shop. I personally HATE carrying a purse and I have absolutely loved carrying this instead!

Pictured is the matching wristlet strap. Pattern for the strap is included in the paragraphs below.
Another great option would be to add a swivel clasp to the keyring itself so that you can hook your keys and the wallet to your belt loops on your pants, etc. Then you would really be hands free! You could even make one to clip onto your backpack for school to carry a little extra cash for snacks while in between college classes.
It would make great gift to give a new teen who just got her license or to a busy mom who would like to be more hands free while toting a toddler. You could even throw in a gift card as a bonus gift!
They also make a hot seller at vendor markets. They take relatively little in time or supplies and are are too cute and functional to boot! People just cannot pass up something that is so useful! Another bonus is they will sell year round, so you don’t have to worry about storing it up in a tupperware for the next time the season rolls around.
You may even have enough time to whip some of these out before Mother’s Day. Or if you are a planner, they would made wonderful stocking stuffers! Add a gift card inside and it would double as a gift card holder as well! You may want to even add some personalization with some metallic letter beads to the keychain portion. How cute would that be?!?
They are just the right size for throwing in some chapstick or for carrying your earbuds and case inside. You could even fold up an extra cloth mask and store it in there for when you are running errands and have forgotten your mask at home. The options are endless as to what you can carry inside this adorable little keychain wallet!
Enough of my rambling! Let’s make it!
Supplies Needed:
-Approx. 20-30 yds. of a size 5 bulky weight yarn (I used Bernat Home Maker yarn, but you could realistically use any bulky weight yarn or double ww size 4 yarn. A good substitute yarn would be Lion Brand’s Rewind Tape)
-A 14 mm wooden bead or button of your choice
-A keychain ring with swivel clasp
-An attachment ring for adding the keychain to the wallet
-A size H 5.0 mm hook (or size needed to obtain gauge)
-scissors, measuring tape, and 4 stitch markers
Terms Used and Abbreviations:
Pattern is written in US terminology.
Begin(ning) - beg
Chain - ch
Fasten Off - FO
Half Double Crochet – hdc
Magic Ring - MR
Place Marker – PM
Repeat – rep
Right Side - RS
Single Crochet – sc
Skip - sk
Slip Stitch - sl st
Stitch Marker - SM
Stitch(es) - st(s)
Yarn Over – YO
Wrong Side - WS
Special Stitches:
Waistcoat St - Not abbreviated. The sc sts are worked the same, only you will need to place your hook in between the 2 vertical bars of the st that make the appearance of a “V”. Using this st pattern is necessary so that the back panel is sturdy and there are no holes big enough for anything to fall through. To see this st in full detail, see my YouTube video here.
Half Double Herringbone - HDH
Each row of HDH begins with 2 regular hdc sts before you can begin the actual st pattern. Once you have 2 hdc, you will:
1) Count backwards 2 sts (counting the st you made last) and insert your hook, YO, pull up a loop.
2) YO, move forward to the next open st, insert your hook, YO, pull up a loop, YO, pull through all 4 loops on your hook.
You will rep steps 1-2 all the way across until you reach the last st of the row. To see this st in full detail, see my YouTube video here.
Gauge:
Rounds 1-6 should measure 4” (10 cm) in diameter, slightly stretched to flatten the piece.
Finished Measurements:
Measurements are taken with the piece flattened and the top flap buttoned closed.
4.5” x 3.75” (11.5 x 9.5 cm)
Instructions:
Wallet is made in both the continuous round and in the row. The back panel is made first in the continuous round, then the front detail is joined to the back panel as you make it row-by-row.
Back Panel
You will be working in the continuous round, so you will need a SM. PM in the first st of every round, moving it as you go.
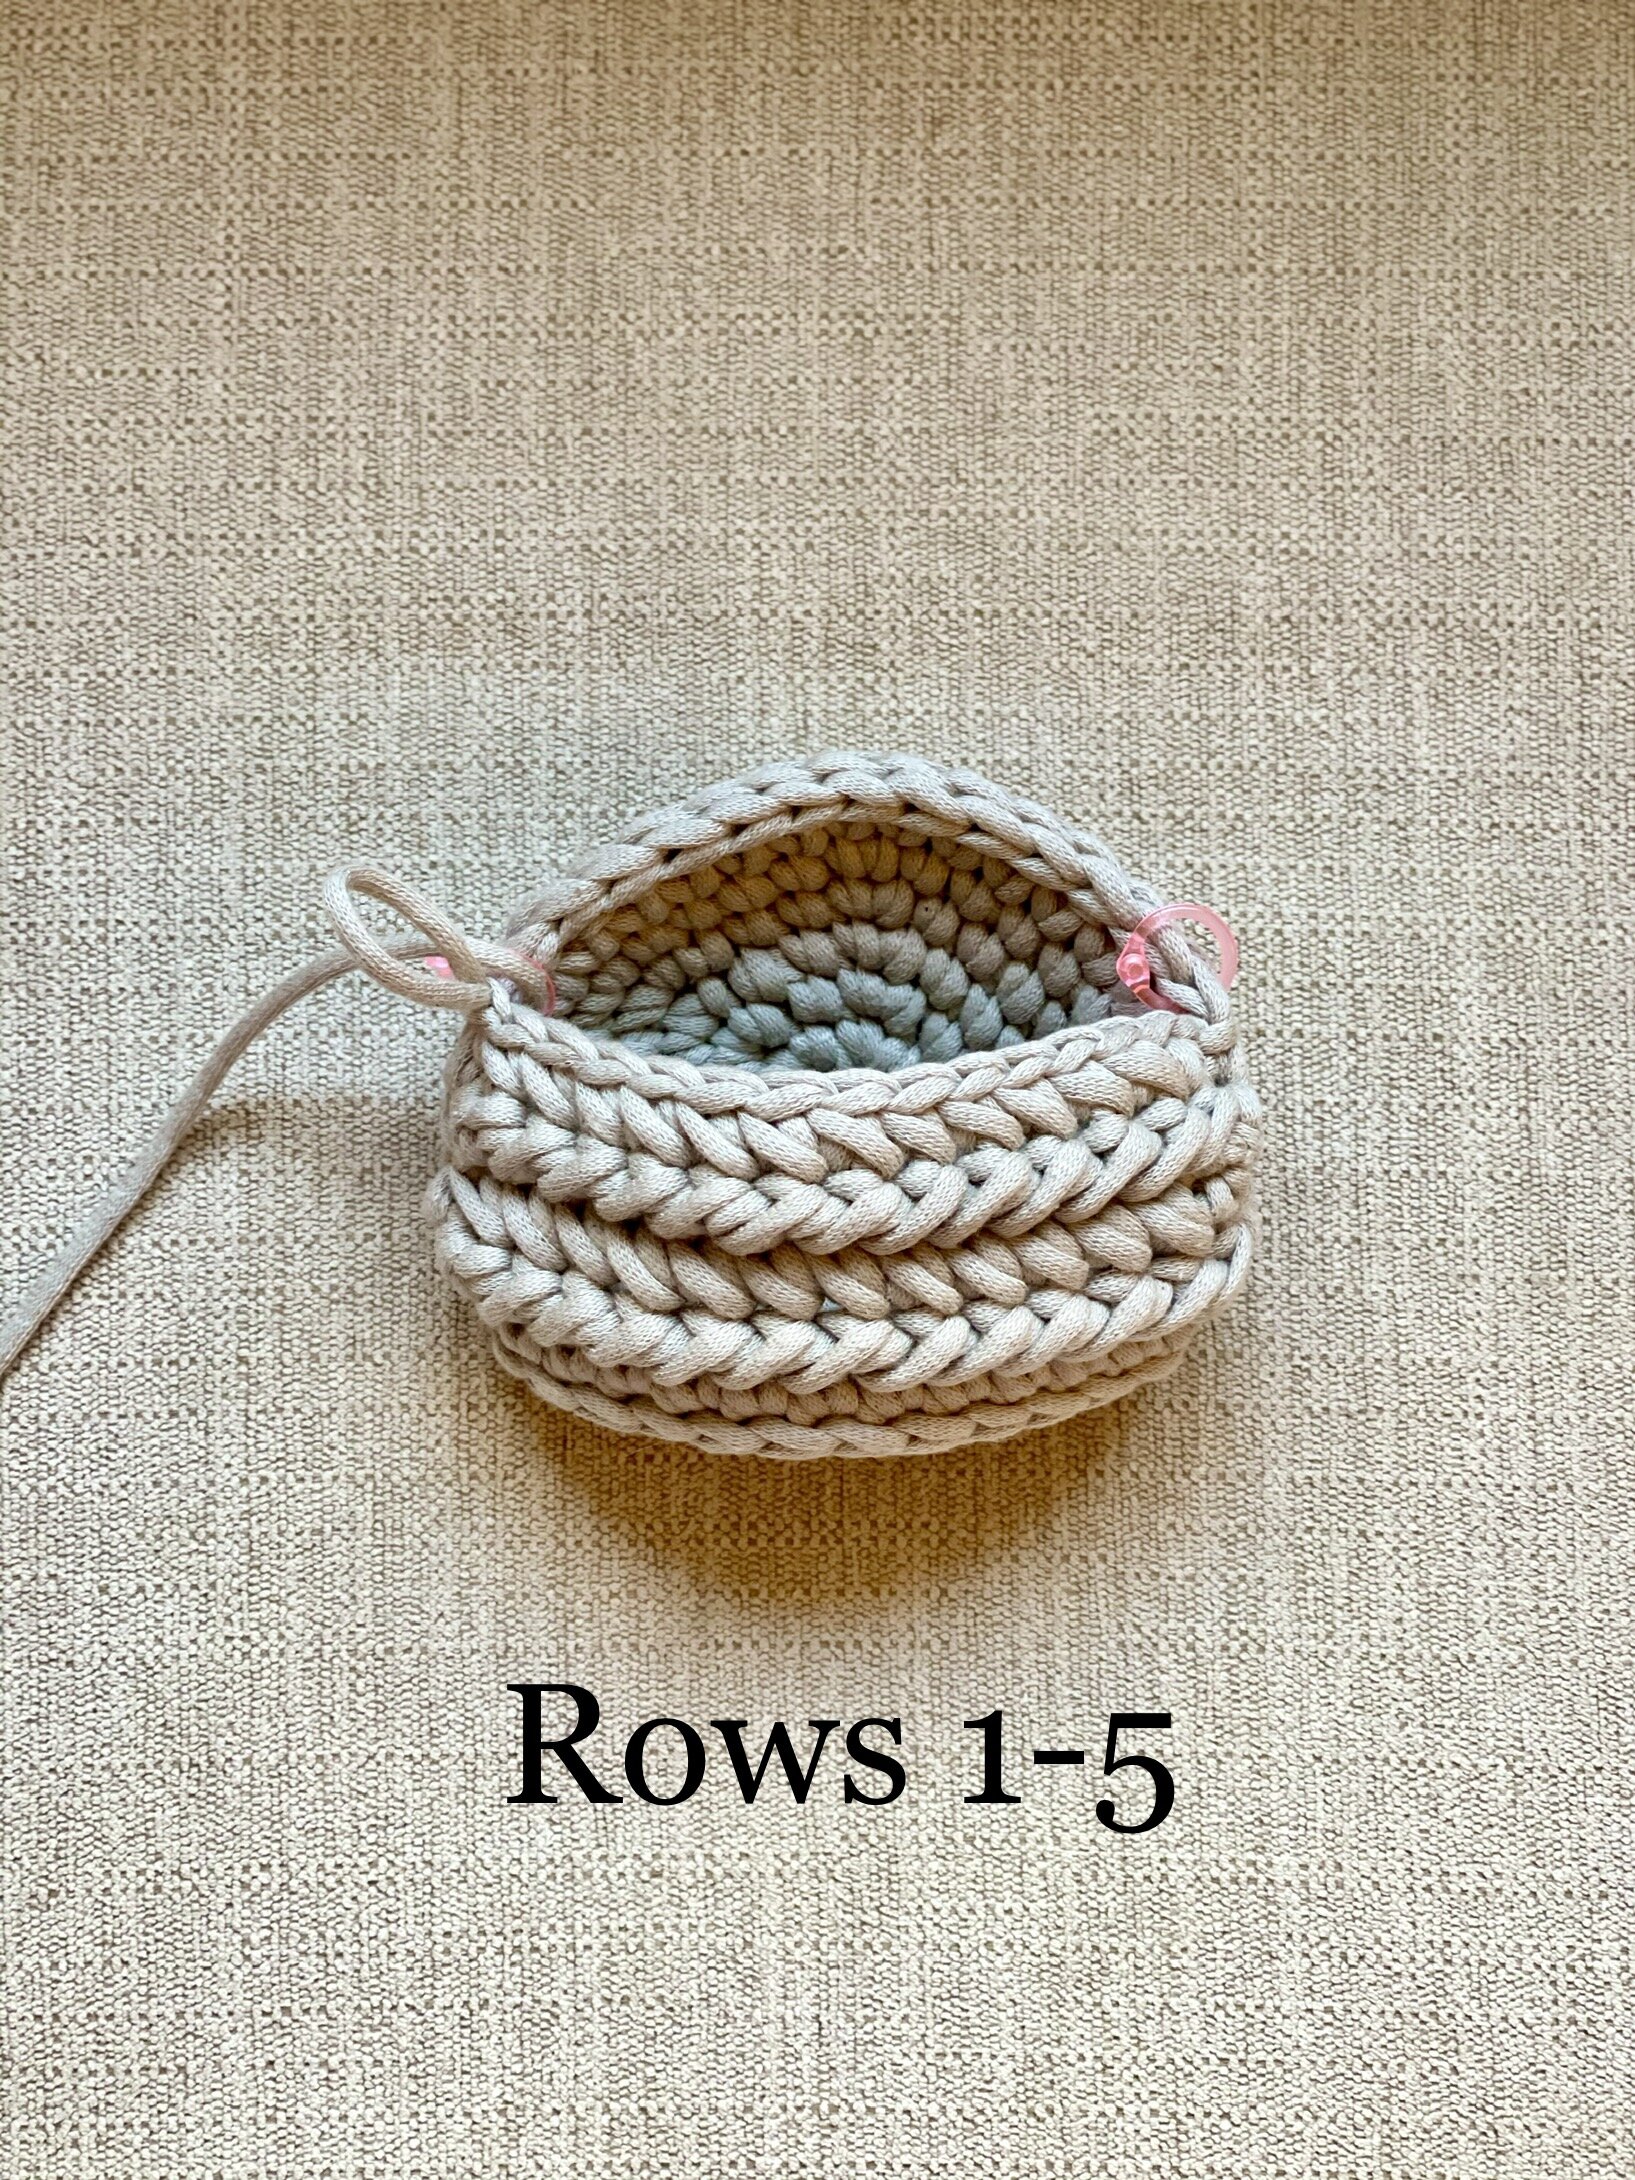
Round 1: Ch 2 (or make a MR), 6 sc in 2nd ch from hook. Do not sl st to join. [6 sc]
Round 2: Using the Waistcoat St (see special sts) for the remainder of the back panel, 2 sc in every st around. Do not sl st to join. [12 sc]
Round 3: {2 sc in next st, 1 sc in next} rep brackets a total of 6 times. Do not sl st to join. [18 sc]
Round 4: {2 sc in next st, 1 sc in next 2 sts} rep brackets a total of 6 times. Do not sl st to join. [24 sc]
Round 5: {2 sc in next st, 1 sc in next 3 sts} rep brackets a total of 6 times. Do not sl st to join. [30 sc]
Round 6: {2 sc in next st, 1 sc in next 4 sts} rep brackets a total of 6 times. Do not sl st to join. [36 sc]

Grab 3 more SM. Mark the 5th st from current SM. Mark the 13th st from that SM. Mark the 5th st from that SM. (See photo below)

Round 7: Using the Waistcoat St, sc in every st around, moving the SM as you go. Join with seamless join to first sc and FO, weaving in tails. [36 sc] (I show in explicit detail how to do the seamless join. See my YouTube video here.
The 12 sts that you marked indicate the top and bottom of your bag, with the 6 sts on each side indicating the sides of your bag.


With the WS of your panel facing you and the 6 marked sts on each side, join with a sl st to bottom right, in the st just above the SM. (See photo above.)
Round 8: Loosely sl st in every st around, moving your SM into your sl sts as you go. Join with a sl st in first sl st. [36 sl sts] To visualize this round, see my video here.
Front Panel
Row 1: Turn. Working your sts through the sl sts made in round 8, sk over next sl sts and sc in st with SM, PM in st just made, sc in each st to next SM and in the st with the SM, PM in last st. Tightly sl st into next sl st of back panel to join this row to the back panel. [14 sc] To visualize this row, see my video here.
NOTE: You will notice I do not instruct you to make any beg chs in these following rows. That is because you will be making sl sts into the back panel sts as you go instead. This allows you to join your panel as you go rather than making a separate piece to sew on later. Every time you end a row of the front detail, you are going to sl st into the next st of the back panel to join that row. If you are going to continue on and make another row, you will need to sl st into the next sl st of the back panel instead of making a ch 1 to turn. The sl st you make prior to starting a new row will take the place of your beg ch 1.
This is a technique I have personally come up with because I hate sewing pieces on separately. If you need further help, I recommend watching the YouTube video I made to help with the most difficult portions of the pattern:
Row 2: Tightly sl st into next sl st of back panel, turn, sk 2 sl sts just made, beg HDH st pattern in sc sts across (see special sts), moving your markers as you go. Tightly sl st into next sl st of back panel. [14 HDH] For help with this row, see my video here.
Row 3: Tightly sl st into next sl st of back panel, turn, sk 2 sl sts just made, HDH across, moving your markers as you go. Tightly sl st into next sl st of back panel. [14 HDH]
Rows 4-5: Rep Row 3.
Begin Top Flap
By now you should have reached the next set of SM that indicates the top portion of the bag. With the RS of the bag facing you, you should be at the SM on the top left. See photo below.
Row 6: NOTE: Remove the last sl st you made to join Row 5 to the back panel. Sc in next st with SM and in each sl st of back panel to next SM and into st with SM on opposite side, moving your markers as you go. Sl st in last HDH st of Row 5. [14 sc]

Row 7: Turn, sk over first st with marker, sl st into next st, ch 1, HDH in same st and across until you reach the last SM of the row; leave last st unworked. [12 HDH]
Row 8: Ch 1, turn, sl st in first 6 sts, ch 5 (buttonhole made), sl st in last 6 sts of row. [12 sl sts, 1 ch-5 sp]
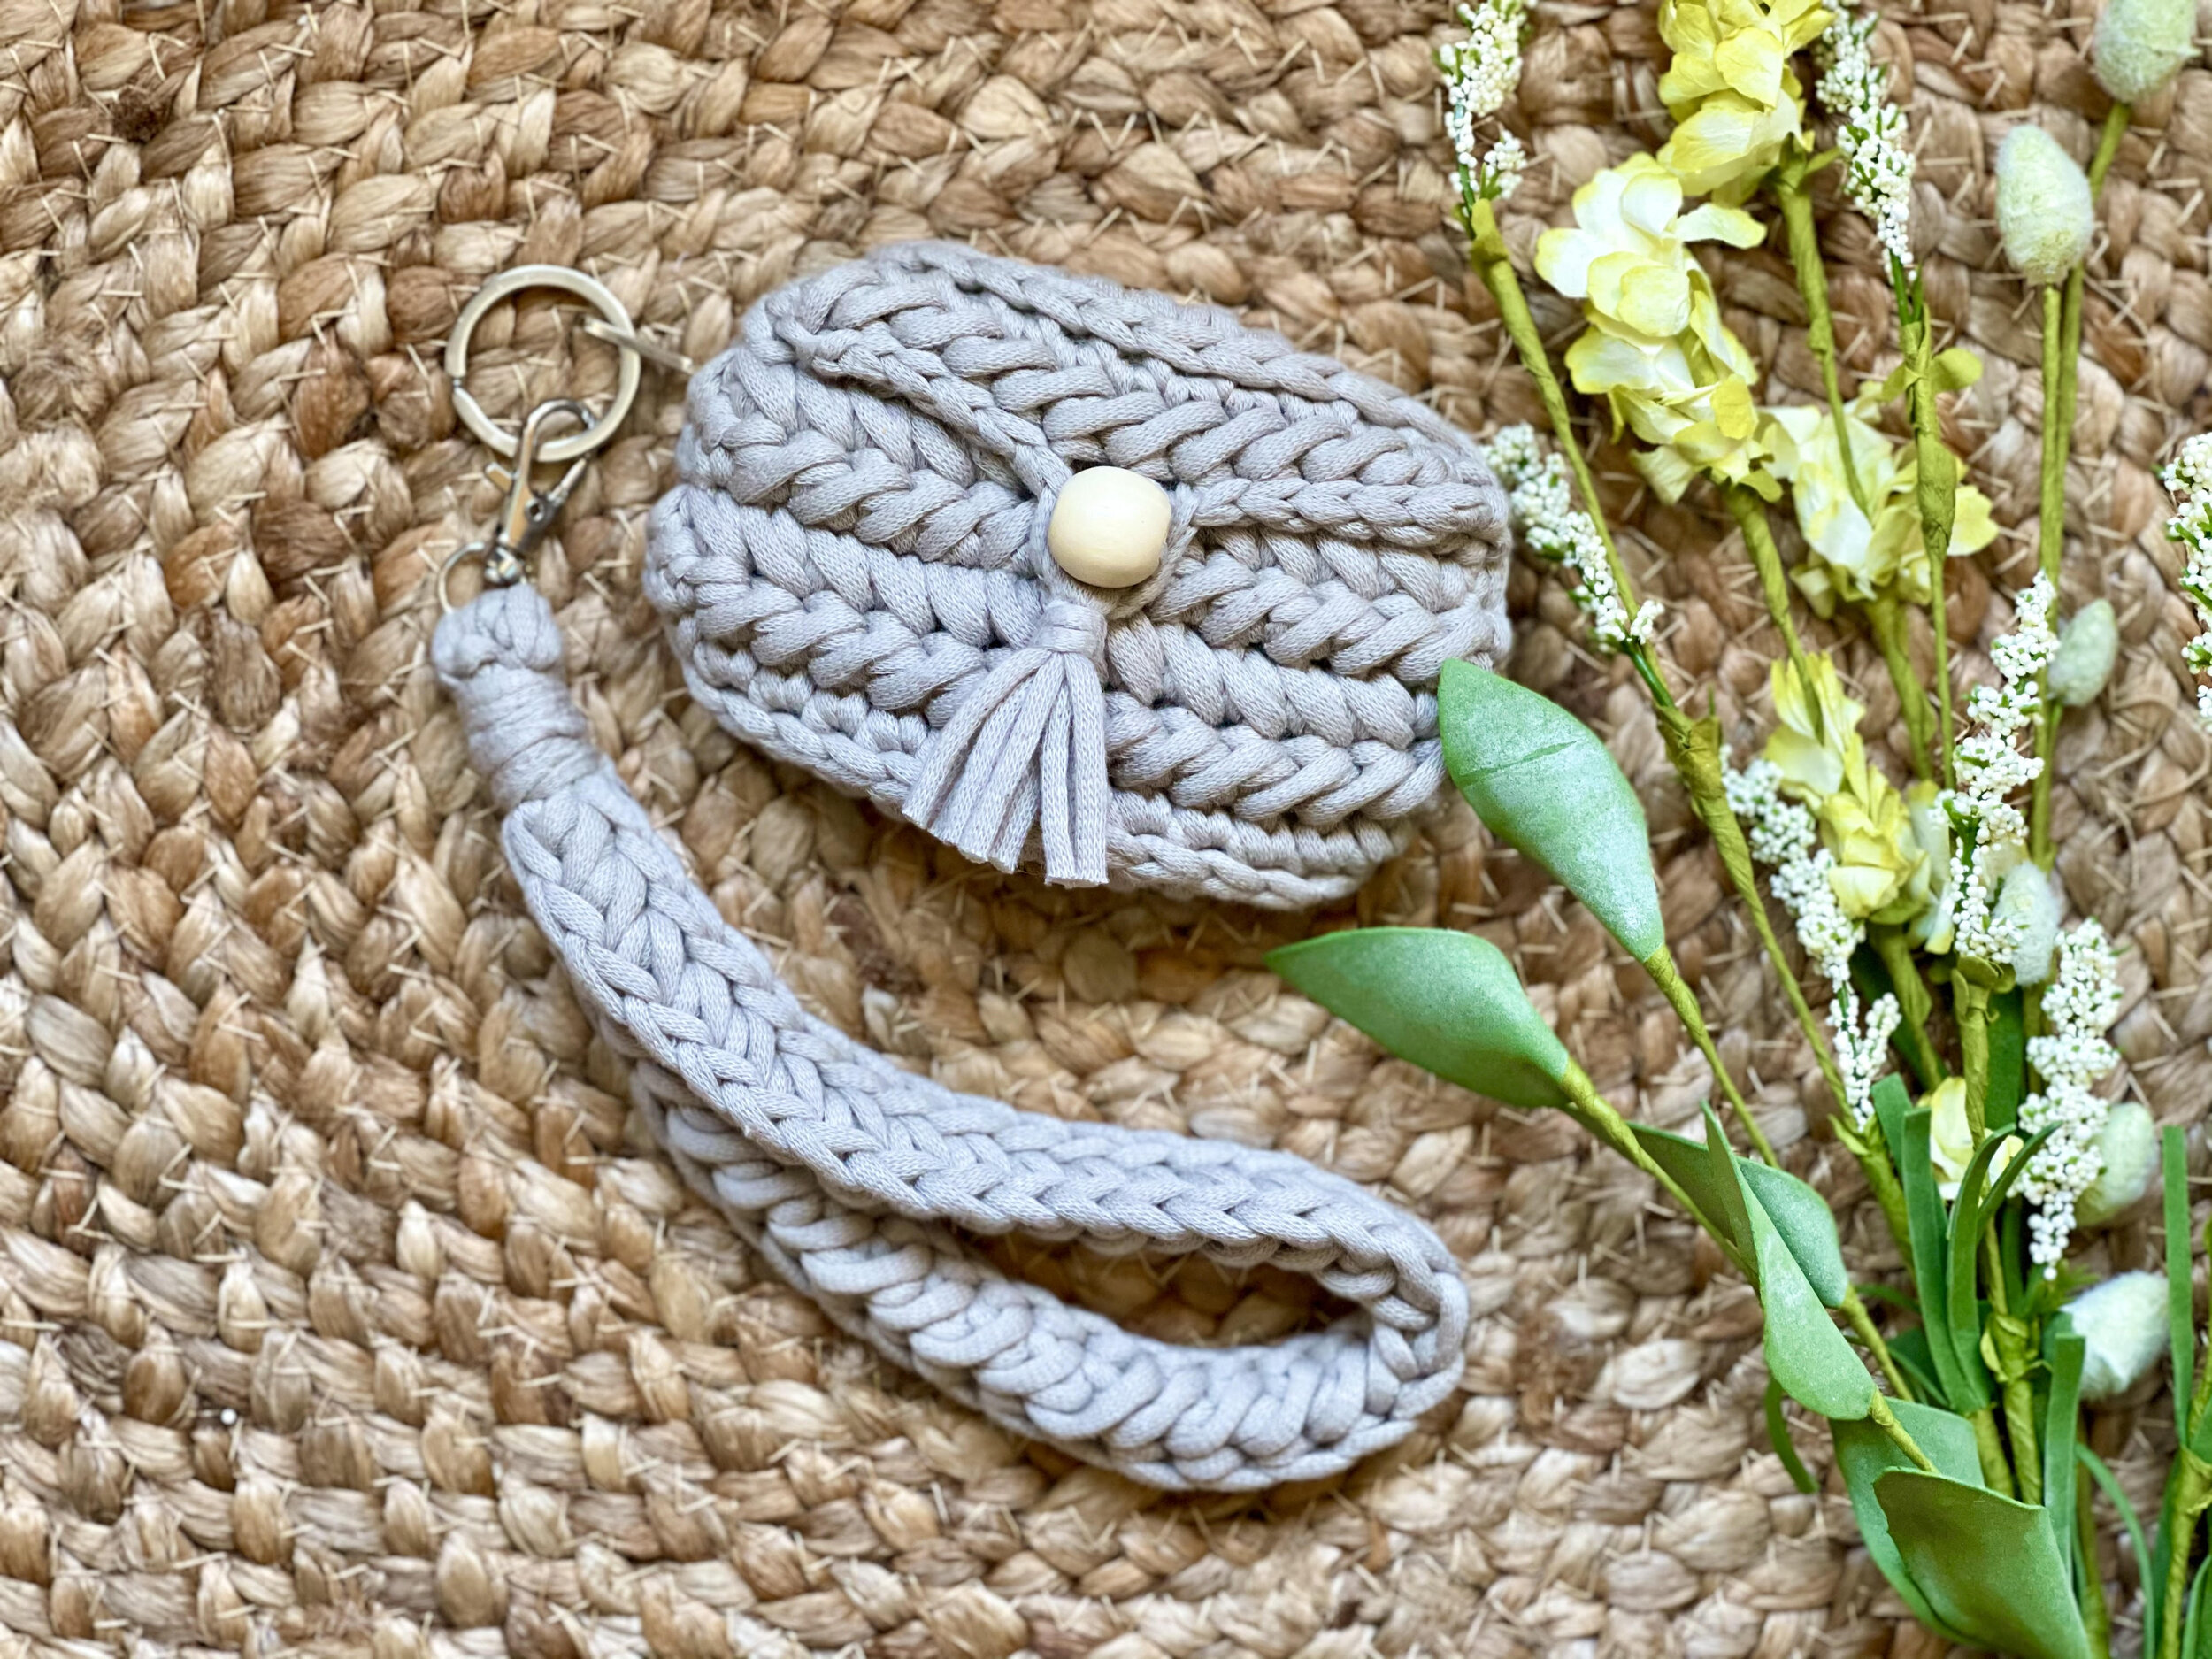
FO and weave in tails. Sew your button/bead in the center of the front, between rows 3 & 4.
Add tassel
To visualize this entire process, see my video here.
1) Using your fingers or a piece of cardboard approx. 3” wide, wrap the yarn 5 times and cut bottoms to created tassel tails.
2) Bring one end of the tails through button hole and fold in half evenly.
3) Cut a piece of yarn approx. 6” long. Using the gathering knot, wrap yarn around the tassel tails just below the button hole to secure the tassel tails. Cut tails evenly to desired length.
Add keychain
Attach connector ring to desired side corner in one of the seam sts. I used a lanyard clip from an assortment bag of findings I purchased from Walmart. Just use whatever is easiest to get through one of your corner sts without damaging the yarn. Then attach your swivel clasp or key ring to the connector ring/clip.


Make a wristlet
To visualize this entire process, see my YouTube video here.
Make a ch until it measures the approx. length you want for your wristlet strap (I made of ch of 42).
Row 1: Turn your ch so that you are working in the BLO of the ch sts. Starting in the 3rd ch from your hook, begin the HDH st pattern and in each st across. [40 HDH]
Finishing Round: Ch 1, turn, sl st in each st across. Once you reach the end, ch 2 and turn your piece so that you are working in the bottom of the foundation ch, at the bottom of the sts. Continue making sl sts in every st across.
With the WS together (the side of the sl sts is the RS), bring the ends together. Ch 1 and sl st across the bottom (approx. 2-3 sl sts).
Create attachment loop
To visualize this process, see my YouTube video here.
Row 1: Ch 1, turn. Going through only 1 layer of the ends, make 2 sc across. [2 sc]
Row 2-4: Ch 1, sc across. [2 sc]
You can continue making rows if your swivel clasp is larger. The rows of sc should measure approx. 1.5”.
FO, leaving yourself a long tail for sewing purposes. Slide your swivel clasp onto the attachment loop and fold the end towards the sl sts you made when you joined the bottoms together. Using your long tail, whip st the loop closed, securing the clasp to your wristlet strap.
At this point, you can just weave in your tails, or you can further secure the attachment area with a gathering knot. I recommend doing the gathering knot so it is more secure in the area that will receive a lot of stress and it will also hide the ends and you won’t have to weave them in. To visualize how to make the gathering knot, see my YouTube video here.
Your Amaryllis Keychain Wallet is complete! I would love to see your finished work! If you want to tag me on IG, I’m @dayscrochetnc. You could also follow the hashtag #amarylliskeychainwallet to follow what others are making. I can’t wait to see your projects! If you would like to see other versions that I will be making after this publication, be sure to check me out on IG!
Please note that you do not have my permission to sell, share, copy, translate, or duplicate this pattern or my photos in any way. Please do not use this pattern for a video, blog, or class tutorial. Thank you so much for following these simple rules! Please message me on Facebook or send me an email at dayscrochetnc@gmail.com with any questions.
Come join my Facebook group, Crochet for Days! We have a lot of fun and I often offer discounts and coupon codes to my members that I don’t offer anywhere else! Request to join and answer the questions by following this link.
Did you enjoy this project? Let me know in the comments!
Happy Hooking!