
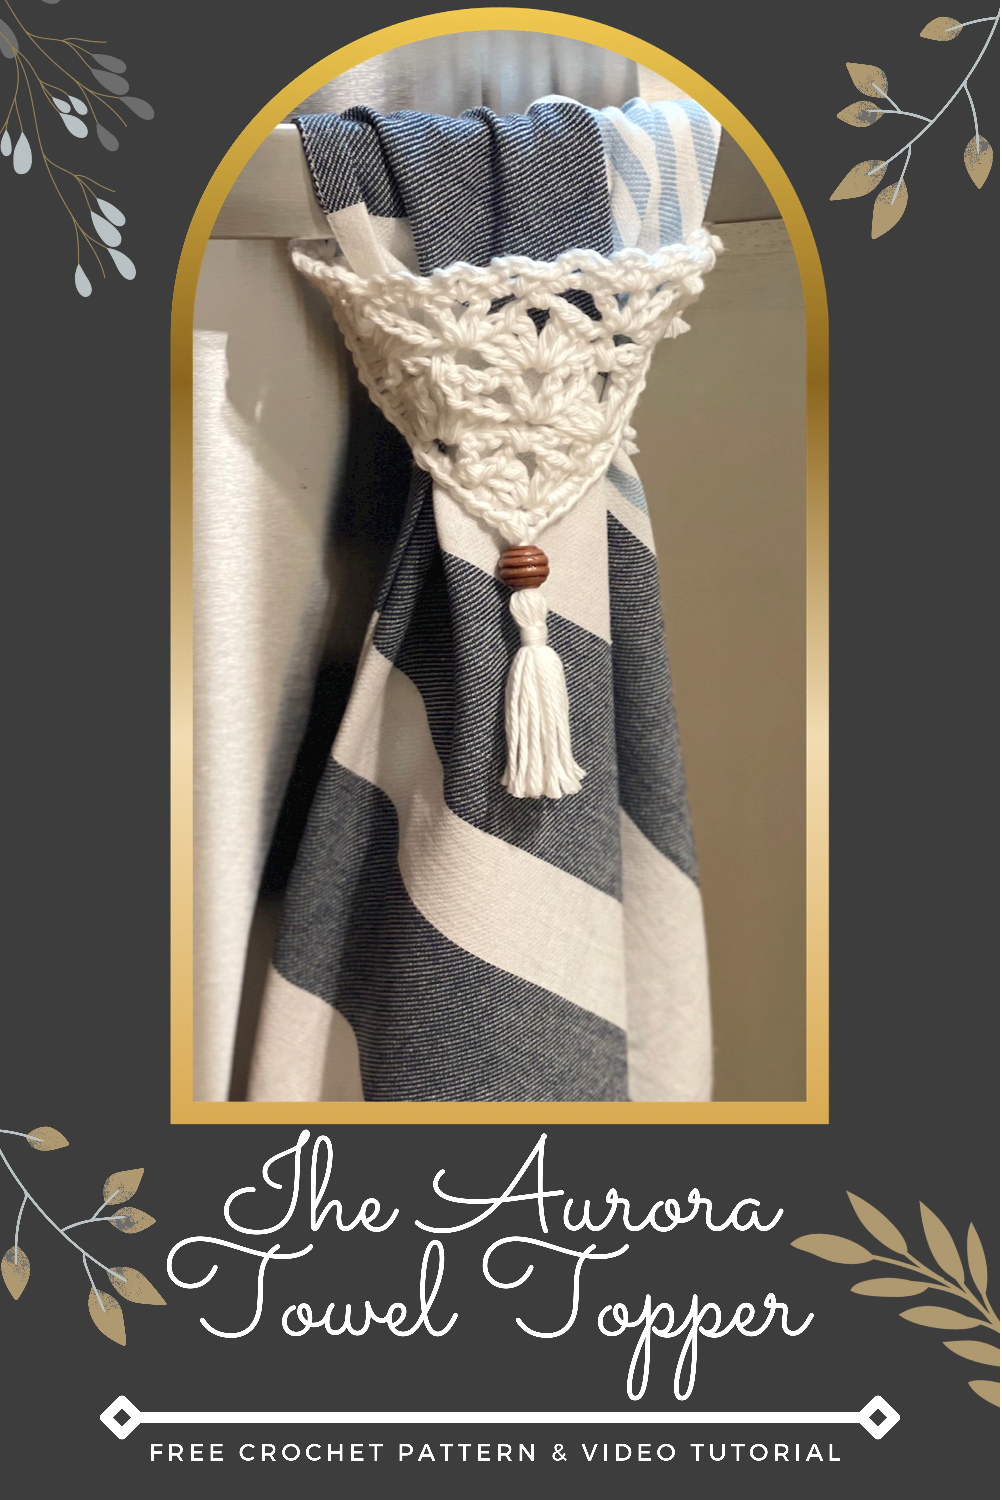
The Aurora Towel Topper
If you are familiar with my designs at all, you know that I love creating versatile patterns.
To give you an example, I have a pattern that is a Christmas ornament, a coaster, a trivet, and a placemat—all in one pattern! To say I am a bit obsessed with making my patterns versatile is an understatement lol!
This post may contain affiliate links that help me to continue to post free content. To skip the ads and have a printable pdf, you can find this pattern for relatively little cost in my Etsy and Ravelry shops.
My Aurora Wall Hanging (pictured below) is one of my favorite designs because it is all that is whimsical and dainty and lacy. It was inspired by a macrame piece I saw on Pinterest and I knew I HAD to make something similar. (You can find the free pattern for the wall hanging on both my blog and YouTube, as well as Etsy and Ravelry.)

You may be wondering how I am turning a wall hanging pattern into a towel topper pattern, but you are in for a surprise! Not only does it make a great towel topper pattern, it also makes great curtain tie backs and cloth napkins with built-in napkin rings!
One of my testers got creative and made some for her curtains and I immediately fell in love. (How to adapt this pattern to make curtain tie backs and built-in napkin rings will be at the bottom of this post, so keep reading!)
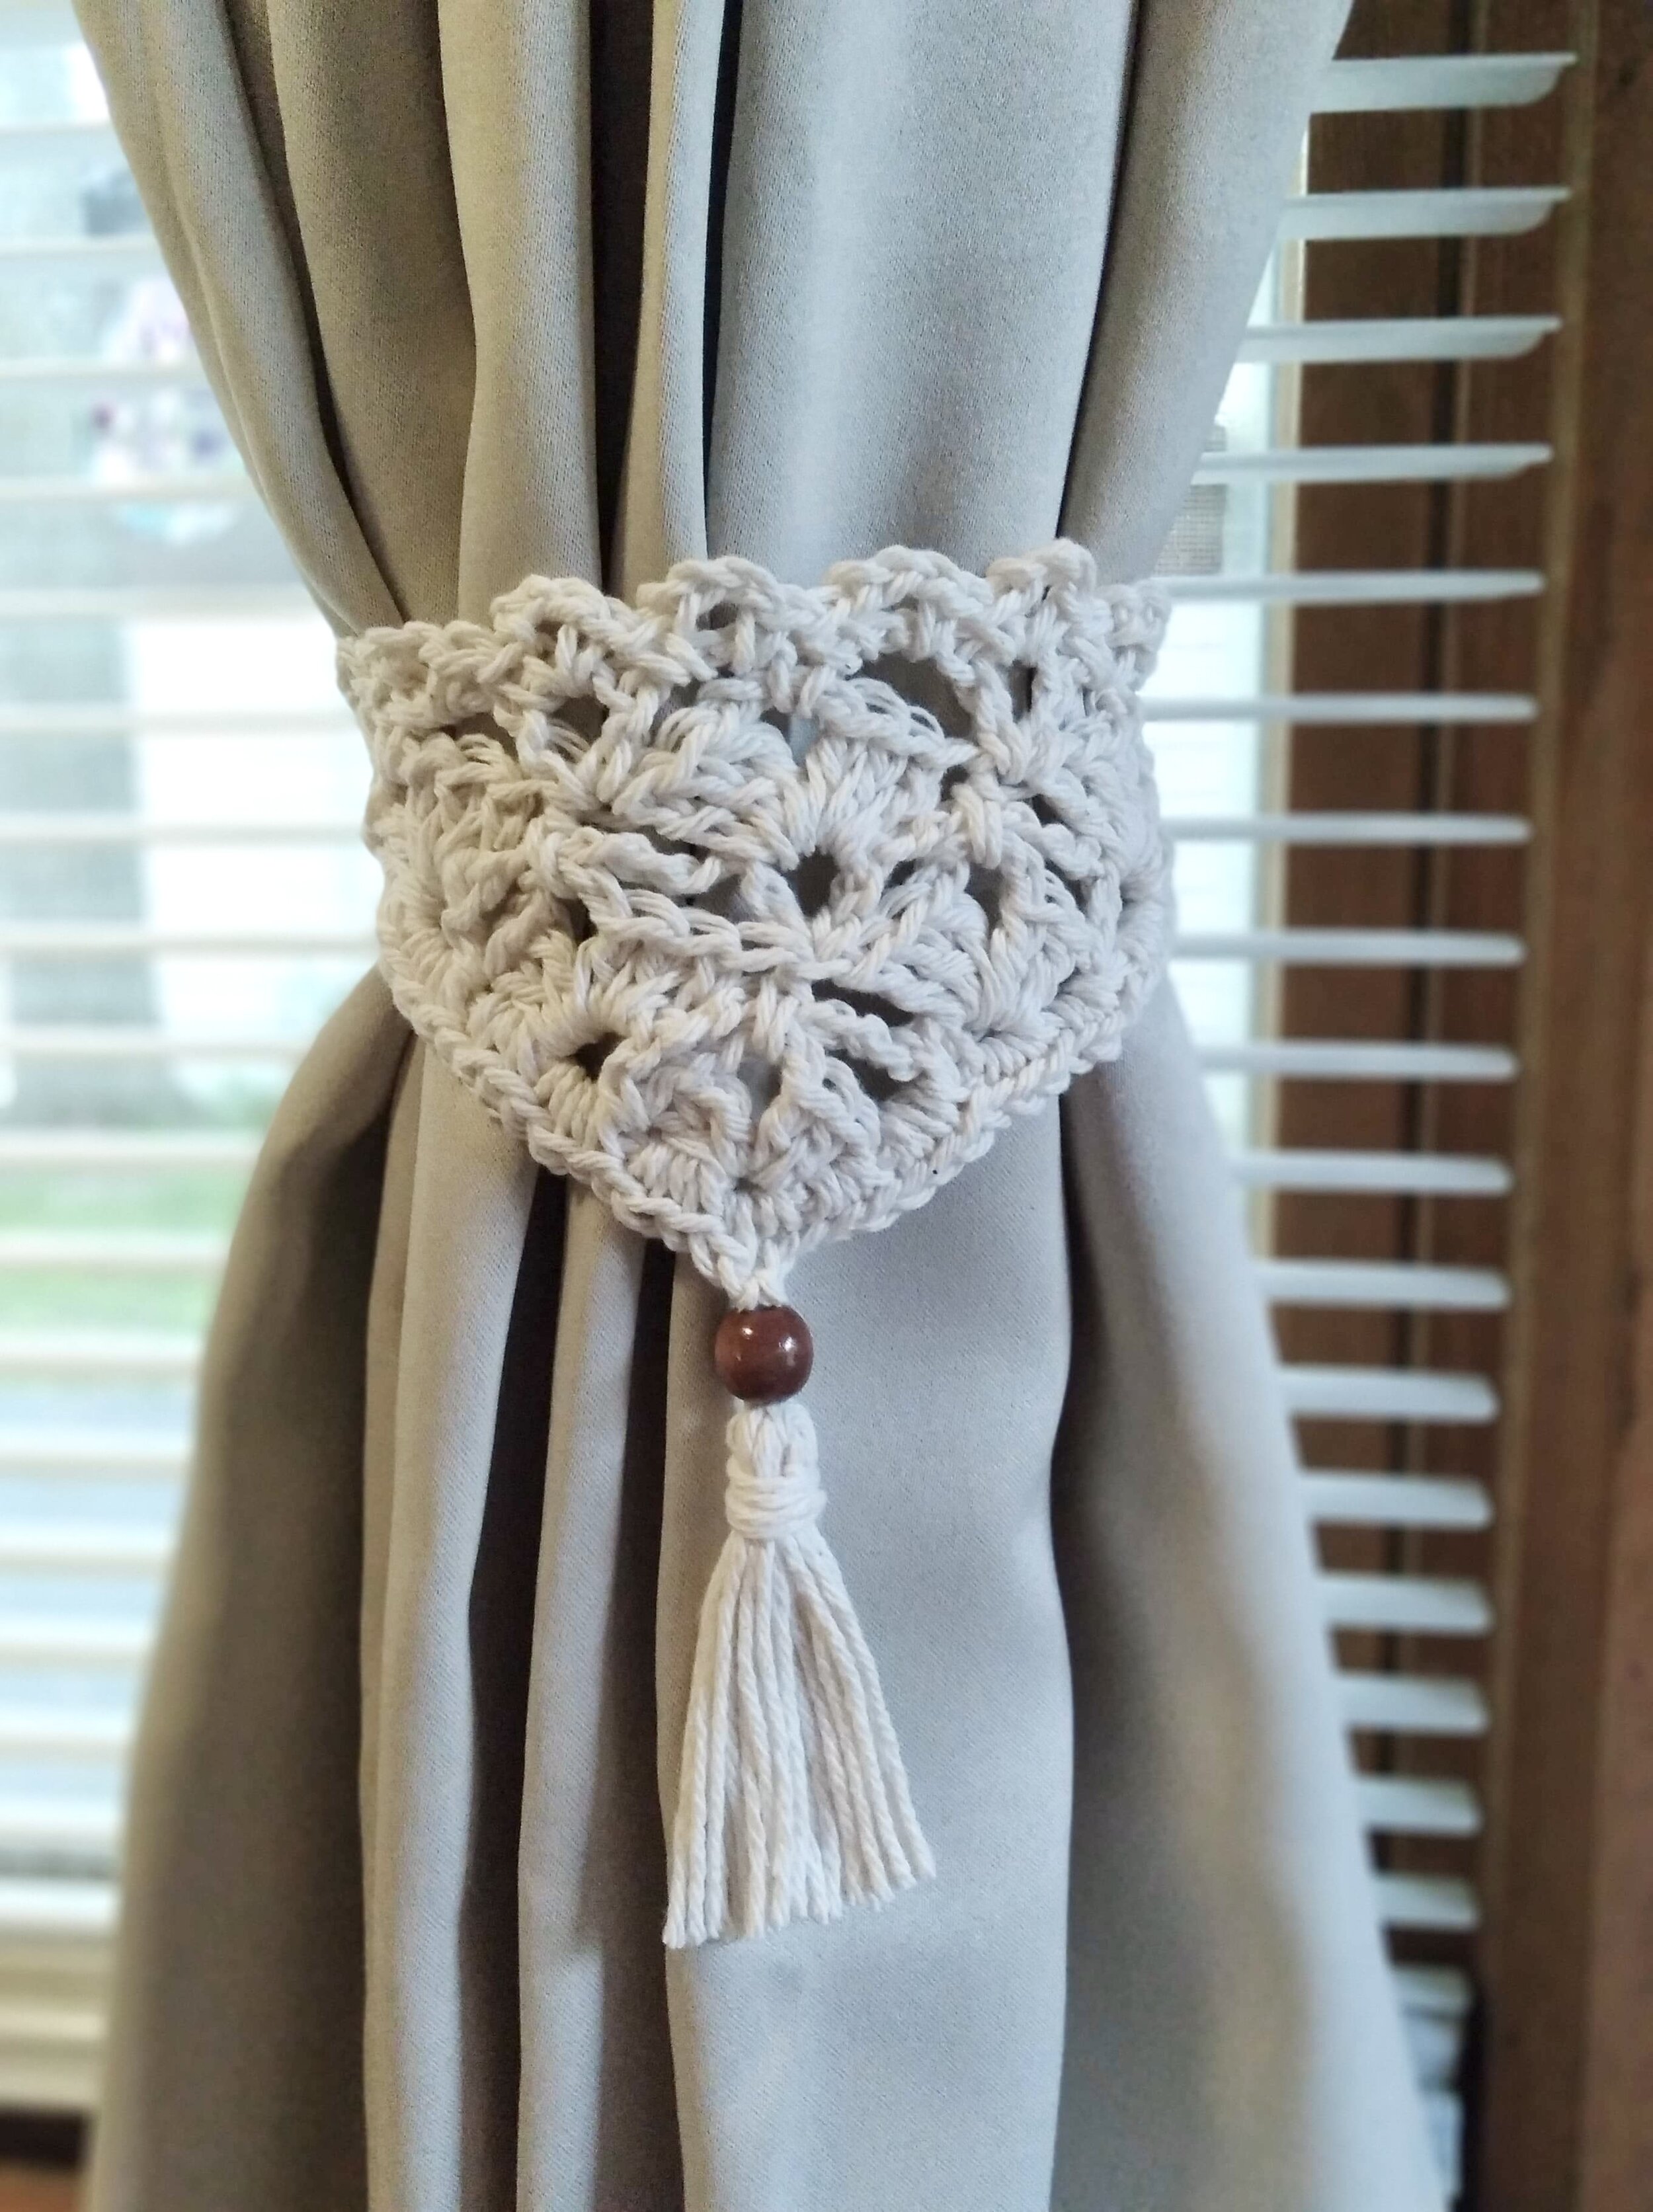
Photo credit: Joni Joyner
This towel topper design is actually a twist to the genius idea over at Stitching Together blog site. Jess came up with the idea to sew a triangle piece to the corner of your towel so that you can slide your towel through. I loved the idea, but wanted to use my most recent motif for the Aurora Wall Hanging instead. And of course I wanted to add a beaded tassel to add my own flair! Jess also sews her pieces to her towels, but I am going to show you how to crochet your piece to your towel.
I love how quickly this works up (hello, great market prep item!) and how it requires very little by way of supplies. Not only is great for market prep, but it would also make a fab housewarming gift! Everyone seems to be remodeling their houses these days, and I think you will find this design is desirable for those who are updating the look of their home decor (for both the towel topper and the curtain tie backs!).
I will mention that even though I added a bead to my towel topper, I would advise you to be mindful that wooden beads will likely rot over time with multiple washings. If you can find a plastic bead that suits you, I would go that route. Or you can skip the bead altogether!
Another thing you may want to consider is that the fringe on the little tassel will likely need to be treated with some sort of fray check or tiny dabs of hot glue/fabric glue. The multiple washings are likely to take a bit of a toll on the appearance of the tassel tails. If you decide to use hot glue, just keep in mind the hot dryer may affect it. Just throwing all this out there so you can make the best decision about which route you want to go before you get started.
So let’s get started!!!
Supplies Needed:
-Approx. 25-30 yards of any size 4 worsted weight 100% cotton yarn
-1 tea towel of your choice
-1 12 mm bead (you can use wood, but plastic would be best for durability)
-Size H 5.0 mm hook (or size needed to obtain gauge)
-Size 7 steel crochet hook (used for crochet thread/doilies. Very tiny)
-Fray check or hot glue (to add to the tips of the tassel so they don’t fray with multiple washings)
Terms Used and Abbreviations:
Pattern is written in US terminology.
Chain(s) - ch(s)
Cluster V-Stitch(es) – Cl V-st
Double Crochet - dc
Fasten Off – FO
Front Loop Only – FLO
Half Double Crochet - hdc
Increase – inc
Single Crochet – sc
Skip - sk
Slip Stitch - sl st
Space(s) - sp(s)
Stitch(es) - st(s)
V-Stitch(es) – V-st
Yarn Over – YO
Special Stitches:
V-Stitch: {1 dc, ch 1, 1 dc} in the same st or sp.
Cluster V-Stitch: {3 dc, ch 3, 3 dc} in the same st or sp.
Gauge:
15 dc and 6 rows = 4" (10 cm)
Finished Measurements:
Motif (before adding joining round) should measure approx. 6" x 3" (15 x 17.5 cm) after finishing row 6.
Instructions:
Topper motif is worked in the row from the bottom point upward, then joined to the towel in a joining round.
Row 1: Ch 4 (beg ch counts as a dc), {2 dc, ch 3, 3 dc} in 4th ch from hook (Cl V-st made). [1 Cl v-st]
Row 2: Turn, ch 4 (beg ch counts as a dc + ch 1), dc in same st (V-st made), ch 6, sk next 5 dc and ch-3 sp, V-st in last st of row. [2 V-sts, 1 ch-6 sp]

Row 3: Turn, ch 3 (beg ch counts as a dc), {2 dc, ch 3, 3 dc} in ch-1 sp (Cl V-st made), hdc down into ch-3 sp 2 rows below and going around ch-6 below, Cl V-st in next ch-1 sp. [2 Cl V-sts, 1 hdc]

Row 4: Turn, ch 4 (beg ch counts as a dc + ch 1), dc in same st (V-st made), ch 6, sk next 5 dc and ch-3 sp, V-st in next hdc, ch 6, sk next 5 dc and ch-3 sp, V-st in last st of row. [3 V-sts, 2 ch-6 sps]

Row 5: Turn, ch 3 (beg ch counts as a dc), {2 dc, ch 3, 3 dc} in ch-1 sp (Cl V-st made), * hdc down into ch-3 sp 2 rows below and going around ch-6 below, Cl V-st in next ch-1 sp; rep from * to end. [3 Cl V-sts, 2 hdc]
Row 6: Turn, ch 4 (beg ch counts as a dc + ch 1), dc in same st (V-st made), ch 2, sc in next ch-3 sp, * ch 2, V-st in next hdc, ch 2, sc in next ch-3 sp; rep from * to end, ch 2, V-st in last st. [4 V-sts, 3 sc]
Gauge check:
At this point, your motif should measure approx. 6" x 3"
Row 7: Turn, ch 1, {sc, ch 3, sc} in every ch sp across. [20 sc, 10 ch-3 sps]
Join your motif to your towel
You may find my YouTube video helpful with this portion of the pattern:
1) Ch 1 and turn your piece so that you are working down the sides of the rows.
2) Grab your tea towel and decide which corner you want to place your motif in. If your tea towel has a design that you want to show in the front, you need to have the design facing you right side up. Then flip your piece over, keeping your design in the same orientation on your towel, only wrong side facing you. You will then place your motif in the top right corner of the wrong side of your towel. See photo below.

If you look closely you can see the image orientation on the opposite side of the towel.
1) Line up the corner of your motif with the corner of your towel; only give yourself about ½” seam allowance. (In other words, bring the corner of your motif up about a half inch inside the towel corner because the motif will grow about a half inch or so when we add the joining round and you don’t want it to hang off the edge of the towel).
2) Grab your smaller steel hook. Going through both the tea towel and edge of row 7, make 1 sc.
3) Going through both the tea towel and around the posts of the dc, make 3 sc per dc post of the next 4 rows of your motif, stopping when you reach the last 2 rows of your motif. [You should have 13 sc when you reach this point]
4) Switch back to your larger hook. Going through the motif only, make 3 sc around the dc posts of the last 2 rows of the motif. When you reach the corner of the motif, make {1 sc, ch 2, 1 sc} in the corner st. Continuing up the other side, make 3 sc around the dc posts of the next 2 rows of the motif and stop.
5) Line your motif up with the opposite side of the tea towel. Switch back to your smaller steel hook. Going through both the tea towel and around the posts of the dc, make 3 sc per dc post of the last 5 rows of the motif, and 1 sc in row 7. Join with a sl st to the first sc of row 7 and FO, weaving in your tails. [You should have a total of 40 sc and 1 ch-2 sp at the end of the joining round] See photos below.


Add your beaded tassel
Cut a length of yarn approx. 6” long. Using the larks knot, attach the strand to the bottom point of your motif. Thread both ends onto a yarn needle and add your bead, sliding it flush against the bottom of your motif.
Wrap a piece of cardboard approx. 3"- 4" wide 15 times and cut bottoms to create tassel tails. Open the strands below your bead and set your tassels inside, centering the tails so they are even. Tie the strands several times around the tassel tails to secure.
Cut another length of yarn approx. 6" long. Using the gathering knot, secure the tassel tails. Cut tassel ends evenly and treat with either fray check or tiny dabs of hot glue to keep them from fraying with multiple washes.
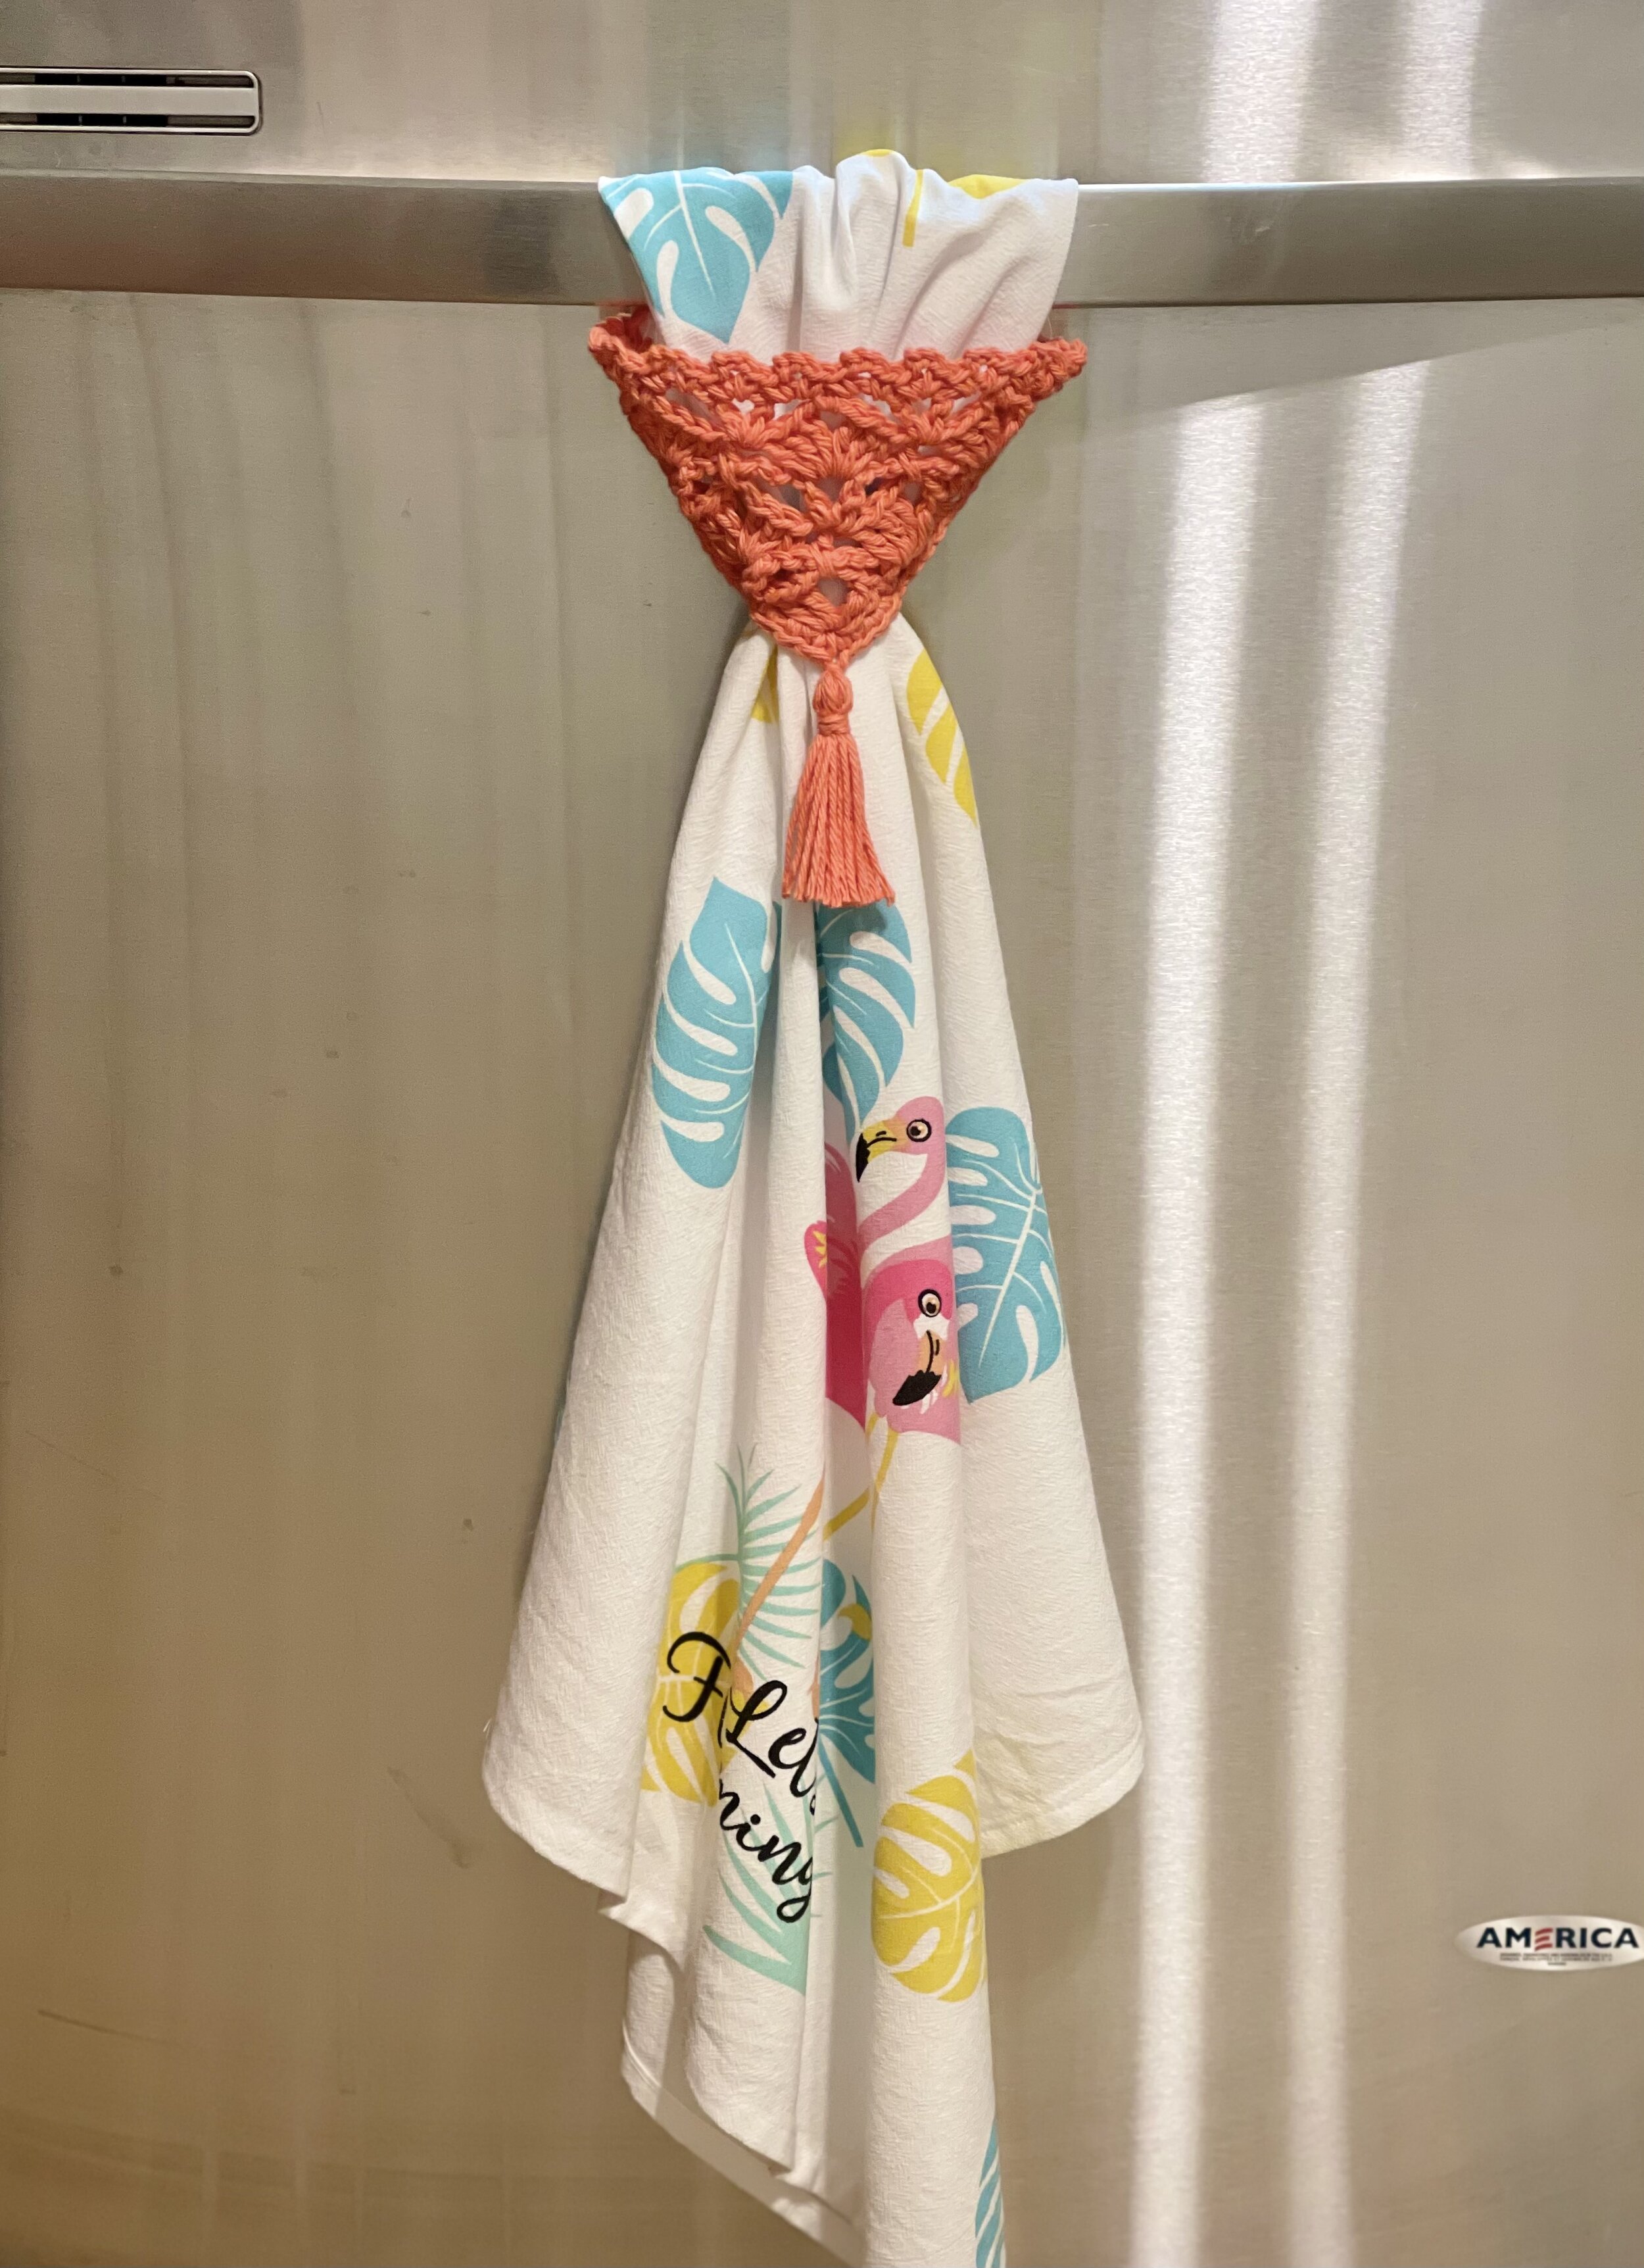
Attach your towel to your appliance
With the wrong side of your towel facing you, hold the motif in your left hand. Take the opposite corner from your motif (the top right) up through your appliance handle and then through the hole in the bottom of your motif. Gently pull the towel through until you are satisfied. See photo below.

Improvise your topper
You could also use this same concept using a set of nice cloth napkins for a built-in napkin ring. Simply go down to a crochet thread (I recommend a size 3) and a size E or F hook for the motif and attach it to the corner of your napkin with the smaller steel hook. Instead of threading it around an appliance handle, simply thread it through for looks, and then lay your silverware inside the motif. NOTE: If your cloth napkin has a right and a wrong side, you will actually want to attach the motif to the right side and loop the end through in the opposite manner as the towel. Basically, you will have the end of the napkin sticking upwards on the table so the tassel is pointing downward. In order to that, you will have to take the opposite corner through the bottom corner of the motif instead of the top like you do for the towel.
For the curtain tie backs, you will work the motif exactly the same in rows 1-6. You will add a ch of 31 before beginning Row 7, then sl st in the 2nd ch from your hook back to the end of the ch. Work Row 7 as written, then add another ch of 31 at the end of Row 7, sl st in the 2nd ch from hook and back to end of ch. Then work the round of sc as written, even though you are not attaching the motif to a towel or napkin (you obviously will not need to change hook sizes either). See photo below:

Photo credit: Joni Joyner
I decided not to add a bead to this one to show you how it looks without it. I also wanted to show you that the front detail hangs at a slant with this particular style, so you may want to pick plain towels instead.
Your Aurora Towel Topper is complete! I would love to see your finished work! If you want to tag me on IG, I’m @dayscrochetnc. You could also follow the hashtag #auroratoweltopper to follow what others are making. I can’t wait to see your projects! If you would like to see other versions that I will be making after this publication, be sure to check me out on IG!
Please note that you do not have my permission to sell, share, copy, translate, or duplicate this pattern or my photos in any way. Please do not use this pattern for a video, blog, or class tutorial. Thank you so much for following these simple rules! Please message me on Facebook or send me an email at dayscrochetnc@gmail.com with any questions.
Come join my Facebook group, Crochet for Days! We have a lot of fun and I often offer discounts and coupon codes to my members that I don’t offer anywhere else! Request to join and answer the questions by following this link.
What will you use the motif for—a towel topper, curtain tie backs, or napkin rings? I would love to know!
Happy hooking!
~Dana