
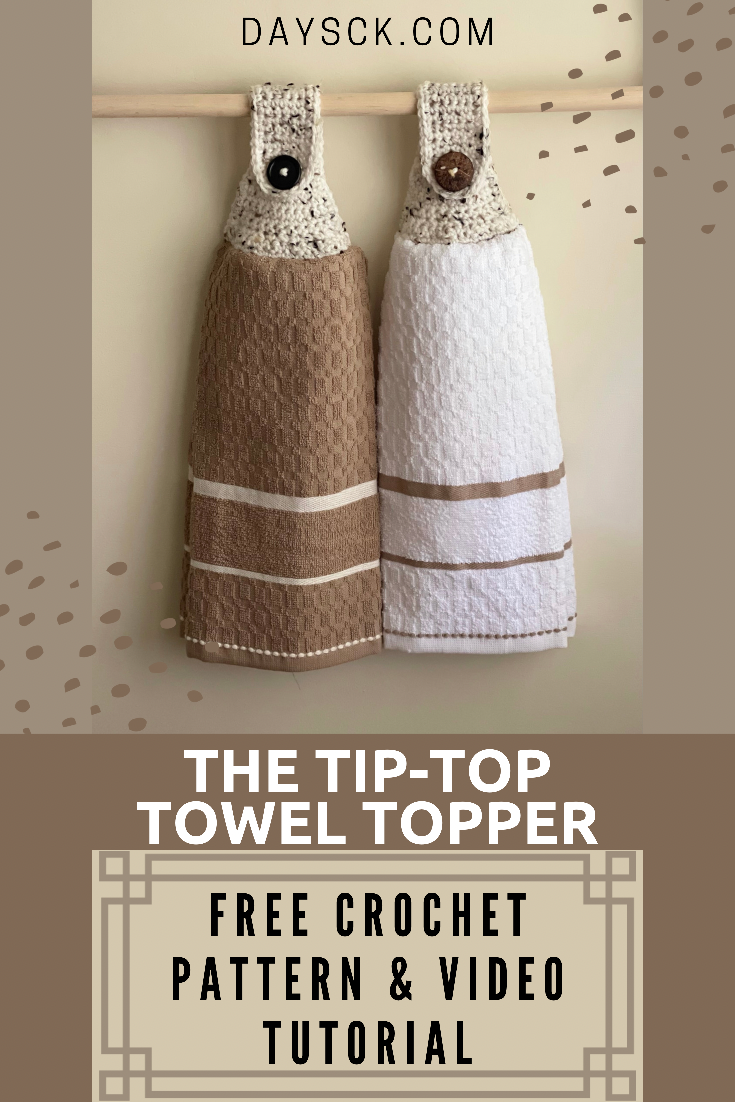
The Tip-Top Towel Topper
If you haven’t noticed yet, I have a slight obsession with towel toppers…
If you’ve followed me for any length of time, you know my motto is “fashionable AND functional”. I strive to design crochet items that are very useful, yet visually aesthetic.
This post may contain affiliate links that help me to continue to post free content. To skip the ads and have a printable pdf, you can find this pattern for relatively little cost in both my Etsy and Ravelry shops.
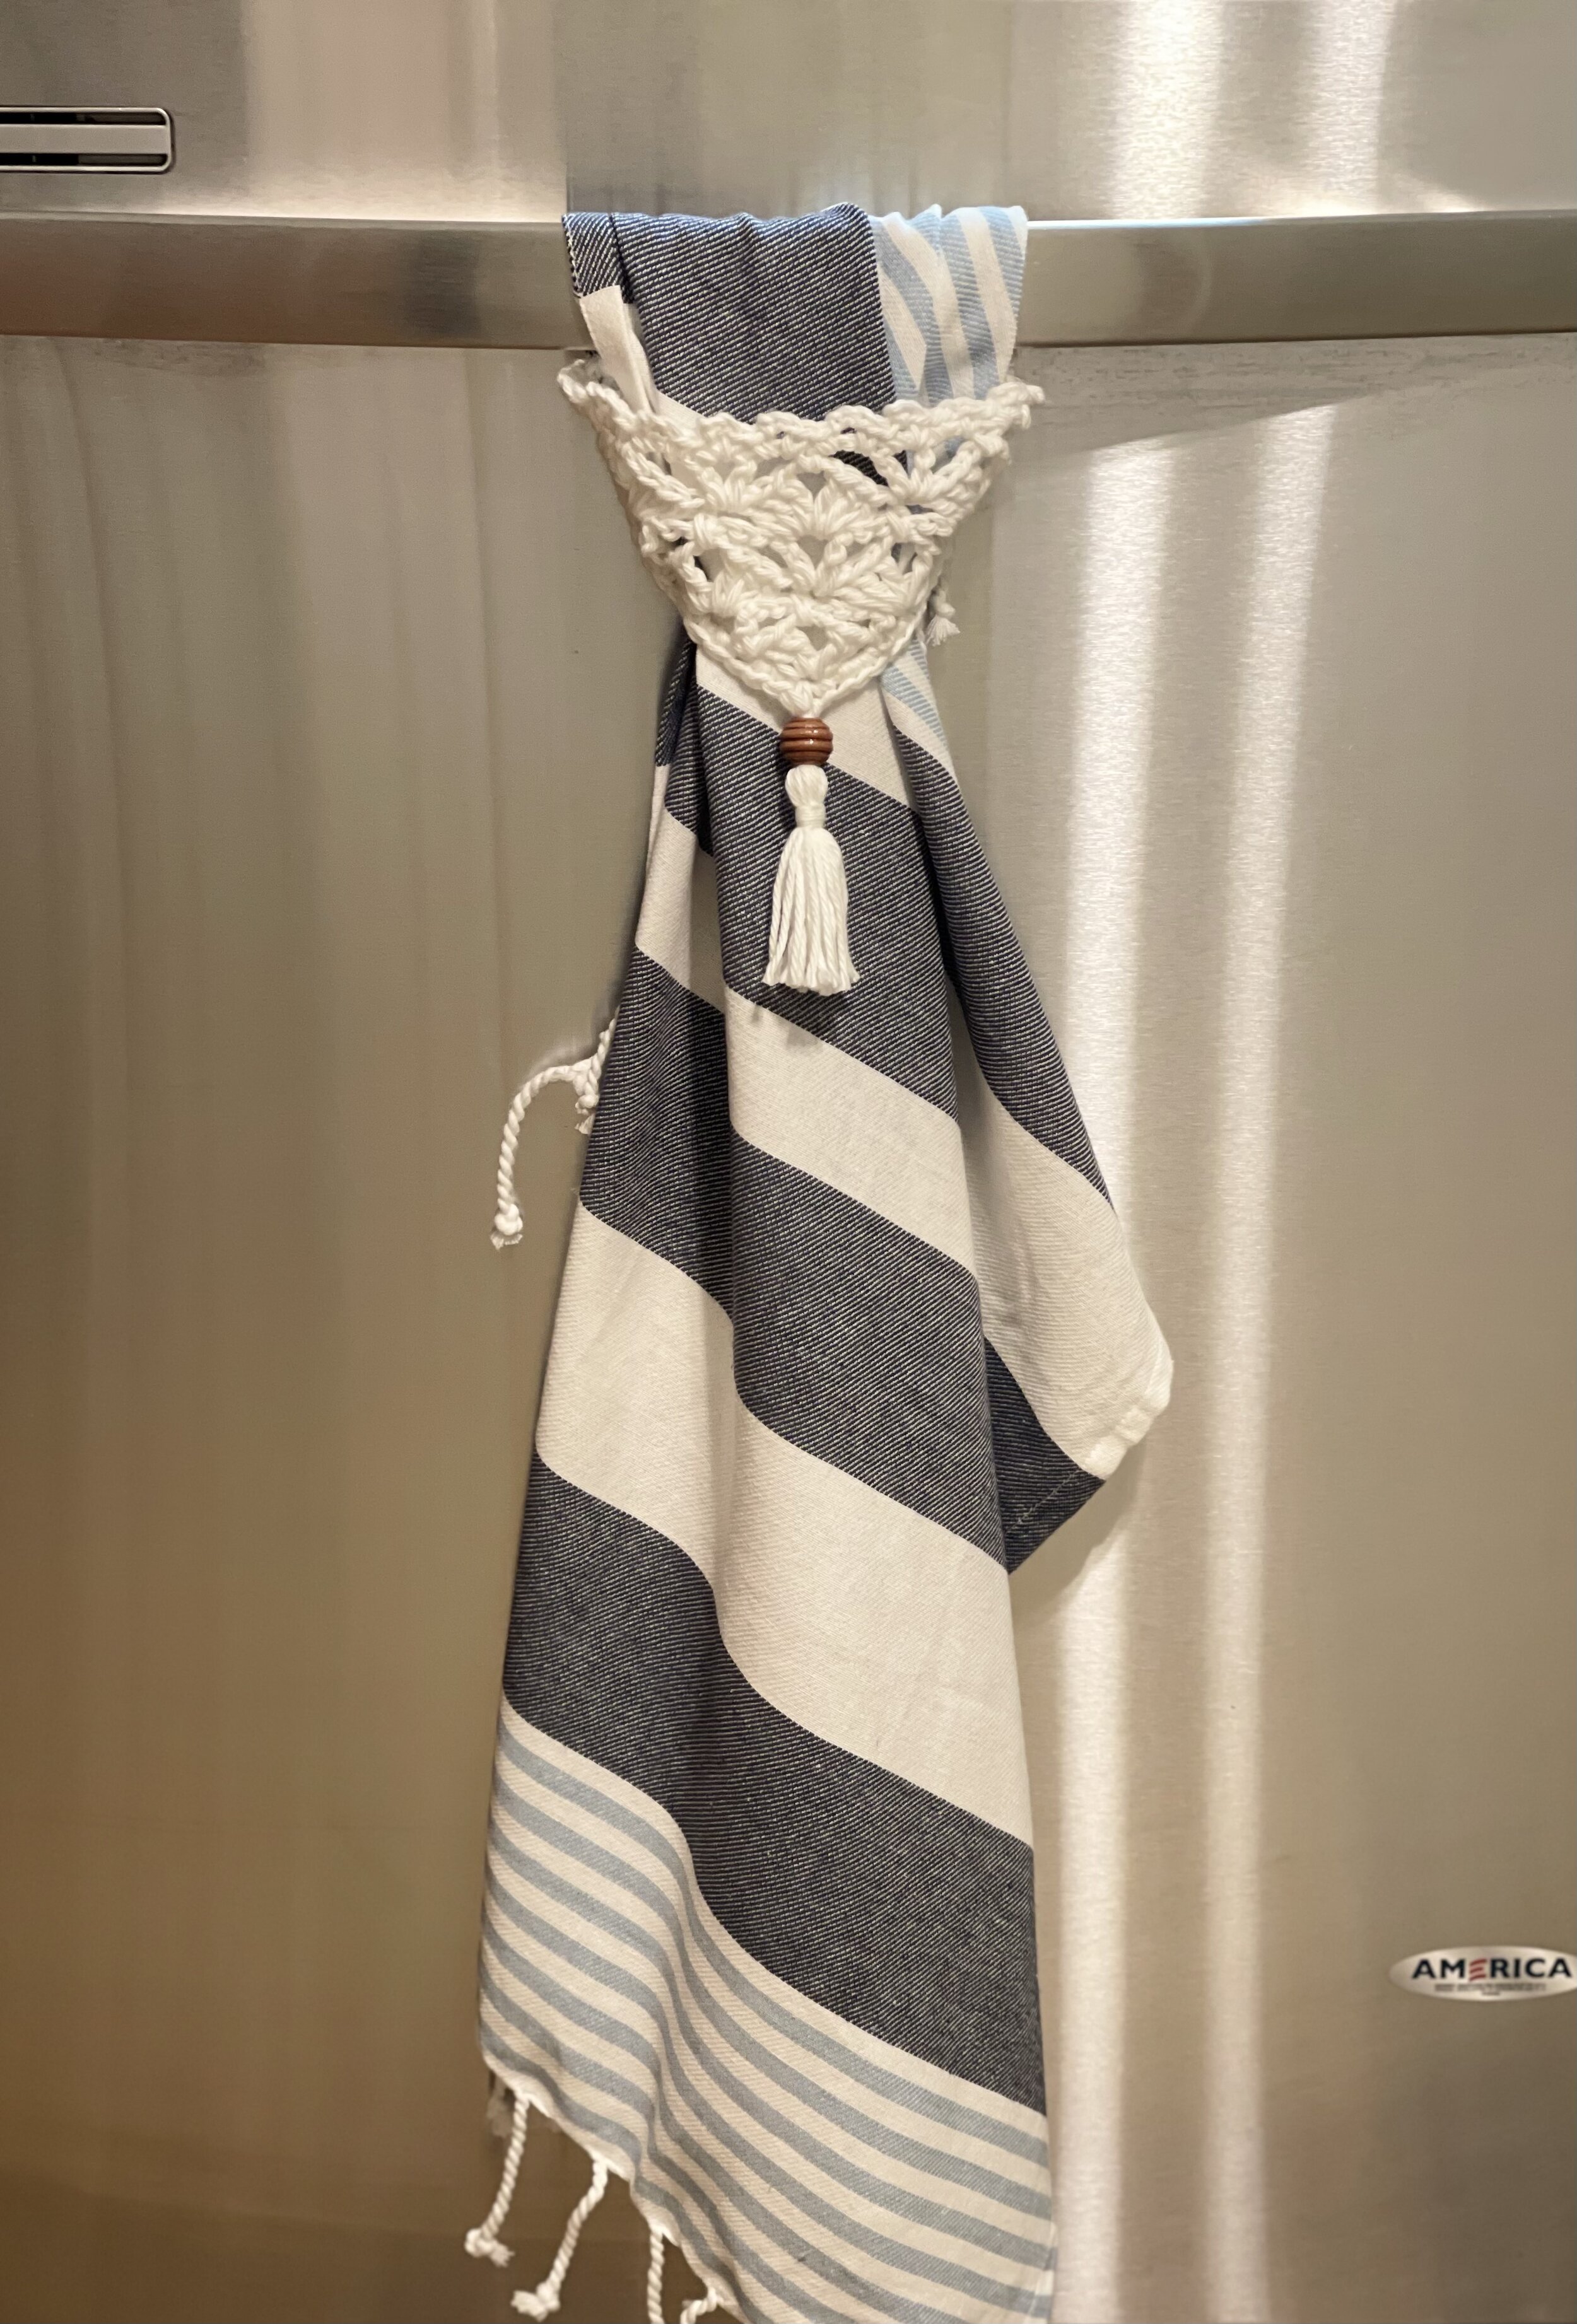
It is not surprising that this is the third (yes, THIRD) design I have made concerning towels for the kitchen. They are probably the most useful item in the kitchen, and we literally ALL use them. The worst thing that can happen is for the towel you use to dry your clean dishes or hands falls to the dirty floor. That’s why I have designed the towel rings (2 different styles of those), the corner towel topper called the Aurora Towel Topper, and now this traditional towel topper.
I have noticed that a ton of people have remodeled their kitchen over the pandemic, and I have tried to find ways to design sleek and modern looks for traditional but useful patterns of the past. Not only have I designed these items, I have made them available to you for free on both my blog and YouTube channel—WOOT!
If you are interested, here are the pictures of the other options I have along with the links of my previous blog posts. If you are here for the Tip-Top Topper, just keep on scrolling for the free pattern below.
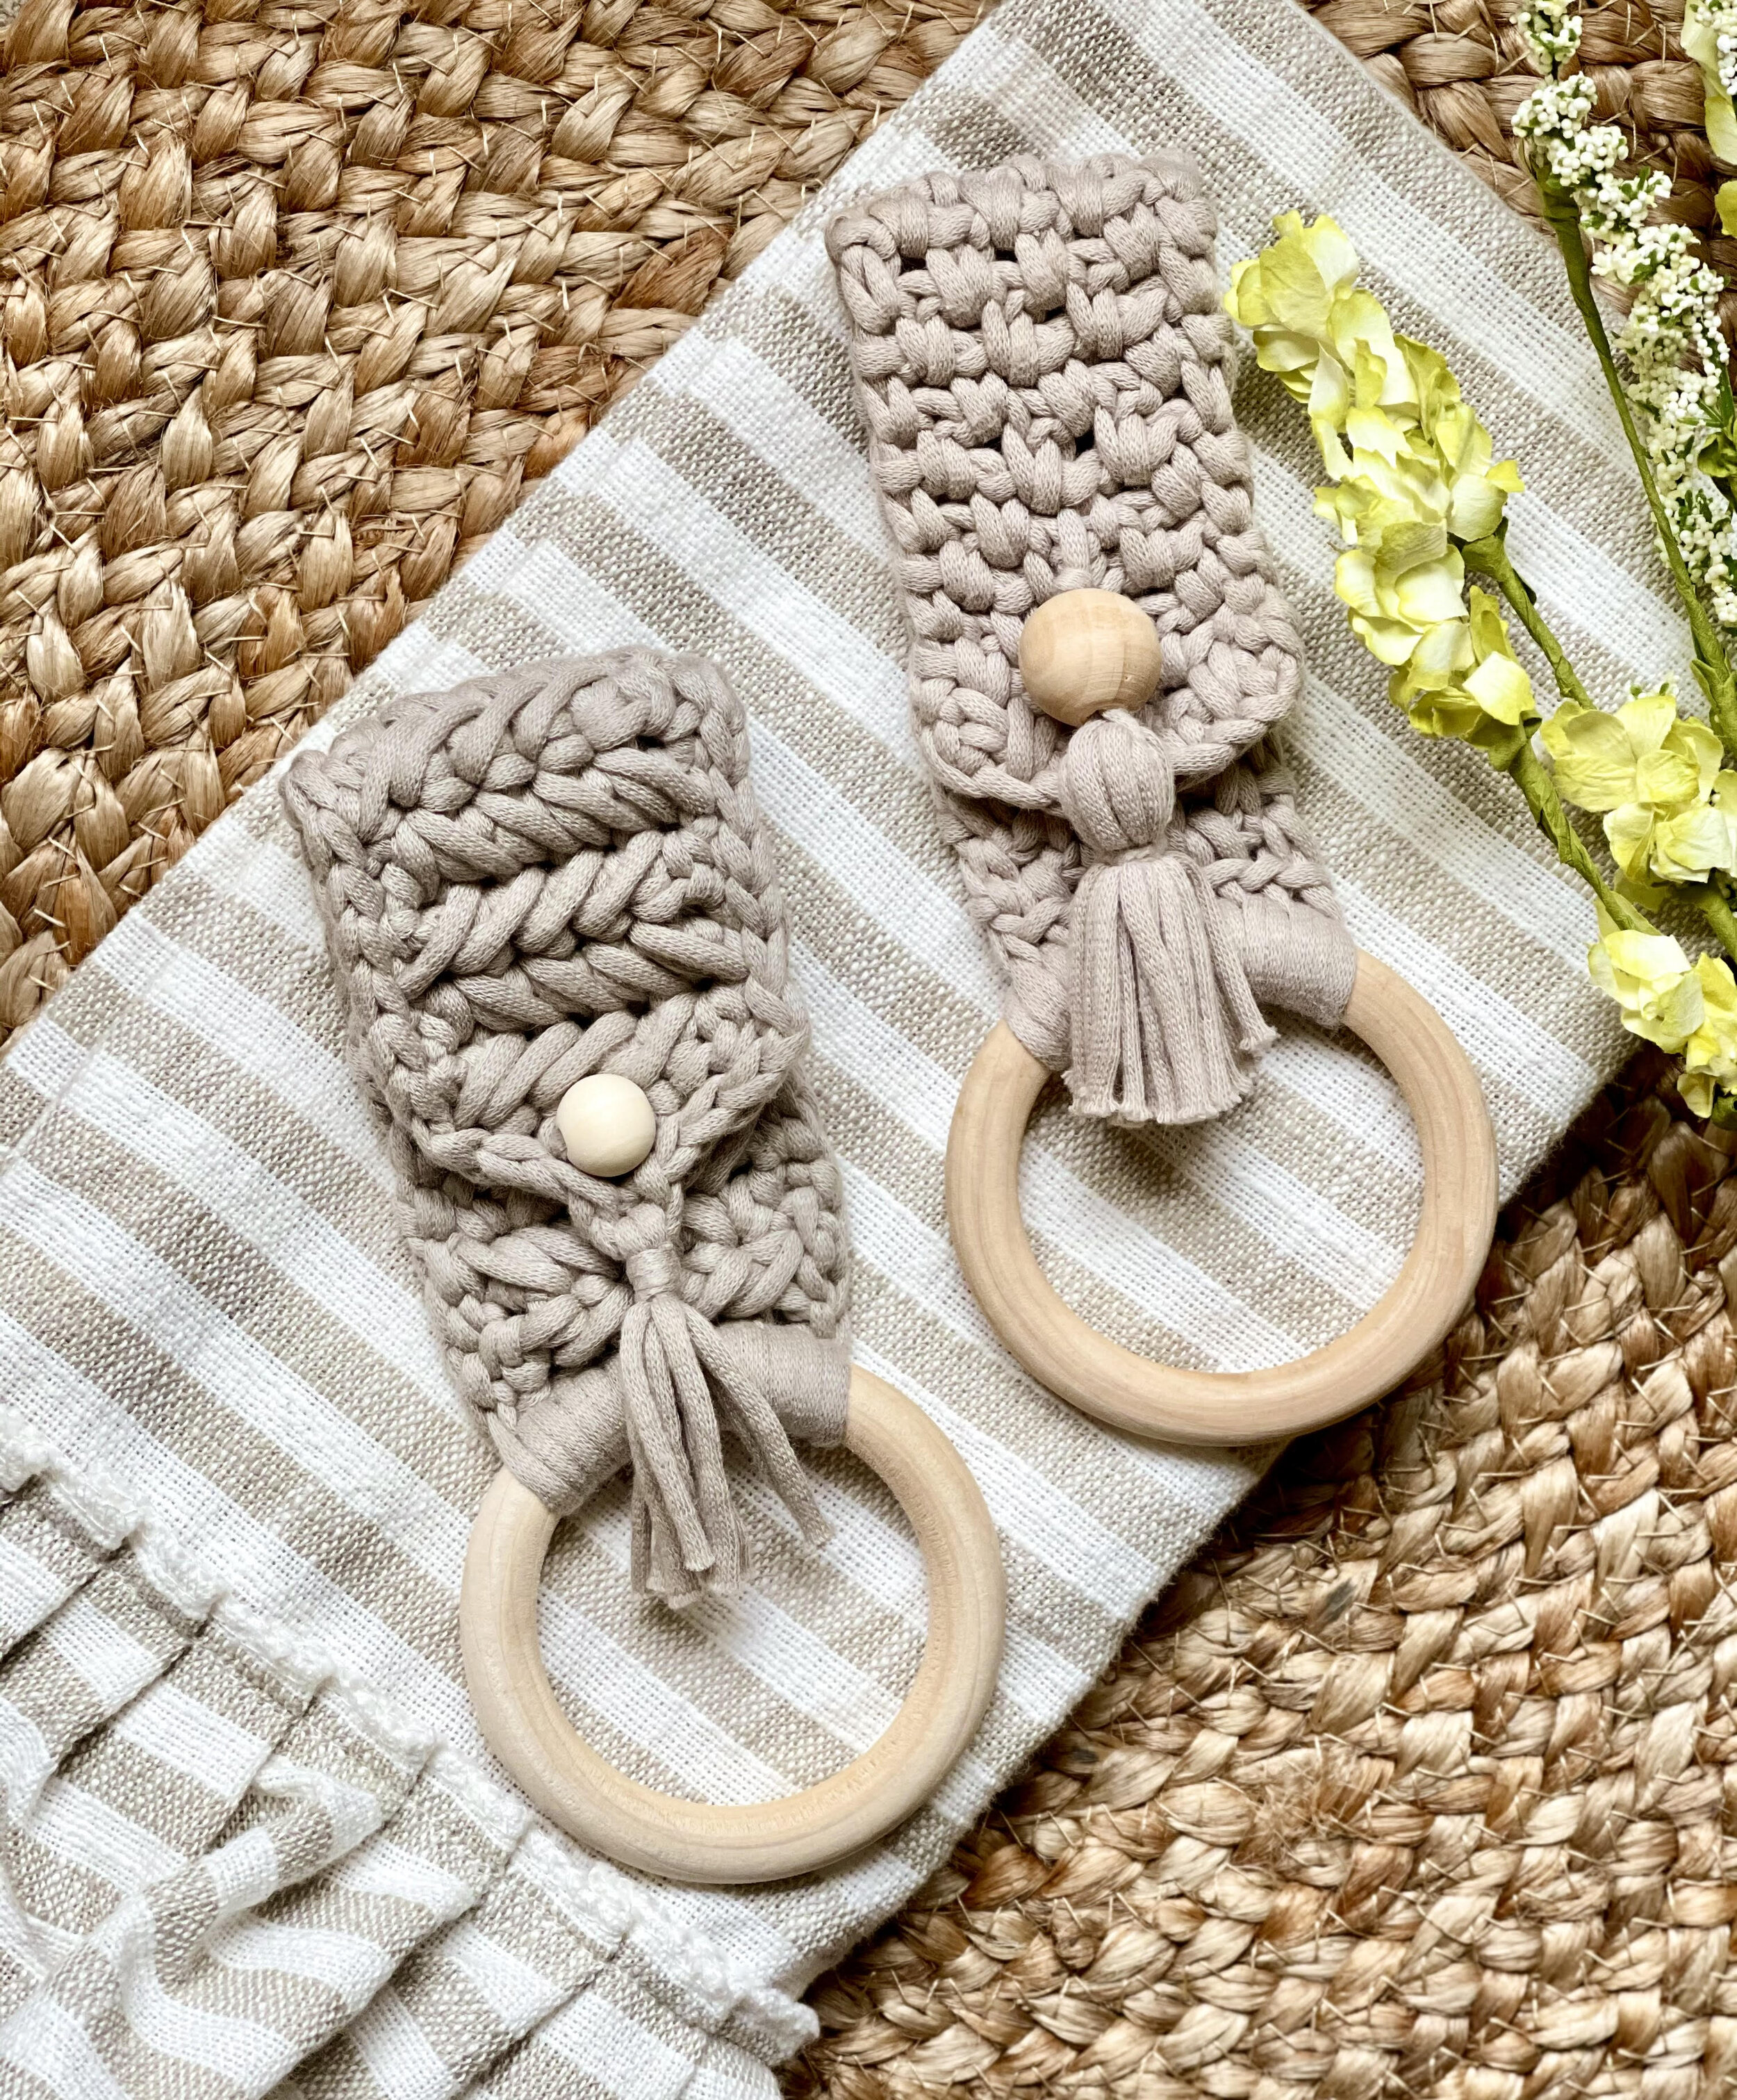
Pictured left is my Herringbone Towel Ring, which is available on both my blog and YouTube channel. Pictured right is my original Boho Towel Ring, which is available on my YouTube channel only at this moment. You can find the written pattern in both my Etsy and Ravelry shops, and I have made a pattern bundle for both towel rings at a discounted price, so be sure to look for that listing if you are interested.
Now for my latest towel topper design, the Tip-Top Towel Topper! (Say that five times fast lol)
I designed this particular style to reflect a more traditional look. I was looking for some to add to my inventory for my vendor markets and I couldn’t find any that I truly liked. Almost all towel toppers use double crochet stitches and instruct you to crochet along the entire towel folded in half. I didn’t particularly care for this look, so I decided to create one myself to achieve the look I was going for.
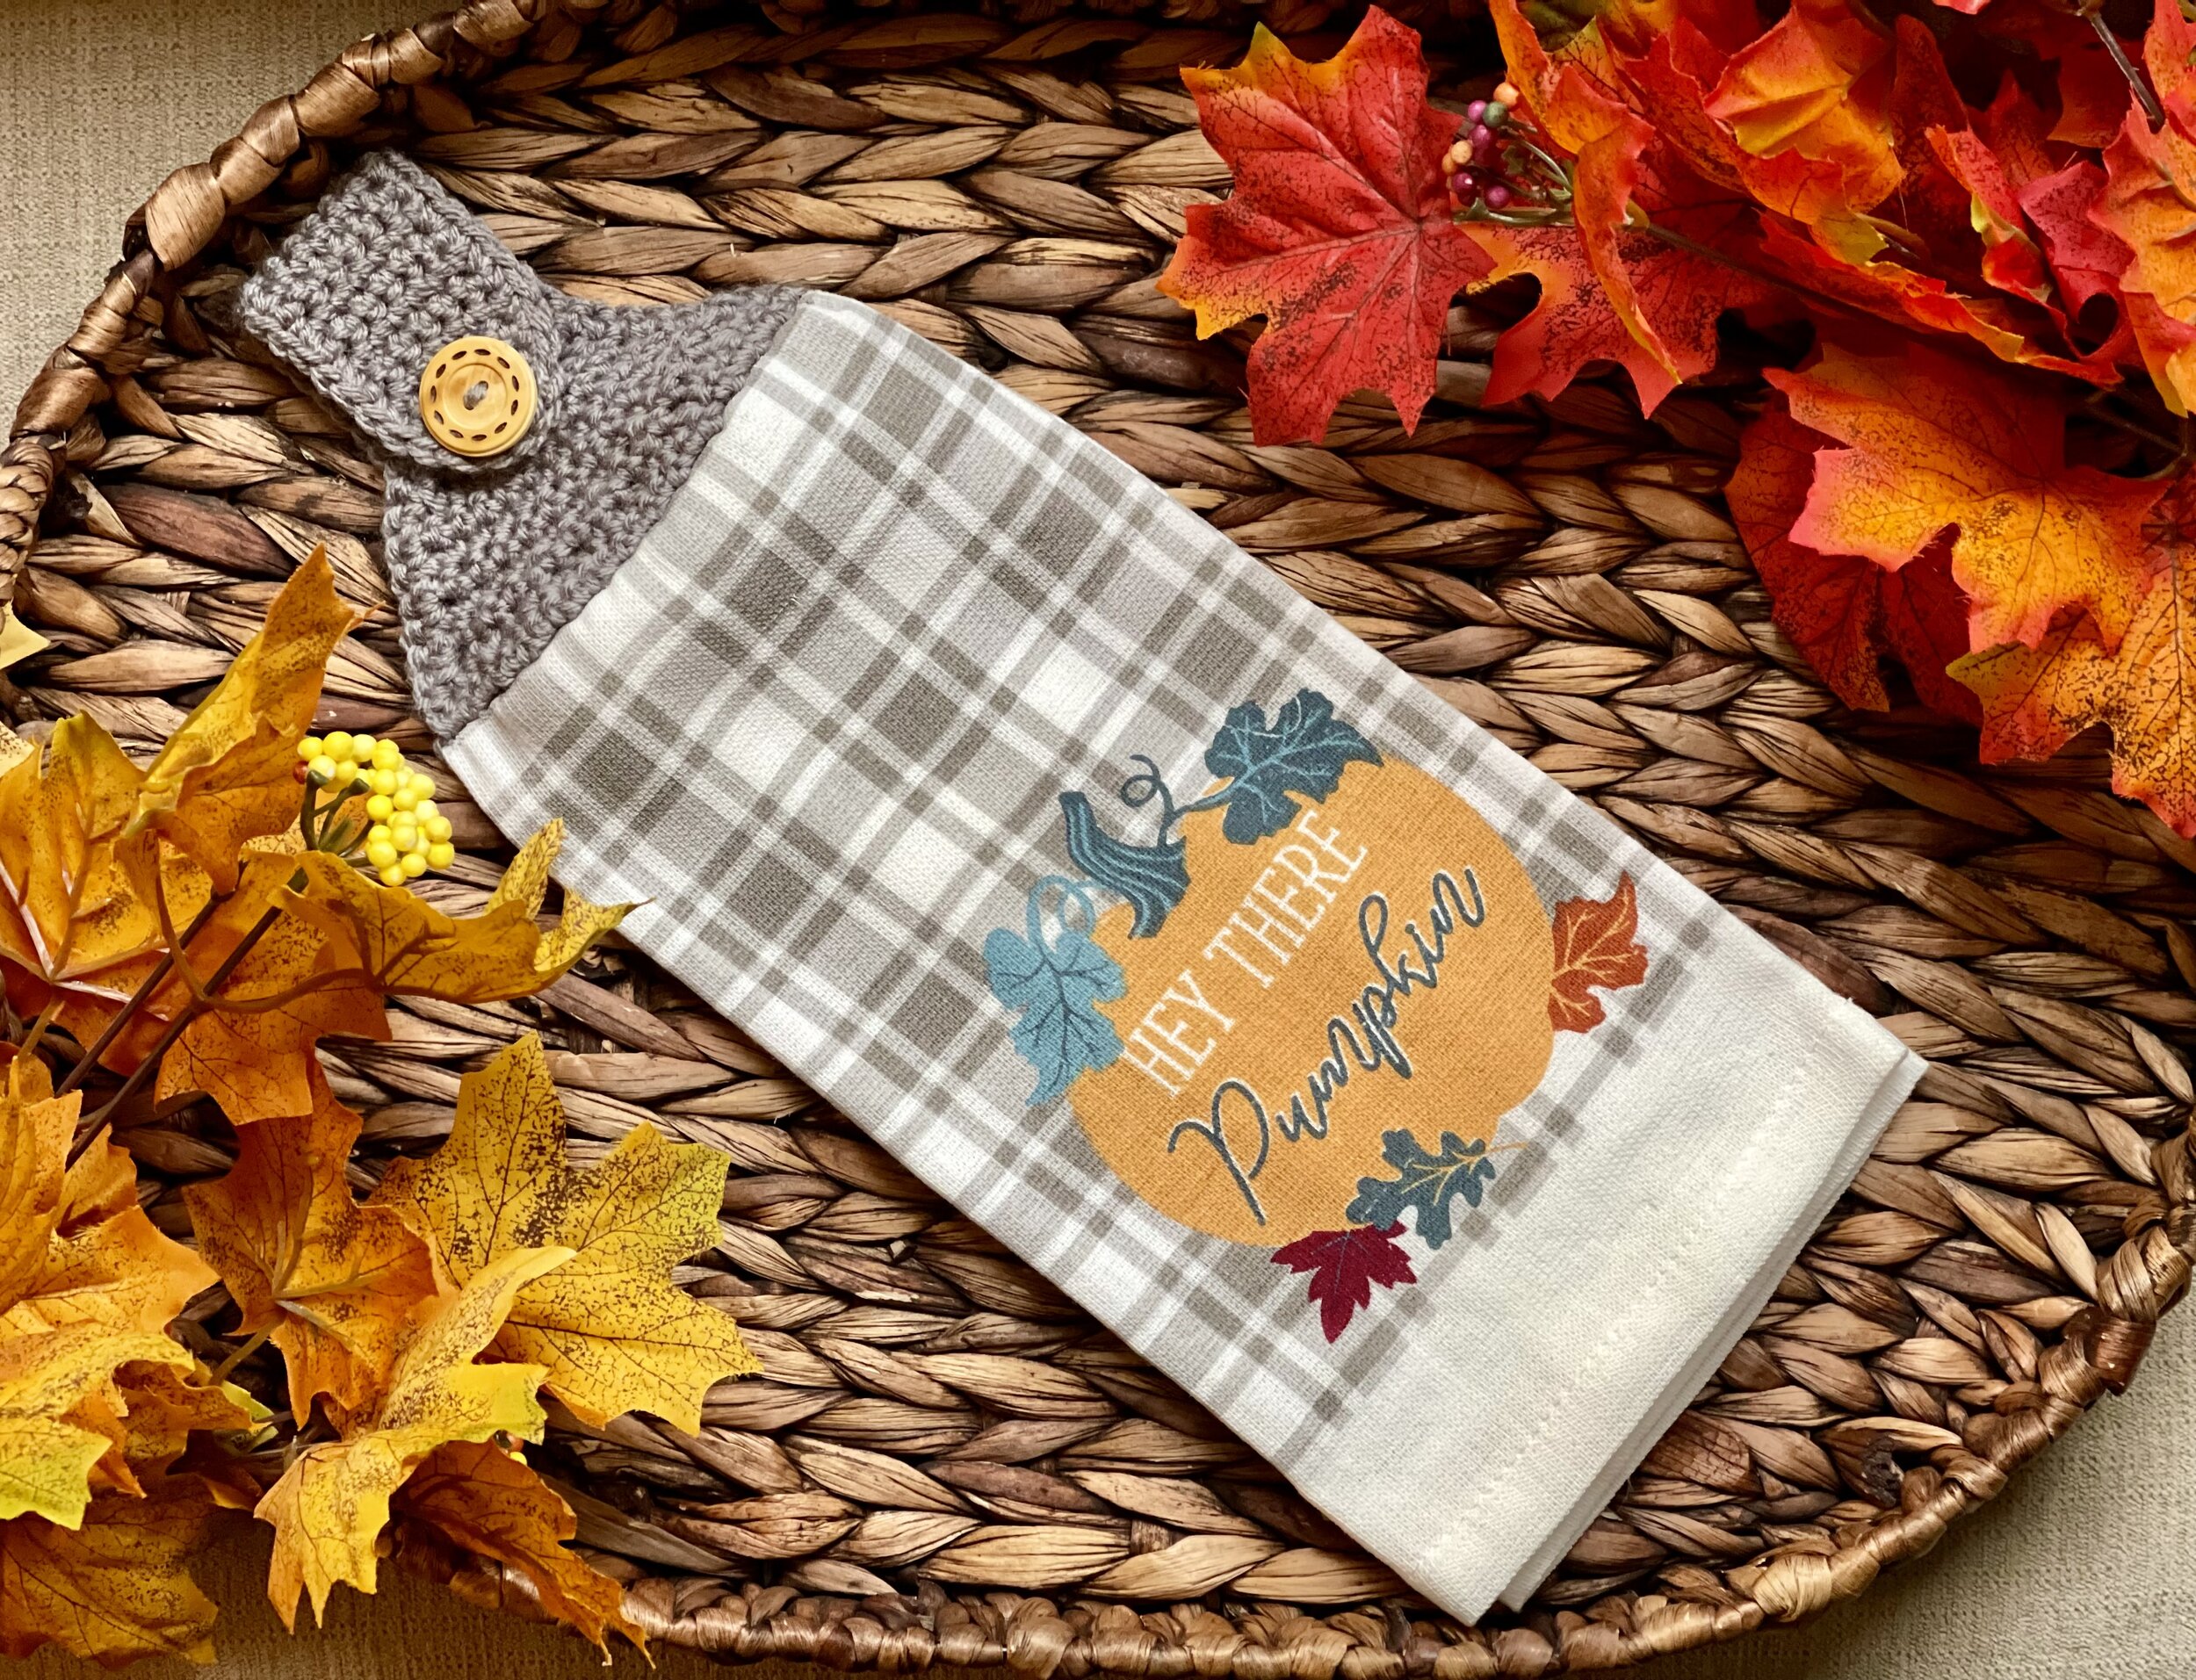
I was specifically interested in making some holiday towels with some cute Fall designs on the front since my markets are in October. I bought some super cute ones for $1 at my local Dollar General stores and got to work on creating one I had in my brain.
I wanted the design to be very crisp and noticeable on the front, so I decided to tri-fold my towel and make embroidered chain stitches through all layers in order to make the design always fall in the prettiest fashion prior to crocheting the topper on. I found that this worked perfectly to achieve the look I was going for, and it is also extremely easy to do (especially since I made a YouTube video for you to show you how to do it).
Let’s make it!
Supplies Needed:
-Approx. 55-65 yards of any size 4 worsted weight yarn
-Size J 6.0 mm hook, or size needed to obtain gauge
-1 kitchen towel, size 14" x 24" (35.5 x 70 cm)
-1 button, size 1" (25 mm)
-Tapestry needle (may need to be on the sharper side if your towel is thicker)
-Seam gauge or regular ruler (Or the best tool would be a quilting ruler that will help with both the markings and the folding instructions)
-Pen or marker for marking on towel
-Iron and ironing board
-Scissors, measuring tape, stick pins
Terms Used and Abbreviations:
Pattern is written in US terminology.
Beginning - beg
Chain - ch
Fasten Off - FO
Repeat - rep
Single Crochet – sc
Single Crochet 2 Together - sc2tog
Slip Stitch(es) - sl st(s)
Stitch(es) - st(s)
Space(s) - sp(s)
Together - tog
Gauge:
16 sc and 16 rows = 4" (10 cm)
Finished Measurements:
Crocheted portion measures approx. 5" x 7.5" (13 x 19 cm)
Instructions:
Before crocheting into the towel, you will need to create some embroidery stitches (that look just like a crochet ch st) into the towel to join to the towel itself. I have included a YouTube video linked throughout to help with the most difficult portions of this pattern.
Prepare your towel
To visualize this process, see my video.
1. Beg by ironing your towel to remove any wrinkles.
2. Fold your towel lengthwise into thirds so that the front embellishment/picture is centered and the towel edges are even (NOTE: If your towel is a different size, simply try to get the towel folded so that it measures approx. 6-6.5 inches across). Press seams with iron to make folds more pronounced. (TIP: I started using a quilting ruler that is exactly 6" wide. After I iron my towel, I set the ruler in the center and fold the towel over it, using it as a sort of template. Then I slide the ruler out and pin in place. This has saved me a tremendous amount of time!)
3. Keep your towel in thirds and pin folds in place. Avoid placing any pins in the center fold where the crocheted portion will go.

4. Flip towel right-side up. Take your seam gauge or ruler and your marking pen and mark every half inch across the center fold beg at either end. You should have roughly 13 marks.


Center fold at top should measure approx. 6.5". If it measures 6", don’t worry, I will show you how to improvise this pattern in Row 1. This slight measurement difference will affect how many embroidered Ch Sts you have in this next step. See more about this in my YouTube video.
Make embroidered Chain Stitches
This part of the project is the most challenging, but is very easy once you visualize it. For help with this portion of the pattern, see my YouTube video.
1. Cut a length of yarn approx 35" (89 cm) long and knot off one end, approx. 6" (15 cm) from the bottom. (You will weave this into the project later). Thread the other end onto your tapestry needle.
2. Turn your towel so that the “back” of your towel is facing you (the side without the picture/saying or the side you want facing the back).
3. Working from right to left and from bottom to top, bring your needle up through your first mark made until the knot is flush against the towel’s underside.
4. Using the embroidered Chain Stitch, work across the towel to the opposite end. (NOTE: work your ch sts tightly or the crochet work will sag away from the towel). You should have a total of 13 sts at the end of your piece (if you have 12, you can still move forward). End the last Chain Stitch by inserting your needle from bottom to top of your last stitch made. Remove tapestry needle.
At this point, you should have enough yarn leftover to attach to your working yarn using the Magic Knot.
Turn your work. Insert your hook into the first st and draw up a loop and ch 1.
Row 1 (for 13 embroidered Ch Sts): Sc in first st, 2 sc in every st to last st, sc in last st. [24 sc]
Row 1 (for 12 embroidered Ch Sts): 2 sc in every st across. [24 sc]
Row 2: Ch 1, turn, * sc in next 2 sts, sc2tog; rep from * across. [18 sc]
Row 3: Ch 1, turn, * sc in next st, sc2tog; rep from * across. [12 sc]
Rows 4-8: Ch 1, sc in each st across. [12 sc]
Row 9: Rep row 3. [8 sc]
Row 10: Ch 1, turn, sc in first 2 sts, {Sc2tog} twice, sc in last 2 sts. [6 sc]
Rows 11-28: Ch 1, turn, sc in each st across. [6 sc]
Row 29: Ch 1, turn, sc2tog over first 2 sts, ch 2, sk 2 sts, sc2tog over last 2 sts. [2 sc, 1 ch-2 sp]
Row 30: Ch 1, turn, sc in first st, sc in ch sp, sc in last st. [3 sc]
FO and weave in tails.
Finishing Round: With the back of the towel facing you, join with a sl st in the far right bottom embroidered Ch St. Ch 1, sc in each row to last row, 2 sc in first st of last row, sc next st, 2 sc in last st of last row, sc in each row to bottom. FO and weave in tails. [63 sc]
Add button to center of front between rows 9 and 10.
Your Tip-Top Towel Topper is complete! I would love to see your finished work! If you want to tag me on IG, I’m @dayscrochetnc. You could also follow the hashtag #tiptoptoweltopper to follow what others are making. I can’t wait to see your projects! If you would like to see other versions that I will be making after this publication, be sure to check me out on IG!

Please note that you do not have my permission to sell, share, copy, translate, or duplicate this pattern or my photos in any way. Please do not use this pattern for a video, blog, or class tutorial. Thank you so much for following these simple rules! Please message me on Facebook or send me an email at dayscrochetnc@gmail.com with any questions.
Come join my Facebook group, Crochet for Days! We have a lot of fun and I often offer discounts and coupon codes to my members that I don’t offer anywhere else! Request to join and answer the questions by following this link.
What did you think of this project? Let me know in the comments!
Happy Hooking!
~Dana